
Are you ready to winterize your water heater for the cold season? Don’t worry. It’s a simple process that can save you from costly repairs in the future.
How to winterize a hot water heater is an essential task to prevent damage and ensure its longevity during colder months. Freezing temperatures can cause water inside the heater to expand, potentially leading to cracks, leaks, or other costly repairs. By properly preparing your hot water heater for winter, you can avoid unexpected issues and maintain its efficiency throughout the season.
Whether leaving your property vacant or simply safeguarding your equipment, following the right steps will help protect your investment and keep your water heating system in optimal condition. Let’s dive into the details.
What Are the Benefits of Winterizing Your Hot Water Heater?
Winterizing your water heater is crucial for its long-term performance and efficiency. Some of the benefits include:
- Preventing Damage: As mentioned earlier, freezing temperatures can cause water inside the heater to expand, leading to cracks or leaks. By winterizing it, you reduce the risk of costly repairs or replacements.
- Maintaining Efficiency: An adequately winterized hot water heater will maintain its efficiency during colder months. This means you won’t have to worry about higher energy bills due to heat loss or other issues.
- Extending Lifespan: Through proper care and maintenance, you can extend the lifespan of your water heater. This includes winterizing it to protect it from potential damage caused by freezing temperatures.
What Will You Need?
Before you begin the winterization process, make sure you have these items on hand:
- Garden Hose: You will need a garden hose to drain the water from your water heater.
- Bucket: A bucket will come in handy for collecting excess water that may not fit in the hose.
- Screwdriver or Wrench: Depending on your water heater’s model, you may need a screwdriver or wrench to access certain parts for draining and flushing.
- Insulation Materials: To prevent heat loss during winter, it is recommended to insulate your hot water heater. You can use insulation blankets or sleeves specifically designed for hot water heaters.
Once you have these items, you’re ready to begin the winterization process.
8 Easy Steps on How to Winterize a Hot Water Heater
Step 1: Turn Off the Power Supply
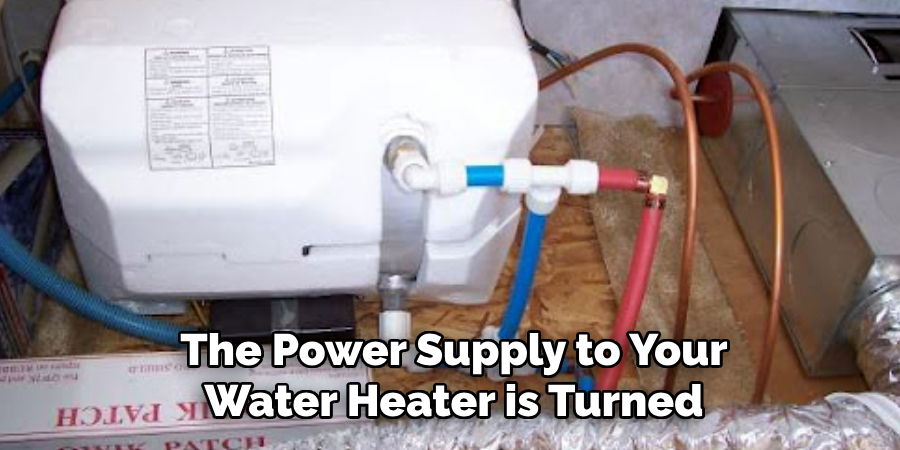
Before you start, ensure the power supply to your water heater is turned off. If you have an electric water heater, locate the circuit breaker for the water heater in your electrical panel and switch it to the “off” position. For gas water heaters, turn the gas valve to the “pilot” or “off” position according to the manufacturer’s instructions. This step is crucial for your safety and prevents accidental damage to the water heater during winterization. Double-check that the power supply or gas supply is fully turned off before proceeding.
Step 2: Turn Off the Water Supply
To turn off the water supply, locate the main water supply valve to your home or the shut-off valve specifically for the water heater. For most homes, the water heater shut-off valve is near the top of the heater, usually attached to the cold-water supply line. Turn the valve clockwise until it is fully closed. This step ensures no additional water flows into the tank during the winterization process. If you’re unsure which valve controls the water flow to your heater, consult your system’s manual or a professional plumber.
Shutting off the water supply completely will prevent leaks and unnecessary water wastage as you prepare your water heater for the colder months. Once the valve is securely closed, double-check by turning on a hot water faucet in your home to confirm that the water flow has stopped.
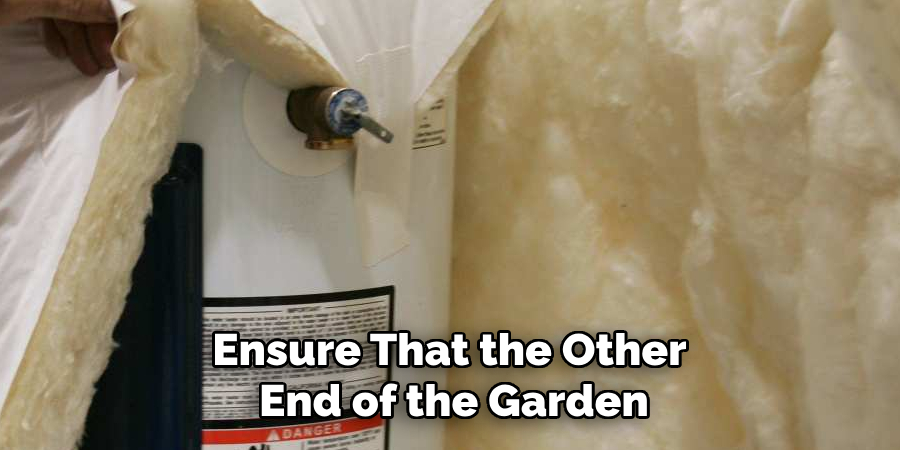
Step 3: Attach Garden Hose
Locate the drain valve at the bottom of your water heater. This valve is typically positioned near the base and is designed to allow for easy tank drainage. Before proceeding, ensure that the other end of the garden hose is placed in a safe drainage area, such as a floor drain, outdoor driveway, or bucket, to avoid water damage indoors. Tighten the connection between the garden hose and the drain valve to prevent leaks during the draining process.
Once securely attached, double-check that the hose is free of kinks or bends, as these could obstruct the water flow. Position the hose outlet to keep it stable during the drainage process, minimizing any risk of water spillage. Proper attachment of the garden hose is a key step to guarantee the efficient and mess-free removal of water from your water heater.
Step 4: Open Drain Valve
Carefully open the drain valve to begin releasing water from the tank. Start by slowly turning the valve counterclockwise to avoid sudden bursts of water, which could cause unnecessary splashing or pressure buildup. Monitor the water flow as it travels through the garden hose and ensure that it drains steadily into your designated area.
If the flow seems restricted or sluggish, you may need to open a hot water faucet in your home, such as the one closest to the water heater, to allow air to enter the system and equalize pressure. This additional step facilitates a smoother and faster drainage process. While the water is draining, keep an eye on the hose and valve to ensure everything remains securely attached and operating as expected.
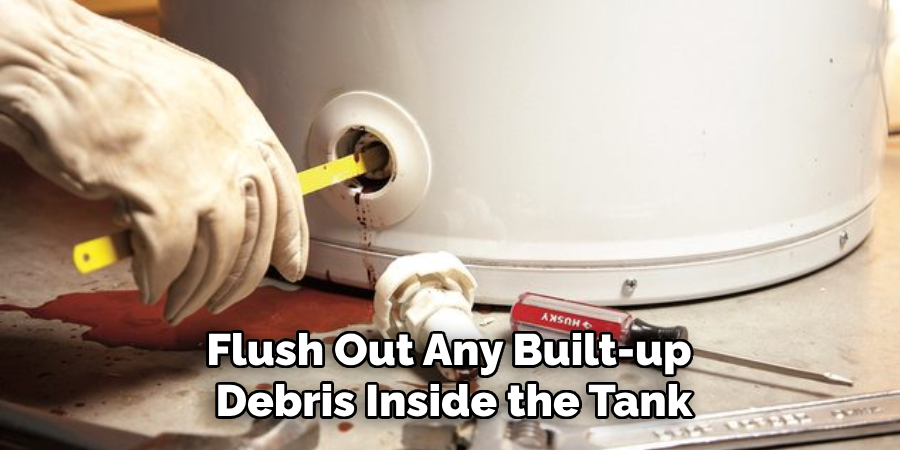
Step 5: Flush the Tank
Once the majority of the water has been drained, use the garden hose to flush out any remaining sediment from the bottom of the tank. To do this, briefly turn on the cold water supply while leaving the drain valve open. The incoming water will help dislodge and flush out any built-up debris inside the tank. Allow the water to run until it exits the hose clear and free of sediment. This step is essential for maintaining the efficiency and longevity of your water heater. After flushing, close the cold water supply to prepare for the next steps.
Step 6: Close the Drain Valve and Refill the Tank
After flushing the tank, close the drain valve securely to prevent leaks. Once the valve is closed, remove the garden hose from the drain outlet. Next, turn on the cold water supply to begin refilling the tank. While the tank is filling, open a nearby hot water faucet to allow air to escape from the system. You will know the tank is complete when a steady stream of water flows from the faucet. At this point, you can close the faucet and proceed to the final steps.
Step 7: Restore Power or Gas Supply
With the tank refilled, it’s time to restore your water heater’s power or gas supply. If your water heater is electric, turn the circuit breaker back on. For gas water heaters, relight the pilot light or follow the manufacturer’s instructions for restarting the unit. Once the power or gas supply is restored, give the water heater some time to heat the water. Finally, check for any leaks around the drain valve or the water inlet and outlet connections to ensure everything is securely sealed. Your water heater is now ready for operation.
Step 8: Perform a Final Inspection
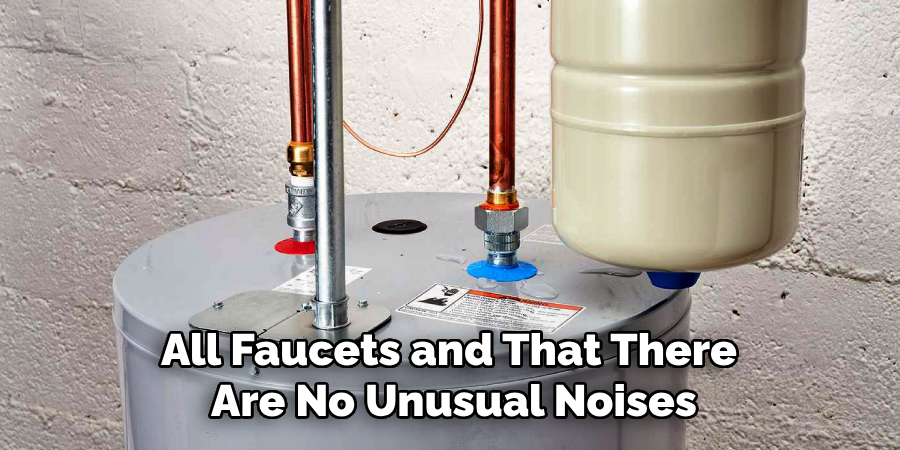
Before finishing, perform a final inspection to ensure the water heater is functioning correctly. Check the temperature settings and adjust them if necessary, ensuring they are within a safe range (typically 120°F to 140°F). Verify that the hot water flows correctly from all faucets and that there are no unusual noises or issues during operation. If everything checks out, your water heater maintenance is complete, and the unit is ready for daily use. Regular maintenance such as this will help extend the lifespan of your water heater and ensure optimal performance.
Following these steps, you can effectively winterize your water heater and protect it from potential damage during the colder months.
5 Things You Should Avoid
- Skipping the Drainage Process: Avoid neglecting to drain the water heater altogether. Leaving water inside can cause it to freeze and expand, potentially leading to severe damage or even rupture of the tank.
- Failing to Turn Off the Power Supply: Never forget to turn off the power or gas supply to the water heater before winterizing. Keeping it on while the empty tank can damage the heating elements or pose a safety risk.
- Overlooking the Insulation of Pipes: Do not ignore the importance of insulating any exposed pipes connected to the water heater. Uninsulated pipes are prone to freezing, which could lead to costly leaks or bursts.
- Using the Wrong Type of Antifreeze: Avoid using automotive antifreeze in the system; always use non-toxic, RV-approved antifreeze if needed. Using the wrong product could lead to contamination or equipment damage.
- Neglecting to Check Manufacturer Guidelines: Do not ignore the manufacturer’s instructions or specific recommendations for winterizing your water heater. Failing to follow these guidelines can void warranties or result in improper preparation.
Conclusion
How to winterize a hot water heater is an essential step to protect your equipment from damage during cold weather.
You can effectively prevent freezing and costly repairs by properly draining the tank, turning off the power supply, insulating pipes, and using the correct type of antifreeze. Always remember to consult the manufacturer’s guidelines to ensure every action aligns with specific recommendations for your heater.
These precautions not only safeguard your water heater but also promote its efficiency and longevity, ensuring it remains in optimal working condition year-round.
About the Author
Adrian Green is a passionate woodworking enthusiast who has dedicated his life to the craft of woodworking. From his early days working alongside his father in the family woodworking shop, Adrian has honed his skills and developed a deep love for creating beautiful, functional pieces with his hands. As the voice behind The Woodenify Blog, he shares his knowledge, tips, and inspiration with fellow woodworkers of all skill levels, helping them build confidence in their abilities while learning new techniques.
Professional Focus
- Specializes in DIY woodworking projects, from furniture making to home décor.
- Provides step-by-step guides, tips, and practical tutorials for woodworkers at any skill level.
- Focused on empowering readers with confidence and knowledge through easy-to-follow instructions and hands-on techniques.
- Passionate about building a community where makers can share, learn, and grow together in the world of woodworking.
Education History
University of Craft and Design – Bachelor of Fine Arts (BFA) in Woodworking and Furniture Design
Woodworking Apprenticeships – Gained extensive hands-on experience through various workshops and mentorships with seasoned craftsmen, refining carpentry and furniture-making skills.
Expertise
- DIY woodworking, carpentry, furniture making, and home décor projects.
- Creating clear, accessible tutorials and guides for beginner to advanced woodworkers.
- Helping readers experience the satisfaction and fulfillment of turning raw materials into stunning finished products.