
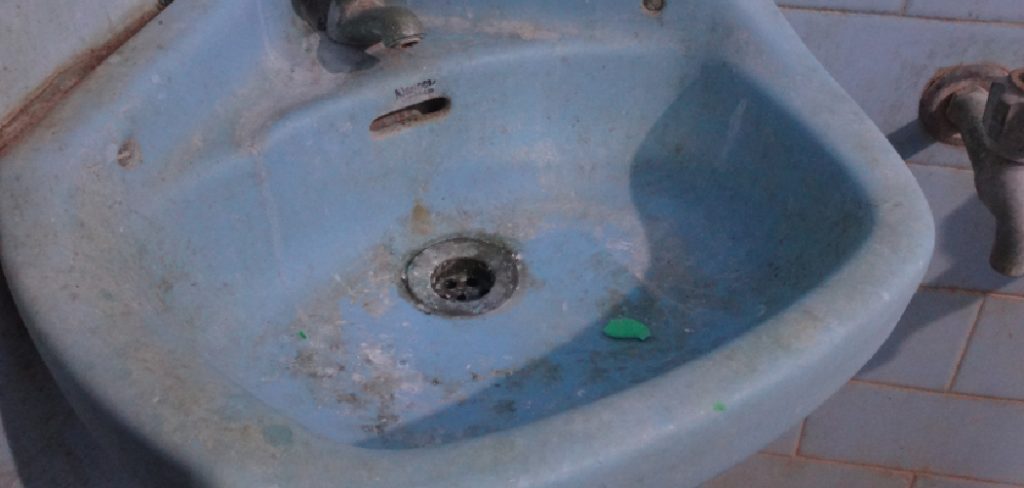
Washing a basin properly is an essential household task that ensures cleanliness and hygiene.
Over time, basins can accumulate dirt, grime, and mineral deposits, making regular maintenance important to keep them looking pristine and functioning well. With the right steps and cleaning techniques, you can easily maintain your basin and extend its lifespan.
This guide on how to wash basin will walk you through the process of effectively cleaning your basin.
What is Needed
Basin Cleaner or Mild Detergent:
To clean your basin, you will need a specialized basin cleaner or a mild detergent that is safe for use on basins. Avoid using harsh chemicals as they can damage the surface of your basin and harm the environment.
Soft Cloth or Sponge:
A soft cloth or sponge is essential to gently clean the surface of your basin without causing any scratches or damage.
Baking Soda:
Baking soda is an effective natural cleaning agent that can help remove tough stains and build-up in your basin. It is also gentle on most surfaces and environmentally friendly.
Vinegar:
Vinegar is another household item that can be used to effectively clean basins. Its acidic properties make it great for removing soap scum and mineral deposits.
Water:
Water is necessary to rinse off any cleaning products and residue from your basin. Use warm water for best results.
10 Step-by-step Guides on How to Wash Basin
Step 1: Clear the Space
Before you begin cleaning, make sure to clear the basin and its surrounding area of any items, such as soap dispensers, toothbrush holders, or other objects. Removing these items will give you full access to the entire surface of the basin and prevent any obstacles during the cleaning process. This step also ensures that none of these objects get splashed or dirtied while you clean.

If possible, also remove the drain plug and clean it separately.
Step 2: Wet the Basin
Start by wetting the entire surface of the basin with warm water. Use a small container, a faucet, or a handheld sprayer if available.
This step helps loosen any surface dirt or grime, making it easier to clean. Ensure that all areas, including the edges and around the drain, are thoroughly dampened.
Step 3: Apply the Cleaner or Detergent
Next, apply your chosen basin cleaner or mild detergent to the surface of the basin. Follow the instructions on the product label for proper usage.
Alternatively, you can create a homemade solution by mixing equal parts warm water and vinegar in a spray bottle.
Spray this solution onto the basin’s surface and let it sit for a few minutes to allow it to penetrate and loosen any dirt or stains.
Step 4: Scrub Gently
Using a soft cloth or sponge, gently scrub the entire surface of the basin in circular motions. Be careful not to apply too much pressure as it may cause scratches on delicate surfaces like ceramic or porcelain.
For tough stains or build-up, sprinkle some baking soda onto the cloth and scrub the affected area. Baking soda is a mild abrasive that can help remove stubborn grime without damaging your basin’s surface.
Step 5: Clean the Drain
After scrubbing the main surface of the basin, focus on cleaning the drain area. Apply a small amount of your chosen cleaner or a baking soda-vinegar mixture directly into and around the drain. If there is a removable drain plug, scrub it separately using a soft brush or sponge to remove any dirt or residue.
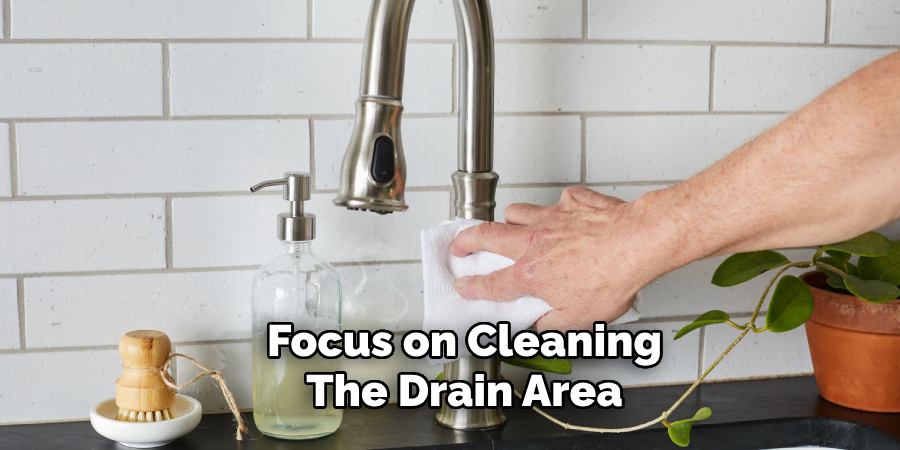
For built-up grime or slow drainage, you can pour a mixture of baking soda and vinegar into the drain and let it sit for 10-15 minutes before rinsing with warm water. This step ensures that the drain is free of clogs and stays clean, preventing unpleasant odors and maintaining proper functionality.
Step 6: Rinse Thoroughly
After scrubbing and cleaning all parts of the basin, rinse the entire surface thoroughly with warm water. Use clean water to remove any remaining cleaner, baking soda, or dirt residue.
Pay special attention to the edges, corners, and drain area to ensure no cleaning product is left behind. Proper rinsing helps prevent streaks, spots, or potential damage caused by leftover cleaning agents.
Step 7: Dry with a Soft Cloth
Once the basin has been thoroughly rinsed, use a soft, clean cloth to dry the surface. Gently wipe down the entire basin, including the edges and around the drain, to remove any remaining water. This step prevents water spots and streaks from forming on the surface, leaving your basin looking polished and spotless.
Additionally, drying the basin helps maintain its pristine appearance and reduces the likelihood of mineral deposits or residue building up over time.
Step 8: Polish (Optional)
If you want your basin to have an extra shine, consider polishing it as an optional final step. Use a soft, dry cloth or a microfiber towel to buff the surface gently in circular motions. This step helps to enhance the basin’s natural luster and leaves it looking brand new.
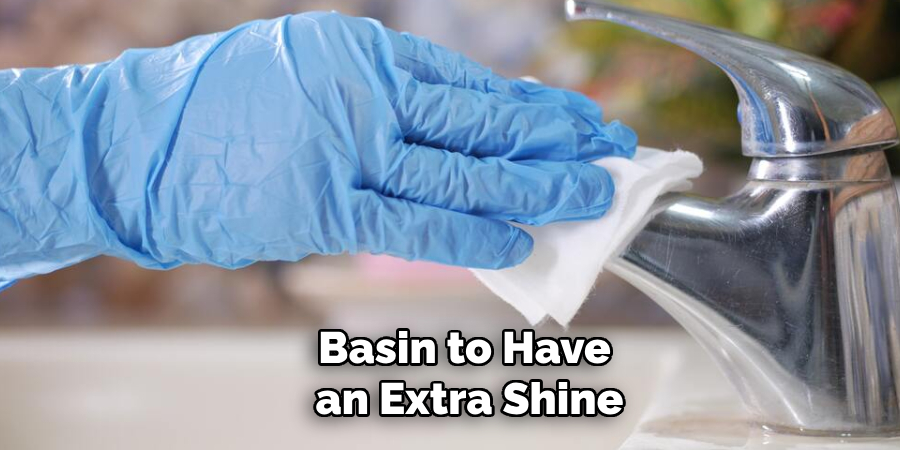
For an added touch, you can use a small amount of a non-abrasive polish or a vinegar-water mixture to achieve a gleaming finish. Be careful to avoid polishing over areas that may still be damp, as this can result in streaks or smudges.
Step 9: Wipe Down Surrounding Area
Once the basin is clean and polished, take a moment to clean the surrounding area as well. Use a soft cloth or sponge dampened with warm water or a mild cleaning solution to wipe down countertops, faucet handles, and any nearby surfaces.
This step helps to remove any splashes, dirt, or residue that may have accumulated during the cleaning process. Ensuring the surrounding area is clean not only enhances the overall appearance but also promotes hygienic conditions in your bathroom or kitchen.
Step 10: Return Items and Admire the Clean Basin
Finally, return any items that were removed in step one back to their original positions. This includes soap dispensers, toothbrush holders, or other objects. Take a moment to admire your clean and shiny basin’s transformation.
With these simple steps on how to wash basin, you can easily and effectively wash your basin regularly to maintain its cleanliness and prolong its lifespan. Remember to always use gentle cleaning agents and avoid harsh chemicals or abrasive tools that could damage your basin’s surface. Happy cleaning!
How Much Could It Cost to Hire a Professional for Basin Cleaning?
Hiring a professional to clean your basin can range in cost depending on various factors such as the size of the basin, location, and the level of grime or stains. On average, you can expect to pay anywhere from $50 to $150 for a professional basin cleaning service.
Factors that may increase the cost include additional services such as polishing or disinfecting, as well as the use of specialized cleaners. Additionally, hiring a professional cleaner for regular maintenance can also save you money in the long run by preventing costly damages or replacements due to neglect or improper cleaning techniques.

However, with these simple steps and proper maintenance practices, you can easily clean your basin yourself and save on potential costs. Regular cleaning not only helps keep your basin looking its best but also promotes a hygienic environment for you and your family. So, roll up your sleeves and give your basin the TLC it deserves!
Frequently Asked Questions
Q1: How Often Should I Clean My Basin?
A: It is recommended that your basin be cleaned at least once a week to maintain its cleanliness and prevent build-up of dirt or grime. However, if the basin is used heavily, it may require more frequent cleaning.
Q2: Can I Use Any Cleaner to Wash My Basin?
A: It is best to use a cleaner specifically designed for basins or one that is safe for the surface material of your basin. Avoid using harsh chemicals or abrasive tools that could damage the surface.
Q3: How Do I Prevent Hard Water Stains on My Basin?
A: To prevent hard water stains, regularly wipe down your basin after use and ensure it is completely dry. You can also use a water softener or vinegar-water solution to remove any mineral deposits before they become stubborn stains.
Q4: Is There a Specific Order to Clean Different Types of Basins?
A: For most types of basins, the general cleaning steps mentioned above can be followed. However, for specialty basins like marble or granite, it is best to refer to the manufacturer’s instructions for specific cleaning methods.
Conclusion
Maintaining a clean and well-cared-for basin is essential for both hygiene and aesthetics. By following the simple steps outlined in this guide on how to wash basin, you can ensure your basin remains spotless, free of stains, and functional for years to come. Regular cleaning not only promotes a healthier environment but also prevents potential issues such as hard water stains, unpleasant odors, or damage from neglect.
Whether you choose to clean it yourself or hire a professional, the important thing is to establish a consistent routine that supports the longevity and appearance of your basin. A little effort goes a long way in keeping your space fresh, inviting, and well-maintained. he modern hand wash basin design blends sleek aesthetics with practical functionality, making it a perfect addition to any contemporary bathroom. Happy cleaning!
About the Author
Adrian Green is a passionate woodworking enthusiast who has dedicated his life to the craft of woodworking. From his early days working alongside his father in the family woodworking shop, Adrian has honed his skills and developed a deep love for creating beautiful, functional pieces with his hands. As the voice behind The Woodenify Blog, he shares his knowledge, tips, and inspiration with fellow woodworkers of all skill levels, helping them build confidence in their abilities while learning new techniques.
Professional Focus
- Specializes in DIY woodworking projects, from furniture making to home décor.
- Provides step-by-step guides, tips, and practical tutorials for woodworkers at any skill level.
- Focused on empowering readers with confidence and knowledge through easy-to-follow instructions and hands-on techniques.
- Passionate about building a community where makers can share, learn, and grow together in the world of woodworking.
Education History
University of Craft and Design – Bachelor of Fine Arts (BFA) in Woodworking and Furniture Design
Woodworking Apprenticeships – Gained extensive hands-on experience through various workshops and mentorships with seasoned craftsmen, refining carpentry and furniture-making skills.
Expertise
- DIY woodworking, carpentry, furniture making, and home décor projects.
- Creating clear, accessible tutorials and guides for beginner to advanced woodworkers.
- Helping readers experience the satisfaction and fulfillment of turning raw materials into stunning finished products.