Water pipes, commonly referred to as hookahs or shishas, have been used for centuries as a method of smoking flavored tobacco or other substances.
Originating in the Middle East and South Asia, they have since gained popularity worldwide for their cultural and social appeal. Using a water pipe involves understanding its components, preparation process, and smoking technique to ensure an enjoyable and safe experience.
This guide will provide step-by-step instructions on how to use water pipe to help both beginners and experienced users get the most out of their water pipe sessions.
Why Use a Water Pipe?
Water pipes offer a unique and enjoyable smoking experience that sets them apart from other methods. One key advantage is the water filtration system, which cools and smooths the smoke, making it less harsh on the throat and lungs. This allows for a more comfortable session, especially for beginners. Additionally, the array of flavored tobacco options, such as fruity, minty, or herbal blends, provides a customizable and aromatic experience.
Water pipes are also highly social, often enjoyed in group settings where they facilitate connection and conversation. Their cultural heritage and intricate designs add an aesthetic and traditional element, making them both functional and artistic. For those seeking a relaxed and atmospheric way to enjoy smoking, water pipes deliver a versatile and engaging option.
Needed Materials
Water Pipe:
First and foremost, you will need a water pipe to get started. These can be purchased at specialty shops or online in a variety of sizes, designs, and materials. Common materials include glass, ceramic, and metal with varying degrees of durability and aesthetics. Selecting a high-quality pipe with proper seals and sturdy construction is essential for an optimal experience.
Flavored Tobacco:
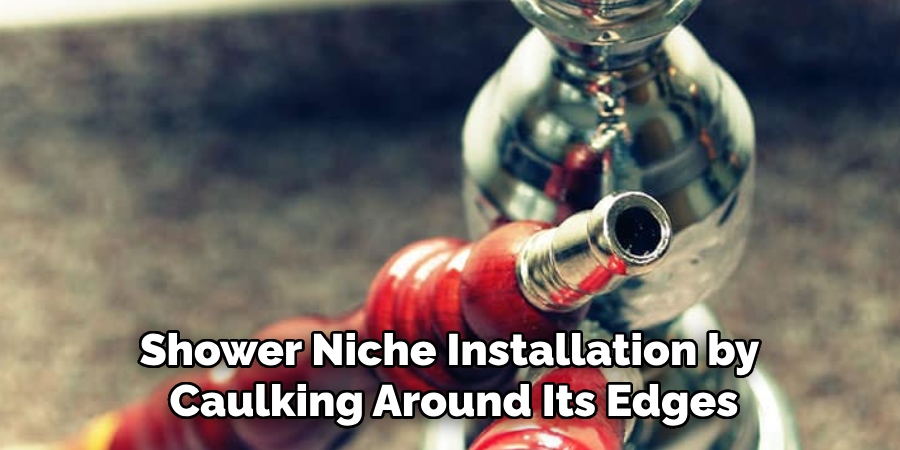
Next up is the flavored tobacco that will go inside the water pipe. Also known as shisha or hookah tobacco, these blends come in a variety of flavors such as apple, mint, strawberry, and more. They are typically made from a combination of dried fruit extracts, honey-based molasses, and glycerin for a sweet and smooth taste. Make sure to choose a reputable brand and check the expiration date for the freshest and most flavorful smoking experience.
Charcoal:
Charcoal is an essential element in lighting the tobacco inside the water pipe. Natural coals, often made from coconut shells or wood, are recommended over quick-lighting charcoals that contain chemicals that may affect the taste of the smoke. These coals need to be lit thoroughly before being placed on top of the hookah bowl.
Water:
As its name suggests, water is needed for your water pipe session. It is used to fill the base of the pipe and acts as a filter for the smoke. Cold or chilled water is preferred to enhance the cooling effect on the smoke. Some users also add ice cubes or other liquids, such as juice or milk, for added flavor and texture.
Mouthpiece:
The mouthpiece of a water pipe is where the user inhales the smoke through. It is often made from plastic or rubber and can be cleaned or replaced after use. Sharing mouthpieces is not recommended as it may spread germs and affect the taste of the smoke.
8 Step-by-step Guidelines on How to Use Water Pipe
Step 1: Fill Up the Base
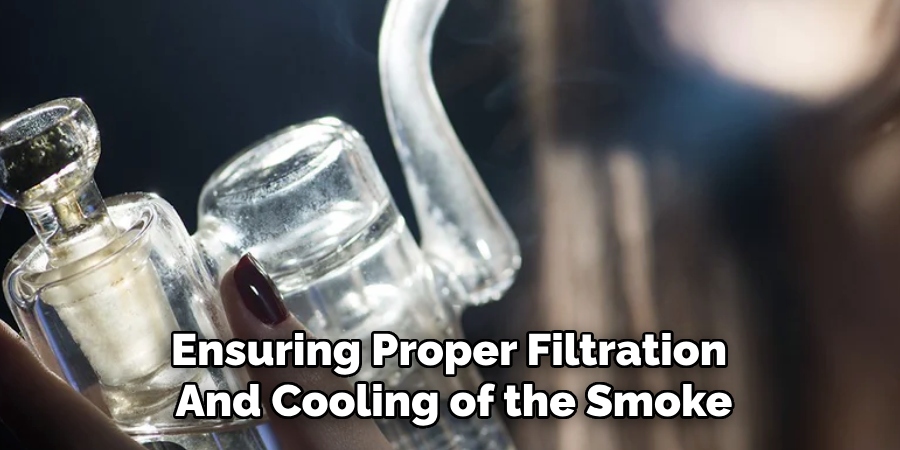
Start by filling the base of the water pipe with water. The water should cover the bottom of the pipe’s stem by about an inch, ensuring proper filtration and cooling of the smoke. Avoid overfilling, as this can cause water to splash up into the hose during use. For a cooler and smoother smoking experience, consider using cold water or adding ice cubes.
Some users also experiment with adding flavored liquids like fruit juice to enhance the aroma and taste of the smoke. Once filled, ensure the base is securely attached to the rest of the water pipe.
Step 2: Prepare the Bowl
The bowl is where you will place the flavored tobacco, so proper preparation is key. Start by loosely packing the tobacco into the bowl. Ensure that the tobacco is fluffily spread and not compressed tightly, as this allows for better airflow and even heating during the session. Avoid overfilling the bowl to prevent the tobacco from touching the foil or screen, which can cause it to burn too quickly and create harsh smoke.
Once the tobacco is packed, cover the bowl with a piece of aluminum foil, ensuring it is taut and evenly applied. Use a toothpick or a similar tool to poke several small holes in the foil, creating a grid pattern for airflow. Alternatively, if a pre-made hookah screen is available, it can be used instead of foil for convenience. The prepared bowl should now be ready to attach to the top of the stem. Make sure it is securely in place to avoid any air leaks.
Step 3: Light up the Coals
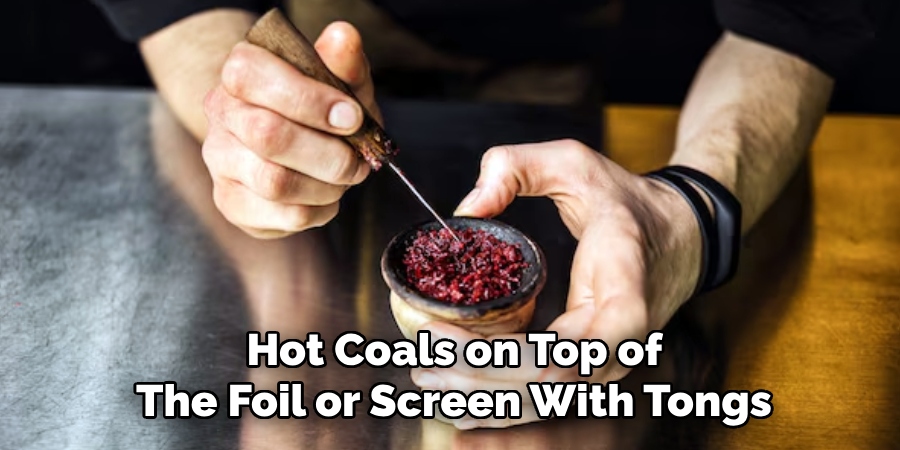
Before lighting, ensure that your charcoal is fully heated and glowing red-hot. This can take anywhere from five to ten minutes, depending on the type of coal used. Place the hot coals on top of the foil or screen with tongs, making sure they are evenly spread apart for even heating. Avoid touching or moving them with your hands as they can be very hot.
You can also try using a heat management device, such as a Kaloud Lotus or Apple on Top (AOT) to help regulate heat and prevent the charcoal from burning the tobacco too quickly.
Step 4: Let it Heat Up
Once the coals are in place on top of the foil or screen, allow the tobacco to heat up for a few minutes before taking your first inhale. This process, often referred to as “preheating,” ensures that the tobacco is warmed evenly, producing smooth and flavorful smoke. Rushing this step may lead to uneven heating or weak smoke output.
You might notice a light amount of smoke starting to form during this time, which indicates that the water pipe is ready to use. Be patient and avoid inhaling too early, as the optimal flavor and consistency develop with proper heating.
Step 5: Inhale and Enjoy
Once the tobacco is heated up, you can start to inhale through the mouthpiece. The smoke will travel down the stem, pass through the water, and into your lungs. Take slow and steady draws as this allows for better filtration and cooling of the smoke. It’s also recommended to take breaks between puffs to avoid over-smoking or harsh hits.
Some users prefer to add a diffuser attachment to their water pipe’s end to create smaller bubbles in the water, resulting in a smoother smoking experience. This can be especially helpful for beginners who may find the smoke too harsh without one.
Step 6: Rotate Coals Periodically
As the coals begin to burn down, you may need to adjust or replace them to maintain an even heat. Using tongs, carefully rotate the current coals every 20-30 minutes, so they are evenly heated on all sides. You can also add more coals as needed if the smoke starts to thin out.

It’s important to note that excessive heat can cause the tobacco to burn too quickly, resulting in a harsh and unpleasant taste. So make sure to monitor and control the coal placement throughout your session.
Step 7: Change the Water Occasionally
After each use, it is recommended to discard the water from the base and thoroughly clean it before refilling it for your next session. This helps prevent any lingering odors or bacteria from affecting your smoking experience.
Additionally, if you are using flavored liquids in the water, it’s essential to change the water after each use as well. Otherwise, these liquids can leave residue and affect the taste of future sessions.
Step 8: Clean and Maintain Regularly
To ensure the best smoke quality and longevity of your water pipe, it is crucial to clean and maintain it regularly. This involves disassembling all parts of the pipe, including the base, stem, bowl, and mouthpiece, and thoroughly cleaning them with hot water or specialized cleaning solutions. It’s also recommended that any worn-out or damaged parts be replaced for optimal performance.
By following these step-by-step guidelines on how to use water pipe, you can enjoy a smooth and flavorful smoking experience every time. Remember to always use caution when handling hot coals and never leave a lit water pipe unattended. For those looking to save money, a water pipe DIY project can be a rewarding way to fix minor leaks or make simple upgrades to your plumbing system. Happy smoking!
Frequently Asked Questions
Q1: Is Using a Water Pipe Healthier Than Smoking Cigarettes?
A: While it is still harmful to your health, studies have shown that water pipes may be less harmful than cigarettes due to the filtration of smoke through the water. However, this does not make it a safe or healthier alternative to smoking.
Q2: Can I Use Any Type of Water in My Pipe?
A: It’s recommended to use room temperature tap water for your pipe. Cold water or adding ice cubes can provide a smoother and cooler smoking experience, but avoid using flavored liquids as they can leave residue and affect future sessions’ taste.
Q3: How Often Should I Clean My Water Pipe?
A: It is recommended that you clean your water pipe after every use for optimal performance and hygiene. This involves disassembling all parts of the pipe, thoroughly cleaning them with hot water or specialized solutions, and replacing any worn-out or damaged parts.
Q4: Can I Mix Flavors of Tobacco in My Bowl?
A: Yes, you can mix different flavors of tobacco in your bowl to create a unique and customized smoking experience. Just make sure to pack the bowl evenly and avoid over-packing to prevent any airflow restrictions.
Conclusion
Water pipes have been used for centuries as a popular method of smoking tobacco with various flavors and aromas. By following these simple steps on how to use water pipe properly, you can enjoy a smooth and flavorful smoking experience every time.
Remember to always use caution when handling hot coals and never leave a lit water pipe unattended. And most importantly, be aware of the potential health risks associated with smoking and make informed decisions for your well-being. Happy smoking!
About the Author
Adrian Green is a passionate woodworking enthusiast who has dedicated his life to the craft of woodworking. From his early days working alongside his father in the family woodworking shop, Adrian has honed his skills and developed a deep love for creating beautiful, functional pieces with his hands. As the voice behind The Woodenify Blog, he shares his knowledge, tips, and inspiration with fellow woodworkers of all skill levels, helping them build confidence in their abilities while learning new techniques.
Professional Focus
- Specializes in DIY woodworking projects, from furniture making to home décor.
- Provides step-by-step guides, tips, and practical tutorials for woodworkers at any skill level.
- Focused on empowering readers with confidence and knowledge through easy-to-follow instructions and hands-on techniques.
- Passionate about building a community where makers can share, learn, and grow together in the world of woodworking.
Education History
University of Craft and Design – Bachelor of Fine Arts (BFA) in Woodworking and Furniture Design
Woodworking Apprenticeships – Gained extensive hands-on experience through various workshops and mentorships with seasoned craftsmen, refining carpentry and furniture-making skills.
Expertise
- DIY woodworking, carpentry, furniture making, and home décor projects.
- Creating clear, accessible tutorials and guides for beginner to advanced woodworkers.
- Helping readers experience the satisfaction and fulfillment of turning raw materials into stunning finished products.
