
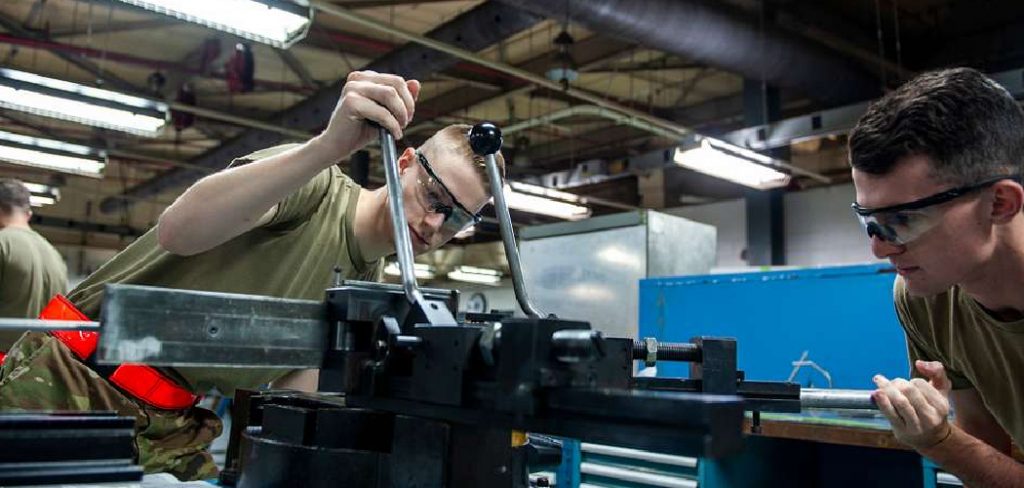
A tube bender is a versatile tool designed to shape metal tubing into precise angles and curves without compromising its structural integrity. Whether you’re working on automotive projects, plumbing installations, or custom metalwork, learning to use a tube bender properly is essential for achieving accurate and professional results.
This guide on how to use tube bender will walk you through the basics of operating a tube bender, ensuring both efficiency and safety in your projects. Creating a tube bender DIY is a cost-effective way to achieve precise bends for your metalworking projects without the need for expensive equipment.
What is a Tube Bender?
A tube bender is a hand-operated or hydraulic tool designed to bend metal tubing with precision. It consists of a set of rollers, dies, and guides that shape the tubing according to the desired angle and radius.
Tube benders come in various sizes and types, including manual, electric, and hydraulic models. Some are specifically designed for certain pipe sizes or materials like copper, steel, or aluminum. Before using a tube bender, it’s crucial to familiarize yourself with its specific features and capabilities.
Needed Materials
Metal Tubing:
The type and diameter of the tubing will depend on your project’s requirements. Make sure it is compatible with your tube bender. Common materials used include copper, aluminum, and steel.
Tube Bender:
Choose the appropriate tube bender for your project based on its size and type of tubing it can handle. Make sure to read the manufacturer’s instructions carefully before use.
Measuring Tools:
To achieve precise bends, you will need measuring tools like a tape measure or calipers to mark the desired bend point accurately.
Safety Gear:
Always wear safety gear when using a tube bender. This includes gloves, safety glasses, and closed-toe shoes.
8 Step-by-step Guides on How to Use Tube Bender
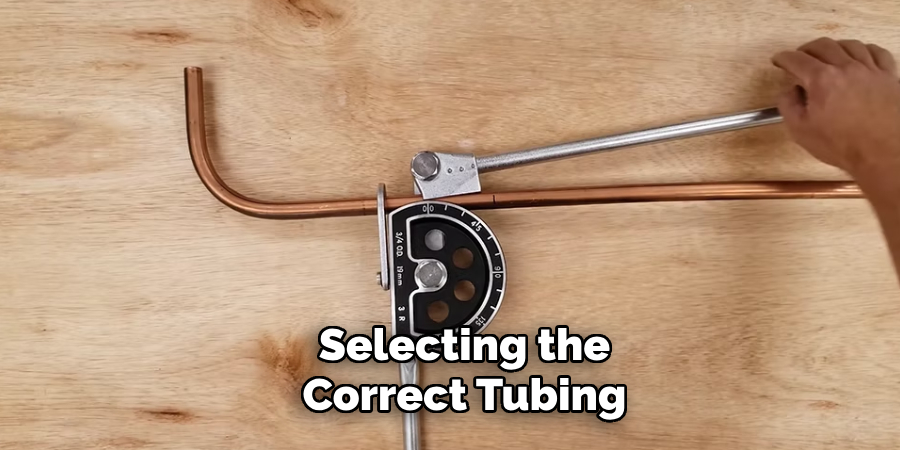
Step 1: Prepare the Tubing
Begin by selecting the correct tubing for your project and ensuring it is compatible with your tube bender. Inspect the tubing for any defects, such as cracks or dents, which could weaken its structure during bending.
Use a measuring tool to mark the exact point where the bend will start, ensuring accuracy. Clear the tubing of any debris or dirt that might interfere with the bending process. This step sets the foundation for a smooth and precise operation.
Step 2: Prepare the Tube Bender
Set up the tube bender on a stable and level surface to ensure it does not move during the operation. Check the tube bender for any visible damage or wear and ensure all components, such as the rollers, dies, and guides, are in good working condition. Select the appropriate die for the tubing size and securely attach it to the bender.
Adjust the machine settings, if necessary, to match the desired bending radius and angle. Make sure all parts are tightened properly before proceeding to ensure a safe and accurate bending process.
Step 3: Insert the Tubing
Place one end of the tubing between the rollers and dies, making sure it is aligned with the center mark. The other end should be extended out from the machine and ready to receive the bend.
Ensure that both ends of the tubing are firmly held in place by adjusting any supporting brackets or clamps if necessary.
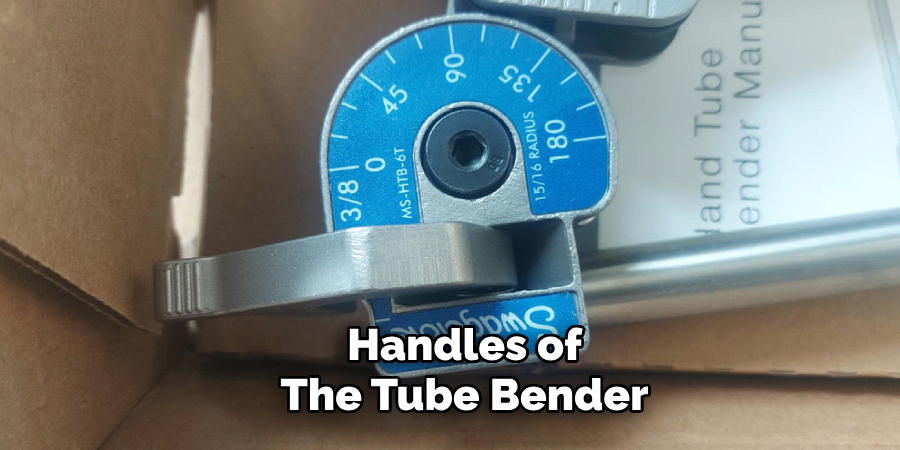
Step 4: Begin Bending
With a firm grip on both handles of the tube bender, start rotating them in a smooth and continuous motion. Use your dominant hand to turn the main bending wheel while using your non-dominant hand to guide and support the tubing.
As you approach the desired angle, use slight adjustments and pressure to finesse the bend until it reaches the desired radius.
Step 5: Check Angles with a Protractor
After completing the bend, use a protractor or angle-measuring tool to confirm that the tubing has been bent to the desired angle. Place the protractor against the bent section of the tubing, ensuring it is properly aligned for accurate measurement.
If the angle is incorrect, carefully make small adjustments using the tube bender, taking care not to overbend or damage the tubing. Verifying the angle at this stage is crucial for maintaining precision in your project.
Step 6: Release Pressure and Remove Tubing
Once you’ve achieved the desired angle and radius, stop rotating the handles and release any pressure on the tubing by moving them away from each other.
Carefully remove the bent tubing from between the dies, ensuring not to disturb its shape.
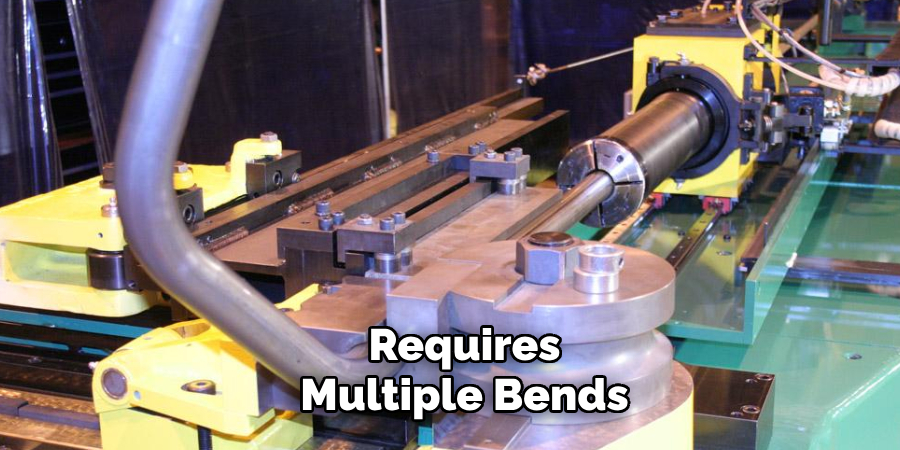
Step 7: Repeat for Additional Bends
If your project requires multiple bends, repeat the process for each additional bend. Begin by measuring and marking the next bend point on the tubing, ensuring proper spacing and alignment between bends. Reinsert the tubing into the tube bender, aligning it carefully with the marked point. Follow the same bending steps as before, maintaining precision and control at every stage.
For complex projects involving multiple bends, double-check the alignment and angles after each bend to avoid errors or misalignment in the final structure. Taking your time during this step will help ensure the overall quality and accuracy of your finished piece.
Step 8: Clean Up and Store the Tube Bender
Once you have completed all necessary bends, clean up any debris or scraps from your work area. Properly store the tube bender in a dry and secure location to protect it from damage until its next use.
Following these steps on how to use tube bender will help you use a tube bender effectively and safely, allowing you to create precise bends for your metal tubing projects efficiently. Remember to always read the manufacturer’s instructions and safety precautions before using any tools. Happy bending!
Common Mistakes to Avoid
Using the Wrong Type of Tubing
One of the most common errors is selecting tubing that is incompatible with the tube bender or the project requirements. Using tubing that is too thick, too thin, or made of a material that is not suitable for bending can lead to poor results or even damage the tubing.
Skipping Measurements
Failing to measure and mark the tubing accurately can result in imprecise bends, misalignment, or an entirely incorrect final product. Always take the time to carefully measure and double-check your marks before beginning the bending process.
Overbending or Underbending
Applying too much or too little force while bending can result in angles that do not meet your specifications. Overbending can weaken or distort the tubing, while underbending may require additional adjustments that can compromise the quality of the work.
Neglecting the Tube Bender’s Condition
Using a broken or poorly maintained tube bender can lead to inconsistent results or even accidents. Always inspect the machine for wear or damage before use, and make sure that all parts are functioning properly.
Ignoring Safety Precautions
Failing to wear proper safety gear or not securing the tube bender on a stable surface can increase the risk of injury. Always prioritize safety by wearing gloves, safety glasses, and sturdy shoes while operating the tool.
Rushing the Process
Hurrying through the bending process can lead to mistakes such as inaccurate angles, uneven bends, or inadvertently damaging the tubing. Take a steady and deliberate approach to ensure high-quality results.
By avoiding these common mistakes, you can streamline the bending process and achieve precise and professional outcomes for your tubing projects.
Maintenance and Care of Tube Benders
Proper maintenance and care of your tube bender will not only ensure accurate results but also prolong its lifespan. Here are some essential tips for keeping your tube bender in top condition:
- Regularly clean the machine by wiping it down with a damp cloth after use.
- Lubricate moving parts, such as rollers and handles, to prevent wear and improve performance.
- Store the tube bender in a dry location to prevent rust or corrosion.
- Inspect and replace any worn or damaged components, such as dies or guides, before using the tool again.
By following these simple maintenance practices, you can continue to enjoy precise bends from your tube bender for years to come.
Frequently Asked Questions
Q1: What Materials Can Be Bent With a Tube Bender?
A1: Tube benders are designed to bend various types of metal tubing, such as copper, aluminum, brass, and steel. It is essential to choose the appropriate type of tubing for your project and ensure compatibility with the tube bender.
Q2: Can a Tube Bender Be Used for Conduit?
A2: While some tube benders may be able to bend conduit, it is not recommended as they are designed specifically for metal tubing and may result in damage or inaccurate bends.
Q3: Is There a Limit on Tubing Length for Use with a Tube Bender?
A3: The length of tubing that can be bent depends on the capacity of your specific tube bender. Check the manufacturer’s instructions for guidance on maximum lengths.
Conclusion
Learning how to use a tube bender effectively is an essential skill for anyone working with metal tubing. By following these step-by-step instructions on how to use tube bender, you can achieve accurate and professional results while ensuring safety in your projects.
Remember always to wear proper safety gear, select the appropriate materials and equipment, and take your time for precise bends without compromising structural integrity. With practice, using a tube bender will become second nature, and you’ll be able to tackle more complex projects confidently. So go ahead and bend those tubes with confidence! Happy bending!
About the Author
Adrian Green is a passionate woodworking enthusiast who has dedicated his life to the craft of woodworking. From his early days working alongside his father in the family woodworking shop, Adrian has honed his skills and developed a deep love for creating beautiful, functional pieces with his hands. As the voice behind The Woodenify Blog, he shares his knowledge, tips, and inspiration with fellow woodworkers of all skill levels, helping them build confidence in their abilities while learning new techniques.
Professional Focus
- Specializes in DIY woodworking projects, from furniture making to home décor.
- Provides step-by-step guides, tips, and practical tutorials for woodworkers at any skill level.
- Focused on empowering readers with confidence and knowledge through easy-to-follow instructions and hands-on techniques.
- Passionate about building a community where makers can share, learn, and grow together in the world of woodworking.
Education History
University of Craft and Design – Bachelor of Fine Arts (BFA) in Woodworking and Furniture Design
Woodworking Apprenticeships – Gained extensive hands-on experience through various workshops and mentorships with seasoned craftsmen, refining carpentry and furniture-making skills.
Expertise
- DIY woodworking, carpentry, furniture making, and home décor projects.
- Creating clear, accessible tutorials and guides for beginner to advanced woodworkers.
- Helping readers experience the satisfaction and fulfillment of turning raw materials into stunning finished products.