
Keeping your toilet clean is an essential part of maintaining a hygienic home. A toilet bowl brush is a simple yet effective tool designed to help you scrub away stains, remove buildup, and ensure your toilet remains fresh and sanitary. This guide will walk you through the proper steps of how to use toilet bowl brush effectively, ensuring your bathroom stays sparkling clean with minimal effort.
Why It’s Important to Use a Toilet Brush
Using a toilet brush correctly is crucial for maintaining both hygiene and the longevity of your bathroom fixtures. Improper cleaning techniques can leave behind harmful bacteria, stains, and unpleasant odors, which can compromise the cleanliness of your bathroom over time.
A properly used toilet brush not only ensures that your toilet remains spotless but also prevents the buildup of hard-to-remove mineral deposits and grime. Additionally, correct usage minimizes the risk of spreading germs to other surfaces, creating a safer and healthier environment for everyone in your household.
Tools and Supplies You’ll Need
Before you begin cleaning your toilet, gather the necessary tools and supplies to ensure the job is done effectively and efficiently. Here’s what you’ll need:
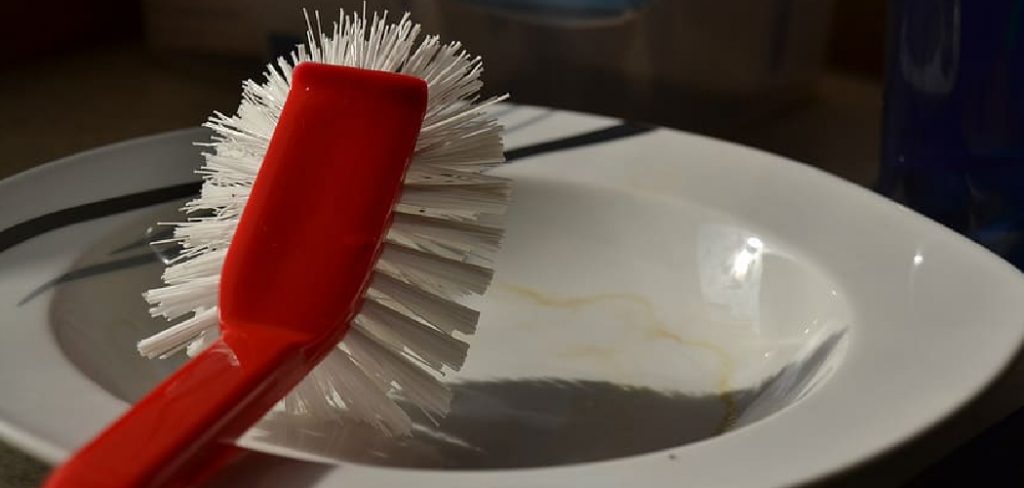
- Toilet Bowl Brush: A sturdy brush with stiff bristles for scrubbing stains and buildup.
- Toilet Bowl Cleaner: A specialized cleaner designed to break down stains, bacteria, and mineral deposits inside the bowl.
- Rubber Gloves: Gloves protect your hands from germs and cleaning chemicals.
- Disinfectant Spray or Wipes: For cleaning the exterior of the toilet and surrounding surfaces.
- Bucket of Warm Water (Optional): Can be used for rinsing the brush if needed.
- Paper Towels or Cleaning Cloths: For wiping down surfaces and keeping the area tidy.
Having these tools and supplies on hand will make the cleaning process easier and more thorough, ensuring your toilet and bathroom remain spotless and sanitary.
10 Methods How to Use Toilet Bowl Brush
1. Choosing the Right Toilet Brush
Before cleaning, it’s important to have the right type of toilet brush. There are different styles, including traditional bristle brushes, silicone brushes, and disposable wand systems. A sturdy handle, durable bristles, and a comfortable grip make scrubbing easier and more effective.
If possible, opt for a brush with a built-in holder that allows for proper drying and storage, reducing the risk of bacterial buildup. Choosing the right brush ensures efficient cleaning and long-term usability.
2. Preparing the Toilet for Cleaning
Before using the toilet brush, flush the toilet to remove any loose debris. If necessary, use a bucket to pour additional water into the bowl, lowering the water level so the cleaner has direct contact with the stains. This preparation step helps maximize the effectiveness of the cleaning solution and allows better scrubbing coverage when using the toilet brush.
3. Applying a Toilet Bowl Cleaner
To enhance cleaning, always use a toilet bowl cleaner in conjunction with the brush. Choose a liquid, gel, or foam cleaner designed to break down stains, kill bacteria, and deodorize. Apply the cleaner generously around the inner rim and walls of the bowl, ensuring even distribution. Let the cleaner sit for a few minutes before scrubbing to allow it to break down grime and stains effectively.

4. Scrubbing the Bowl Thoroughly
After the cleaner has had time to work, use the toilet brush to scrub the entire bowl. Start by scrubbing under the rim, where bacteria and grime tend to accumulate. Move the brush in circular motions to loosen stains and dirt. Scrub the sides and bottom of the bowl, applying extra pressure to any stained areas. Be thorough in your movements to ensure all parts of the bowl are properly cleaned.
5. Paying Attention to Hard-to-Reach Areas
Many toilet brushes have an angled design or extra bristles to help reach difficult spots, such as under the rim and around the flush holes. These areas are prone to mineral deposits, bacteria buildup, and stains. Use the tip of the brush to scrub under the rim and around the waterline, making sure to target any hidden grime that can cause odors and discoloration over time.
6. Flushing and Rinsing the Brush
Once the scrubbing process is complete, flush the toilet to rinse away the loosened debris and cleaner. At the same time, rinse the toilet brush by holding it under the clean water flow. Swirl the brush in the water and tap it against the bowl’s edge to remove excess dirt and cleaner residue. This step helps keep the brush as clean as possible before storage.

7. Disinfecting the Toilet Brush
To maintain hygiene and prevent bacteria from accumulating on the toilet brush, regular disinfection is necessary. After rinsing, prepare a disinfectant solution by filling a bucket with hot water and adding bleach or an antibacterial cleaner. Soak the brush in this solution for at least 15 minutes to kill germs. If using a silicone brush, a vinegar and baking soda solution can serve as a more eco-friendly alternative.
8. Drying and Storing the Brush Properly
A wet toilet brush can become a breeding ground for bacteria and mold. After disinfecting, shake off excess water and allow the brush to air dry before placing it back in its holder. If possible, store the brush in a well-ventilated area to speed up drying. A ventilated holder with drainage holes helps prevent moisture buildup, ensuring the brush remains clean between uses.
9. Replacing the Toilet Brush When Necessary
Even with proper care, toilet brushes wear out over time. If the bristles become frayed, discolored, or lose their effectiveness, it’s time to replace the brush. Using a worn-out brush can make cleaning less effective and may even spread bacteria rather than remove it. Most toilet brushes should be replaced every six months to a year, depending on usage and condition.
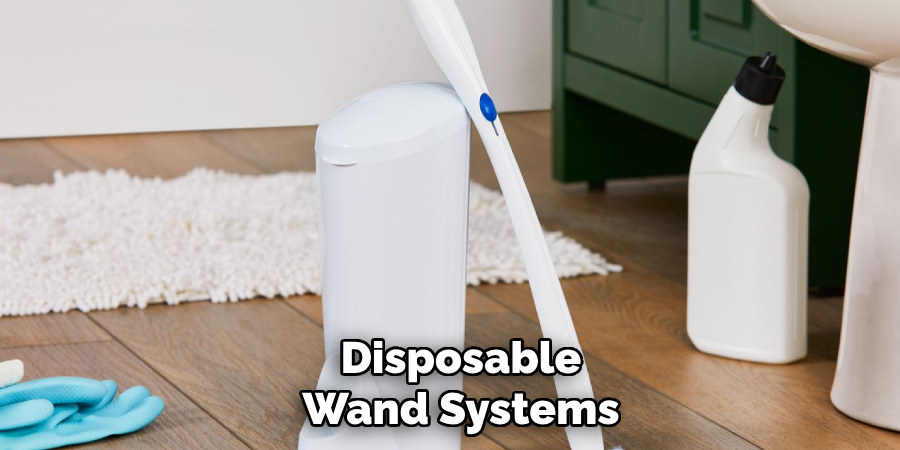
10. Using a Disposable Toilet Brush System
For those who prefer a more sanitary option, disposable toilet brush systems are an excellent choice. These systems feature preloaded cleaning pads or sponges that can be discarded after use, eliminating the need for storage and maintenance. Simply attach a fresh cleaning head, scrub the toilet, and dispose of the pad when finished. While slightly more expensive than traditional brushes, this method ensures a highly hygienic cleaning experience with minimal effort.
Things to Consider When Cleaning Your Toilet
Cleaning your toilet effectively requires careful consideration to ensure both hygiene and proper maintenance. Here are key points to keep in mind:
- Type of Cleaner Used: Always select a cleaner that is safe for your toilet’s material. Harsh chemicals can damage surfaces, while eco-friendly or non-toxic options might be safer for your household and the environment.
- Ventilation: Ensure your bathroom is well-ventilated while cleaning. Cleaning products often release fumes, so opening a window or using an exhaust fan helps circulate fresh air.
- Personal Protection: Wear gloves to protect your hands from harmful chemicals and bacteria. If using stronger cleaning solutions, consider wearing a mask to prevent inhaling fumes.
- Cleaning Frequency: Regular cleaning prevents tough stains and bacteria buildup. Cleaning your toilet weekly is generally recommended, but high-traffic bathrooms may require more frequent attention.
- Water Conservation: Be mindful of water usage. If possible, use minimal water during flushing, rinsing, or scrubbing steps to conserve this vital resource.
Taking these factors into account can make your toilet cleaning routine more efficient, safe, and environmentally conscious.
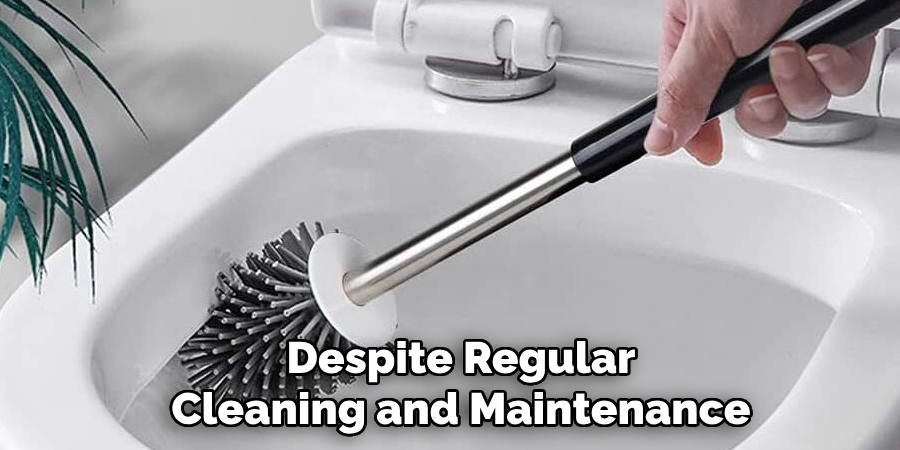
Troubleshooting Common Issues
Despite regular cleaning and maintenance, you may encounter common issues with your toilet that require troubleshooting. Here’s how to address some of these problems effectively:
- Persistent Stains: If tough stains remain after cleaning, try using a pumice stone or a paste made from baking soda and vinegar. Scrub gently to avoid scratching the bowl’s surface. For mineral deposits, a specialized descaler or a vinegar soak can help break down buildup.
- Bad Odors: Lingering odors may indicate trapped grime or bacteria under the rim or along the waterline. Use a stiff-bristled brush to clean these hidden areas thoroughly. Adding a few drops of essential oil to the toilet bowl after cleaning can also help freshen the air.
- Slow Flushing: A slow or incomplete flush could be caused by clogged flush holes under the rim or a partial blockage in the trap or pipes. Use a brush or a wire hanger to clear debris from flush holes, and consider using a drain snake or a toilet plunger for deeper clogs.
- Leaking Base: If water pools around the base of your toilet, check for a worn wax ring or loose bolts securing the toilet to the floor. Replacing the wax ring or tightening bolts usually resolves the issue. If the problem persists, consult a professional plumber.
- Constant Running Water: A running toilet often results from a malfunctioning flapper, float, or fill valve. Inspect these components inside the tank and adjust, clean, or replace them as needed. Replacing a worn-out flapper is an inexpensive and common fix.
Conclusion
Using a toilet bowl brush correctly and maintaining it properly ensures a consistently clean and hygienic bathroom. From selecting the right brush to thorough scrubbing, disinfecting, and storage, each step plays a role in effective toilet cleaning.
By following these methods, you can keep your toilet free from stains, bacteria, and unpleasant odors while prolonging the life of your cleaning tools. Thanks for reading, and we hope this has given you some inspiration on how to use toilet bowl brush!
About the Author
Adrian Green is a passionate woodworking enthusiast who has dedicated his life to the craft of woodworking. From his early days working alongside his father in the family woodworking shop, Adrian has honed his skills and developed a deep love for creating beautiful, functional pieces with his hands. As the voice behind The Woodenify Blog, he shares his knowledge, tips, and inspiration with fellow woodworkers of all skill levels, helping them build confidence in their abilities while learning new techniques.
Professional Focus
- Specializes in DIY woodworking projects, from furniture making to home décor.
- Provides step-by-step guides, tips, and practical tutorials for woodworkers at any skill level.
- Focused on empowering readers with confidence and knowledge through easy-to-follow instructions and hands-on techniques.
- Passionate about building a community where makers can share, learn, and grow together in the world of woodworking.
Education History
University of Craft and Design – Bachelor of Fine Arts (BFA) in Woodworking and Furniture Design
Woodworking Apprenticeships – Gained extensive hands-on experience through various workshops and mentorships with seasoned craftsmen, refining carpentry and furniture-making skills.
Expertise
- DIY woodworking, carpentry, furniture making, and home décor projects.
- Creating clear, accessible tutorials and guides for beginner to advanced woodworkers.
- Helping readers experience the satisfaction and fulfillment of turning raw materials into stunning finished products.