
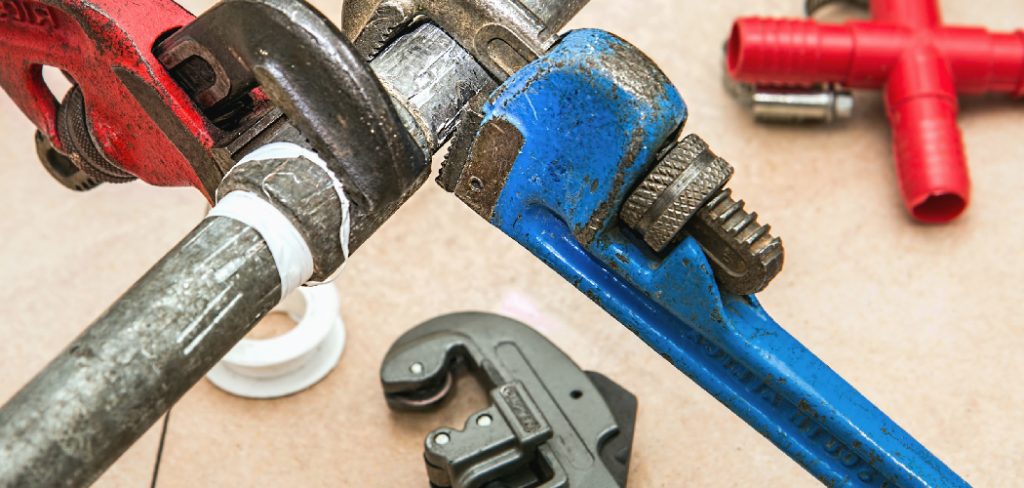
Plumbing pipe furniture, also known as Teflon tape or thread seal tape, is a crucial tool used to ensure leak-proof seals on threaded pipe joints. It is a thin, flexible material that is wrapped around pipe threads before connecting them. This tape helps to create a tight seal and makes it easier to disassemble pipes if needed. Whether you’re a professional plumber or a DIY enthusiast, understanding how to use plumbing tape properly can save you time, effort, and prevent potential leaks.
What is Plumbing Tape?
Plumbing tape, often referred to as Teflon tape or PTFE (polytetrafluoroethylene) tape, is a versatile and essential tool used in plumbing and pipework. It comes in the form of a thin, white film tape that is non-stick, resilient, and resistant to high temperatures and chemicals. Its main purpose is to seal threaded connections in plumbing systems by filling any gaps between the threads, preventing leaks caused by water, gas, or other substances. Plumbing tape is particularly effective for threaded joints as it not only enhances sealing but also makes disassembly easier during repairs or adjustments.
Available in a variety of thicknesses and grades, plumbing tape can be used in both residential and commercial applications, making it a staple for anyone working on pipe connections.
Importance of Using Plumbing Tape
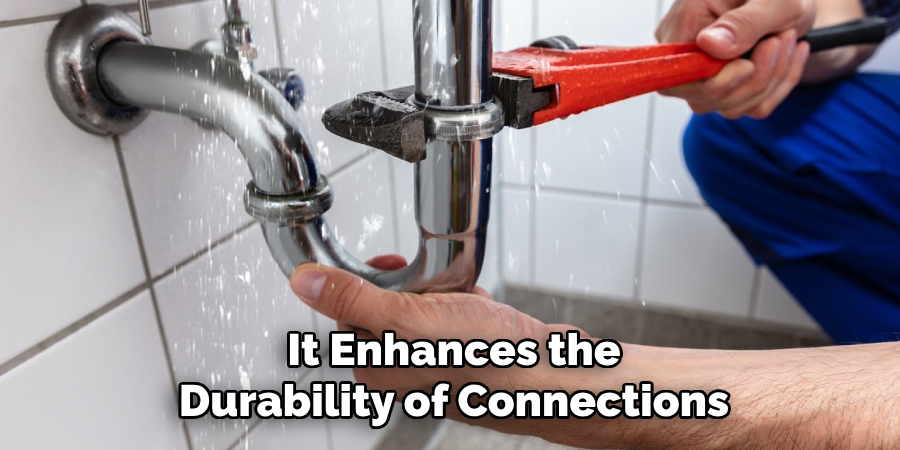
Using plumbing tape is essential for creating secure and reliable pipe connections. Its primary purpose is to seal the threads of pipes, preventing leaks that could lead to water wastage or damage to surrounding structures. Plumbing tape also acts as a lubricant, making it easier to tighten threaded connections without risking damage to the threads. Additionally, it enhances the durability of connections, reducing the chances of wear and tear over time.
For both small repairs and large plumbing installations, plumbing tape provides an affordable and effective solution to maintain the integrity of pipe joints and ensure a long-lasting, watertight setup.
Types of Plumbing Tape
There are several types of plumbing tape designed for specific applications, ensuring the right match for various plumbing needs:
- PTFE Tape (Thread Seal Tape) – The most common type, this tape is used for sealing threaded connections to prevent leaks. It is available in standard white for general use and in thicker grades, like yellow or pink, for gas and water lines requiring higher durability.
- Gas Line Tape – Specifically designed for use with gas pipes, this tape is often yellow and has a thicker, denser composition to withstand the demands of gas connections and ensure a secure, leak-proof seal.
- High-Density Plumbing Tape – Suitable for applications requiring greater resistance to pressure and temperature, this tape offers enhanced durability for industrial or high-performance plumbing needs.
- Silicone Repair Tape – Unlike traditional thread seal tapes, silicone repair tape is self-fusing and is ideal for emergency plumbing fixes, providing a quick, temporary seal for leaks in hoses or pipes.
Each type of plumbing tape serves a unique purpose, making it essential to select the correct tape for any particular application to ensure the best results and long-term reliability.
10 Methods How to Use Plumbing Tape
1. Wrap the Tape in the Direction of the Threads
One of the most common mistakes made by beginners is wrapping the plumbing tape in the wrong direction. To ensure a proper seal, the tape must be applied in the same direction that the fitting will be turned to tighten—usually clockwise. If you wrap it counterclockwise, the tape will unravel as you screw the parts together, making it ineffective. Hold the pipe in your left hand and wrap the tape with your right, starting at the pipe’s tip and moving toward the base. This ensures that the tape stays tight as the threads engage.
2. Clean the Threads Before Applying Tape
For plumbing tape to stick and seal properly, the threads of the pipe or fitting must be clean and dry. Wipe away any dirt, grease, oil, or old tape using a rag or paper towel. If there is leftover thread sealant or stubborn debris, use a wire brush or small utility knife to carefully remove it. Ensuring a clean surface will help the tape bond better with the metal or plastic and reduce the risk of leaks caused by improper sealing.
3. Use the Right Type of Plumbing Tape for the Job
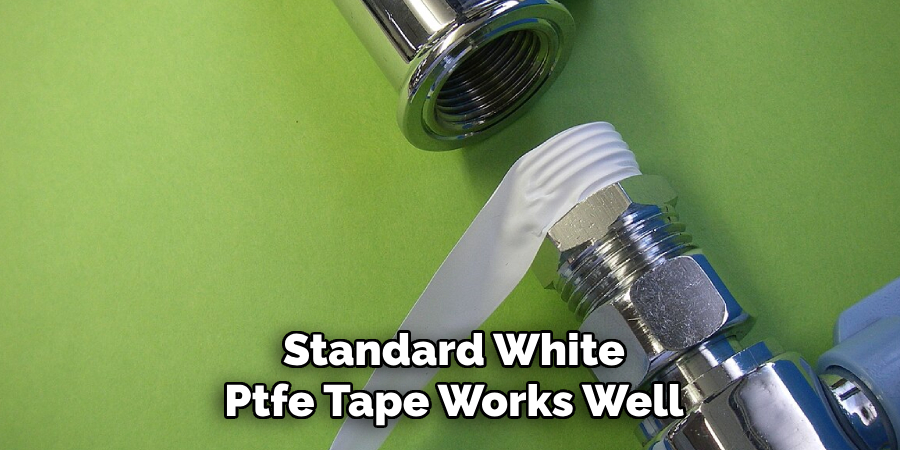
Not all plumbing tapes are created equal. Standard white PTFE tape works well for most residential water supply lines, but for gas lines or larger fittings, you’ll need a specific type. Yellow Teflon tape is designed for gas connections, while pink tape is thicker and better suited for heavy-duty water lines. Always check the label and choose the appropriate tape for the job to ensure safety and effectiveness. Using the wrong kind may not provide an adequate seal or could even violate local building codes.
4. Wrap the Tape Around the Threads 3 to 5 Times
Applying the correct number of wraps is critical. Too few, and the seal may be weak; too many, and the threads might not tighten properly. A good rule of thumb is to wrap the tape around the male threads 3 to 5 times. Start at the end of the threads, making sure to cover them fully but not overhanging the edge. Overhanging tape can tear off during installation and clog fixtures or valves. Finish your wrap by pressing the loose end of the tape into the threads to hold it in place.
5. Combine Tape with Pipe Dope for Tough Applications
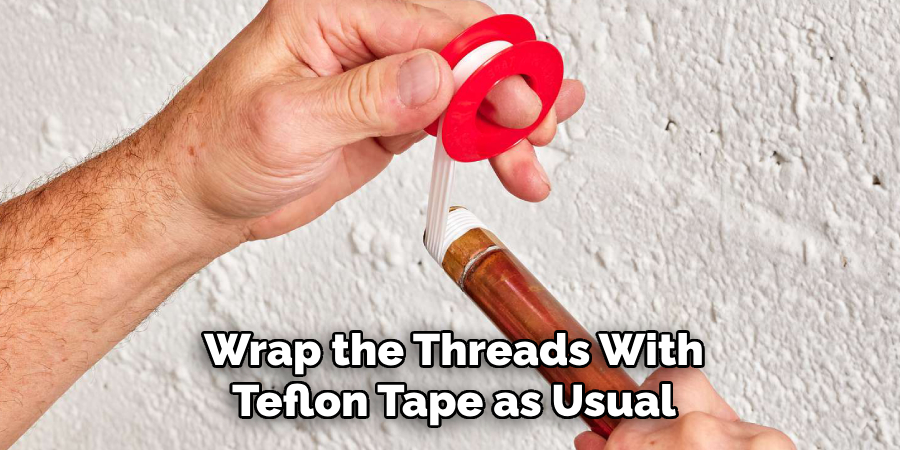
In high-pressure applications or when working with old, worn threads, using plumbing tape in combination with pipe dope (thread sealant paste) can offer added protection. First, wrap the threads with Teflon tape as usual, then apply a thin coat of pipe dope over the tape. This dual-sealing method helps ensure a watertight connection and compensates for any irregularities in the threading. Just be sure the products are compatible and rated for the specific type of line—water, gas, or air—that you’re sealing.
6. Use Teflon Tape on Shower Heads and Hose Fittings
Threaded connections in the bathroom, such as shower heads and handheld shower hoses, often benefit from the use of Teflon tape. These fixtures are prone to leaks if not properly sealed. Wrap the threads on the shower arm or hose adapter with Teflon tape and screw the fitting on tightly by hand or with a wrench if necessary. This helps prevent slow drips that could cause mold or water stains over time. Be cautious not to overtighten, as it may damage plastic components.
7. Seal Pipe Threads on Outdoor Faucets and Hose Bibs
Outdoor plumbing fittings, like hose bibs or irrigation connectors, are exposed to temperature fluctuations and debris, making leak prevention essential. Wrap plumbing tape on the male threads of these fittings to prevent leaks and prolong the life of the connection. Since these parts often connect to hoses and temporary attachments, a tight seal with tape helps reduce wear and protects against rust and freezing damage. Choose a weather-resistant or thicker version of tape for enhanced durability in outdoor settings.
8. Apply Tape to Air Compressor and Pneumatic Connections
Plumbing tape isn’t just for water. It also works on threaded air fittings in compressors, air tools, and pneumatic systems. In this context, leaks can reduce system efficiency and safety. To use tape on air fittings, apply it exactly as you would with water pipes—clean the threads, wrap them 3 to 5 times clockwise, and screw the connection tight. Use a tape rated for high pressure and air, often identified as “pink” or “gray” PTFE tape, depending on the application and pressure range.
9. Avoid Using Tape on Compression or Flare Fittings
While Teflon tape is versatile, it’s not suitable for every type of plumbing joint. Compression fittings and flare fittings, which rely on metal-to-metal contact and compression to form a seal, should not be wrapped with tape. Adding tape to these fittings can interfere with their ability to seal properly and may actually cause leaks. Always identify the fitting type before applying tape. If it’s not a threaded male connection, tape may not be necessary—or appropriate.
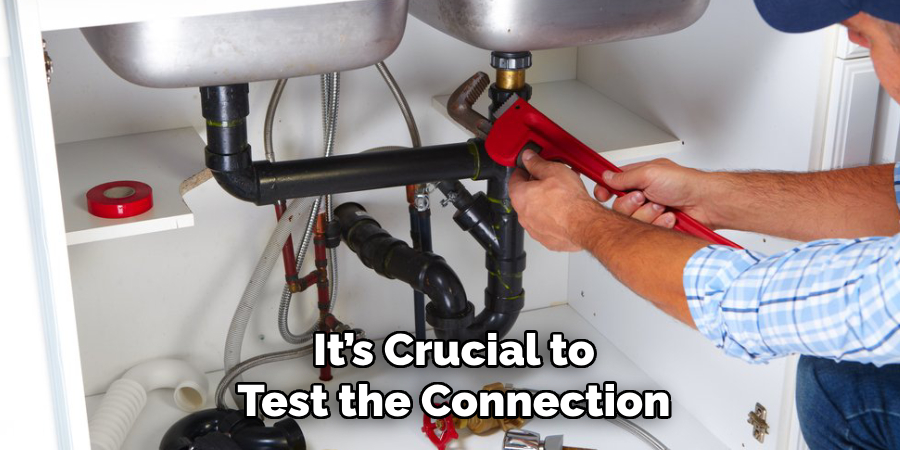
10. Test the Seal After Assembly
After applying plumbing tape and completing the installation, it’s crucial to test the connection. Turn on the water or air supply and check for any signs of leaking around the joint. If you see bubbles, drips, or moisture, turn off the supply and inspect the connection. You may need to disassemble the joint, clean it, and reapply the tape. Never assume that the tape alone will guarantee a perfect seal—visual confirmation and testing are essential steps in ensuring your work holds up under pressure.
Conclusion
Plumbing tape may seem like a humble material, but when used correctly, it provides a powerful and reliable seal for countless household and industrial applications. Mastering these ten methods—from proper wrapping direction to choosing the right tape type—will help you avoid common pitfalls, improve the durability of your plumbing repairs, and prevent water damage and costly service calls. Be sure to follow all instructions on how to use plumbing tape carefully, and always consult an expert when in doubt.
About the Author
Adrian Green is a passionate woodworking enthusiast who has dedicated his life to the craft of woodworking. From his early days working alongside his father in the family woodworking shop, Adrian has honed his skills and developed a deep love for creating beautiful, functional pieces with his hands. As the voice behind The Woodenify Blog, he shares his knowledge, tips, and inspiration with fellow woodworkers of all skill levels, helping them build confidence in their abilities while learning new techniques.
Professional Focus
- Specializes in DIY woodworking projects, from furniture making to home décor.
- Provides step-by-step guides, tips, and practical tutorials for woodworkers at any skill level.
- Focused on empowering readers with confidence and knowledge through easy-to-follow instructions and hands-on techniques.
- Passionate about building a community where makers can share, learn, and grow together in the world of woodworking.
Education History
University of Craft and Design – Bachelor of Fine Arts (BFA) in Woodworking and Furniture Design
Woodworking Apprenticeships – Gained extensive hands-on experience through various workshops and mentorships with seasoned craftsmen, refining carpentry and furniture-making skills.
Expertise
- DIY woodworking, carpentry, furniture making, and home décor projects.
- Creating clear, accessible tutorials and guides for beginner to advanced woodworkers.
- Helping readers experience the satisfaction and fulfillment of turning raw materials into stunning finished products.