
A drain auger, commonly called a plumbing snake, is a versatile tool designed to tackle tough clogs in sinks, tubs, and shower drains. Unlike chemical cleaners that can damage your pipes over time, a drain auger provides a safer and more eco-friendly way to remove stubborn blockages caused by hair, soap scum, and small debris. Its slender, flexible cable is ideal for navigating through narrow pipes to break apart or extract clogs effectively.
This article focuses on providing a comprehensive step-by-step guide on how to use drain auger with handle, making it an invaluable resource for DIY homeowners. Using an auger correctly ensures better results and minimizes the risk of damage to plumbing systems. By mastering this simple yet effective tool, you can save time, money, and effort while maintaining a healthy, functional drainage system in your home.
Understanding How a Drain Auger Works
What is a Drain Auger?
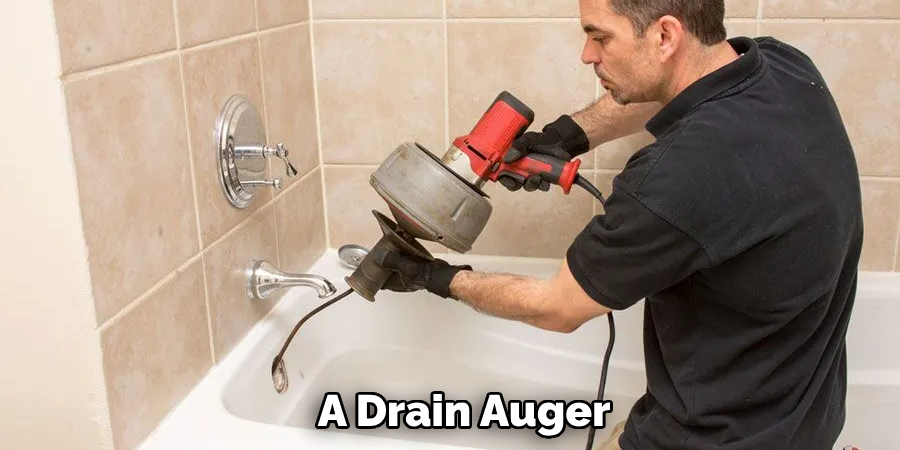
A drain auger, a plumber’s snake, is a specialized tool designed to remove blockages from pipes and drains. It consists of a long, coiled wire cable with a corkscrew tip at one end and a rotating handle at the other. This design allows the tool to effectively maneuver through pipes and directly address the source of the clog.
How It Works
Using a drain auger is relatively simple yet highly effective. The coiled cable is manually fed into the clogged drain, and as the handle is rotated, the corkscrew tip digs into or hooks onto the clog. This motion breaks apart the blockage or retrieves it, restoring proper drainage. Its flexibility ensures easy navigation through tight curves and bends within the plumbing system.
Types of Drain Augers
- Hand-Crank Augers: These manual versions are best suited for household jobs, such as clearing clogs in sinks, tubs, and shower drains. They are easy to operate and ideal for most minor to moderate blockages.
- Power Augers: Equipped with a motor, these are designed to tackle deeper or more stubborn clogs, such as those located in the main sewer line. Power augers are more powerful but are typically used by professionals or experienced DIYers.
Tools and Safety Precautions
When using a drain auger, having the right tools and following safety measures is essential to ensure both effectiveness and personal safety.
Tools Needed
- Hand-crank drain auger: The primary tool for removing small to moderate clogs.
- Bucket for catching debris: Useful to collect water or waste pulled out of the drain.
- Rubber gloves and safety goggles: Protect your hands and eyes from dirt, debris, and potential splashes while working.
Safety Precautions
- Avoid excessive force: Using too much force when operating the auger can damage or even puncture your pipes, leading to costly repairs. Work slowly and deliberately.
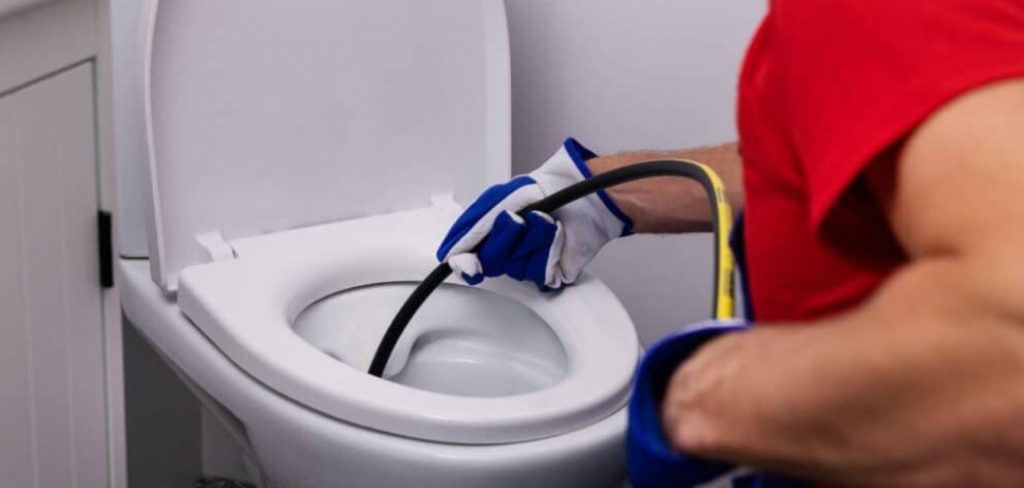
- Don’t use on toilets: Toilets require a specialized tool called a toilet auger to handle clogs effectively and without damaging the fixture. Stick to sink, tub, or shower drains when using a hand-crank auger.
- Flush after chemical cleaners: If you’ve already applied a chemical drain cleaner, make sure to thoroughly flush the drain with water before inserting the auger. This reduces the risk of chemical splashes irritating your skin or eyes.
By preparing the necessary tools and following these precautions, you can confidently tackle clogged drains while ensuring the process is safe for both you and your plumbing system.
How to Use Drain Auger with Handle: Step-by-Step Guide
Step 1: Prepare the Work Area
Before starting, make sure the work area is ready. Place a bucket under the drain if you’re working under a sink to catch any water or debris. If the drain has standing water, remove it as much as possible— this improves visibility and reduces mess.

Step 2: Insert the Auger into the Drain
Begin by slowly feeding the auger cable into the drain opening. Push the cable gently into the pipe until you feel resistance. This resistance typically indicates the presence of a clog. Be cautious and avoid forcing the cable too aggressively to prevent potential damage to the pipe.
Step 3: Rotate the Handle to Break the Clog
Once the auger cable reaches the clog, start turning the handle clockwise. This action drills the auger into the clog or hooks onto it. Maintain steady pressure as you rotate, but do not apply excessive force. The aim is to dislodge or pull apart the clog effectively while minimizing any risk to your plumbing system.
Step 4: Retrieve the Auger and Debris
After successfully breaking through the clog, carefully pull the auger cable back out of the drain. Inspect the tip of the auger for any clog materials, such as hair, food particles, or grease. Remove this debris and dispose of it properly to avoid reintroducing it into your plumbing.
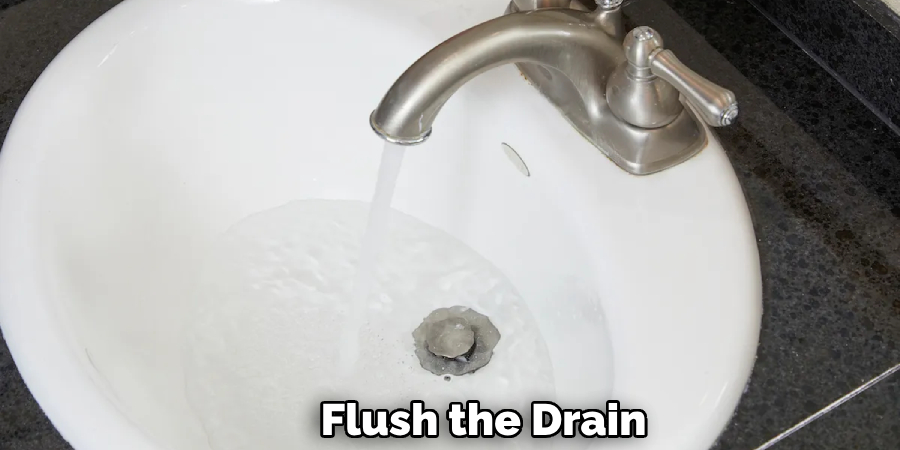
Step 5: Flush the Drain
Finally, flush the drain with hot water to remove any lingering debris and ensure the pipe is thoroughly cleaned. Run the water for a few minutes and observe the drainage flow to confirm the clog has been completely cleared. Repeat the process if necessary.
Troubleshooting Common Issues
Even with proper technique, using a drain auger may present some challenges. Here are solutions to common issues you might encounter:
Auger Won’t Go Down the Drain
If the auger cable refuses to progress into the drain, check that you’re using the correct size auger for your pipe. An auger that is too large or too stiff may not be suitable. Wiggle the cable gently while repositioning it to find the right angle. A light twisting motion may also help maneuver the cable past tight areas or initial bends.
Handle is Difficult to Turn
When the handle becomes hard to rotate, the auger might be encountering a tight clog or a sharp bend in the pipe. To address this, slowly back the cable up a few inches and then try again, using steady and controlled pressure. For particularly stubborn clogs, repeat this process a few times to allow the cable to grip or break through the obstruction gradually.
Drain is Still Clogged After Using Auger
If the drain remains slow or clogged after following the auger process, start by flushing it with a generous amount of hot water to clear away small residual debris. If this doesn’t resolve the issue, repeat the entire process to target any remaining blockages. However, persistent clogs often indicate that the obstruction is deeper within the plumbing system. For these cases, a longer auger or assistance from a plumbing professional may be required.
By troubleshooting effectively, you can tackle most drain issues with confidence and minimal disruption.
Cleaning and Storing the Drain Auger
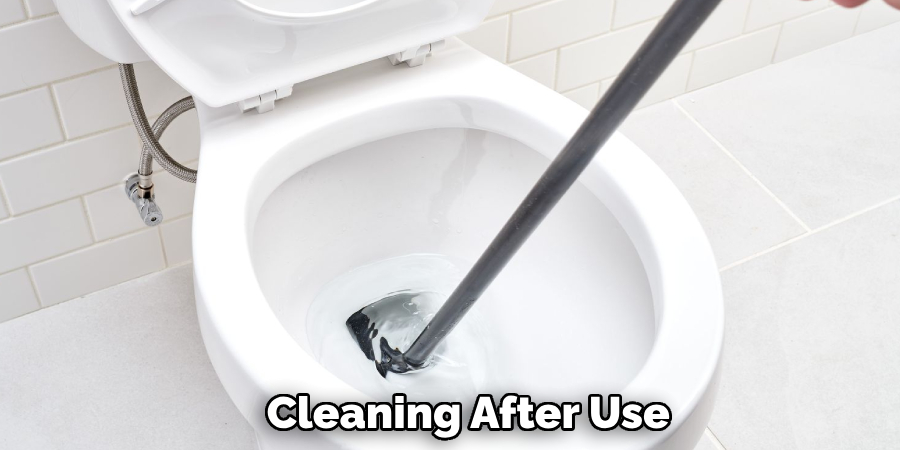
Cleaning After Use
After using the drain auger, it is essential to clean it thoroughly to maintain its functionality and extend its lifespan. Start by wiping down the cable with a disinfectant or soapy water to remove dirt, grime, and any residue from the clog. Pay special attention to the auger’s tip, as it often collects stubborn debris. Once cleaned, rinse with clean water if necessary, and make sure to dry the auger completely to prevent rust or corrosion from forming on the cable or other metal parts.
Proper Storage
Proper storage is equally important for the longevity of your drain auger. After ensuring the cable is dry, coil it neatly to avoid tangles and damage. Store the auger in a dry place, away from direct moisture or humid environments, which could lead to rust over time. Use a storage box or bag to keep it organized and protected from dirt or accidental damage. Following these simple steps will keep your drain auger in good condition, ready for use whenever the next plumbing issue arises.
Preventing Future Drain Clogs
Preventing future drain clogs requires consistent maintenance and mindful habits to keep your plumbing in optimal condition. One effective approach is conducting regular maintenance by flushing your drains weekly with hot water or a combination of baking soda and vinegar. This method helps break down grease buildup and removes minor blockages before they accumulate into major clogs.
Another preventative measure is using drain covers to catch hair, food particles, and other debris before they enter your pipes. These inexpensive tools are easy to install and can significantly reduce the risk of blockages, especially in bathroom and kitchen drains.
Disposing of grease and food waste properly is essential to maintaining clog-free pipes. Avoid pouring cooking grease, oils, or coffee grounds down the sink, as they can solidify and create stubborn clogs over time. Instead, dispose of these materials in the trash or designated recycling containers where applicable. By adopting these simple yet effective strategies, you can minimize the risk of future drain clogs, reducing the need for disruptive and costly plumbing repairs.
Conclusion
Using a drain auger remains one of the most effective tools for tackling stubborn clogs in your plumbing system. Understanding How to use drain auger with handle properly is crucial to avoid damaging your pipes and ensuring efficient clog removal. Following the correct technique can effectively address blockages without professional assistance.
Regular drain maintenance, along with preventative measures like drain covers and proper disposal of waste, is equally important in reducing the likelihood of future clogs. With consistent care and the right tools, you can maintain clear, functional drains and avoid costly plumbing repairs.
About the Author
Adrian Green is a passionate woodworking enthusiast who has dedicated his life to the craft of woodworking. From his early days working alongside his father in the family woodworking shop, Adrian has honed his skills and developed a deep love for creating beautiful, functional pieces with his hands. As the voice behind The Woodenify Blog, he shares his knowledge, tips, and inspiration with fellow woodworkers of all skill levels, helping them build confidence in their abilities while learning new techniques.
Professional Focus
- Specializes in DIY woodworking projects, from furniture making to home décor.
- Provides step-by-step guides, tips, and practical tutorials for woodworkers at any skill level.
- Focused on empowering readers with confidence and knowledge through easy-to-follow instructions and hands-on techniques.
- Passionate about building a community where makers can share, learn, and grow together in the world of woodworking.
Education History
University of Craft and Design – Bachelor of Fine Arts (BFA) in Woodworking and Furniture Design
Woodworking Apprenticeships – Gained extensive hands-on experience through various workshops and mentorships with seasoned craftsmen, refining carpentry and furniture-making skills.
Expertise
- DIY woodworking, carpentry, furniture making, and home décor projects.
- Creating clear, accessible tutorials and guides for beginner to advanced woodworkers.
- Helping readers experience the satisfaction and fulfillment of turning raw materials into stunning finished products.