
Are you tired of standing in a pool of water every time it rains because your garage drain is clogged? Don’t worry, unclogging a garage drain is easier than you think.
Keeping your garage drain clear and functional is essential to prevent water buildup, foul odors, and potential damage to your property. Over time, debris such as dirt, leaves, oil, and other contaminants can accumulate, leading to blockages that impede proper drainage. Learning how to unclog a garage drain efficiently can save you time, money, and the hassle of dealing with water-related issues. Additionally, taking preventive measures can help you avoid future clogs and keep your garage drain in optimal condition.
This guide on garage floor drain ideas will walk you through the steps needed to identify and address blockages, ensuring your garage stays clean, dry, and safe. Let’s get started!
What Are the Benefits of Unclogging a Garage Drain?
Unclogging your garage drain offers numerous benefits, including:
- Prevents Water Damage: A clogged drain can lead to water pooling in your garage, causing damage to the flooring and walls. Unclogging the drain can prevent this type of water damage.
- Improves Safety: Standing water in your garage can create slippery surfaces, increasing the risk of slips and falls. Removing blockages from your drain reduces the chance of accidents and potential injuries.
- Saves Money: Ignoring a clogged garage drain can result in costly repairs or replacements. Addressing the issue promptly can save you money on potential damages.
- Increases Functionality: You can use your garage space to its full potential with a clear and functional drain. This is especially important if you use your garage for storage or as a workspace.
What Will You Need?
In order to unclog your garage drain, you will need a few items:
- Plunger: A plunger is an essential tool for unclogging drains. It uses suction and pressure to dislodge blockages.
- Snake/Auger: If the plunger does not work, a snake or auger can be used to push through the obstruction manually.
- Bucket: It’s always a good idea to have a bucket on hand when dealing with clogged drains. This will help catch any excess water that may come out during the unclogging process.
- Protective Gear: Depending on how severe the clog is, you may want to wear protective gear such as gloves
10 Easy Steps on How to Unclog a Garage Drain
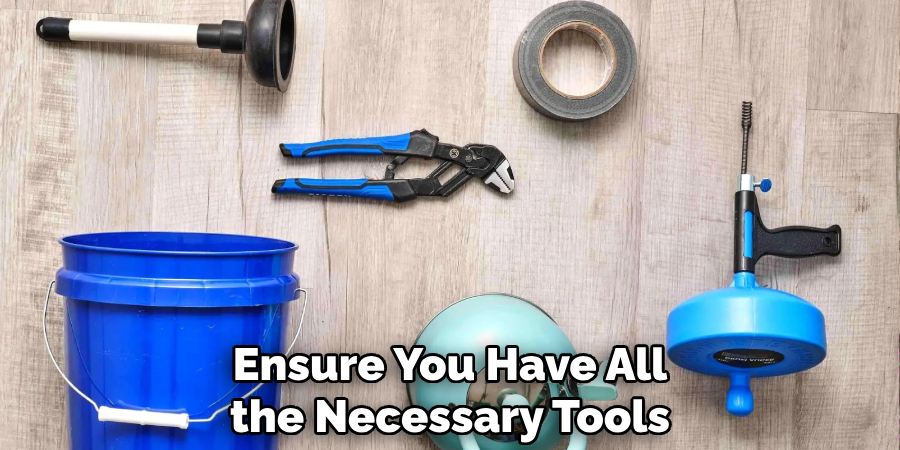
Step 1. Gather Your Tools:
Ensure you have all the necessary tools ready before unclogging the drain. You will need a plunger, a snake or auger, a bucket, and protective gear like gloves. These items will ensure the process goes smoothly and you won’t have to halt midway to search for equipment. Preparing ahead can save valuable time and effort.
Step 2. Clear the Area Around the Drain:
Remove any objects, debris, or furniture that might obstruct access to the drain. This will give you ample space to work and prevent any items from getting wet or damaged. Sweep away dirt, leaves, or any other loose material around the drain opening to ensure a clean working area. A clear space helps you focus on unclogging the drain efficiently and minimizes the risk of further blockage.
Step 3. Remove the Drain Cover:
Use a screwdriver or the appropriate tool to remove the drain cover carefully. If the cover is secured with screws, ensure you place them in a safe spot to avoid losing them. For covers that are stuck due to rust or grime, gently pry them loose with a flathead screwdriver or similar tool, taking care not to damage the surrounding area. Once the cover is removed, inspect it for any accumulated debris and clean it thoroughly before setting it aside. This step provides clear access to the drain for further cleaning or unclogging.
Step 4. Use a Plunger:
Using a plunger can be an effective way to dislodge clogs in your drain. Begin by placing the plunger’s rubber cup directly over the drain opening, ensuring a tight seal around the edges. Add some water to the area if needed, as this helps create the suction necessary for effective plunging. Firmly push the handle up and down in a steady, rhythmic motion for about 20-30 seconds. Afterward, lift the plunger to check if the clog has been cleared. Repeat the process if the water still isn’t draining correctly. If successful, run hot water down the drain to flush out any remaining debris.
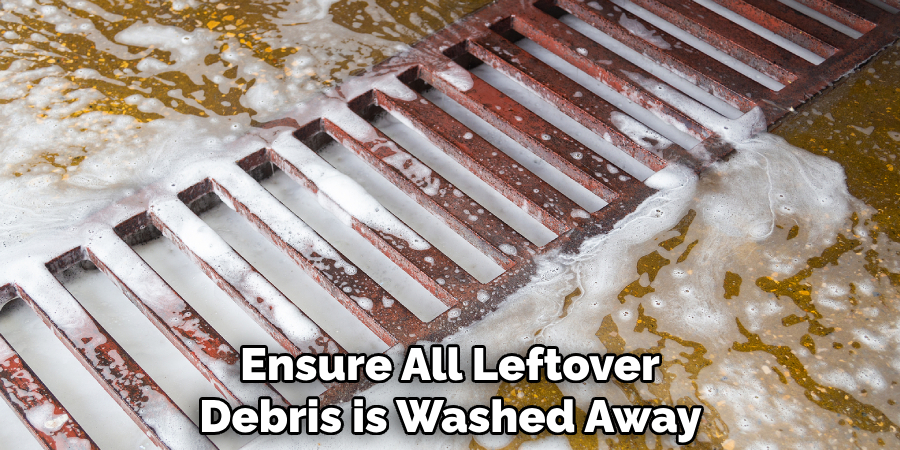
Step 5. Flush with Water:
Once the clog has been dislodged, it’s important to thoroughly flush the drain to ensure all leftover debris is washed away. Run hot water down the drain for several minutes to clear any remaining particles and to help prevent future blockages. For an added measure, you can mix a solution of vinegar and baking soda before flushing with hot water, as this can break down residue and leave the drain clean.
Step 6. Insert the Snake or Auger:
Carefully insert the snake or auger into the drain, following the manufacturer’s instructions. Push it gently but firmly, rotating the handle as you feed it into the pipe. This rotating motion helps the tool latch onto or break apart any stubborn clogs deeper in the drain. Continue advancing the snake or auger until you feel resistance or reach the blockage. Once the clog is caught or cleared, slowly pull the tool back out, removing any debris it has collected. Be prepared to clean off the snake or auger afterward, as it may carry grime and residue from the drain.
Step 7. Identify and Remove Larger Obstructions:
If the drain remains clogged after using a snake or auger, a larger obstruction may prevent water from flowing properly. Begin by inspecting the drain opening with a flashlight to check for any visible blockages, such as hair, grease, or foreign objects. If you see a larger obstruction, use a pair of pliers or a specialized drain grabber tool to extract it carefully. Work slowly and methodically to avoid pushing the obstruction further into the pipe.
Once the larger debris is removed, run water through the drain to ensure the flow is restored. Repeat the process if necessary until the drain is apparent.
Step 8. Run Hot Water Again:
Once the obstruction has been cleared, slowly pour a pot of hot water into the drain. This helps to flush away any remaining residue that could lead to future clogs. Ensure the water flows smoothly without backing up, confirming the blockage has been fully eliminated. For optimal results, you can repeat this step to ensure the drain is thoroughly rinsed.
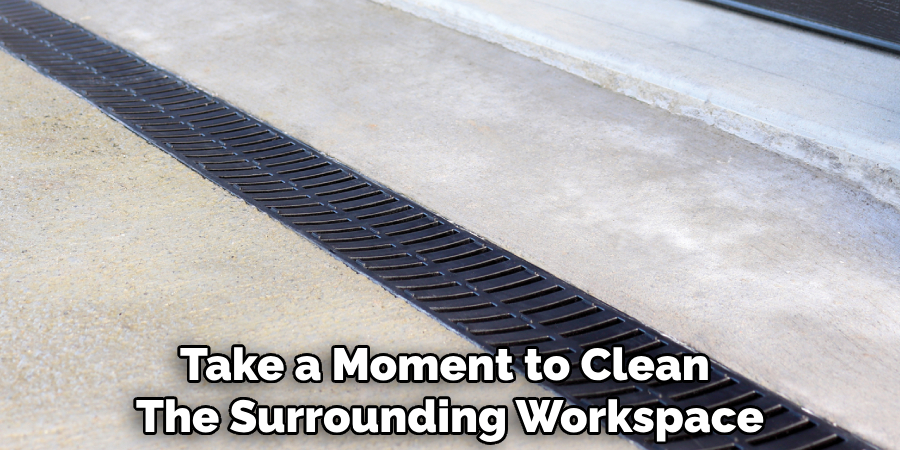
Step 9. Clean the Area:
Once the drain is functioning properly, take a moment to clean the surrounding workspace. Wipe down any countertops, sink surfaces, or tools that may have come into contact with debris or cleaning solutions during the process. Properly dispose of used cleaning materials, such as gloves or rags, and wash your hands thoroughly. Keeping the area tidy ensures hygiene and keeps everything looking neat and ready for future use.
Step 10. Prevent Future Clogs:
To prevent future clogs, take proactive measures to keep your drains clear and functioning efficiently. Avoid pouring grease, coffee grounds, or food scraps down the sink, as these are common culprits of blockages. Use a drain strainer to catch debris and regularly clean it out to maintain proper water flow. Additionally, flush your drains with hot water once a week to help dissolve any buildup, and consider using a natural drain cleaner periodically to prevent residue accumulation.
Following these simple tips can prevent costly and inconvenient clogs in your drains.
5 Things You Should Avoid
- Using Chemical Drain Cleaners
While it might seem like a quick fix, chemical drain cleaners can damage pipes over time, especially if they are made of metal or older materials. They can also create hazardous fumes and are not eco-friendly.
- Forcing Objects Down the Drain
Avoid using random objects like coat hangers or rods to push down or remove blockages. This can damage the pipes or push the clog further down, making it more challenging to remedy.
- Ignoring Safety Precautions
Always wear protective gear such as gloves and goggles when dealing with clogged drains, especially if you’re working with tools or substances. Skipping this step can lead to injuries or exposure to harmful materials.
- Using Excessive Water Pressure
A high-pressure hose might seem like a solution, but excessive force can damage pipes, create leaks, or worsen the clog. Stick to gentle methods to avoid further complications.
- Neglecting Regular Maintenance
One of the biggest mistakes is waiting until the drain is completely clogged. Ignoring routine maintenance, such as cleaning strainers and flushing the drain, can lead to more severe blockages and costly repairs.
Conclusion
How to unclog a garage drain can seem daunting, but with the right approach and preventive measures, it becomes manageable.
Begin by identifying the cause of the blockage and using appropriate tools, such as a plunger, drain snake, or natural cleaning solutions, to address the issue. Avoid excessive water pressure or harsh chemicals to prevent pipe damage. Regular maintenance, such as cleaning the drain and using strainers, is essential to minimize future clogs.
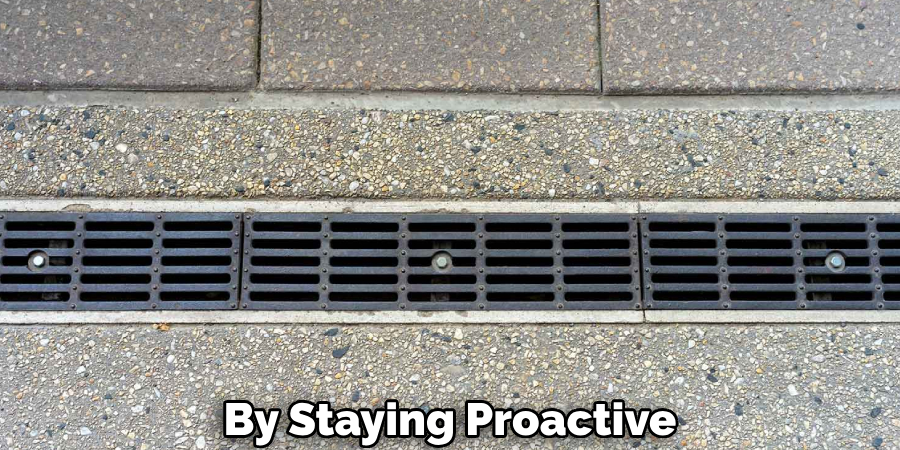
By staying proactive and tackling minor issues early, you can ensure your garage drain remains functional and free-flowing.
About the Author
Adrian Green is a passionate woodworking enthusiast who has dedicated his life to the craft of woodworking. From his early days working alongside his father in the family woodworking shop, Adrian has honed his skills and developed a deep love for creating beautiful, functional pieces with his hands. As the voice behind The Woodenify Blog, he shares his knowledge, tips, and inspiration with fellow woodworkers of all skill levels, helping them build confidence in their abilities while learning new techniques.
Professional Focus
- Specializes in DIY woodworking projects, from furniture making to home décor.
- Provides step-by-step guides, tips, and practical tutorials for woodworkers at any skill level.
- Focused on empowering readers with confidence and knowledge through easy-to-follow instructions and hands-on techniques.
- Passionate about building a community where makers can share, learn, and grow together in the world of woodworking.
Education History
University of Craft and Design – Bachelor of Fine Arts (BFA) in Woodworking and Furniture Design
Woodworking Apprenticeships – Gained extensive hands-on experience through various workshops and mentorships with seasoned craftsmen, refining carpentry and furniture-making skills.
Expertise
- DIY woodworking, carpentry, furniture making, and home décor projects.
- Creating clear, accessible tutorials and guides for beginner to advanced woodworkers.
- Helping readers experience the satisfaction and fulfillment of turning raw materials into stunning finished products.