
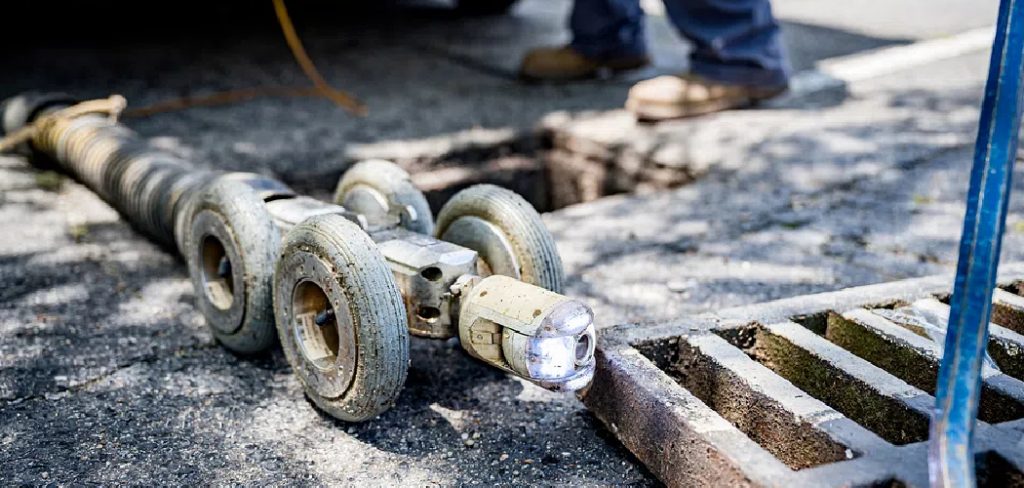
Are you facing issues with a clogged downspout drain? Don’t worry; you are not alone.
Clogged downspout drains can lead to several issues, including water pooling around your home’s foundation, damaged gutters, and even structural problems over time. Fortunately, addressing drain chain downspout ideas is a straightforward process that can save you from costly repairs down the road.
By identifying the blockage and using the right tools and techniques, you can restore proper drainage and ensure rainwater flows smoothly through your gutters. Additionally, regular maintenance and preventative measures can help prevent future clogs and maintain the overall health of your gutter system.
This guide on how to unclog a downspout drain will walk you through the steps needed to effectively unclog a downspout drain and keep your gutter system in top condition.
What Are the Causes of Downspout Clogs?
Several common causes of downspout clogs include debris buildup, animal nests, and blockages from plant roots. Leaves, twigs, and other organic matter can accumulate in your gutters and eventually make their way into the downspouts. This can be compounded by animal activity such as birds building nests or rodents stashing food in your gutters.
Plant roots can also contribute to clogged downspouts by growing into and obstructing water flow. This is more common with older homes where the gutter system may have been installed close to trees or shrubs.
What Will You Need?
To properly clean and maintain your gutters and downspouts, you will need a few basic tools:
- Ladder: A sturdy ladder that can safely reach the gutters is essential for this task. Make sure to follow proper ladder safety protocols.
- Work Gloves: You’ll want a pair of gloves to protect your hands from debris or sharp edges in the gutters.
- Garden Hose With Spray Nozzle Attachment: This will flush out the gutters and downspouts with water.
- Gutter Scoop or Trowel: This tool will help you remove leaves, twigs, and other debris from the gutters.
- Brush or Scrubber: A brush or scrubber can be used to clean the gutters more thoroughly, especially if there is built-up dirt or grime.
- Buckets: Have a few buckets on hand to collect debris as you clean out the gutters. This will make it easier to dispose of the waste later.
- Eye Protection: Wearing safety glasses or goggles is essential when cleaning gutters as debris and water may splash up into your eyes.
- Protective Clothing: Wear long-sleeved shirts, pants, and closed-toe shoes to protect yourself from scratches or cuts while working on the gutters.
8 Easy Steps on How to Unclog a Downspout Drain
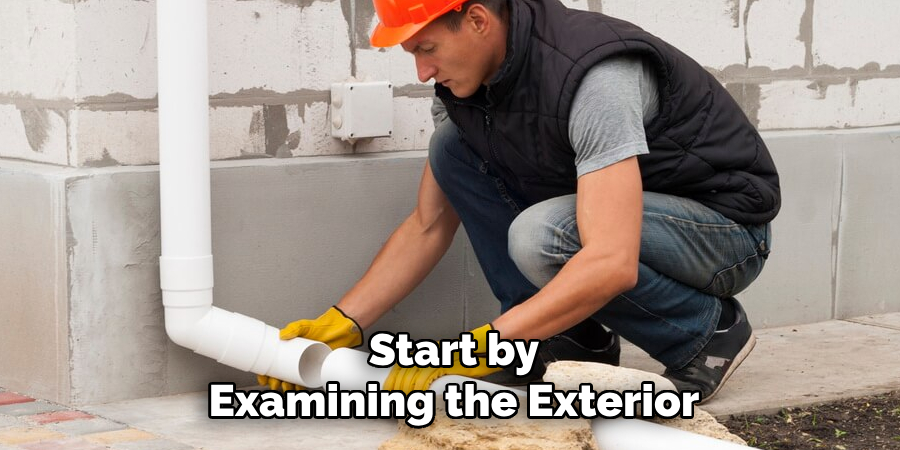
Step 1. Inspect the Downspout:
Start by examining the exterior of the downspout for visible signs of clogging, such as debris accumulation or water overflow. Carefully check where the downspout connects to the gutter and at ground level to identify potential problem areas.
If the blockage isn’t immediately visible, gently tap the downspout to listen for differences in sound; a dull thud might indicate a clogged section. Additionally, look for any damage or cracks in the downspout that could obstruct proper water flow or worsen the clogging issue. This initial inspection will help you determine the severity and location of the blockage before proceeding with unclogging steps.
Step 2: Clear the Blockage
To clear the blockage, use a garden hose to flush water through the downspout from the top. If the water doesn’t flow freely, use a plumber’s auger or a long, flexible drain snake to dislodge the clog.
Carefully insert the tool into the downspout and rotate it to break up the debris. Once the blockage loosens, remove the tool and flush the downspout with the hose to ensure water runs through unobstructed. Repeat the process as necessary until the clog is completely removed. Always handle tools with caution to avoid damaging the downspout.
Step 3: Inspect for Damage
After clearing the debris, carefully inspect the downspout for any signs of damage, such as cracks, rust, or loose connections.
Damaged sections can cause water to leak or improperly flow, leading to potential issues with your drainage system. If you identify any damage, repair or replace the affected parts promptly to ensure the downspout functions effectively and prevents water from accumulating near your foundation.

Step 4: Test the Downspout
Once the debris is cleared and necessary repairs are made, test the downspout to ensure it functions correctly. Use a garden hose to run water through the downspout, checking for smooth and unobstructed flow.
Watch for any signs of leaks or blockages along the length of the downspout. If water flows freely and drains correctly away from your home, the downspout is ready to handle rainfall effectively.
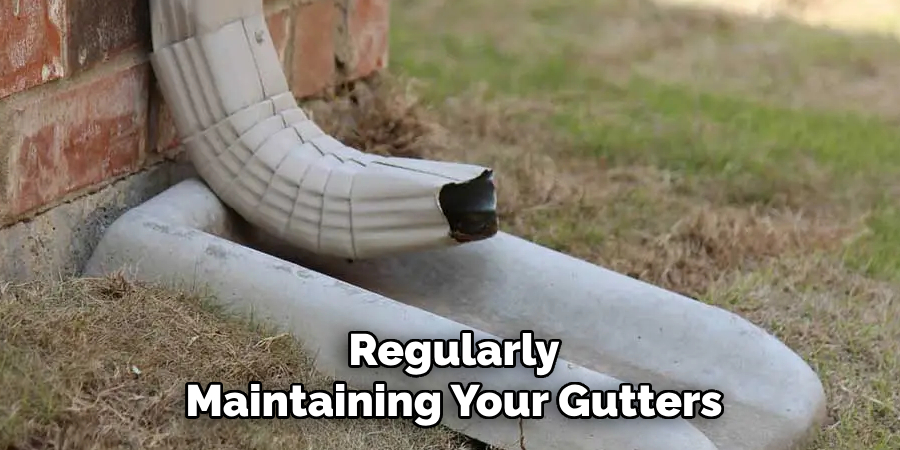
Step 5: Maintain Regularly
To keep your downspouts functioning efficiently, establish a regular maintenance schedule. Inspect and clean the downspouts at least twice a year, preferably in the spring and fall, or more often if you live in an area with heavy rainfall or falling debris.
Regular maintenance prevents clogs, reduces the risk of water damage, and ensures that your home’s drainage system remains in optimal condition.
Step 6: Test the Downspouts
Once the installation and cleaning are complete, testing your downspouts is essential to ensure proper functionality. Use a garden hose to run water through the gutters and downspouts, observing the flow. Check for any leaks, blockages, or improper drainage.
Address any issues immediately to prevent water accumulation around your home’s foundation. This step ensures that your downspouts effectively divert water away from your property.
Step 7: Perform Regular Maintenance
Establish a routine maintenance schedule to keep your gutters and downspouts functioning at their best. Regularly inspect and clean them, especially during seasons where debris accumulation is more likely, such as fall.
Address any minor damages promptly to prevent larger issues. Staying proactive with maintenance will help extend the lifespan of your gutters and protect your home from potential water damage.
Step 8: Install Gutter Guards
To further reduce debris accumulation and minimize the frequency of cleaning, consider installing gutter guards. These protective covers help block leaves, twigs, and other debris while still allowing water to flow through the gutter system.
Gutter guards come in various materials and designs, so choose one that best suits your needs and budget. Installing them can save time and effort in the long run, keeping your gutters more efficient and reducing the risk of clogs.
Following these steps and regularly maintaining your gutters can ensure proper drainage and protect your home from water damage.
5 Things You Should Avoid
- Using Excessive Force: Avoid too much pressure when removing blockages, as this can damage the downspout or connected gutter system. Instead, gently dislodge debris using appropriate tools like a plumber’s snake or a garden hose.
- Ignoring Safety Precautions: Never attempt to unclog a downspout without taking proper safety measures. This includes using a sturdy ladder, wearing gloves, and ensuring you have someone nearby to assist if needed.
- Using Harsh Chemicals: Avoid pouring corrosive or harsh chemicals down the drain. These substances can harm the environment and damage the pipes over time.
- Neglecting Regular Maintenance: Don’t wait until there’s a significant clog before taking action. Regular cleaning and inspection of gutters and downspouts can help prevent blockages before they become severe.
- Overlooking Potential Damage: Be careful not to ignore signs of wear and tear or structural issues while unclogging the drain. Cracks, rust, or loose connections should be addressed promptly to keep the system functioning correctly.
What are the Signs of a Clogged Drain?
Several signs may indicate a clogged drain, including:
- Slow Draining or Standing Water: If your sink, shower, or bathtub drains slowly or not at all, it could be a sign of a clog in the pipes.
- Unpleasant Odors: A buildup of debris and bacteria in a clogged drain can cause foul odors to emanate from your sink or shower.
- Gurgling Noises: When water tries to flow through a blocked pipe, it can create gurgling sounds as it struggles to pass through the obstruction.
- Multiple Fixtures Backing Up: If you have multiple drains in your home experiencing problems, it is likely due to a clog further down in the main sewer line.
If you notice any of these signs, it is essential to address them promptly. Ignoring a clogged drain can lead to more serious plumbing issues and potential water damage.
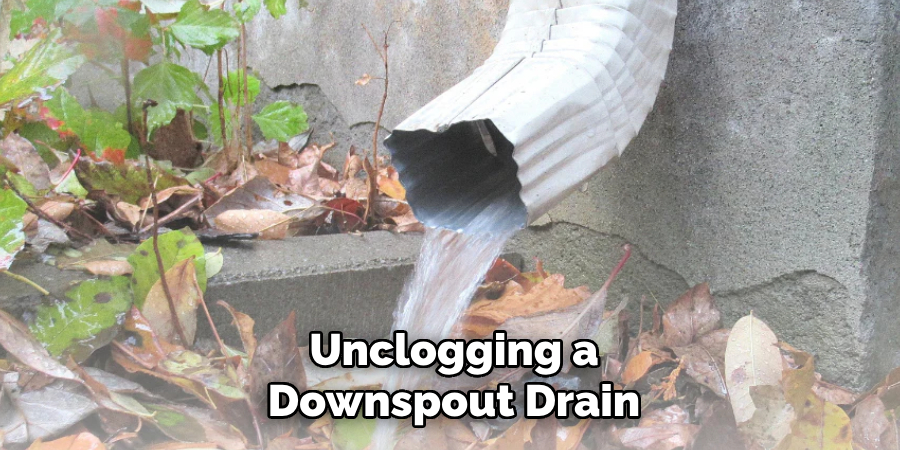
Conclusion
Unclogging a downspout drain is a task that requires attention and the right approach to prevent further damage.
Start by clearing any visible debris from the gutter and downspout opening. Use a plumber’s snake or a garden hose with a high-pressure nozzle to dislodge blockages within the drain. For stubborn clogs, consider using a wet/dry vacuum to suck out the obstruction. If these methods do not resolve the issue, it might be necessary to call a professional plumber to assess and address the problem safely. Regular maintenance and keeping the gutters clean can prevent future blockages and ensure your drainage system works effectively.
Hopefully, the article on how to unclog a downspout drain has been helpful in providing you with the necessary steps to take when faced with a clogged downspout.
About the Author
Adrian Green is a passionate woodworking enthusiast who has dedicated his life to the craft of woodworking. From his early days working alongside his father in the family woodworking shop, Adrian has honed his skills and developed a deep love for creating beautiful, functional pieces with his hands. As the voice behind The Woodenify Blog, he shares his knowledge, tips, and inspiration with fellow woodworkers of all skill levels, helping them build confidence in their abilities while learning new techniques.
Professional Focus
- Specializes in DIY woodworking projects, from furniture making to home décor.
- Provides step-by-step guides, tips, and practical tutorials for woodworkers at any skill level.
- Focused on empowering readers with confidence and knowledge through easy-to-follow instructions and hands-on techniques.
- Passionate about building a community where makers can share, learn, and grow together in the world of woodworking.
Education History
University of Craft and Design – Bachelor of Fine Arts (BFA) in Woodworking and Furniture Design
Woodworking Apprenticeships – Gained extensive hands-on experience through various workshops and mentorships with seasoned craftsmen, refining carpentry and furniture-making skills.
Expertise
- DIY woodworking, carpentry, furniture making, and home décor projects.
- Creating clear, accessible tutorials and guides for beginner to advanced woodworkers.
- Helping readers experience the satisfaction and fulfillment of turning raw materials into stunning finished products.