
Tiling a shower floor with a proper slope is an essential step in creating a functional and visually appealing bathroom. The slope ensures that water flows efficiently toward the drain, preventing pooling and potential water damage.
Whether you are a seasoned DIY enthusiast or tackling this as your first tiling project, understanding the basics of creating a waterproof and well-sloped surface is key to achieving a professional finish.
In this guide on how to tile shower floor with slope, we will walk you through the process, highlighting the tools, materials, and techniques needed to get the job done right. From sleek pebble finishes to classic subway patterns, there are countless tile shower floor ideas to elevate the style and safety of your bathroom.
Understanding the Basics of a Sloped Shower Floor
A sloped shower floor is integral to a well-functioning and durable shower. The slope, often referred to as the “pitch,” is designed to ensure that water flows naturally toward the shower drain, preventing puddling and reducing the risk of leaks or water damage. The ideal slope for a shower floor is typically 1/4 inch per foot, which allows water to drain efficiently without making the surface too steep or uncomfortable to stand on.
To create a proper slope, a shower floor must have a stable base, usually made of a mortar bed or pre-slope pan. These materials allow for precise shaping and ensure the slope remains consistent over time. Additionally, waterproofing is a critical component of the process. Layers of waterproof membrane or sealants protect the subfloor and surrounding structure from damage caused by moisture penetration. Understanding these fundamentals is essential before beginning any tiling project, ensuring that the shower floor is not only functional but also safe and long-lasting.
Tools and Materials Needed
- Tile (Typically, Small Mosaic Tiles Are Best for Slopes)
- Thin-set Mortar
- Notched Trowel
- Tile Spacers
- Level and Measuring Tape
- Rubber Float and Grout
- Wet Saw or Tile Cutter
- Waterproofing Membrane (E.g., Redgard or Schluter System)
- Drain Assembly and Flange
- Mortar Mix for Shower Base (if Building Slope Manually)
8 Step-by-Step Guidelines on How to Tile Shower Floor With Slope
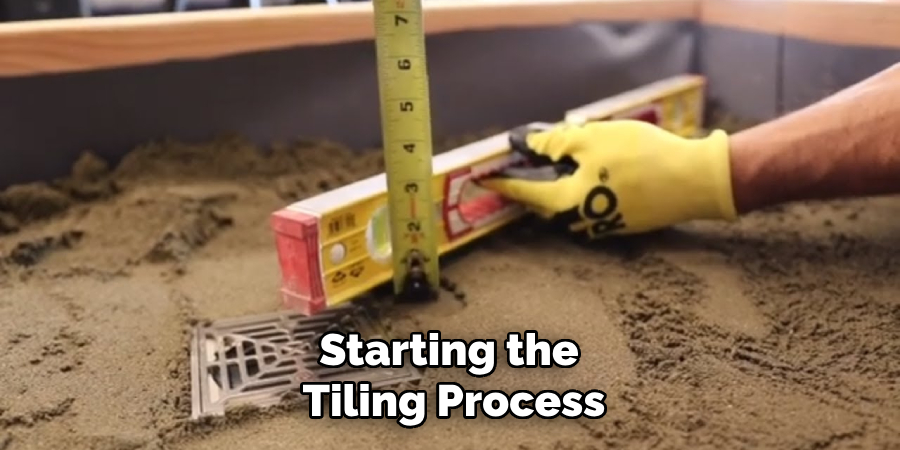
Step 1: Prepare the Shower Floor Surface
Before starting the tiling process, it is essential to ensure the shower floor surface is clean, level, and properly prepared. Begin by removing any debris, dirt, or existing adhesive from the surface. Inspect the base for cracks or imperfections, and repair them using appropriate filler or patching compound.
If you are building the slope manually, mix and apply the mortar to create a sloped base, ensuring the incline directs water toward the drain. Allow the mortar to cure completely before proceeding. Next, apply a waterproofing membrane to protect against water damage and ensure the longevity of your installation. Follow the manufacturer’s instructions carefully when applying the membrane, and allow it to dry thoroughly before moving to the next step.
Step 2: Apply Waterproofing Membrane
Once the mortar has cured and the sloped base is prepared, it’s time to apply the waterproofing membrane. Begin by selecting a high-quality waterproofing material suited for the specific requirements of your project. Roll out the membrane or apply the liquid waterproofing evenly across the surface, ensuring complete coverage, especially around corners and edges where water is more likely to seep through.
Use a brush or roller as recommended by the manufacturer, and ensure there are no gaps or bubbles in the membrane. Allow the waterproofing layer to dry thoroughly, following the drying time indicated in the product instructions. Proper application of the waterproofing membrane is crucial for preventing moisture infiltration and maintaining the integrity of the installation.
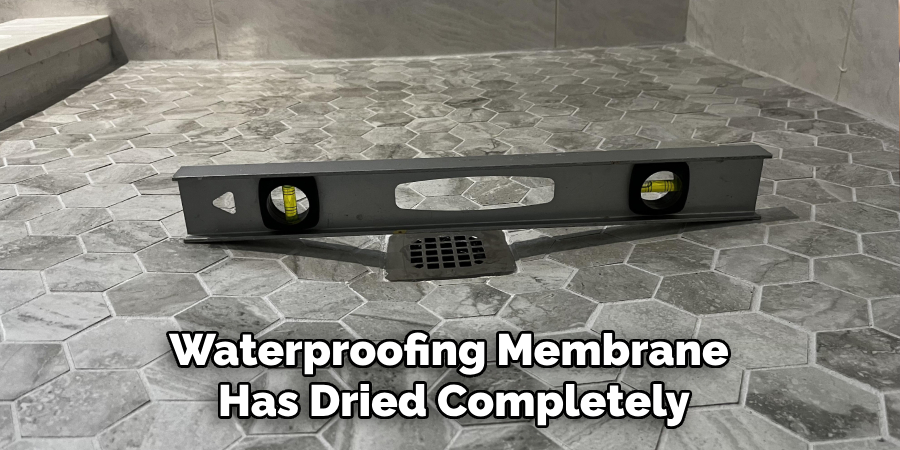
Step 3: Install Drain Assembly and Flange
Once the waterproofing membrane has dried completely, it is time to install the drain assembly and flange. Begin by positioning the drain over the designated area, ensuring it aligns correctly with the plumbing connections. Secure the drain assembly according to the manufacturer’s instructions, typically by fastening the screws or tightening the locking mechanism.
Next, attach the flange to create a watertight seal between the drain and the surrounding surface. Use a waterproof sealant around the edges of the flange for added protection against leaks. Verify that the drain is level and securely fitted before proceeding to the next step. Proper installation of the drain assembly and flange is essential for effective water drainage and long-term durability.
Step 4: Pour and Level Mortar Mix
Prepare the mortar mix according to the manufacturer’s instructions, ensuring the consistency is suitable for the application. Carefully pour the mortar mix onto the designated surface, spreading it evenly to create a solid and level base.
Use a trowel or similar tool to smooth the mortar, ensuring there are no air pockets or uneven areas. Check the level of the mortar using a spirit level, making any necessary adjustments to maintain a consistent slope toward the drain for proper water flow. Allow the mortar to cure as specified to ensure a sturdy foundation for the next stage of the installation.
Step 5: Lay Tiles
Once the mortar has cured, begin laying the tiles onto the prepared surface. Start by applying a layer of tile adhesive evenly across a small section of the mortar using a notched trowel. Carefully press each tile into place, ensuring they are aligned and spaced appropriately using tile spacers.

Work methodically in sections, checking the alignment and level of the tiles as you go. Adjust as needed to maintain a uniform appearance. After all the tiles are laid, allow the adhesive to set as directed before proceeding to the grouting stage.
Step 6: Grout
Once the tile adhesive has fully set, you can proceed to the grouting stage. Begin by mixing the grout according to the manufacturer’s instructions, ensuring a smooth and consistent texture. Using a rubber grout float, spread the grout diagonally across the tiles to work it into the joints.
Hold the float at a 45-degree angle to ensure the grout fills the spaces evenly. After applying, use a damp sponge to wipe away excess grout from the tile surfaces, while being careful not to disturb the grout in the joints. Rinse the sponge frequently and continue cleaning until the tiles are clean and the joints are smooth. Allow the grout to cure as specified in the instructions before applying a grout sealer to protect and extend its life.
Step 7: Sealing
Once the grout has fully cured, it’s time to apply a grout sealer to protect it from stains, moisture, and wear. Choose a sealer that is appropriate for your specific grout type and application area. Begin by applying the sealer carefully along the grout lines using a small brush, roller, or applicator bottle.
Work in small sections to ensure thorough coverage and avoid missing any spots. Wipe away any excess sealer from the tile surfaces with a clean cloth to prevent residue buildup. Allow the sealer to dry completely, as per the manufacturer’s instructions, before exposing the area to water or heavy use. This step will help maintain the longevity and appearance of your grout.
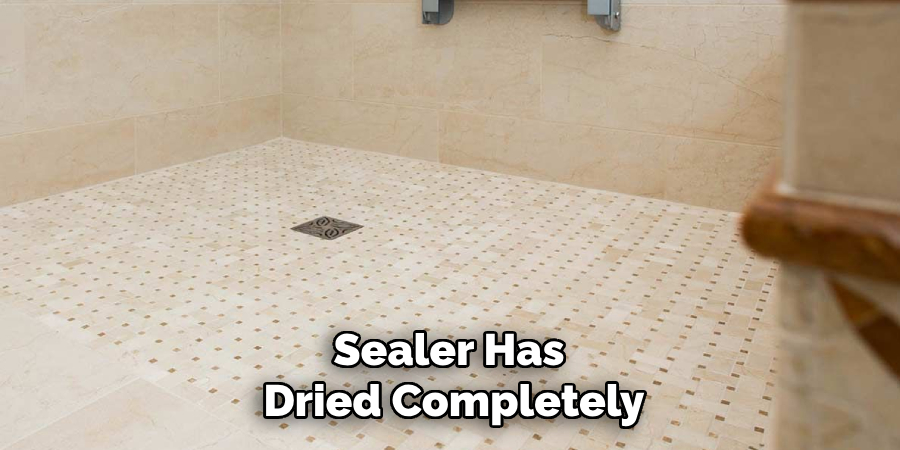
Step 8: Finishing Touches
Once the sealer has dried completely, inspect the grout lines and tile surface for any missed spots or imperfections. If necessary, apply a second coat of sealer for added protection, following the same process as before. After completing the sealing process, clean the surrounding area and remove any tools or materials used during the application. Finally, enjoy the refreshed appearance and enhanced durability of your grout, knowing it is protected from stains and moisture. Regular maintenance will help keep your grout looking its best for years to come.
Following these steps on how to tile shower floor with slope, you can now confidently tackle any bathroom renovation project with ease. However, there are a few additional tips to keep in mind for a successful tile installation.
Frequently Asked Questions
Q1: How Long Does It Take for the Mortar to Dry?
A1: The drying time of the mortar can vary depending on factors such as humidity and temperature. It is recommended to wait at least 24 hours before grouting.
Q2: Can I Use Any Type of Tile for a Shower Floor?
AA2: While most tiles are suitable for shower floors, it is important to choose a non-slip tile with a textured surface for safety. Porcelain, ceramic, and natural stone tiles are all good options.
Q3: How Do I Choose the Right Tile Spacers?
A3: The size of your tile spacers will depend on the desired grout line width. It is recommended to use 1/8 inch or smaller spacers for shower walls and floors.
Q4: Can I Install Tiles Over Existing Tiles?
A4: Yes, you can install new tiles over existing ones as long as they are still securely attached to the subfloor and there are no major cracks or damage.
Conclusion
Installing tiles can be a rewarding home improvement project that enhances the durability and aesthetic appeal of your space. By selecting the right materials, tools, and techniques, you can achieve a professional-looking finish while ensuring long-lasting results.
Always take the time to prepare the surface properly, follow installation best practices, and consult experts or guides when in doubt. With careful planning and attention to detail, your tiling project is sure to transform any room beautifully. Thanks for reading this article on how to tile shower floor with slope.
About the Author
Adrian Green is a passionate woodworking enthusiast who has dedicated his life to the craft of woodworking. From his early days working alongside his father in the family woodworking shop, Adrian has honed his skills and developed a deep love for creating beautiful, functional pieces with his hands. As the voice behind The Woodenify Blog, he shares his knowledge, tips, and inspiration with fellow woodworkers of all skill levels, helping them build confidence in their abilities while learning new techniques.
Professional Focus
- Specializes in DIY woodworking projects, from furniture making to home décor.
- Provides step-by-step guides, tips, and practical tutorials for woodworkers at any skill level.
- Focused on empowering readers with confidence and knowledge through easy-to-follow instructions and hands-on techniques.
- Passionate about building a community where makers can share, learn, and grow together in the world of woodworking.
Education History
University of Craft and Design – Bachelor of Fine Arts (BFA) in Woodworking and Furniture Design
Woodworking Apprenticeships – Gained extensive hands-on experience through various workshops and mentorships with seasoned craftsmen, refining carpentry and furniture-making skills.
Expertise
- DIY woodworking, carpentry, furniture making, and home décor projects.
- Creating clear, accessible tutorials and guides for beginner to advanced woodworkers.
- Helping readers experience the satisfaction and fulfillment of turning raw materials into stunning finished products.