
A hot water heater relief valve is an essential safety feature that helps prevent excessive pressure buildup inside the water heater. Regular testing of this valve is crucial to ensure it functions properly and protects your water heater from potential damage or safety hazards. This guide will walk you through the steps of how to test hot water heater relief valve.
Importance of Testing the Relief Valve
Testing the relief valve on your hot water heater is vital for maintaining the safety and efficiency of your system. Over time, sediment buildup, wear, or corrosion can cause the valve to malfunction, leaving your water heater vulnerable to dangerous pressure buildup. This failure could result in leaks, system damage, or even catastrophic tank explosions in extreme cases. Regular testing ensures that the valve is operating correctly, giving you peace of mind and preventing costly repairs or safety risks. By staying proactive, you can extend the lifespan of your water heater and keep your household safe.
Signs of a Faulty Relief Valve
Recognizing the signs of a faulty relief valve can help prevent serious issues with your hot water heater. One common sign is water leaking from the valve even when the system is not under excessive pressure, which may indicate a worn or damaged seal. Another indication is a complete lack of water release from the valve during testing, suggesting that it could be stuck or corroded. Strange noises, such as whistling or rattling near the valve, may also point to a problem. Additionally, if your water heater exhibits consistent high-pressure issues or frequent overheating, the relief valve might not be functioning properly.
If you notice any of these signs, it is important to address the problem promptly by cleaning, repairing, or replacing the faulty valve to avoid further damage or potential safety hazards.
Safety Precautions Before Testing
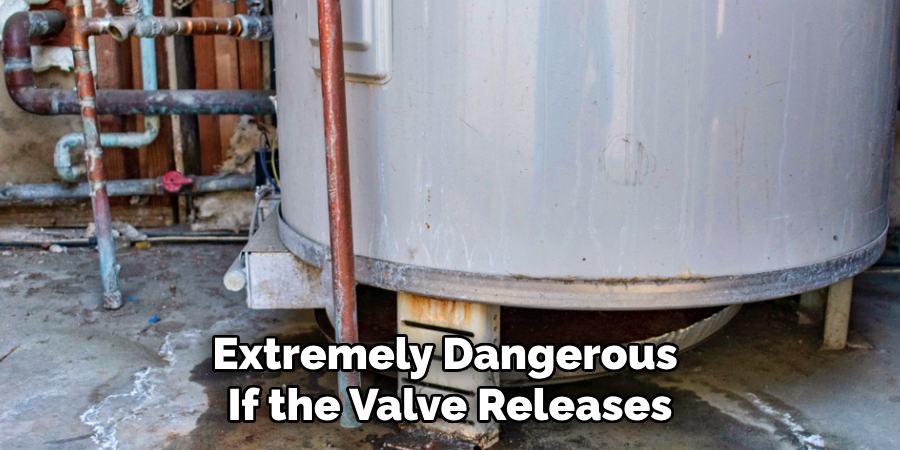
Before testing the relief valve on your hot water heater, it is essential to follow key safety precautions to prevent injury or damage. First, make sure to turn off the power supply to the water heater — switch off the breaker for electric models or set the gas control to “pilot” for gas heaters. Next, allow the water in the tank to cool down to avoid burns from hot water, which can be extremely dangerous if the valve releases unexpectedly. Place a bucket or container under the discharge pipe to catch any water that may be released during the test.
Additionally, inspect the area around the water heater for any visible signs of leaks or damage before proceeding. Lastly, ensure you are using protective gloves and eyewear, as hot water or steam could be released during the process. By taking these precautions, you can safely test the relief valve and maintain the integrity of your water heater system.
10 Methods How to Test Hot Water Heater Relief Valve
1. Understanding the Purpose of the Relief Valve
Before testing the relief valve, it is essential to understand its function. The temperature and pressure relief (TPR) valve is a safety device that prevents excess pressure buildup inside the water heater tank. If pressure becomes too high, the valve releases water to relieve stress and prevent potential explosions. Knowing the importance of this valve helps emphasize the necessity of regular testing to ensure it is functioning correctly.
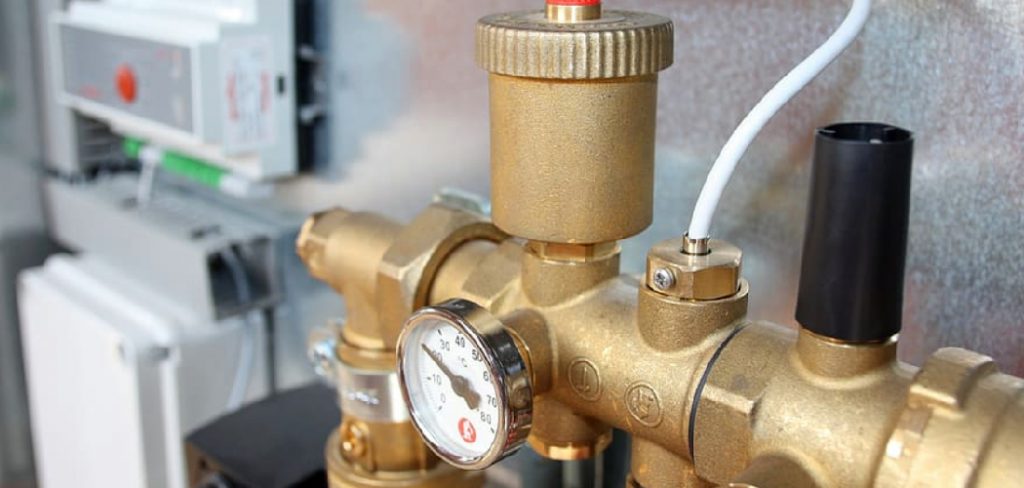
2. Locating the Relief Valve
The relief valve is typically located on the top or side of the water heater tank. It features a lever and a discharge pipe that directs released water safely downward. Identifying the exact location of this component is the first step in properly testing it. If your water heater does not have an external discharge pipe, consider adding one for added safety.
3. Turning Off the Power and Water Supply
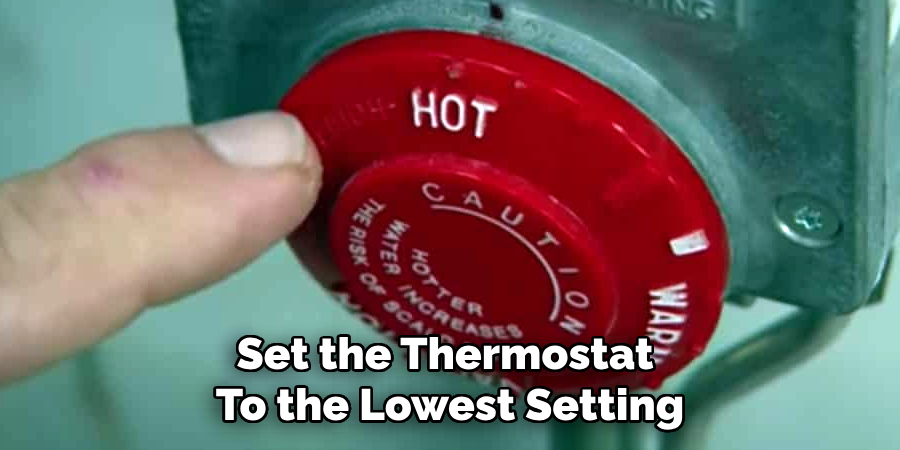
For safety purposes, turn off the power supply before testing the relief valve. If your water heater is electric, switch off the circuit breaker connected to the unit. If it is gas-powered, set the thermostat to the lowest setting or turn off the gas supply. Additionally, shutting off the cold water inlet valve prevents additional water from entering the tank during the test, reducing the risk of leaks or excess water discharge.
4. Placing a Bucket Under the Discharge Pipe
Positioning a bucket or container under the discharge pipe helps catch any water released during testing. This prevents potential water damage to the surrounding area. If the discharge pipe extends to a drain, ensure that the drainage path is clear to prevent overflow or water pooling.
5. Lifting and Releasing the Valve’s Lever
Carefully lift the relief valve’s lever to manually release a small amount of water. Doing so should allow hot water to flow out through the discharge pipe, confirming that the valve is operational. After a few seconds, release the lever to allow it to snap back into place. Observing whether water stops flowing immediately upon release indicates whether the valve is sealing correctly.
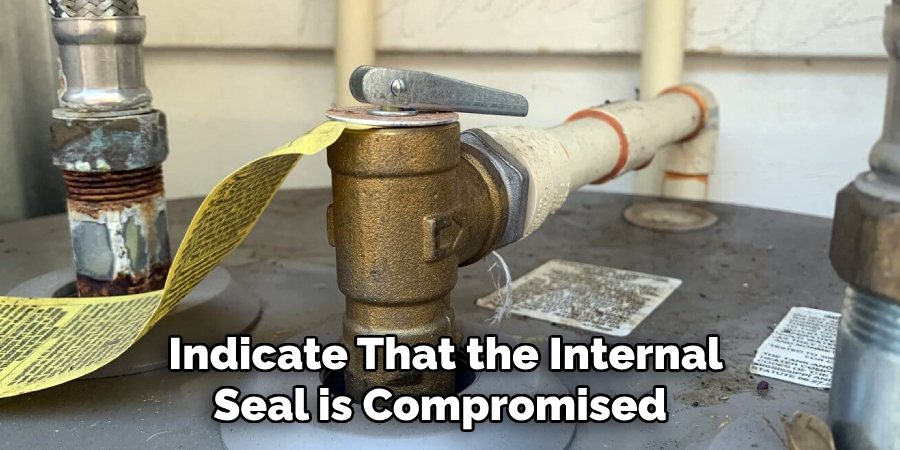
6. Checking for Continuous Dripping
After releasing the lever, monitor the relief valve for any continuous dripping. If water continues to leak from the valve, it may indicate that the internal seal is compromised. A persistent leak suggests that the valve may need to be replaced, as it is no longer capable of properly sealing pressure inside the tank.
7. Examining Water Flow and Pressure
While testing, assess the strength of the water flow coming from the relief valve. A strong, steady stream suggests the valve is functioning correctly, while weak or inconsistent flow may indicate partial blockage or malfunction. If no water is released when lifting the lever, the valve may be stuck and require immediate replacement.
8. Inspecting the Discharge Pipe for Clogs
A blocked discharge pipe can interfere with the proper operation of the relief valve. Check the pipe for obstructions, such as debris, sediment buildup, or corrosion. If any blockages are found, clear them before retesting the valve. Keeping the discharge path clear ensures that the valve can safely release pressure when necessary.
9. Replacing a Faulty Relief Valve
If the relief valve fails the test—either by leaking continuously or not releasing water—it should be replaced immediately. Turn off the water heater, drain the tank partially, and unscrew the faulty valve using a wrench. Install a new relief valve, ensuring it is tightly secured and connected to the discharge pipe. This simple yet critical replacement helps maintain the safety and efficiency of your water heater.
10. Scheduling Regular Maintenance
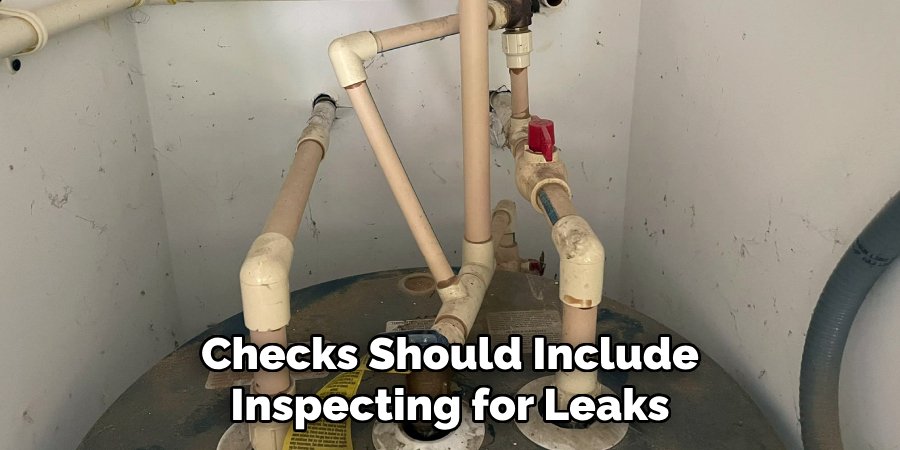
Testing the relief valve at least once a year helps ensure its proper function and prevents unexpected failures. Regular maintenance checks should include inspecting for leaks, corrosion, and any signs of wear. Keeping a consistent schedule for testing and maintenance extends the lifespan of your water heater and enhances safety for your household.
Troubleshooting Common Issues
Even with regular maintenance, water heaters can experience common issues that require troubleshooting. Understanding how to identify and address these problems can help restore functionality and efficiency promptly.
1. No Hot Water
If your water heater is not producing hot water, start by checking the power supply. For electric models, confirm that the circuit breaker is not tripped, and ensure the unit is receiving power. For gas models, verify that the pilot light is lit and the gas supply is connected. Additionally, inspect the thermostat to see if it is set to the desired temperature. If none of these steps resolve the issue, the heating element or gas burner may need to be replaced.
2. Insufficient Hot Water
When the water heater produces less hot water than usual, sediment buildup in the tank could be reducing the efficiency. Flush the tank to remove sediment and ensure proper heating. Alternatively, the thermostat may be set too low and should be adjusted to a higher temperature. If the problem persists, a malfunctioning heating element or dip tube could be the culprit and may require professional servicing.
3. Leaking Water Heater
Leaks around the water heater can stem from several sources. Check the inlet and outlet pipes for loose connections or wear, and tighten or replace them as needed. Examine the relief valve for continuous dripping, which could indicate a faulty valve. Leaks from the tank itself often signal severe internal corrosion, requiring a full replacement of the water heater.
4. Strange Noises
Unusual sounds, such as popping or rumbling, are often caused by sediment buildup at the bottom of the tank. Flushing the tank can help resolve this issue. If the noise persists, it may be due to a failing heating element or excessive mineral deposits, which may require replacement or professional inspection.
Conclusion
Proper maintenance and timely troubleshooting of your water heater are essential to ensure its efficiency, safety, and longevity. Regularly testing components like the relief valve, flushing the tank to prevent sediment buildup, and addressing common issues promptly can save you from costly repairs or replacements. By incorporating these practices into your routine, you not only preserve the functionality of your water heater but also enhance the overall safety and comfort of your home. Thanks for reading our blog post on how to test hot water heater relief valve! We hope you found it helpful and informative.
About the Author
Adrian Green is a passionate woodworking enthusiast who has dedicated his life to the craft of woodworking. From his early days working alongside his father in the family woodworking shop, Adrian has honed his skills and developed a deep love for creating beautiful, functional pieces with his hands. As the voice behind The Woodenify Blog, he shares his knowledge, tips, and inspiration with fellow woodworkers of all skill levels, helping them build confidence in their abilities while learning new techniques.
Professional Focus
- Specializes in DIY woodworking projects, from furniture making to home décor.
- Provides step-by-step guides, tips, and practical tutorials for woodworkers at any skill level.
- Focused on empowering readers with confidence and knowledge through easy-to-follow instructions and hands-on techniques.
- Passionate about building a community where makers can share, learn, and grow together in the world of woodworking.
Education History
University of Craft and Design – Bachelor of Fine Arts (BFA) in Woodworking and Furniture Design
Woodworking Apprenticeships – Gained extensive hands-on experience through various workshops and mentorships with seasoned craftsmen, refining carpentry and furniture-making skills.
Expertise
- DIY woodworking, carpentry, furniture making, and home décor projects.
- Creating clear, accessible tutorials and guides for beginner to advanced woodworkers.
- Helping readers experience the satisfaction and fulfillment of turning raw materials into stunning finished products.