Are you having issues with your electric water heater? Are you not getting hot water, or is the water taking too long to heat up? It could be a problem with your electric water heater elements.
Testing electric water heater elements is essential in diagnosing heating issues and ensuring the appliance operates efficiently. Over time, the heating elements in a water heater can wear out or malfunction, leading to problems such as insufficient hot water or no hot water at all. By adequately testing the elements, you can determine whether they need to be replaced or if another issue is causing the problem. This process requires essential tools like a multimeter and can be done safely by following simple steps.
Understanding how to test electric water heater elements can save time and money and restore your water heater to optimal performance.
What Are the Benefits of Testing Electric Water Heater Elements?
Testing electric water heater elements can provide several benefits, including:
- Identifying the Source of Heating Issues: By testing the elements, you can determine if they function correctly. If not, you can then move on to troubleshooting other potential causes.
- Preventing Further Damage: If a faulty element is left untreated, it could cause damage to other parts of the water heater and lead to more expensive repairs or replacements.
- Saving Money: Rather than replacing the entire water heater, testing and replacing only the faulty element can save significant costs.
- Ensuring Safety: Malfunctioning elements can pose a safety hazard, so testing them regularly can help prevent accidents.
What Will You Need?
To test electric water heater elements, you will need the following tools:
- Multimeter: This device measures electrical current and voltage.
- Screwdriver Set: A screwdriver set with different sizes and types of heads may be necessary to remove the heating element cover.
- Safety Gear: When testing any electrical appliance, it is essential to wear safety gear, including insulated gloves and goggles.
Once you have these tools, you can begin testing your electric water heater elements.
10 Easy Steps on How to Test Electric Water Heater Elements
Step 1. Turn Off the Power:
Before performing any work on your electric water heater, ensure your safety by turning off the power supply. Locate the
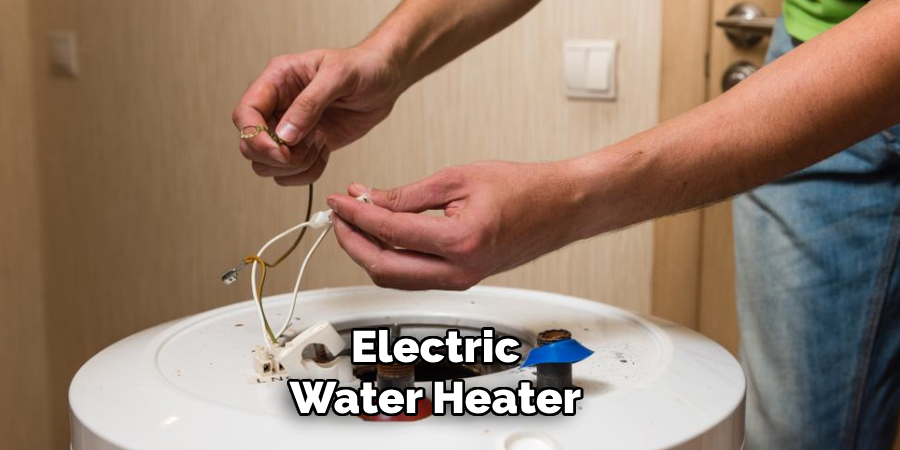
circuit breaker panel in your home and switch off the breaker that supplies electricity to the water heater. Double-check that the power is off by testing the water heater with a multimeter to confirm no electrical current is flowing. Working with electricity can be hazardous, so this step is crucial for avoiding accidents or injuries.
Step 2. Access the Heating Elements:
Locate the access panels on the side of the water heater, which typically house the heating elements. Use a screwdriver to remove the screws securing the panel, and carefully take off the cover. Behind the panel, you will find insulation that protects the wiring and elements. Pull back the insulation to expose the thermostat and heating element terminals, ensuring not to damage the material as you proceed.
Step 3. Test the Heating Elements:
Before proceeding, ensure the power is still off to avoid any risks. A multimeter set to the resistance (ohms) setting is used to test the heating elements for continuity. Place one probe on each terminal of the heating element. Depending on the model, a functioning heating element will show a resistance reading between 10 and 30 ohms. If the multimeter reads “infinity” or shows no continuity, the heating element is faulty and must be replaced. Ensure accurate readings by double-checking the multimeter settings and probe placement.
Step 4. Replace the Faulty Heating Element:
If you have determined that the heating element is faulty, disconnect the wires attached to the element. Note the orientation and connections to ensure proper reassembly later. Using a wrench or appropriate tool, unscrew and remove
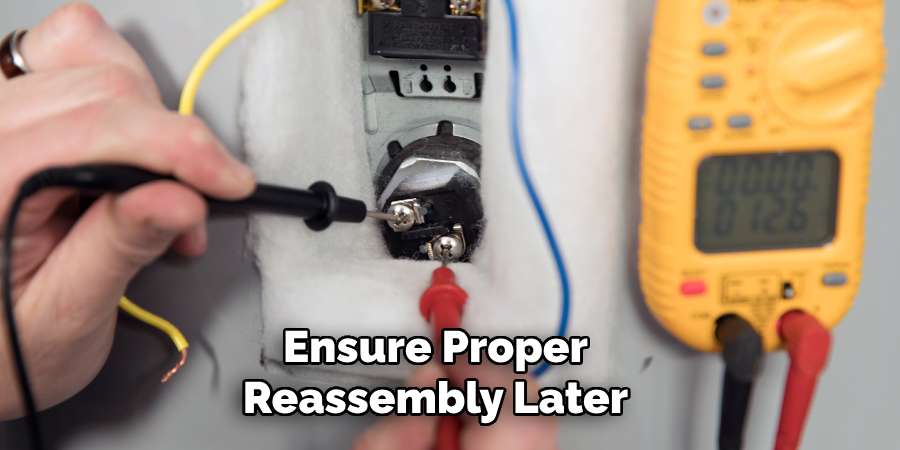
the faulty heating element. Insert the new heating element into place, securely tighten it, and reconnect the wires as per the original configuration. Ensure all connections are tight and insulated properly before moving on to the next step.
Step 5. Refill the Tank and Test the Water Heater:
Refill the tank with water once the new heating element is installed and securely connected. Close the drain valve and turn on the cold water supply to allow the tank to fill. Open a hot water faucet in your home to release any trapped air and ensure the tank is filling correctly. Once the tank is full and water flows steadily from the faucet, close it. Restore power to the water heater by flipping the circuit breaker back on. Allow sufficient time for the water to heat up, then test the hot water supply to confirm the heater is functioning correctly. Inspect for any leaks or loose connections before concluding the process.
Step 6. Perform Routine Maintenance:
To ensure the longevity and efficiency of your water heater, it’s crucial to perform routine maintenance. Drain and flush the tank annually to remove sediment buildup, which can reduce heating efficiency and damage the unit over time. Inspect the anode rod and replace it if it shows significant wear to prevent tank corrosion. Regularly check for any signs of leaks, rust, or unusual noises, and address issues promptly. These maintenance practices will help keep your water heater running optimally and extend its lifespan.
Step 7. Monitor Energy Usage:
Monitoring your water heater’s energy usage can help you identify inefficiencies and reduce costs. Consider installing a timer or programmable thermostat to regulate heating cycles based on your household’s needs. Set the thermostat to a
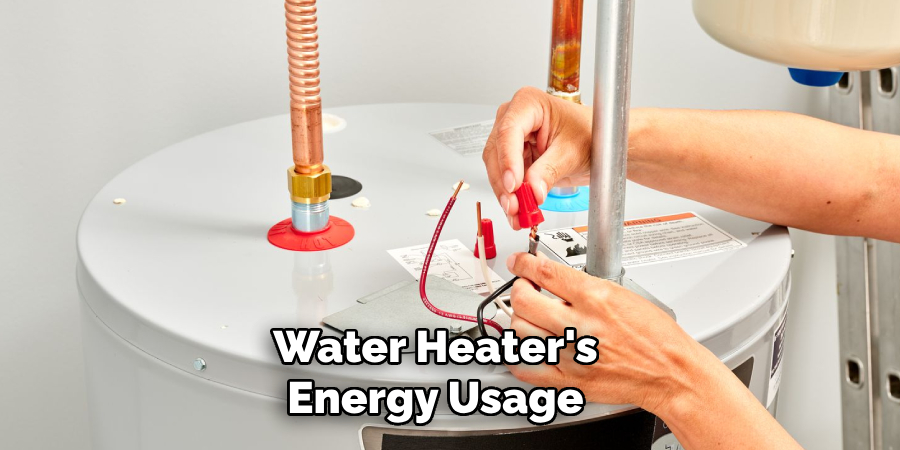
safe and energy-efficient temperature for optimal performance, typically around 120°F. Additionally, insulating the tank and piping can help minimize heat loss and improve overall efficiency. By monitoring energy consumption and making adjustments as necessary, you can maximize savings and ensure your water heater operates effectively.
Step 8. Schedule Professional Inspections:
While regular maintenance can be done at home, scheduling professional inspections at least once a year is crucial for ensuring your water heater remains in top condition. A qualified technician can check for hidden issues, flush the tank thoroughly, and evaluate critical components, such as the pressure relief valve and heating elements. Professional inspections not only provide peace of mind but also help identify potential problems before they lead to costly repairs or replacements. Make this a part of your maintenance routine to prolong the life and efficiency of your water heater.
Step 9. Upgrade to Energy-Efficient Models:
When it’s time to replace your water heater, consider upgrading to an energy-efficient model. Modern water heaters, such as tankless or hybrid systems, offer significant energy savings and improved performance compared to older conventional models. These systems consume less power by heating water only as needed or using advanced technology to retain heat more efficiently. Investing in an energy-efficient water heater not only reduces your energy bills but also lowers your environmental impact. Research the available options and choose a model that suits your household’s needs and energy goals.
Step 10. Insulate Your Water Heater and Pipes:
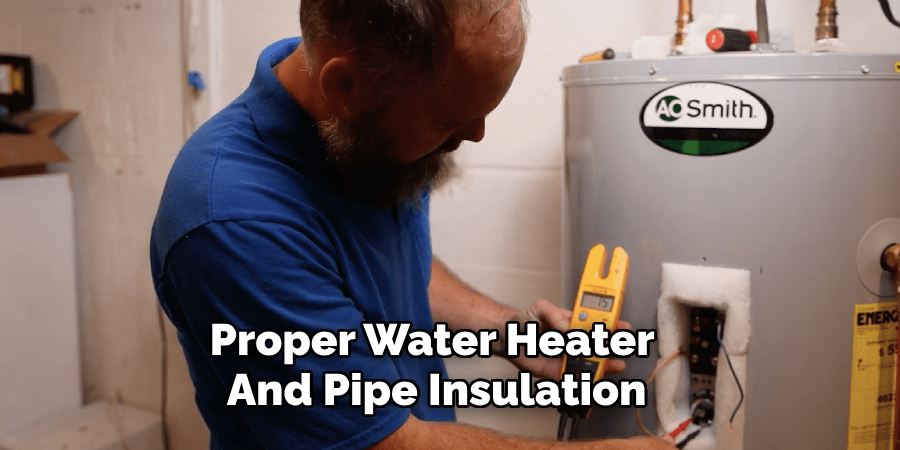
Proper water heater and pipe insulation can significantly improve energy efficiency and reduce heat loss. For tank-style water heaters, consider using an insulation blanket designed to maintain the water’s temperature for more extended periods. Similarly, insulating hot water pipes helps to deliver hot water faster while conserving energy. These simple and cost-effective measures can enhance the performance of your water heating system and help lower your utility bills. Always follow manufacturer guidelines and safety precautions when adding insulation.
By following these steps and implementing proper maintenance practices, you can ensure your water heater continues operating efficiently and reliably for years.
5 Things You Should Avoid
- Skipping Safety Precautions: Working with electrical components can be dangerous. Always turn off the power to the water heater at the circuit breaker and use proper safety equipment to avoid electrical shocks or injuries.
- Using the Wrong Tools: Ensure you have the correct tools, such as a multimeter, to test the elements accurately. Using improper or faulty equipment can lead to incorrect readings or damage.
- Neglecting to Drain the Water Heater: Testing elements without draining the tank could result in water leaks or damage to components. Always follow proper procedures for draining the water heater before testing.
- Forgetting to Check Both Elements: Many water heaters have two elements that must be tested to ensure a thorough diagnosis. Ignoring one could lead to incomplete troubleshooting and unresolved issues.
- Misinterpreting the Test Results: Failing to understand the readings from your multimeter can lead to misdiagnosis. Take time to familiarize yourself with the expected resistance levels and signs of a faulty element before beginning the test.
By avoiding these common mistakes, you can ensure a safe and accurate testing process for your water heater.
Conclusion
How to test electric water heater elements is a straightforward process when approached with the right tools, knowledge, and precautions.
Following the outlined steps and avoiding common pitfalls, you can effectively diagnose and address any issues with your water heater elements. Ensuring proper maintenance and timely testing helps prolong the life of your water heater and guarantees a steady hot water supply.
Always prioritize safety; if you are uncertain about any step, consult a professional to assist with the process.
About the Author
Adrian Green is a passionate woodworking enthusiast who has dedicated his life to the craft of woodworking. From his early days working alongside his father in the family woodworking shop, Adrian has honed his skills and developed a deep love for creating beautiful, functional pieces with his hands. As the voice behind The Woodenify Blog, he shares his knowledge, tips, and inspiration with fellow woodworkers of all skill levels, helping them build confidence in their abilities while learning new techniques.
Professional Focus
- Specializes in DIY woodworking projects, from furniture making to home décor.
- Provides step-by-step guides, tips, and practical tutorials for woodworkers at any skill level.
- Focused on empowering readers with confidence and knowledge through easy-to-follow instructions and hands-on techniques.
- Passionate about building a community where makers can share, learn, and grow together in the world of woodworking.
Education History
University of Craft and Design – Bachelor of Fine Arts (BFA) in Woodworking and Furniture Design
Woodworking Apprenticeships – Gained extensive hands-on experience through various workshops and mentorships with seasoned craftsmen, refining carpentry and furniture-making skills.
Expertise
- DIY woodworking, carpentry, furniture making, and home décor projects.
- Creating clear, accessible tutorials and guides for beginner to advanced woodworkers.
- Helping readers experience the satisfaction and fulfillment of turning raw materials into stunning finished products.
