
Switching your RV water heater from propane to electric can be a practical and efficient choice, especially when you’re hooked up to shore power. This option allows you to conserve propane while still enjoying hot water for showers, cleaning, and other daily needs. The process is generally straightforward, but it’s essential to understand your RV’s water heater system and follow the correct steps to ensure a smooth and safe transition. This guide will walk you through the basics of how to switch rv water heater from propane to electric.
Benefits of Using Electric Mode
Using the electric mode on your RV water heater comes with several advantages. First, it helps conserve propane, which is especially beneficial during extended trips or when refilling propane is inconvenient. Electric mode is also ideal when you’re connected to shore power, as it allows you to take advantage of the available electricity without depleting other energy sources. Additionally, electric operation is often quieter than propane, providing a more peaceful environment in and around your RV.
Lastly, it can reduce the overall cost of heating water, as electricity is typically more affordable and readily available than propane in many camping or hookup scenarios. These benefits make electric mode a convenient and cost-effective option for RV enthusiasts.
Understanding the RV Water Heater Dual-Mode Function
Most modern RV water heaters are equipped with a dual-mode function, allowing them to operate on both propane and electricity. This versatile feature provides flexibility depending on your power source and specific needs. When running on propane, the water heater uses a small flame to heat the water, which is particularly useful when you’re camping off-grid or have limited access to electricity.
On the other hand, the electric mode relies on a heating element powered by shore power or a generator to warm the water. Some systems even allow both modes to run simultaneously for faster water heating, a feature known as hybrid mode. Understanding how to switch between these modes and when to use each one can help you efficiently manage energy consumption and ensure a steady supply of hot water for your RV adventures.
10 Methods How to Switch Rv Water Heater from Propane to Electric
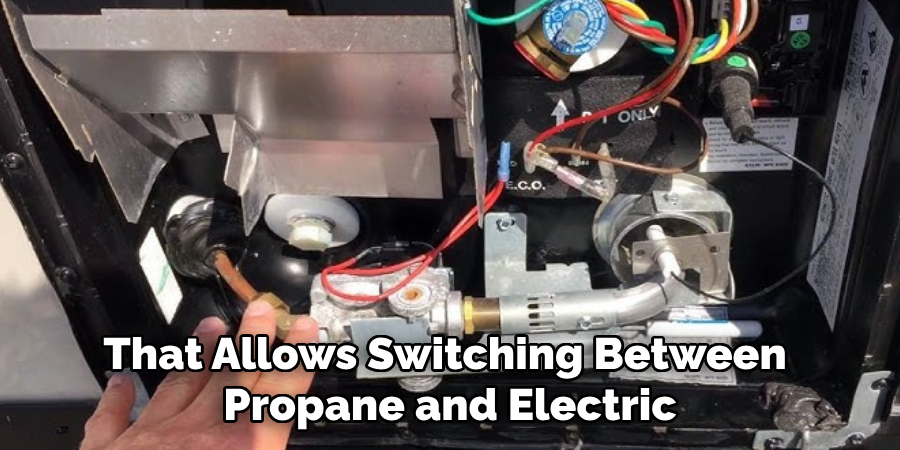
1. Verify That Your RV Water Heater Has an Electric Mode
Before attempting to switch your water heater from propane to electric, check whether your unit is designed to support both energy sources. Many modern RV water heaters, such as those made by Suburban or Atwood, have a dual-mode function that allows switching between propane and electric. Look at the model number on your water heater or refer to the owner’s manual to confirm whether it includes an electric heating element. If your unit is propane-only, you may need to install an aftermarket electric conversion kit.
2. Turn Off the Propane Supply
Before switching to electric mode, it’s essential to turn off the propane supply to prevent unnecessary gas flow. Locate the propane control valve on your RV’s propane tank and turn it to the “off” position. This ensures that propane is not being consumed while the water heater operates on electricity. Additionally, turning off the propane can prevent potential leaks and unnecessary wear on the propane burner components.
3. Locate the Water Heater’s Electric Switch
Most RVs with dual-mode water heaters have a dedicated switch for electric operation. This switch is often located on the RV’s control panel, near the water heater compartment, or inside an exterior access panel on the water heater itself. The switch is usually labeled “Electric” or “120V” and may have a red or amber indicator light. If your RV has a wall-mounted control panel, ensure you identify the correct switch before turning it on.
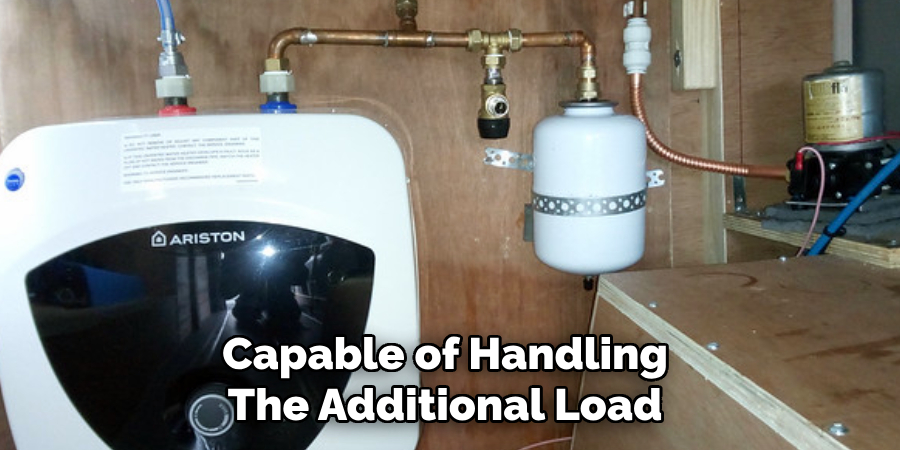
4. Ensure Your RV is Connected to Shore Power
Since electric water heaters require a consistent 120V power supply, ensure your RV is plugged into a reliable shore power source. If you’re relying on a generator, make sure it is capable of handling the additional load from the water heater. Running the heater on electricity while disconnected from power can drain your RV’s battery quickly, leading to insufficient energy for other appliances.
5. Check and Reset the Circuit Breaker
Before activating the electric heating element, check your RV’s circuit breaker panel to confirm that the breaker controlling the water heater is switched on. If the breaker has tripped, reset it by flipping it off and then back on. A properly functioning circuit ensures the heating element receives consistent power without interruptions. If the breaker continues to trip, this may indicate an electrical issue that needs further inspection.
6. Turn On the Electric Heating Element
Once all preparations are complete, turn on the electric switch for your water heater. If your RV has a dual switch system (one for propane and one for electric), ensure the propane switch remains off while the electric switch is activated. In some models, you may also need to press a reset button located near the switch. Wait for the indicator light to confirm that the heating element is receiving power.
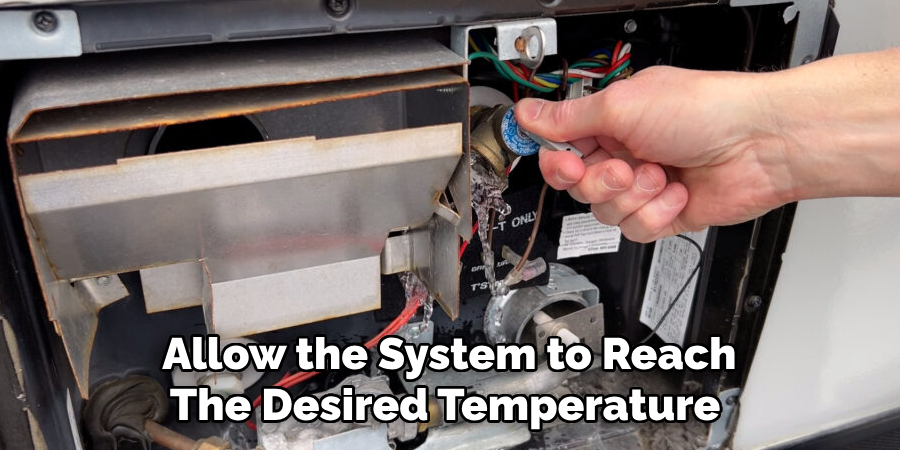
7. Allow Time for Water to Heat Up
Electric heating elements typically take longer to heat water compared to propane burners. Depending on your water heater’s capacity, it can take anywhere from 20 to 60 minutes to fully heat the tank. During this time, avoid running hot water excessively to allow the system to reach the desired temperature efficiently. You can monitor the water temperature by turning on a hot water faucet and checking if the water warms up gradually.
8. Monitor for Proper Functioning and Safety
Once the electric mode is activated, check for any unusual signs, such as flickering indicator lights, a tripped breaker, or a lack of hot water. Listen for any abnormal noises, such as buzzing or clicking, which could indicate a faulty heating element. If your water remains cold after 30-60 minutes, turn off the system and inspect for issues like a damaged element or a blown fuse.
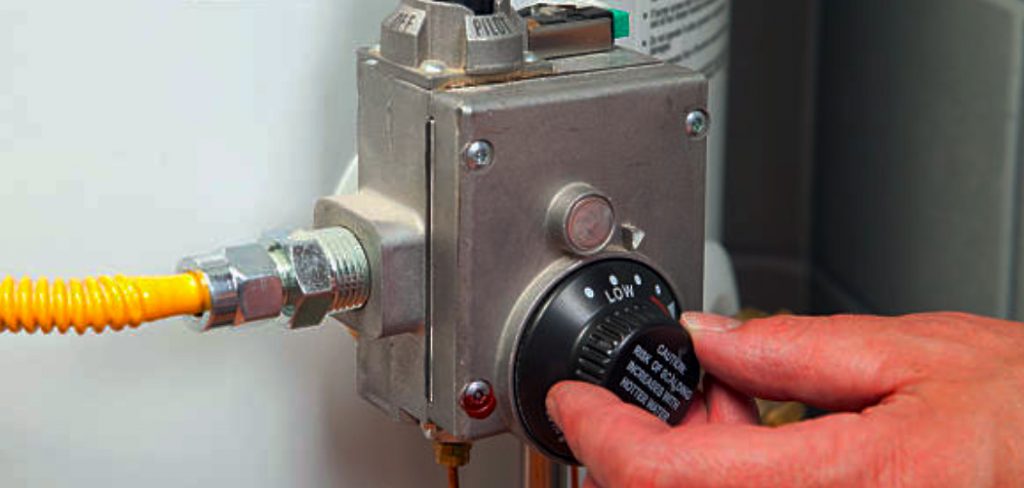
9. Use a Thermostat to Regulate Temperature
Many RV water heaters have an adjustable thermostat that allows you to control the water temperature when using electric mode. If your unit has this feature, set the thermostat to a comfortable level (typically between 120°F and 140°F) to prevent overheating or energy waste. If your water heater does not have an adjustable thermostat, monitor the temperature manually to avoid scalding risks.
10. Turn Off Electric Mode When Not in Use
To prolong the life of your heating element and conserve energy, turn off the electric mode when not needed. If you are leaving your RV for an extended period or switching back to propane, switch off the electric heating element to prevent unnecessary power usage. Regularly turning off the system when not in use can also reduce wear on the heating element, ensuring long-term efficiency and performance.
Maintenance and Upkeep

Regularly Flush the Water Heater Tank
Over time, mineral buildup and sediment can accumulate inside the water heater tank, reducing efficiency and potentially damaging the heating element. At least once a year, flush the tank by opening the drain valve and using a flushing wand or hose to remove debris. This process helps maintain water quality and prolongs the life of the water heater.
Inspect and Replace the Anode Rod
For water heaters equipped with an anode rod, inspect it periodically for signs of corrosion or wear. The anode rod protects the tank from rust by attracting corrosive elements in the water. If the rod has worn down significantly (typically to less than one-half of its original diameter), replace it with a new one to ensure continued protection.
Check Electrical Connections and Heating Elements
For electric water heaters, inspect the electrical connections and heating elements for corrosion, loose wires, or other damage. Turn off power to the system before conducting any inspections. If you notice any issues, such as a faulty element, replace it to prevent reduced efficiency or electrical hazards.
Inspect Propane Components
If you use propane mode, regularly check the propane burner assembly for dirt, debris, or blockages. Clean the burner with a soft brush or compressed air to maintain proper functionality. Additionally, ensure all propane connections are secure and leak-free by using a propane leak detector or a soap-and-water solution.
Test the Pressure-Relief Valve
The pressure-relief valve is a critical safety feature that releases excess pressure from the tank. Periodically open the valve (with the water heater turned off and cooled down) to ensure it operates correctly. Replace the valve if it’s stuck or shows signs of corrosion to prevent potential system failures or leaks.
Conclusion
Switching your RV water heater from propane to electric is a straightforward process that enhances energy efficiency and reduces propane consumption. By following these ten detailed methods—from verifying your heater’s compatibility and ensuring shore power connectivity to activating the electric mode and monitoring performance—you can ensure a seamless transition between power sources. Thanks for reading, and we hope this has given you some inspiration on how to switch rv water heater from propane to electric!
About the Author
Adrian Green is a passionate woodworking enthusiast who has dedicated his life to the craft of woodworking. From his early days working alongside his father in the family woodworking shop, Adrian has honed his skills and developed a deep love for creating beautiful, functional pieces with his hands. As the voice behind The Woodenify Blog, he shares his knowledge, tips, and inspiration with fellow woodworkers of all skill levels, helping them build confidence in their abilities while learning new techniques.
Professional Focus
- Specializes in DIY woodworking projects, from furniture making to home décor.
- Provides step-by-step guides, tips, and practical tutorials for woodworkers at any skill level.
- Focused on empowering readers with confidence and knowledge through easy-to-follow instructions and hands-on techniques.
- Passionate about building a community where makers can share, learn, and grow together in the world of woodworking.
Education History
University of Craft and Design – Bachelor of Fine Arts (BFA) in Woodworking and Furniture Design
Woodworking Apprenticeships – Gained extensive hands-on experience through various workshops and mentorships with seasoned craftsmen, refining carpentry and furniture-making skills.
Expertise
- DIY woodworking, carpentry, furniture making, and home décor projects.
- Creating clear, accessible tutorials and guides for beginner to advanced woodworkers.
- Helping readers experience the satisfaction and fulfillment of turning raw materials into stunning finished products.