
Strapping a water heater is essential in ensuring its safety, particularly during seismic events or natural disasters. Unsecured water heaters risk tipping over during ground movements, leading to dangerous situations such as gas line ruptures, water leaks, or even electrical hazards. Properly securing your water heater protects your home from potential damage, helps prevent costly repairs, and ensures compliance with local safety regulations.
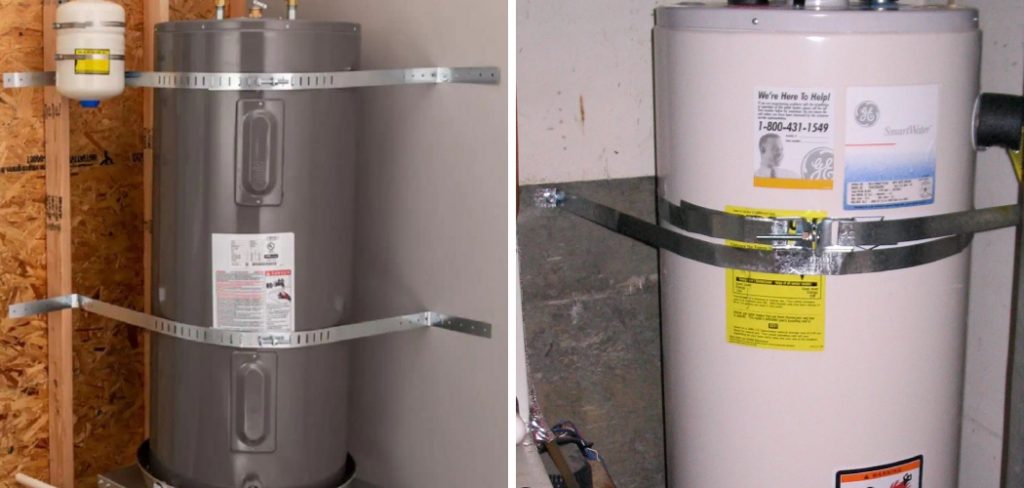
This guide will provide detailed, step-by-step instructions on how to strap a water heater, focusing on using the right tools and techniques for a secure installation. By following the outlined procedures, you can minimize risks, safeguard your home, and gain peace of mind knowing your water heater is stable and compliant. Whether in an earthquake-prone area or taking precautionary measures, this guide will help you effectively secure your appliance.
Understanding Water Heater Strapping Requirements
Why Water Heater Strapping is Necessary
Water heater strapping serves as a critical safety measure in protecting your home and family during earthquakes or other events that cause ground movement. Unsecured water heaters are prone to falling or shifting, leading to serious issues like gas line disconnections, water leaks, or electrical hazards. These risks not only endanger the safety of your household but can also result in expensive repairs or irreparable damage to your property.
Properly strapping your water heater ensures it stays in place during seismic activity, helping to prevent potentially dangerous consequences.
Building Code Requirements
Building codes and regulations for water heater strapping vary by region but aim to ensure safety and compliance. Most codes require water heaters to be secured using two heavy-duty straps — one placed in the upper third and the other in the lower third of the unit. The anchoring points must be securely fastened to wall studs or another solid structure.
Additionally, some jurisdictions may have specific guidelines regarding the materials used for the straps or minimum tension requirements. It is important to consult your local building authority to understand the exact requirements and ensure your installation meets current standards. Following these guidelines improves safety and ensures your water heater complies with regional code mandates.

Materials and Tools Needed for Strapping
Strapping Materials
To securely strap your water heater, it is essential to use high-quality materials. Metal strapping or heavy-duty steel bands are the preferred options as they offer durability and strength. The straps should be at least 1 inch wide and have an 18-20 gauge thickness to withstand potential seismic forces. These specifications ensure the water heater remains firmly secured during movement, reducing the risk of damage.
Tools Required
Several tools are needed to install water heater straps effectively. A tape measure is essential for accurate measurements to position the straps properly. A drill with the appropriate bit is required to create anchor points, and a level will help ensure the straps are positioned straight for maximum security. You may also need a metal cutting tool to adjust straps to the correct length and a screwdriver to fasten bolts and screws.
Additional Supplies
Besides straps, additional supplies include pipe insulation to protect water lines from abrasion, heavy-duty anchors to secure straps to wall studs or other solid structures, and bolts or screws for fastening. Having all the required materials and tools on hand before starting ensures a smooth and efficient installation process.
Preparing the Water Heater for Strapping
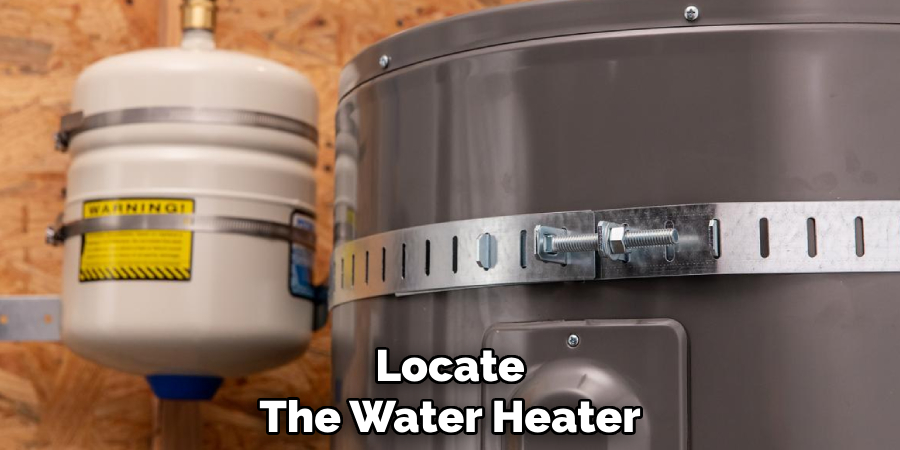
Step 1: Locate the Water Heater
Position the water heater in a safe, accessible area where you can clearly see the straps and connections. This will make the installation process easier and safer. Ensure the area around the water heater is clear of obstacles, providing adequate space for you to work freely without any hindrances. Proper positioning also ensures the water heater is situated in a stable spot that complies with safety standards.
Step 2: Turn Off the Water and Power Supply
For safety precautions, disconnect the electricity or gas supply to the water heater before starting. This step is crucial to reduce any risk of electrical shock or gas-related accidents. Additionally, shut off the water supply to the heater. Stopping the water flow will help prevent leaks or spills while handling the tank, thus avoiding unnecessary complications during installation.
Step 3: Measure and Mark Strap Placement
Using a level, mark the exact height for the straps on the wall. It’s essential to measure carefully to ensure accuracy. The straps should typically be positioned 4 to 6 inches from the top and bottom of the tank for optimal support, though you should also check local codes for specific requirements. Accurate measurements and proper spacing provide stability and comply with regulations, ensuring the safety and durability of the installation.
How to Strap a Water Heater: Installing the Top and Bottom Straps
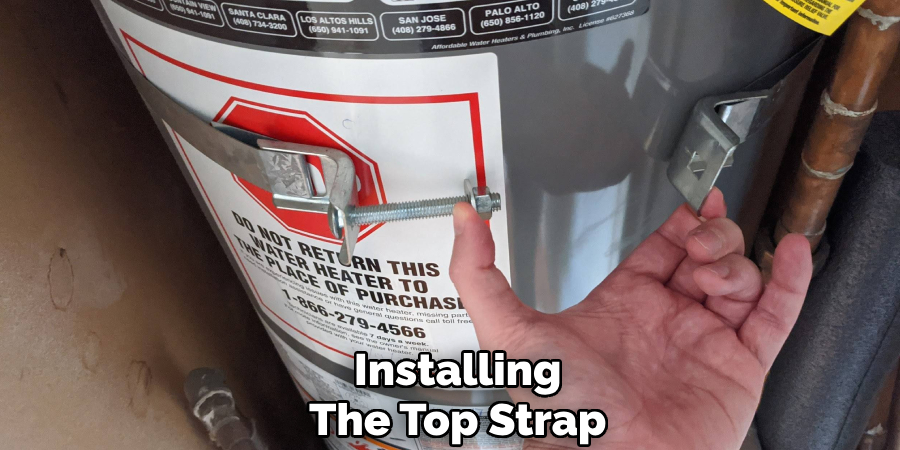
Step 1: Installing the Top Strap
Position the top strap just below the top of the water heater and secure it tightly using sturdy wall anchors. Carefully drill into the marked areas from Step 3, and attach the strap with screws or fasteners according to the manufacturer’s specifications. Use a level to ensure the strap is straight and properly aligned during this process. This step is critical for ensuring the top of the tank is securely braced, adding to the overall stability of the installation.
Step 2: Installing the Bottom Strap
Position the bottom strap approximately 4 to 6 inches above the base of the water heater, depending on the size and shape of your tank. Align it with the top strap to maintain uniformity, and secure it firmly using the same method as for the top strap. Double-check that the anchors are fully embedded in the wall and capable of supporting the weight of the water heater. Properly securing this strap minimizes movement at the bottom, which can prevent damage during seismic activity or other disturbances.
Step 3: Tightening the Straps
Once both straps are securely installed, use a wrench to tighten them. Perform this step with caution—ensure the straps are snug and hold the tank firmly against the wall, but do not overtighten as excessive force may deform the tank or damage its exterior. Properly adjusted straps will distribute pressure evenly, ensuring both stability and safety. After completing this step, inspect both straps to confirm they are secure and aligned correctly.
Securing the Straps to the Wall
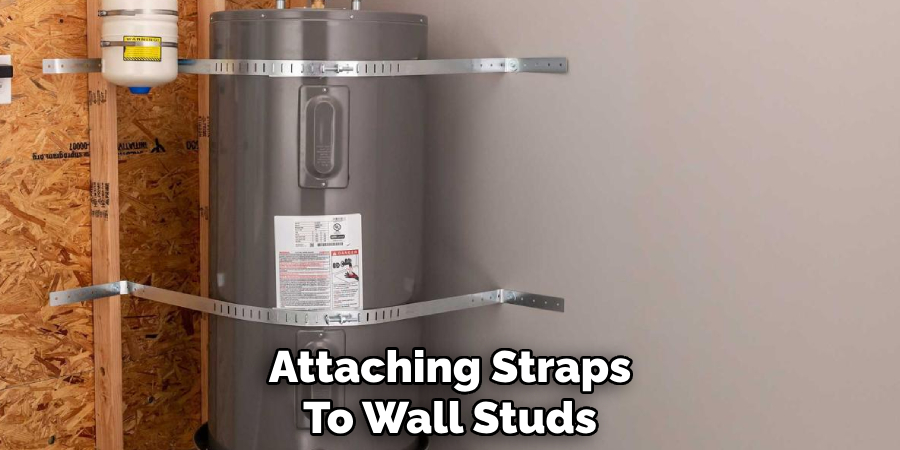
Attaching Straps to Wall Studs
Use heavy-duty anchors or screws to attach the straps securely to the wall studs. This step is critical to ensure the tank remains stationary during any movements or impacts. Ensure the screws or anchors are adequately sized—long enough to penetrate fully into the wall studs for a secure connection. Verify that each fastener is firmly in place and does not loosen under pressure. Properly securing the straps to the studs minimizes the risk of the tank becoming unattached or shifting, providing maximum stability and safety.
Using Pipe Insulation for Additional Protection
For added protection and to avoid potential damage to the water heater, consider wrapping the straps in pipe insulation where they make contact with the tank. This helps prevent scratches, dents, or wear on the tank’s exterior while enhancing the equipment’s overall lifespan. Select insulation materials that are durable, heat-resistant, and designed to fit snugly around the straps.
Once wrapped, inspect the setup to confirm the insulation is evenly applied and does not interfere with the tightening or alignment of the straps. Taking this extra precaution provides additional safety, ensuring your water heater remains secure while its exterior stays protected.
Inspecting the Water Heater Strapping for Safety
Check for Proper Alignment
After securing and insulating the straps, take a moment to sift through their alignment. Ensure the straps are positioned parallel to each other and are properly aligned over the water heater. Misaligned straps can create uneven pressure on the tank, weakening its stability over time. Adjust the straps as needed to provide balanced support across the water heater’s surface, avoiding any slippage or stress on specific points.
Testing the Stability
Once alignment is verified, test the installation’s security by gently pushing the water heater. The tank should remain firmly in place, with no noticeable movement. If any shifting occurs, the straps may require further tightening or repositioning to achieve the desired stability. Carefully tighten the fasteners or adjust the straps to improve their hold.
Always double-check to ensure the adjustments do not interfere with the insulation or compromise the tank’s surface. By thoroughly inspecting the strapping and making necessary corrections, you can ensure the water heater remains safely secured, reducing the risk of damage during unexpected events such as earthquakes or accidental impacts.
Testing Water Heater and Final Adjustments
Turn the Water and Power Supply Back On
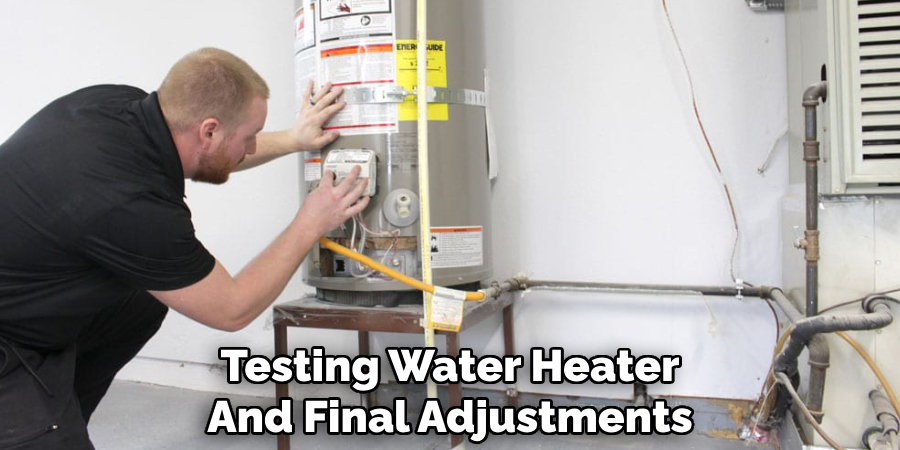
Begin by slowly restoring the water supply to the water heater, ensuring that the inlet valve is fully open. Once the water flow is stable, carefully turn the power supply back on, whether it’s electricity or gas. For gas heaters, check that the pilot light is ignited correctly and the temperature control is set to your desired level.
Ensure Proper Operation
After the system is operational, inspect the water heater for any signs of leaks around the connections or the tank itself. Also, verify that the straps are firmly in place and not obstructing access to valves, controls, or other essential components. If you notice any issues, turn off the water and power supply again to correct the problem. By taking these precautions, you can ensure the functionality and security of your water heater after completing the strapping process.
Conclusion
Strapping your water heater is crucial in safeguarding your home from potential damage caused by unexpected movements or natural disasters. The process involves turning off the water and power supplies, accurately measuring and marking the placement, securely installing the straps, and firmly anchoring the water heater. Following local building codes and guidelines throughout the process is essential to ensure compliance and safety.
Properly tight and secure straps are critical for reducing risks. Regular inspections are also recommended to maintain stability over time. By following these steps, you can confidently address how to strap a water heater effectively.
About the Author
Adrian Green is a passionate woodworking enthusiast who has dedicated his life to the craft of woodworking. From his early days working alongside his father in the family woodworking shop, Adrian has honed his skills and developed a deep love for creating beautiful, functional pieces with his hands. As the voice behind The Woodenify Blog, he shares his knowledge, tips, and inspiration with fellow woodworkers of all skill levels, helping them build confidence in their abilities while learning new techniques.
Professional Focus
- Specializes in DIY woodworking projects, from furniture making to home décor.
- Provides step-by-step guides, tips, and practical tutorials for woodworkers at any skill level.
- Focused on empowering readers with confidence and knowledge through easy-to-follow instructions and hands-on techniques.
- Passionate about building a community where makers can share, learn, and grow together in the world of woodworking.
Education History
University of Craft and Design – Bachelor of Fine Arts (BFA) in Woodworking and Furniture Design
Woodworking Apprenticeships – Gained extensive hands-on experience through various workshops and mentorships with seasoned craftsmen, refining carpentry and furniture-making skills.
Expertise
- DIY woodworking, carpentry, furniture making, and home décor projects.
- Creating clear, accessible tutorials and guides for beginner to advanced woodworkers.
- Helping readers experience the satisfaction and fulfillment of turning raw materials into stunning finished products.