
Are you ready to kick off your RV adventure? There are a few essential things you need to know before you hit the road, and one of them is how to start your RV hot water heater.
How to start a RV hot water heater may seem like a daunting task at first, but with the right steps, it can be a quick and straightforward process. Whether you’re new to RVing or just need a refresher, understanding how to safely and efficiently start your hot water heater is key to ensuring comfort during your travels.
This guide will walk you through the basic steps, helping you heat water for showers, dishwashing, and other daily needs while on the road. Before getting started, it’s essential to familiarize yourself with your specific water heater model, as procedures may vary slightly depending on the type of system in your RV.
What are the Benefits of an RV Hot Water Heater?
Before we jump into the steps, let’s take a moment to appreciate the convenience and comfort that an RV water heater provides. With hot water on demand, you can enjoy a warm shower after a long day of exploring, wash dishes without boiling water on the stove, and even do laundry if your RV has a washing machine.
Having hot water readily available also allows for more flexibility regarding where you park your RV since you won’t have to rely on hook-ups at campsites or other locations for this basic necessity. Plus, starting your day with a cup of coffee or tea made with hot water from your own RV is a simple pleasure that can make all the difference on your travels.
What Will You Need?
Before starting the hot water heater, gather all necessary materials and tools. This includes:
- RV Owner’s Manual: This should be your go-to resource for specific instructions or troubleshooting tips for your RV water heater.
- Matches or Lighter: Depending on the type of water heater you have, you may need a match or lighter to ignite the pilot light.
- Gas and Propane Tank Levels: Ensure your gas and propane tanks have enough fuel to power the water heater.
- Water: Ensure there is water in your fresh water tank before starting the hot water heater.
- Safety Gear: It’s always a good idea to have safety gear on hand, including gloves and eye protection, in case of any accidents or spills during the process.
You’re ready to get started once you have all the necessary materials!
8 Easy Steps on How to Start a RV Hot Water Heater:
Step 1: Check Your RV Hot Water Heater Setup
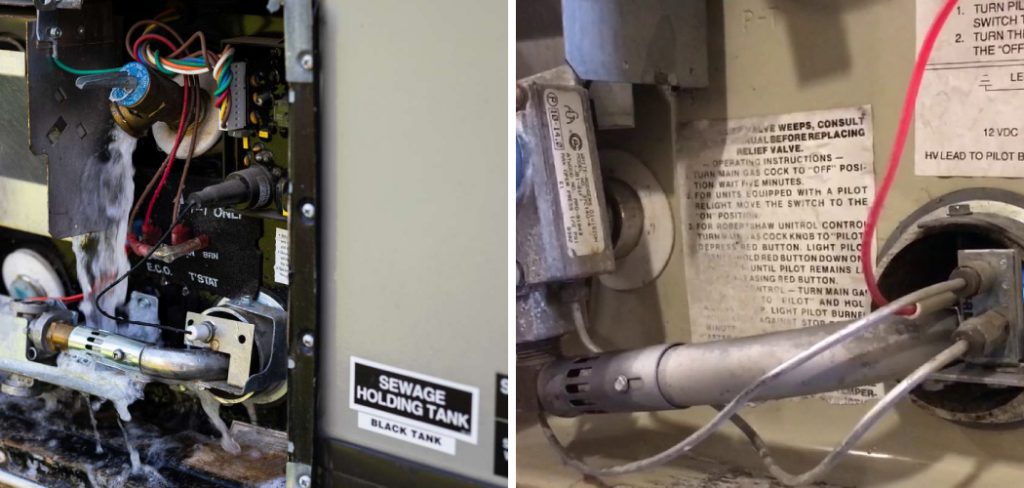
Before you take any action, it is crucial to inspect the RV water heater and confirm that it is ready to be operated. Start by locating the water heater on your RV, as the placement can vary depending on the model. Typically, it can be found on
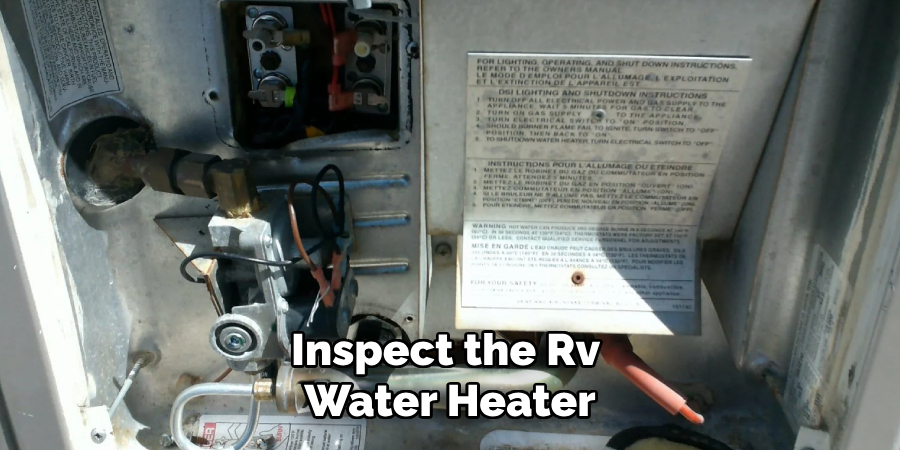
the RV’s exterior, covered by a metal panel or access door. Remove this panel, if necessary, to expose the controls and components of the heater. Examine the area for visible wear, damage, or debris.
Step 2: Turn Off Power Sources
Before proceeding, ensure all power sources connected to the hot water heater are turned off. This includes electricity and propane supplies. For electric heaters, switch off the power at the control panel or breaker box. For propane heaters, close the propane valve to prevent gas flow. This step is essential to avoid accidents or damage while preparing the system for use. Double-check to confirm all power sources are securely turned off.
Step 3: Drain and Flush the Water Heater
To ensure optimal performance and safety, it is essential to drain and flush the water heater before use. Begin by locating the drain plug or anode rod at the bottom of the water heater tank. Carefully remove it to allow any old water to drain completely. Be cautious, as the water may still be hot if the heater was recently in use. Once drained, use a hose or flushing wand to rinse out any sediment or debris that may have accumulated inside the tank. This process helps maintain the efficiency and longevity of the hot water heater. After flushing, securely reinstall the drain plug or anode rod, ensuring it is adequately tightened.
Step 4: Refill the Water Heater
Once the tank has been drained and flushed, it is time to refill the water heater. Begin by closing any open drain valves or reinstalling plugs, ensuring they are secure to prevent leaks. Next, open the cold-water supply valve to allow fresh water to
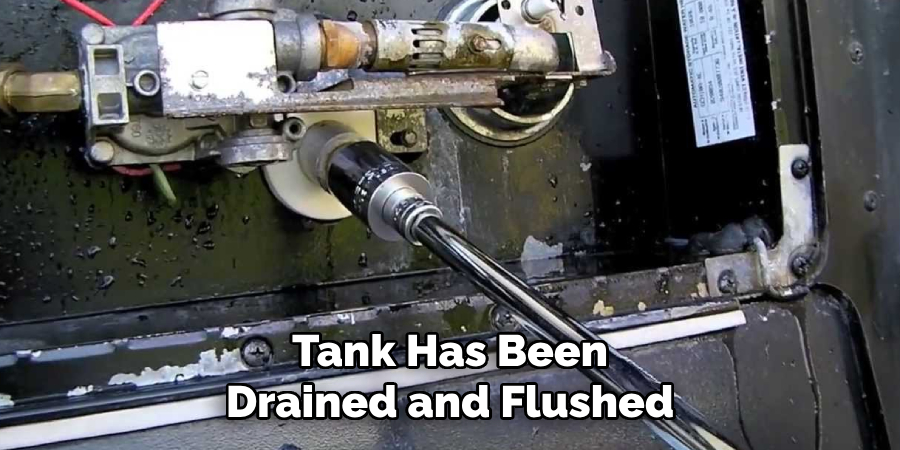
flow into the tank. During this process, keep a hot water faucet open to allow air to escape from the system. Once water starts flowing steadily from the faucet, close it. This step ensures the tank is filled correctly and free of air pockets, preparing the system for efficient operation.
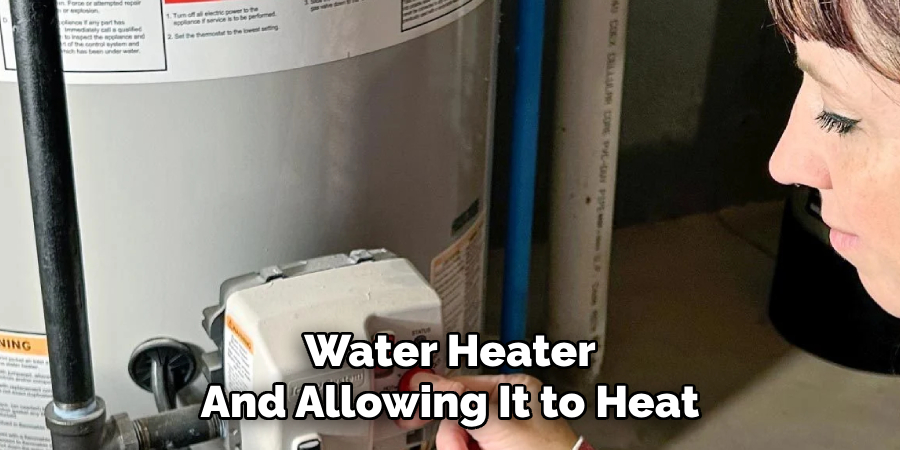
Step 5: Restore Power or Gas Supply
With the water heater tank properly refilled, the next step is to restore its power source. If your water heater is electric, turn the circuit breaker back on to supply electricity to the unit. For gas water heaters, relight the pilot light or follow the manufacturer’s instructions for restarting the ignition system. Ensure that the thermostat is set to the desired temperature, typically around 120°F, for energy efficiency and safety. Allow the water heater some time to heat the water before checking the system to ensure it functions correctly. This final step completes the maintenance process and ensures your water heater is ready for use.
Step 6: Perform a Final Inspection
After restoring power or gas to the water heater and allowing it to heat, perform a final inspection to ensure everything is operating correctly. Check for any leaks around the tank, pipes, and valves, and listen for any unusual noises that might
indicate an issue. Test the hot water from a faucet to confirm it is reaching the desired temperature. If everything appears in order, the water heater maintenance process is completed, and your unit is ready to provide consistent hot water. Regular maintenance helps extend the lifespan of your water heater and ensures optimal performance.
Step 7: Schedule Regular Maintenance
Schedule regular maintenance at least once a year to keep your water heater running efficiently. This includes draining the tank, inspecting the anode rod, and checking for potential wear and tear. Regular maintenance improves performance and helps identify minor issues before they become significant problems. Keeping a record of your maintenance schedule can ensure your water heater remains in excellent working condition for years.
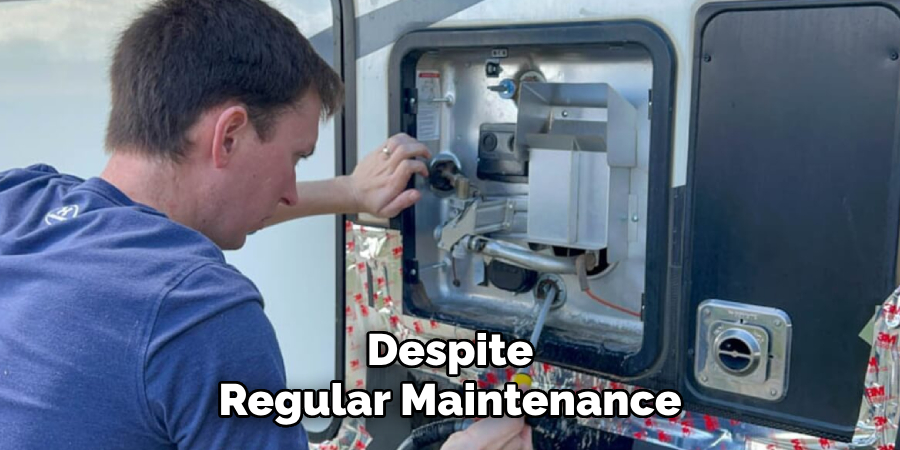
Step 8: Know When to Replace Your Water Heater
Despite regular maintenance, every water heater has a finite lifespan. Most units typically last between 8 to 12 years, depending on the type and usage. If you notice persistent issues such as insufficient hot water, rust-colored water, strange noises, or leaks that cannot be repaired, consider replacing your water heater. Upgrading to a newer, more energy-efficient model can save on energy costs and improve overall performance. Consulting a professional plumber can help ensure you choose the right water heater.
Following these steps, you can safely and effectively start your RV hot water heater. Your water heater will provide reliable hot water for all your RV adventures with proper maintenance and care.
5 Things You Should Avoid
- Skipping the User Manual: Always consult the manufacturer’s instructions before starting your RV water heater. Ignoring this step can lead to improper operation and potential damage.
- Turning It On Without Checking Water Levels: Ensure the water heater tank is filled with water before turning it on. Running it dry can cause the heating element or tank to burn out.
- Using Incorrect Fuel Sources: If your water heater operates on propane, ensure you’re using the correct fuel type. Using the wrong fuel may result in malfunctions or safety hazards.
- Neglecting to Check for Leaks: Inspect the system for any gas or water leaks before firing up the water heater. Operating a hot water heater with leaks can be dangerous and costly.
- Forgetting to Turn Off the Power or Gas Supply Before Maintenance: Always switch off the power or gas supply before performing any maintenance. Skipping this precaution can lead to accidents or injury.
By avoiding these common mistakes, you can ensure safe and successful use of your RV hot water heater.
Conclusion
Starting your RV hot water heater may seem daunting initially, but following these steps and avoiding common mistakes can ensure a smooth and safe process.
Always prioritize safety by reading the manufacturer’s instructions and double-checking your system before starting. Monitor the water levels, use the correct fuel source, and inspect for leaks to maintain the heater’s functionality and avoid potential hazards. Proper preparation and attention to detail extend your water heater’s lifespan and enhance your overall RV experience.
Hopefully, the article on how to start a RV hot water heater has provided you with valuable information and tips to keep your unit in top condition. Happy camping!
About the Author
Adrian Green is a passionate woodworking enthusiast who has dedicated his life to the craft of woodworking. From his early days working alongside his father in the family woodworking shop, Adrian has honed his skills and developed a deep love for creating beautiful, functional pieces with his hands. As the voice behind The Woodenify Blog, he shares his knowledge, tips, and inspiration with fellow woodworkers of all skill levels, helping them build confidence in their abilities while learning new techniques.
Professional Focus
- Specializes in DIY woodworking projects, from furniture making to home décor.
- Provides step-by-step guides, tips, and practical tutorials for woodworkers at any skill level.
- Focused on empowering readers with confidence and knowledge through easy-to-follow instructions and hands-on techniques.
- Passionate about building a community where makers can share, learn, and grow together in the world of woodworking.
Education History
University of Craft and Design – Bachelor of Fine Arts (BFA) in Woodworking and Furniture Design
Woodworking Apprenticeships – Gained extensive hands-on experience through various workshops and mentorships with seasoned craftsmen, refining carpentry and furniture-making skills.
Expertise
- DIY woodworking, carpentry, furniture making, and home décor projects.
- Creating clear, accessible tutorials and guides for beginner to advanced woodworkers.
- Helping readers experience the satisfaction and fulfillment of turning raw materials into stunning finished products.