
A sealed sump pump cover is essential for maintaining an efficient and clean system in your home. Not only does it help prevent odors and moisture from escaping, but it also keeps debris and pests from entering the sump pit. Proper sealing enhances the overall performance of your sump pump and ensures a healthier indoor environment.
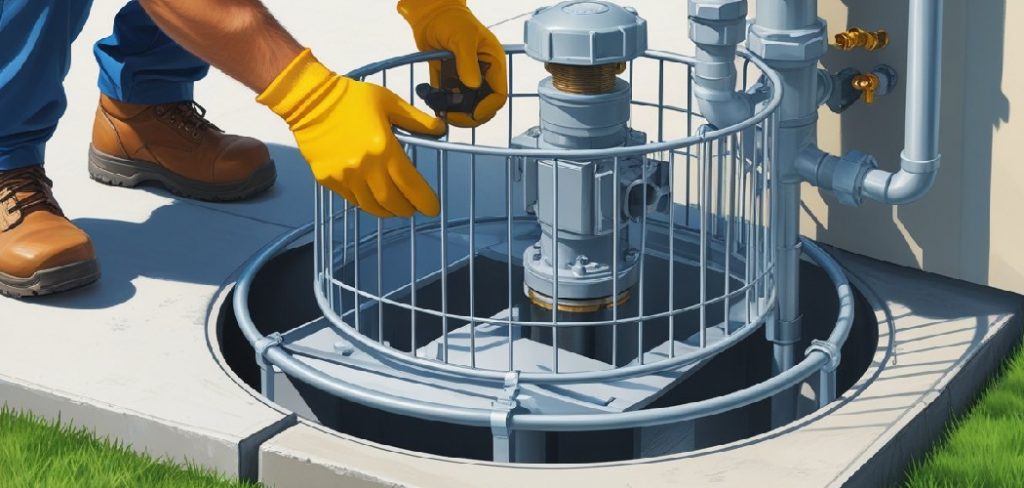
This guide will walk you through the steps on how to seal sump pump cover to effectively seal your sump pump cover effectively, safeguarding your basement or crawl space. To keep your basement looking tidy and safe, consider exploring sump pump cover ideas that combine practicality with aesthetic appeal.
Why You Should Seal Your Sump Pump Cover?
Sealing your sump pump cover comes with numerous advantages that can protect both your home and your health. First and foremost, a sealed cover prevents moisture and unpleasant odors from escaping into your basement or crawl space, reducing the risk of mold growth and poor air quality.
Additionally, it acts as a barrier against pests, dirt, and debris, ensuring that your sump pump operates efficiently without blockages or contamination. A properly sealed sump pump cover also helps to minimize radon gas infiltration, which is crucial for maintaining a safe indoor environment. By sealing your sump pump cover, you extend the lifespan of the system and create a more comfortable and healthy living space.
Types of Sump Pump Covers
When it comes to selecting a sump pump cover, there are several types designed to meet different needs and preferences.
Standard Plastic Covers
These are lightweight and cost-effective options commonly used in residential settings. They provide a basic barrier to keep debris and pests out while allowing for easy installation and maintenance access.
Airtight Covers
For homeowners looking to reduce moisture and radon gas infiltration, airtight covers are an excellent choice. They come with secure seals and gaskets to ensure a proper fit, making them ideal for improving indoor air quality and minimizing humidity in the basement or crawl space.
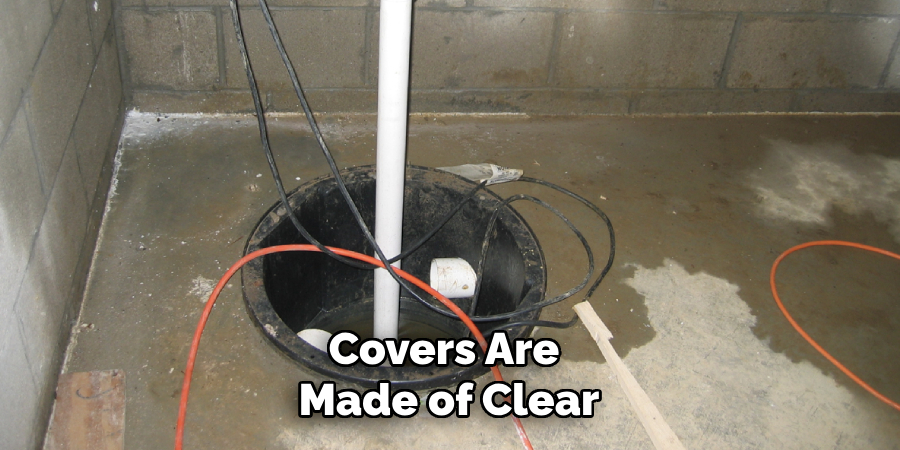
Transparent Covers
These covers are made of clear, durable materials, allowing homeowners to visually inspect the sump pump without needing to remove the cover. Transparent covers combine functionality with convenience, saving time during routine checks.
Custom-Fit Covers
If your sump pump pit has specific dimensions or requires unique accommodations for extra pipes or wiring, custom-fit covers are the perfect solution. They are tailored to fit the unique setup while maintaining a sealed environment to protect against contaminants.
Choosing the right type of sump pump cover depends on your home’s specific requirements, such as moisture control, radon protection, and ease of maintenance.
Tools and Materials Needed
- Airtight Sump Pump Cover (if Upgrading)
- Rubber or Neoprene Gasket/seal
- Silicone Caulk or Waterproof Sealant
- Drill and Screws (for Securing Lid)
- Screwdriver
- Utility Knife (for Trimming Seal or Pipe Openings)
- Pipe Grommets or Rubber Boots (for Discharge/Vent Lines)
7 Step-by-Step Guidelines on How to Seal Sump Pump Cover
Step 1: Preparation
Before sealing your sump pump cover, ensure you have all the necessary tools and materials listed above. Begin by turning off the power to the sump pump to ensure safety while working. Inspect the current sump pump cover and the surrounding area for any debris, dirt, or damage.
Clean the edge of the sump pit thoroughly to create a smooth and dry surface for sealing. If you are upgrading to a new airtight cover, remove the old cover and any previous seals, making sure the area is ready for installation. This preparation step creates the foundation for a proper, long-lasting seal.
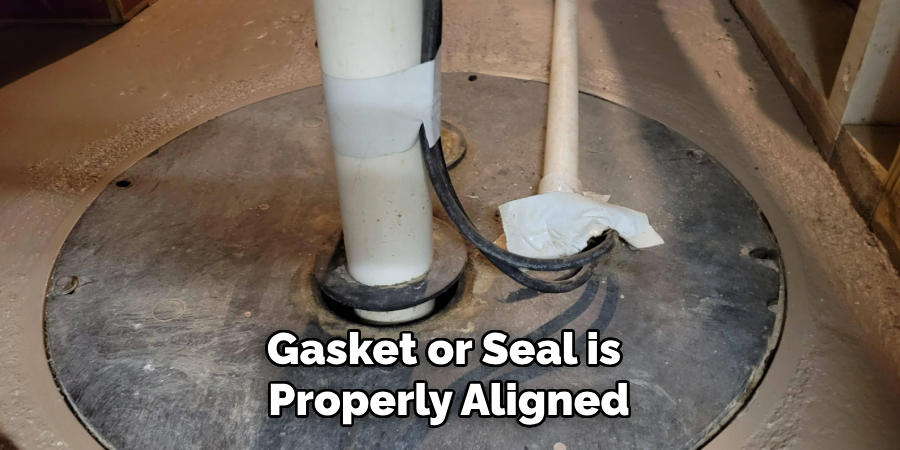
Step 2: Measure and Cut Gasket/Seal
To ensure an airtight fit, start by measuring the perimeter of your sump pump cover carefully. Use a measuring tape to determine the exact length required for the gasket or seal. Once you have the measurements, mark the seal material accordingly and use a utility knife or scissors to cut it to the proper length.
Be precise while cutting to avoid gaps or uneven edges, as these can compromise the seal’s effectiveness. After cutting, double-check the fit by positioning the gasket or seal around the edge of the sump cover to confirm it aligns accurately with the surface.
Step 3: Apply Caulk/Sealant
Once the gasket or seal is properly aligned, proceed to apply a bead of caulk or sealant along the surface where the seal will rest. Use a caulking gun for precision, ensuring a consistent and even application. Begin at one corner and work your way around the entire edge of the sump cover, maintaining a steady hand to avoid gaps or excess sealant.
The sealant will help secure the gasket in place and provide an additional layer of protection against leaks. Allow the caulk to set for the recommended time specified by the manufacturer before reassembling the sump cover.
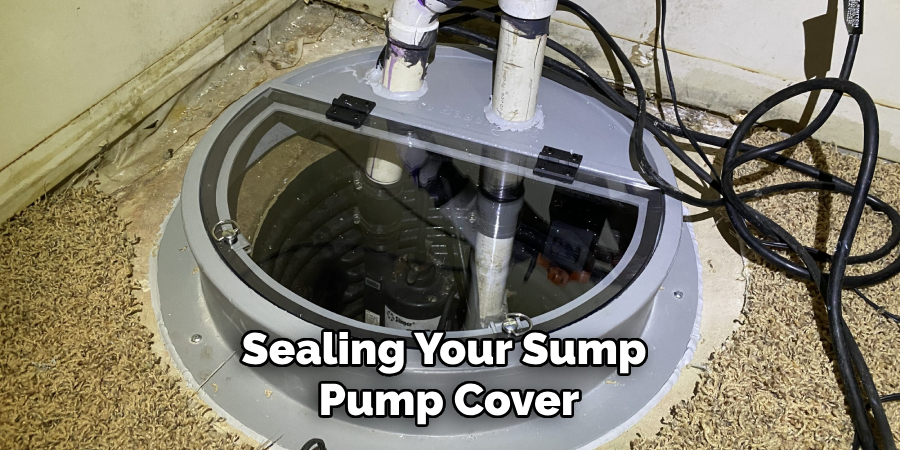
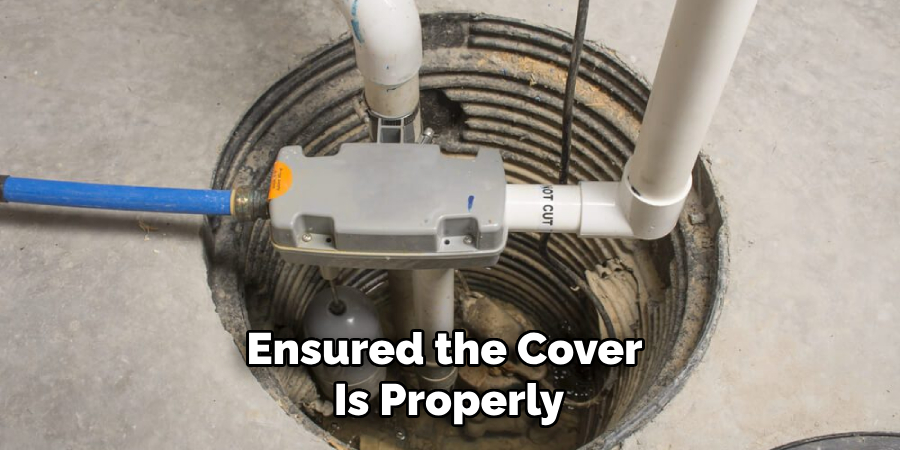
Step 4: Place Cover on Pit
Carefully position the sump cover over the pit, aligning it with the edges and ensuring it fits snugly into place. Press down gently but firmly to ensure the gasket makes full contact with the caulk or sealant, creating a secure and airtight seal. Double-check that all sides are evenly aligned and the cover sits flat without any gaps.
This step is crucial for preventing water or debris from entering the pit and maintaining the integrity of the system. Once the cover is properly seated, proceed to secure it in place according to the manufacturer’s instructions, often with screws or clamps for additional stability.
Step 5: Test for a Tight Seal
After securing the cover, it is important to test for a tight seal to ensure the system is properly protected. Inspect the edges of the cover to confirm there are no visible gaps or irregularities. You can also gently apply pressure around the perimeter of the cover to check for any movement or looseness.
If possible, run a quick water test by pouring a small amount of water around the edges of the cover to see if any leaks occur. Address any issues immediately, such as tightening screws or repositioning the cover, to maintain the effectiveness of the seal. A thorough check at this stage will help prevent future complications caused by water ingress or debris.
Step 6: Secure Cover
Once you’ve ensured the cover is properly aligned and free of gaps or irregularities, proceed to secure it firmly in place. Use the appropriate tools, such as a screwdriver or wrench, to tighten all screws or bolts evenly.
Be careful not to overtighten, as this could damage the cover or its fittings. During this step, double-check that the seal remains intact and that no components have shifted. A secured cover will protect against potential issues such as moisture intrusion, debris accumulation, or mechanical malfunction, ensuring the system stays in optimal condition.
Step 7: Allow Time to Dry
After securing the cover, it is critical to allow sufficient time for any seals, adhesives, or lubricants used during the installation to dry or cure completely. Refer to the manufacturer’s guidelines for the recommended drying time, as this can vary depending on the materials involved. Ensuring proper drying is essential for maintaining a watertight seal and preventing premature wear or damage. Avoid operating the system or exposing it to moisture during this period, as this could compromise the integrity of the installation. Patience at this stage will help ensure long-term performance and reliability.
Following these steps on how to seal sump pump cover will not only help to keep your basement dry, but it will also save you time and money in the long run. A properly sealed sump pump cover can prevent costly water damage and the need for frequent maintenance or replacements.
Additional Tips for Sealing Appliances
- Make sure to clean and dry all surfaces thoroughly before applying caulk or gasket material.
- When adding additional layers of gasket material, make sure to wait for each layer to dry before applying another one.
- Use a caulking gun for precise application of caulk.
- For larger gaps or holes, consider using a combination of caulk and gasket material for a stronger seal.
- Regularly check and replace worn or damaged gaskets to maintain a tight seal.
- Consult the manufacturer’s instructions for recommended maintenance and replacement schedules for gaskets and seals on your specific appliances.
- Consider investing in waterproof or water-resistant appliances, especially for areas prone to high levels of moisture such as bathrooms or laundry rooms. These appliances typically have built-in seals and gaskets designed to withstand exposure to water.
- If you are not confident in your ability to properly seal an appliance, it is best to hire a professional who has experience with appliance repairs and maintenance.
Conclusion
Proper maintenance and attention to detail are essential for ensuring the longevity and efficiency of your appliances. By routinely inspecting seals and gaskets, investing in moisture-resistant options, and seeking professional assistance when needed, you can prevent costly damages and extend the lifespan of your appliances.
Taking these proactive steps will not only save you time and money but also provide peace of mind in the long run. Thanks for reading this article on how to seal sump pump cover.
About the Author
Adrian Green is a passionate woodworking enthusiast who has dedicated his life to the craft of woodworking. From his early days working alongside his father in the family woodworking shop, Adrian has honed his skills and developed a deep love for creating beautiful, functional pieces with his hands. As the voice behind The Woodenify Blog, he shares his knowledge, tips, and inspiration with fellow woodworkers of all skill levels, helping them build confidence in their abilities while learning new techniques.
Professional Focus
- Specializes in DIY woodworking projects, from furniture making to home décor.
- Provides step-by-step guides, tips, and practical tutorials for woodworkers at any skill level.
- Focused on empowering readers with confidence and knowledge through easy-to-follow instructions and hands-on techniques.
- Passionate about building a community where makers can share, learn, and grow together in the world of woodworking.
Education History
University of Craft and Design – Bachelor of Fine Arts (BFA) in Woodworking and Furniture Design
Woodworking Apprenticeships – Gained extensive hands-on experience through various workshops and mentorships with seasoned craftsmen, refining carpentry and furniture-making skills.
Expertise
- DIY woodworking, carpentry, furniture making, and home décor projects.
- Creating clear, accessible tutorials and guides for beginner to advanced woodworkers.
- Helping readers experience the satisfaction and fulfillment of turning raw materials into stunning finished products.