
Are you tired of dealing with hard water? Do you notice an unsightly buildup on your faucets and fixtures? If so, it may be time to sanitize your water softener.
How to sanitize water softener is an essential maintenance step to ensure it functions efficiently and provides clean, safe water for your household. Over time, water softeners can accumulate bacteria, mold, and other contaminants, particularly in the brine tank, which may compromise water quality. Regular sanitization not only eliminates harmful microorganisms but also prolongs the lifespan of your system. As a bonus, it can also improve the taste and smell of your water.
This guide will walk you through the steps necessary to sanitize your water softener effectively, ensuring optimal performance and peace of mind. Let’s get started!
What Are the Benefits of Sanitizing Your Water Softener?
As mentioned, regular sanitization of your water softener has numerous benefits, including:
- Removes Bacteria and Mold Buildup: Bacteria and mold can thrive in a water softener’s warm, moist environment. Sanitizing helps eliminate these harmful microorganisms that can potentially contaminate your drinking water.
- Prevents Clogs: Mineral deposits can build up in your water softener over time, causing clogging and reduced efficiency. Regular sanitization prevents this buildup, ensuring smooth operation.
- Prolong Lifespan: A well-maintained water softener can last for many years. Keeping it sanitized reduces the risk of breakdowns and costly repairs, ultimately extending its lifespan.
- Improves Water Quality: Sanitizing your water softener can improve the taste and smell of your water. By removing contaminants, you’ll notice a significant difference in the quality of your drinking, cooking, and bathing water.
What Will You Need?
Before starting the sanitization process, gather the following materials:
- Bleach: 1/4 cup of household bleach is recommended for sanitizing a standard-sized water softener.
- Protective Gear: It’s essential to protect yourself from potential chemical exposure when working with bleach. Wear gloves and safety glasses at all times.
- Clean Water: You’ll need clean, potable water to rinse the system after sanitizing.
- Screwdriver or Wrench: Depending on your water softener model, you may need a screwdriver or wrench to remove parts for cleaning and rinsing.
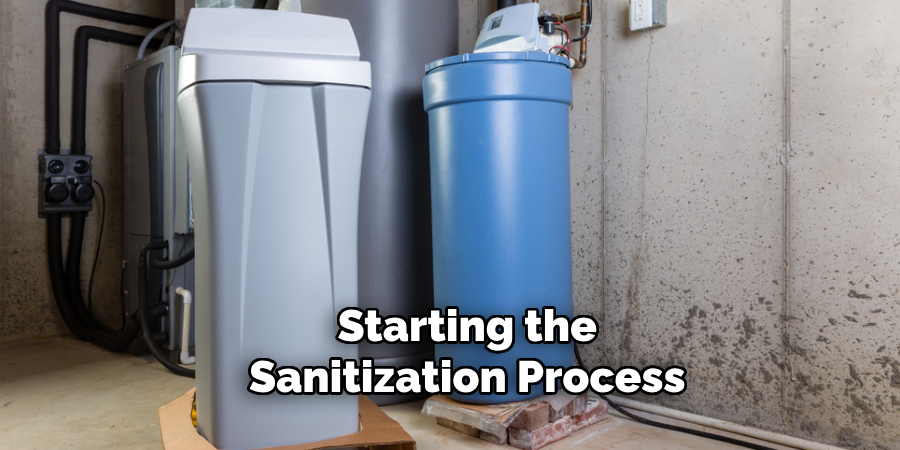
Once you have everything on hand, you’re ready to begin the sanitization process.
9 Easy Steps on How to Sanitize Water Softener
Step 1: Turn Off the Water Supply
The first step in sanitizing your water softener is to shut off the water supply to ensure safety and prevent any accidental leaks or water flow. Locate the main water valve connected to your water softener and turn it to the “off” position. This step is crucial to avoid interference during cleaning and to protect the system’s components from pressure while you work. For added precaution, you may also want to shut off the electrical supply to the unit if it is powered to ensure no accidental activation. Take a moment to double-check that the water supply is completely off before proceeding to the next step.
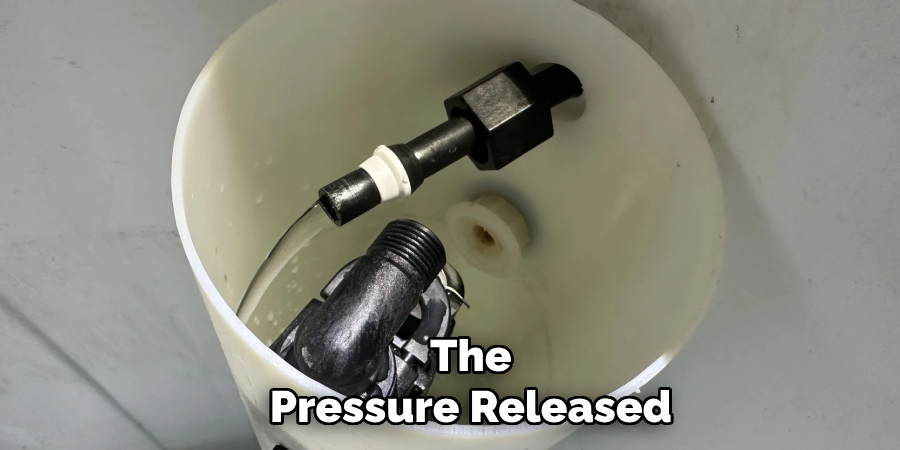
Step 2: Release Water Pressure
After shutting off the water supply, the next step is to release the water pressure from the system. Locate the bypass or pressure release valve on your water softener and carefully open it to allow any built-up pressure to escape. This step ensures a safer cleaning process and prevents sudden water bursts when disassembling unit parts. Once the pressure has been released, close the valve and proceed to the next step.
Step 3: Remove and Clean the Brine Tank
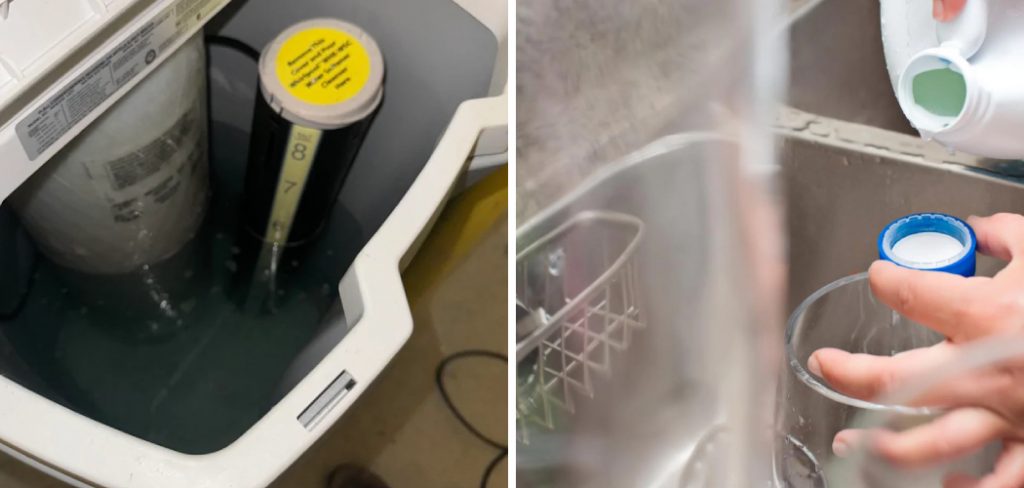
With the pressure released, it’s time to focus on the brine tank. Open the brine tank lid and remove any leftover salt or brine solution from the tank. Carefully scoop out or drain the contents into a suitable container for disposal. Once emptied,
scrub the inside of the tank using a mild detergent mixed with warm water and a soft brush. This will remove any sediment, salt buildup, or residue that may have accumulated over time. Rinse the tank thoroughly with clean water to remove all soap and debris. After rinsing, allow the tank to dry before reassembling or refilling it.
Step 4: Inspect and Clean the Resin Tank
After addressing the brine tank, turn your attention to the resin tank. Begin by carefully disconnecting the tank from the water softener system, following the manufacturer’s guidelines to avoid damage. Once detached, inspect the resin beads for any signs of clogging, dirt, or wear. Clean the tank by flushing it with a resin cleaner solution to restore its effectiveness. Follow the cleaner’s instructions closely, ensuring thorough rinsing to remove any residual chemicals. After cleaning, reattach the resin tank to the system securely before proceeding.
Step 5: Refill the Brine Tank
After ensuring both the brine tank and resin tank are clean and properly reassembled, proceed to refill the brine tank. Add the appropriate amount of water and salt as specified by your water softener’s manufacturer. Use high-quality, pure salt to prevent buildup and maintain system efficiency.
Be mindful not to overfill the tank, which could disrupt the water-to-salt ratio needed for optimal performance. Once refilled, ensure the float assembly and other components are functioning correctly. This step prepares the system for effective regeneration and ongoing use.
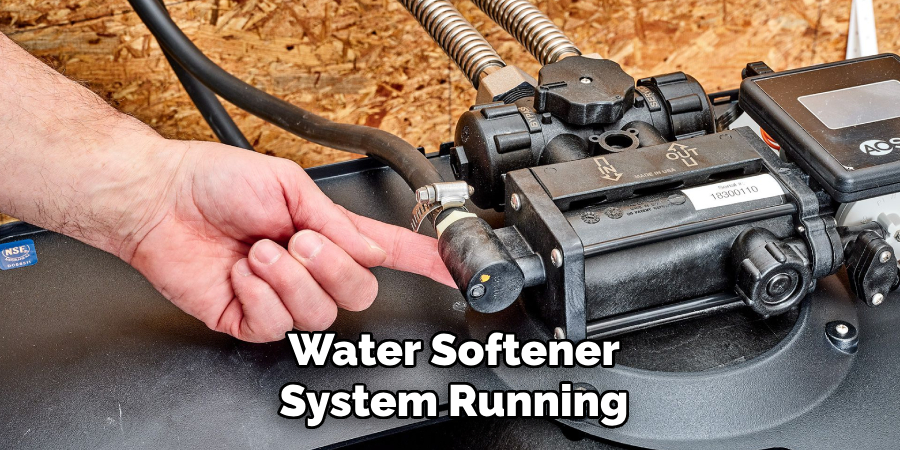
Step 6: Restart and Test the System
With the brine tank refilled and all components reassembled, restart the water softener system according to the manufacturer’s instructions. Ensure the unit is properly plugged in and powered on, and initiate a manual regeneration cycle if necessary to confirm the system is functioning correctly. Observe the system during this process to check for leaks, unusual noises, or errors. Test the softened water output once the regeneration cycle is complete to ensure it meets the expected quality. Regular testing can help identify potential issues early and ensure your system continues to operate efficiently.
Step 7: Conduct Routine Maintenance
To keep your water softener system running efficiently over time, it is essential to establish a routine maintenance schedule. Check the salt levels in the brine tank regularly, typically once a month, and refill with the appropriate type of
salt as needed. Inspect the system for any signs of wear or potential issues, such as clogged injector screens or salt bridges. Clean the brine tank periodically to prevent sediment buildup and ensure proper operation. By staying proactive with maintenance, you can extend the lifespan of your water softener and maintain consistently high water quality.
Step 8: Troubleshooting Common Issues
Even with regular maintenance, it’s possible to encounter occasional problems with your water softener system. If you notice hard water symptoms appearing, such as mineral buildup on fixtures or a decrease in soap lathering, check that the brine tank has sufficient salt and that no salt bridges are blocking the system.
nspect the control valve and settings to ensure they are correctly programmed for your household’s water usage. If the regeneration cycle fails to initiate, verify that the power supply is functional and that the system timer is working correctly. Consult the user manual for specific troubleshooting steps or contact a professional technician if the issue persists. Addressing these issues promptly will help restore your system’s performance and prevent long-term damage.
Step 9: Replacing Worn-Out Parts
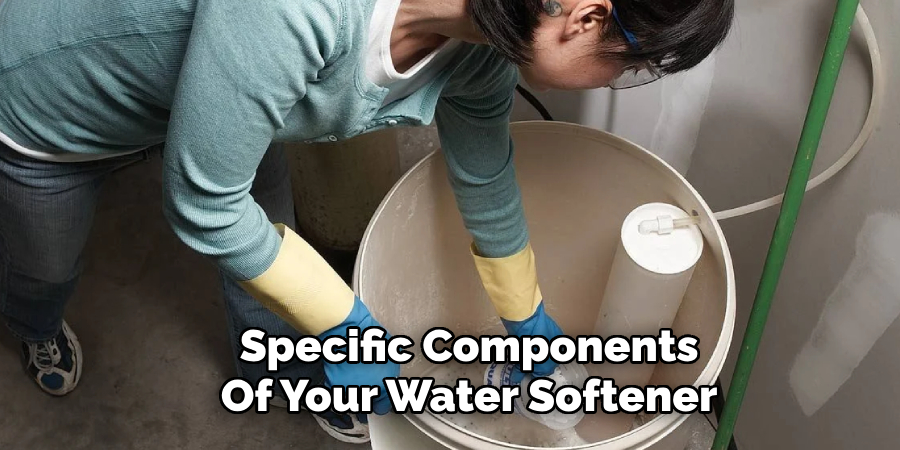
Over time, specific components of your water softener system may wear out and require replacement. Common parts that may need to be replaced include the resin beads, control valve, or brine tank float. Regularly inspect these components during maintenance and look for signs of damage or reduced performance, such as yellowing resin beads or a faulty float mechanism. Refer to your system’s user manual for guidance on replacing parts properly. Ensuring that worn-out components are replaced promptly will extend the life of your water softener and maintain its efficiency.
By following these steps and establishing a regular maintenance routine, you can keep your water softener system running smoothly and ensure high-quality softened water for your household.
5 Things You Should Avoid
- Using Harsh Chemicals: Avoid using overly strong or abrasive chemicals that can damage the water softener’s resin beads or internal components. Stick to approved cleaning agents specifically designed for water softeners.
- Skipping Pre-Cleaning Steps: Neglecting to clean the brine tank or remove any sediment before sanitizing can hinder the process and allow contaminants to remain in the system.
- Overusing Bleach: While bleach can be used in small quantities for sanitization, excessive use may cause corrosion or harm to plastic components, reducing the unit’s lifespan.
- Ignoring Manufacturer Guidelines: Always follow the manufacturer’s instructions when sanitizing your water softener. Deviation from these guidelines can lead to improper cleaning or damage to the equipment.
- Failing to Rinse Thoroughly: After sanitizing, failing to rinse the system properly can leave chemical residues in your water supply. Ensure your water softener is flushed thoroughly before use.
Conclusion
How to sanitize water softener is essential for maintaining its efficiency and ensuring the safety of your water supply.
You can protect the system’s components and enhance its longevity by avoiding common mistakes like overusing bleach or skipping pre-cleaning steps. Always adhere to the manufacturer’s guidelines, use approved cleaning agents, and thoroughly rinse the unit after sanitization to prevent chemical residues.
Regular maintenance and proper sanitization will prolong the life of your water softener and ensure cleaner, safer water for your home.
About the Author
Adrian Green is a passionate woodworking enthusiast who has dedicated his life to the craft of woodworking. From his early days working alongside his father in the family woodworking shop, Adrian has honed his skills and developed a deep love for creating beautiful, functional pieces with his hands. As the voice behind The Woodenify Blog, he shares his knowledge, tips, and inspiration with fellow woodworkers of all skill levels, helping them build confidence in their abilities while learning new techniques.
Professional Focus
- Specializes in DIY woodworking projects, from furniture making to home décor.
- Provides step-by-step guides, tips, and practical tutorials for woodworkers at any skill level.
- Focused on empowering readers with confidence and knowledge through easy-to-follow instructions and hands-on techniques.
- Passionate about building a community where makers can share, learn, and grow together in the world of woodworking.
Education History
University of Craft and Design – Bachelor of Fine Arts (BFA) in Woodworking and Furniture Design
Woodworking Apprenticeships – Gained extensive hands-on experience through various workshops and mentorships with seasoned craftsmen, refining carpentry and furniture-making skills.
Expertise
- DIY woodworking, carpentry, furniture making, and home décor projects.
- Creating clear, accessible tutorials and guides for beginner to advanced woodworkers.
- Helping readers experience the satisfaction and fulfillment of turning raw materials into stunning finished products.