
Maintaining your RV water heater is essential for ensuring access to safe, clean water while you’re on the road. One critical aspect of this maintenance is learning how to sanitize RV water heater systems properly. Over time, water heaters can accumulate bacteria, mineral deposits, and unpleasant odors if left unchecked. Regular sanitization helps prevent bacterial growth, eliminates foul smells, and reduces sediment buildup, which can compromise both water quality and the heater’s efficiency.
This guide walks you through a simple, step-by-step process to sanitize your RV water heater effectively. By following these steps, you can optimize the performance of your water heater and safeguard the health and hydration of those traveling with you. Proper sanitization is a small but vital task that ensures your RV adventures are safe and enjoyable with high-quality water at your fingertips.
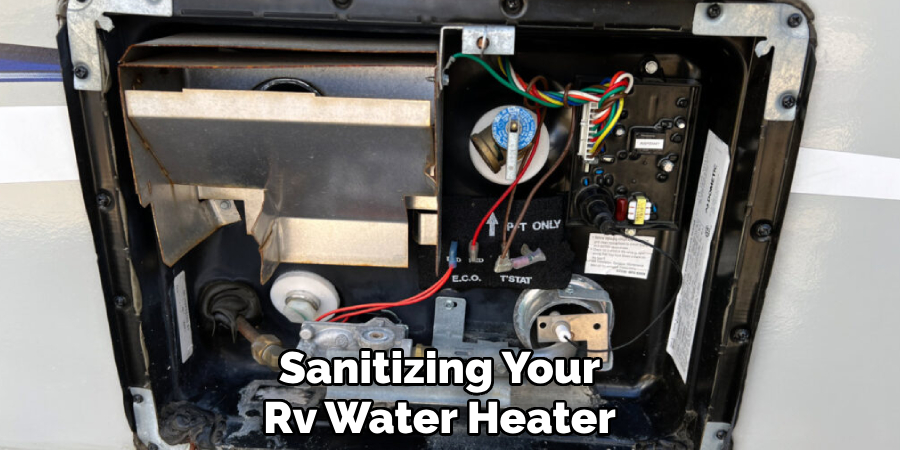
Understanding the Need for Sanitizing Your RV Water Heater
Keeping your RV water heater sanitized is essential for maintaining its functionality and your water supply’s safety. If not regularly cleaned, water heaters can become breeding grounds for bacteria, such as Legionella, which can cause serious health problems, including respiratory issues.
Additionally, the accumulation of sediment, mineral deposits, and other contaminants can decrease the efficiency of your water heater, leading to increased energy usage and potential damage to the system over time.
Risks of Not Sanitizing
- Growth of bacteria like Legionella poses significant health risks.
- Accumulation of sediment and mineral deposits reduces the heater’s efficiency and lifespan.
- Noticeable odors or discoloration in your water, making it unpleasant or unsafe for consumption.
When to Sanitize
It is advisable to sanitize your RV water heater before the beginning of each travel season, particularly after winterizing your RV. Additionally, sanitization should be performed after the water heater has been unused for a prolonged period, such as during storage or between trips. Regular maintenance ensures you have access to clean, safe water while enjoying your adventures and keeps your heater running optimally.
Materials and Tools Needed for Sanitizing
Proper preparation is key to safely and effectively sanitizing your RV water heater. Here’s a list of essential materials, tools, and safety equipment you’ll need for the process:
Essential Materials
- RV-safe water heater sanitizer: Use an appropriate sanitizer, such as bleach or hydrogen peroxide, to effectively eliminate bacteria and other contaminants.
- Water softener or vinegar (optional): Useful for tackling heavy mineral buildup in hard water areas, ensuring a thorough cleaning.
Tools Needed
- Wrench: To safely and efficiently remove the drain plug from your water heater.
- Funnel and bucket: For managing liquids during sanitization, such as adding sanitizer or draining old water.
- Garden hose or fresh water supply: It is necessary to thoroughly flush the water heater after applying the sanitizer.
Safety Equipment
- Gloves and goggles: Protect your hands and eyes from harsh chemicals like bleach or other sanitizing agents during cleaning.
Having all these materials and tools on hand will ensure a safe, smooth, and effective water heater sanitization experience, helping maintain both the efficiency of the system and the safety of your water supply.
Preparing the RV Water Heater for Sanitizing
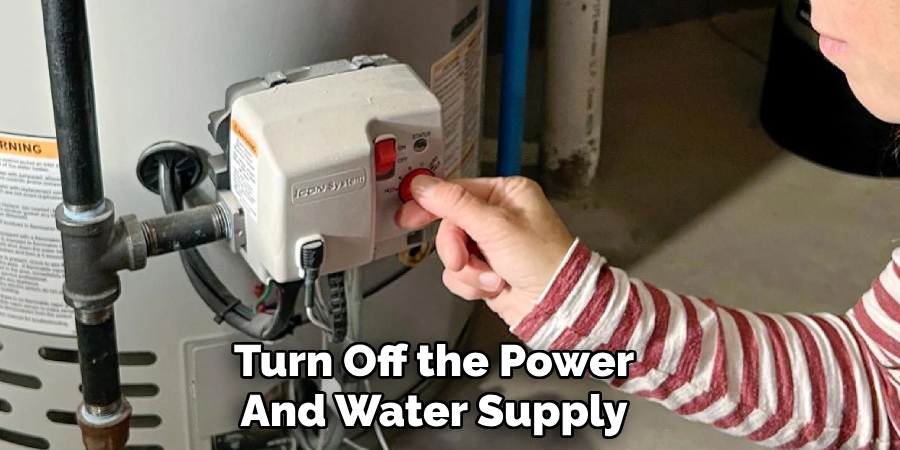
Step 1: Turn Off the Power and Water Supply
Before beginning the sanitization process, ensure the RV’s water supply and the power source to the water heater are entirely turned off. If your water heater runs on electricity, switch off the electrical connection at the breaker. If it is powered by gas, turn off the gas supply at the valve. Also, disconnect any external water sources to prevent unintended water flow during maintenance. Taking these precautions reduces the risk of injury and ensures a controlled sanitization process.
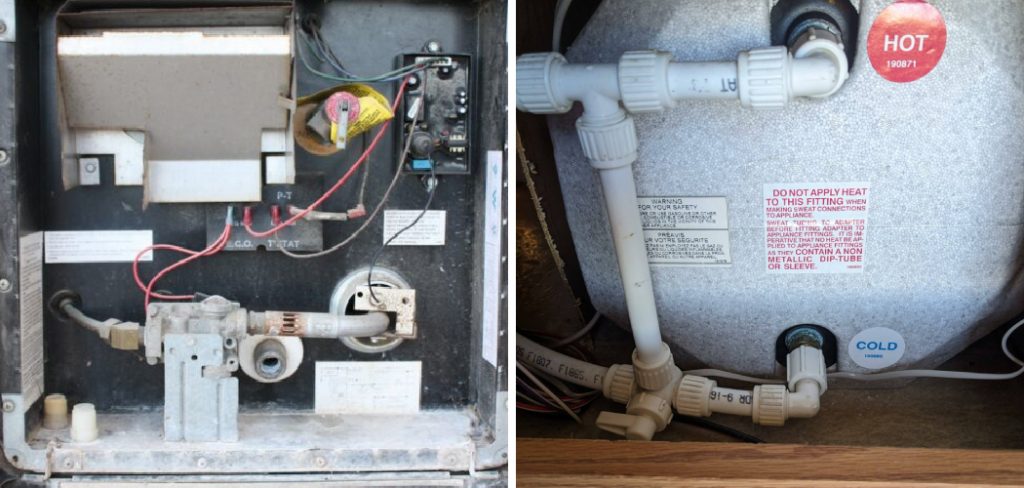
Step 2: Drain the Water Heater
Locate the drain plug or anode rod on your water heater and use a wrench to remove it. Once removed, allow all the remaining water to flow out of the tank. Be patient and ensure the tank drains completely, as this is essential for eliminating accumulated sediment or mineral buildup that could interfere with the sanitization process. Collect the drained water in a bucket if necessary to avoid messes, and properly dispose of it.
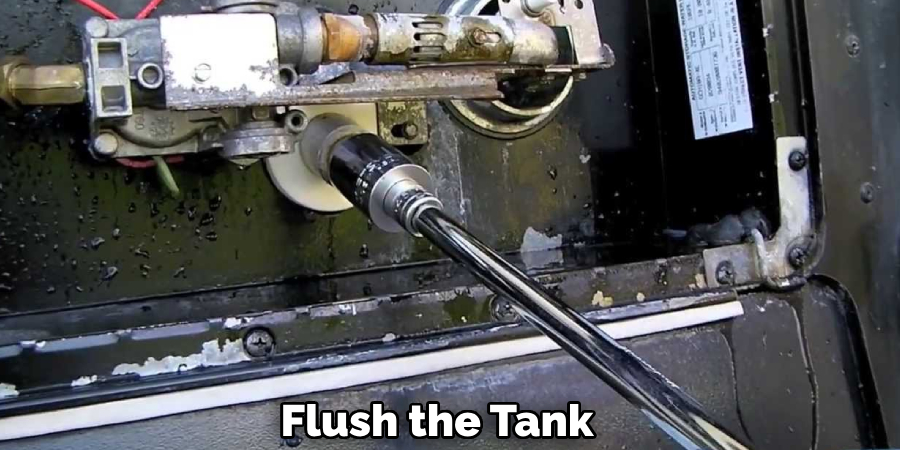
Step 3: Flush the Tank
After draining the tank, use a garden hose to flush out the inside of the water heater. Direct the stream of water into the tank to dislodge any remaining debris or residue stuck on the interior walls. Continue flushing until the water runs clear, indicating that the tank has been effectively rinsed. Once complete, allow the water heater to fully empty and air dry before moving on to the sanitizing phase.
How to Sanitize RV Water Heater: Adding Sanitizing Solution to the Water Heater
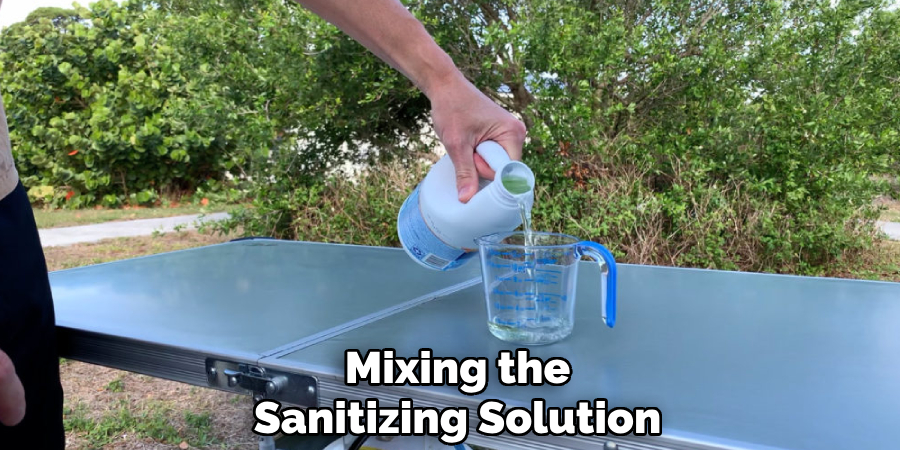
Step 1: Mixing the Sanitizing Solution
Prepare the sanitizing solution by mixing bleach with water according to the manufacturer’s recommendations. A common guideline is to use 1/4 cup of unscented bleach for every 16 gallons of water, but verify the exact measurements for your specific system. Alternatively, you can use a premixed, RV-safe sanitizing solution commonly available at RV supply stores. These products provide a convenient option and ensure accurate proportions for effective sanitization.
Step 2: Pouring the Solution Into the Water Heater
Once the sanitizing solution is ready, use a funnel to pour it into the water heater’s inlet valve carefully. Make sure the water heater is completely empty before adding the solution. This ensures that the sanitizing mixture thoroughly coats the tank’s interior surfaces. Slowly pour the solution to avoid spilling, and ensure all of the prepared mixture enters the tank.
Step 3: Filling the System with Water
Turn the water supply back on to fill the tank with fresh water. This will help distribute the sanitizing solution evenly throughout the water heater. Next, open all hot water taps inside your RV to allow the mixture to flow through the plumbing system. Once the distinct smell of bleach or sanitizer is noticeable at the taps, close the taps and leave the solution in the tank and system for the recommended duration (typically four to six hours). This waiting period ensures the sanitizing solution has sufficient time to eliminate bacteria, mold, and other contaminants.
Let the Solution Sit and Sanitizing the System
Time to Let the Solution Sit
Allow the sanitizing solution to remain in the water heater and plumbing system for at least 30 minutes or up to 1 hour. This dwell time is critical to kill bacteria, mold, and other contaminants thoroughly. The solution also removes any mineral buildup from the tank and pipes, keeping your water system clean and efficient.
Check for Odors
During this process, you may notice the distinct smell of bleach or sanitizer, which is entirely normal. To ensure proper ventilation and avoid discomfort, consider opening the windows or doors of your RV. This will help dissipate the smell while the solution does its job.
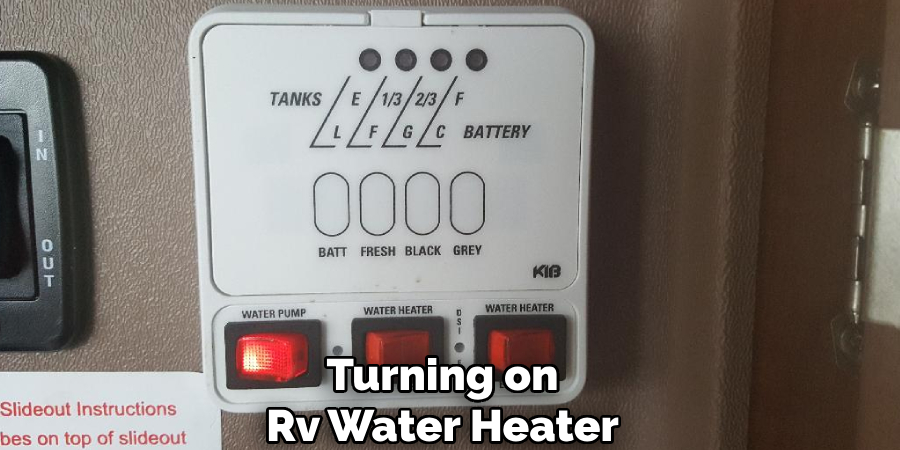
Turning On the Water Heater
To enhance the circulation of the sanitizing solution, briefly turn on the water heater. Be careful not to fully heat the water while the solution is active, as this is unnecessary for the sanitization process and can produce unwanted heat. By circulating the solution, you ensure that all interior surfaces of the tank and the plumbing system are adequately treated. Ensure the system remains undisturbed for the rest of the stipulated time to maximize the effectiveness of this step.
Flushing and Rinsing the Water Heater
Draining the Sanitizing Solution
After waiting, it is time to remove the sanitizing solution from the water heater. Begin by turning off the water heater to ensure safety, then drain the solution completely from the tank. Collect and dispose of the drained solution responsibly, following any local regulations. Proper drainage ensures that no residue remains inside the system, setting the stage for a thorough rinse.
Rinsing with Fresh Water
Once the tank has been fully drained, start flushing the water heater with fresh water. This step is critical for removing any lingering sanitizer or bleach. Refill the tank with clean water and drain it repeatedly, flushing out all traces of odor or solution. Continue the process until the smell of bleach or sanitizer is completely eliminated and the water runs clear. Adequate rinsing is essential to ensure your water system is safe and ready for use, free from any residual chemicals that could affect the taste or quality of your water.
Testing the Water Heater and Final Steps
Once the water heater has been thoroughly rinsed, it is time to turn it back on. Start by restoring power to the unit or relighting the pilot light if it operates on gas. Allow the water heater to reach its normal operating temperature and test its functionality.
Next, run the hot water taps throughout your system to check the water quality. Ensure there is no lingering bleach or sanitizer smell and the water flows freely and clearly. This step is crucial to confirming that the rinsing process was successful and your water is safe for use.
Finally, inspect the water heater and all associated connections for any leaks. Tighten fittings as necessary to eliminate drips, ensuring everything is secure. Completing these checks will confirm that your water heater is functioning properly and is ready for regular use.
Conclusion
Maintaining your RV water heater is essential for clean and safe travel water. By draining, sanitizing, and flushing, you can ensure your system is free from harmful bacteria and debris. Knowing how to sanitize RV water heater systems is key to preserving their performance and providing safe drinking water. Regular sanitization minimizes the risk of bacterial growth and sediment buildup, which can negatively impact water quality and heater efficiency. To extend the lifespan of your water heater, perform periodic checks and maintenance, keeping your system reliable and ready for every adventure.
About the Author
Adrian Green is a passionate woodworking enthusiast who has dedicated his life to the craft of woodworking. From his early days working alongside his father in the family woodworking shop, Adrian has honed his skills and developed a deep love for creating beautiful, functional pieces with his hands. As the voice behind The Woodenify Blog, he shares his knowledge, tips, and inspiration with fellow woodworkers of all skill levels, helping them build confidence in their abilities while learning new techniques.
Professional Focus
- Specializes in DIY woodworking projects, from furniture making to home décor.
- Provides step-by-step guides, tips, and practical tutorials for woodworkers at any skill level.
- Focused on empowering readers with confidence and knowledge through easy-to-follow instructions and hands-on techniques.
- Passionate about building a community where makers can share, learn, and grow together in the world of woodworking.
Education History
University of Craft and Design – Bachelor of Fine Arts (BFA) in Woodworking and Furniture Design
Woodworking Apprenticeships – Gained extensive hands-on experience through various workshops and mentorships with seasoned craftsmen, refining carpentry and furniture-making skills.
Expertise
- DIY woodworking, carpentry, furniture making, and home décor projects.
- Creating clear, accessible tutorials and guides for beginner to advanced woodworkers.
- Helping readers experience the satisfaction and fulfillment of turning raw materials into stunning finished products.