
Are you looking for a clean and safe way to run your propane gas line underground? Look no further, as this guide will provide you with all the necessary steps and tips on doing it correctly.
Running a propane gas line underground requires careful planning, safety guidelines adherence, and local building codes compliance. This process ensures a reliable and safe supply of propane for residential or commercial use while keeping the installation discreet and protected. Whether you’re setting up a new propane system or extending an existing line, proper materials, techniques, and attention to detail are crucial to prevent leaks and ensure long-term durability.
This guide on how to run propane gas line underground will walk you through the key steps to effectively and safely install a propane gas line underground.
What Are the Benefits of Running Propane Gas Line Underground
Before we dive into the steps on how to run a propane gas line underground, let’s first take a look at the advantages of choosing this installation method:
- Aesthetics: Running your propane gas line underground allows for a cleaner and more discreet installation. This is especially beneficial for residential properties where above-ground pipes can be an eyesore.
- Protection From Weather Elements: Underground gas lines are protected from any damage caused by extreme weather conditions such as strong winds, heavy rains, or snowstorms.
- Prevents Accidents: Underground installations have no risk of accidentally hitting or damaging the gas line, unlike above-ground installations that may be exposed to accidental contact.
- Cost-Efficient: Running your propane gas line underground can also save you money in the long run. Since it’s protected from damage, you won’t have to spend on frequent repairs or replacements.
Now that we’ve covered the benefits of installing a propane gas line underground, let’s move on to the steps to do it correctly.
What Will You Need?
- Propane gas tank
- Underground propane gas pipe (polyethylene or copper)
- Pipe fittings (valves, couplings, etc.)
- Trenching equipment (depending on the length of the line)
- Gas leak detector solution
- Shovel and digging tools
Once you have all these materials ready, it’s time to start the installation process.
10 Easy Steps on How to Run Propane Gas Line Underground
Step 1. Plan Your Route:
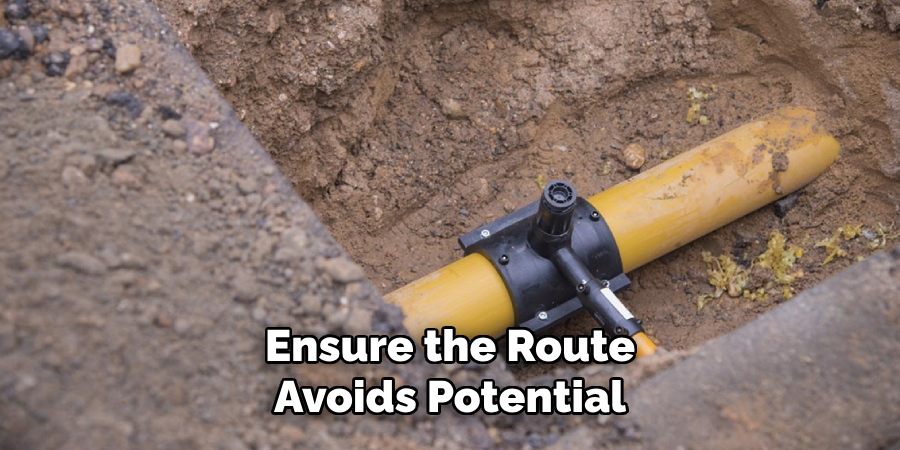
Begin by thoroughly planning the exact path where the propane gas line will be installed underground. Consider the distance from the propane tank to the appliance or structure it will supply, and ensure the route avoids potential obstacles like large tree roots, utility lines, or other underground structures. Check your local building codes and regulations to determine setbacks, depth requirements, and any specific restrictions for underground propane lines. It is also crucial to contact your local “Call Before You Dig” service to mark out any existing utility lines to prevent accidental damage. A well-thought-out plan will save time and reduce the risk of complications during the installation process.
Step 2. Obtain Necessary Permits:
Before digging or installing, obtain the required permits from your local authorities. Many areas have strict regulations concerning installing underground propane gas lines to ensure safety and compliance with building codes. Failing to secure the proper permits can lead to fines or even having to redo the work. Check with your local zoning or building department for specific requirements and approvals needed in your area. This step ensures that your installation is legally authorized and meets all safety standards.
Step 3. Excavate the Trench:
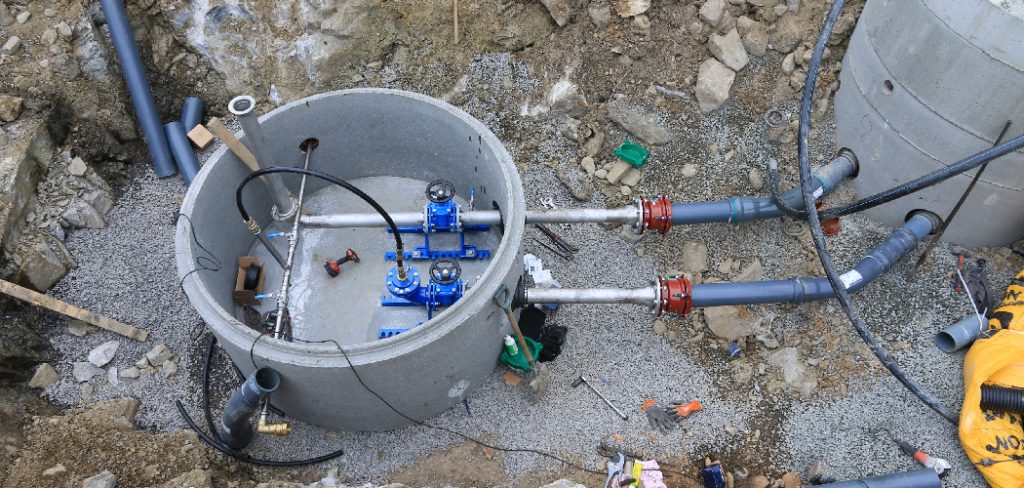
Once permits and planning are in place, the next step is to excavate a trench for the propane gas line. To ensure proper protection, the trench must adhere to the depth and width requirements specified by local codes and regulations, typically ranging from 12 to 18 inches deep. Use caution to avoid damaging nearby utility lines or structures during excavation. Depending on your soil type and the length of the trench, this can be done manually with shovels or using heavy equipment for larger projects. Ensure the trench is level and clear of debris to facilitate a smooth installation process. Accurate excavation not only complies with safety standards but also prevents potential issues with the gas line over time.
Step 4. Lay the Gas Line:
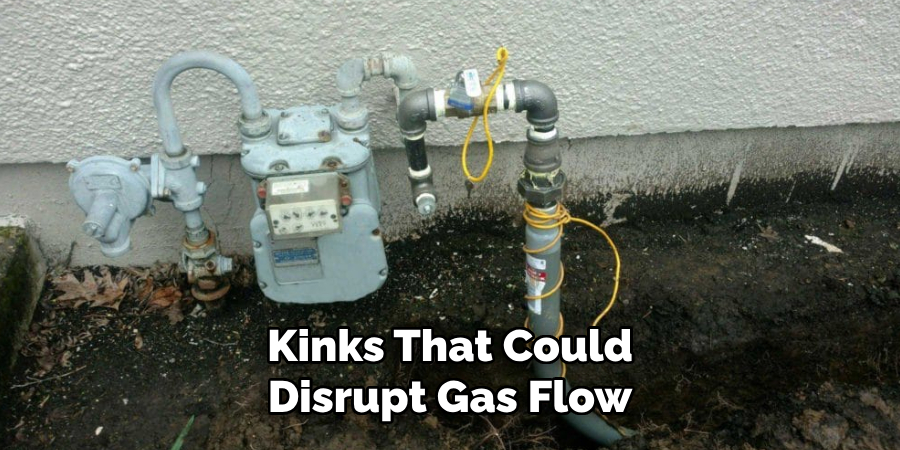
After preparing the trench, carefully lay the propane gas line within it. Use a durable, approved material like polyethylene piping designed explicitly for underground gas lines. Ensure the pipe is laid straight, avoiding unnecessary bends or kinks that could disrupt gas flow. Leave adequate room at each end to connect the line to the propane tank and the structure it will serve. Secure the pipe with stakes or sandbags to prevent movement during backfilling. Double-check that the pipe follows local codes and standards to avoid complications or safety risks later in installation.
Step 5. Pressure Test the Gas Line:
Before covering the gas line, it is crucial to perform a pressure test to ensure there are no leaks and that the line is functioning correctly. Seal both ends of the gas line and connect a pressure gauge to the system. Use an air compressor or hand pump to pressurize the line to the specified level recommended by local regulations or the pipe manufacturer. Monitor the pressure for a set period, typically 15 to 30 minutes, to verify that it remains stable. If the pressure drops, locate and repair any leaks, then repeat the test. This step ensures that the system is safe and ready for use upon completing the installation.
Step 6. Backfill the Trench:
Once the gas line has passed the pressure test, carefully backfill the trench to protect the pipe and complete the installation. Begin by adding a layer of fine sand or soil around the gas line to cushion it and reduce the risk of damage from sharp objects. Then, fill the trench with the removed soil, compacting it in layers to prevent settling over time. Ensure there are no sharp rocks or debris in the backfill material that could harm the pipe. After the trench is filled, restore the surface to its original condition, whether that means reseeding grass, replacing pavement, or another finishing step, under local guidelines or aesthetic preferences.
Step 7. Perform a Final Inspection:
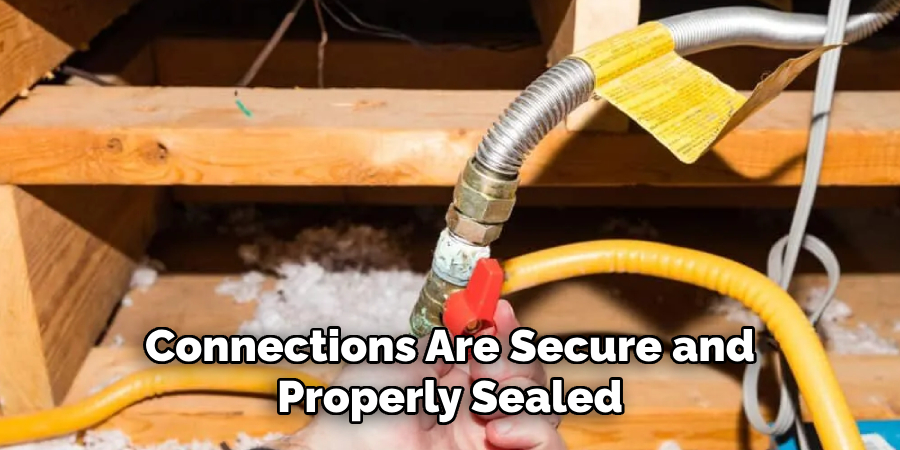
After the trench is backfilled and the surface is restored, inspect the entire installation. Check for compliance with local codes and regulations and ensure that all connections are secure and properly sealed. Verify that any safety markers or warning tape have been installed correctly to indicate the presence of the gas line underground. This step provides peace of mind and confirms that the installation is both safe and up to standard before putting the gas line into operation.
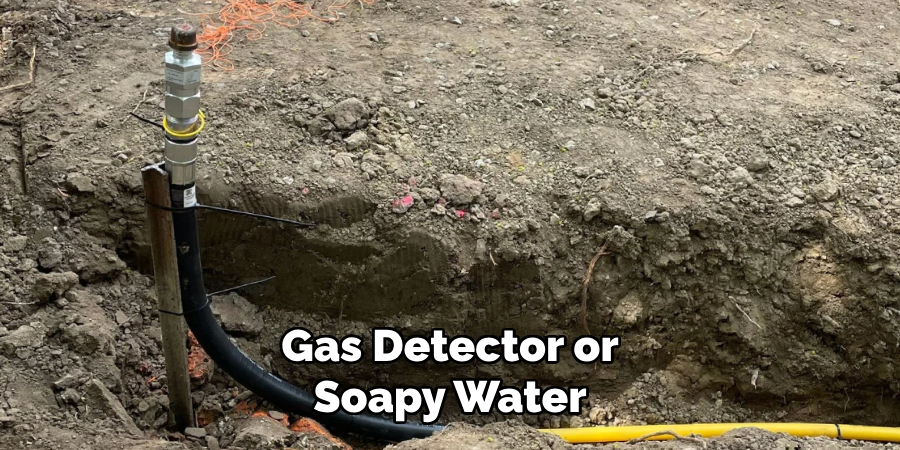
Step 8. Activate and Test the Gas Line:
Once the final inspection is complete, activating the gas line is next. Before introducing gas, purge the system of any air to prevent issues during operation. Slowly introduce gas into the pipeline while monitoring for any leaks using approved leak detection methods, such as a gas detector or soapy water. Test all connections and joints to ensure they are secure and leak-free. This process is critical to guaranteeing the safety and functionality of the installation.
Step 9. Final Documentation and Checklist Review:
After successfully testing the gas line, complete all necessary documentation for the installation. This includes recording test results, inspection approvals, and any adjustments made. Ensure that all relevant permits, certifications, and warranties are appropriately filed. Review the installation checklist one last time to confirm that no steps were overlooked. Thorough documentation provides a clear installation record and can be helpful for future reference or maintenance.
Step 10. System Commissioning and Handover:
Once all testing and documentation are complete, proceed with the gas system commissioning. This involves ensuring the system is fully operational and meets all performance standards. Conduct a final walkthrough with the client or end-user to explain the system’s functionality, safety features, and maintenance requirements. Provide them with all relevant documents, including user manuals and safety guidelines, and address any questions or concerns they may have. Completing this step ensures the client has confidence in the system and understands how to operate it safely and efficiently.
By following these ten steps, you can successfully install a propane gas line and ensure the safety and functionality of the system for years to come.
5 Things You Should Avoid
- Skipping Permit Requirements: Avoid initiating work without checking and obtaining necessary permits from local authorities. Ignoring these regulations can lead to fines, safety issues, or future complications.
- Using Improper Piping Materials: One of the most critical errors is using materials not rated for underground gas line use. Always use approved materials such as polyethylene piping or other corrosion-resistant options.
- Neglecting Depth Requirements: Make sure to bury the gas line at the proper depth, typically at least 12 to 18 inches below ground, depending on local codes. Failing to do so may leave the line vulnerable to damage from external activities.
- Forgetting to Mark the Line: Always include a tracer wire or marking tape above the gas line before backfilling to ensure it can be easily located in the future. Forgetting this step can cause headaches during repairs or other construction efforts.
- Ignoring Leak Testing Procedures: Never skip pressure testing or proper inspection before finalizing the installation. Overlooking this crucial step could result in dangerous leaks or hazards, compromising safety and functionality.
Conclusion
Following proper procedures and regulations when working with gas lines is essential to ensure safety and avoid potential issues.
Skipping permit requirements, using improper materials, neglecting depth requirements, forgetting to mark the line, and ignoring leak testing procedures are all common errors that can have severe consequences. By avoiding these mistakes and taking the time to plan and execute gas line installations properly, you can ensure a safe and successful project.
Hopefully, the article on how to run propane gas line underground has provided helpful insights and reminders for anyone undertaking this type of project.
About the Author
Adrian Green is a passionate woodworking enthusiast who has dedicated his life to the craft of woodworking. From his early days working alongside his father in the family woodworking shop, Adrian has honed his skills and developed a deep love for creating beautiful, functional pieces with his hands. As the voice behind The Woodenify Blog, he shares his knowledge, tips, and inspiration with fellow woodworkers of all skill levels, helping them build confidence in their abilities while learning new techniques.
Professional Focus
- Specializes in DIY woodworking projects, from furniture making to home décor.
- Provides step-by-step guides, tips, and practical tutorials for woodworkers at any skill level.
- Focused on empowering readers with confidence and knowledge through easy-to-follow instructions and hands-on techniques.
- Passionate about building a community where makers can share, learn, and grow together in the world of woodworking.
Education History
University of Craft and Design – Bachelor of Fine Arts (BFA) in Woodworking and Furniture Design
Woodworking Apprenticeships – Gained extensive hands-on experience through various workshops and mentorships with seasoned craftsmen, refining carpentry and furniture-making skills.
Expertise
- DIY woodworking, carpentry, furniture making, and home décor projects.
- Creating clear, accessible tutorials and guides for beginner to advanced woodworkers.
- Helping readers experience the satisfaction and fulfillment of turning raw materials into stunning finished products.