
Roughing in a bathroom is a crucial step in the construction or renovation process. It involves laying the foundational plumbing and electrical work before finishing surfaces are installed. This stage ensures the proper placement of fixtures like sinks, toilets, and bathtubs while providing the framework for a functional and efficient bathroom. A well-executed rough-in saves time, money, and potential headaches down the line by addressing any foundational issues early in the process.
In this article on how to rough in a bathroom, we will discuss the steps involved in this process and provide some tips for a successful rough-in. The bathroom plumbing rough-in is a crucial step in the renovation process, as it ensures that all pipes are correctly placed before the installation of fixtures and finishes.
Why is It Important to Rough in a Bathroom?
As mentioned, the rough-in stage sets the foundation for a functional and efficient bathroom. It also allows for any necessary adjustments or corrections before finishing work begins. Additionally, roughing in a bathroom can also save time and money by preventing costly mistakes and changes during the construction or renovation process.
The rough-in stage is also important for ensuring compliance with building codes and regulations. It guarantees that the plumbing and electrical work meets safety standards and can pass inspections.
8 Step-by-step Guidelines on How to Rough in a Bathroom
Step 1: Plan and Design

The first step to roughing in a bathroom is meticulous planning and design. Start by determining the layout of the bathroom, including the exact placement of fixtures like the toilet, sink, and bathtub or shower. Consider the plumbing and electrical requirements for each fixture, and ensure your design aligns with local building codes and regulations. It’s also important to measure the space carefully to avoid any fitting issues during installation.
Consulting with a plumber or contractor during this phase can provide valuable insights and help prevent costly mistakes later. A well-thought-out design will set the foundation for a smooth and efficient rough-in process.
Step 2: Mark the Location of Fixtures
Once the design is finalized, the next step is to mark the precise locations where each fixture will be installed. Use measuring tools to ensure accuracy, and mark the spots for the toilet flange, sink drain, and bathtub or shower connections clearly on the floor and walls. These markings will serve as a guide during the installation of plumbing and electrical systems.
Double-check the measurements to confirm that all fixtures will fit comfortably within the space and maintain appropriate clearances, as required by building codes. Properly marking the fixture locations at this stage lays the groundwork for precise and trouble-free plumbing and electrical connections.
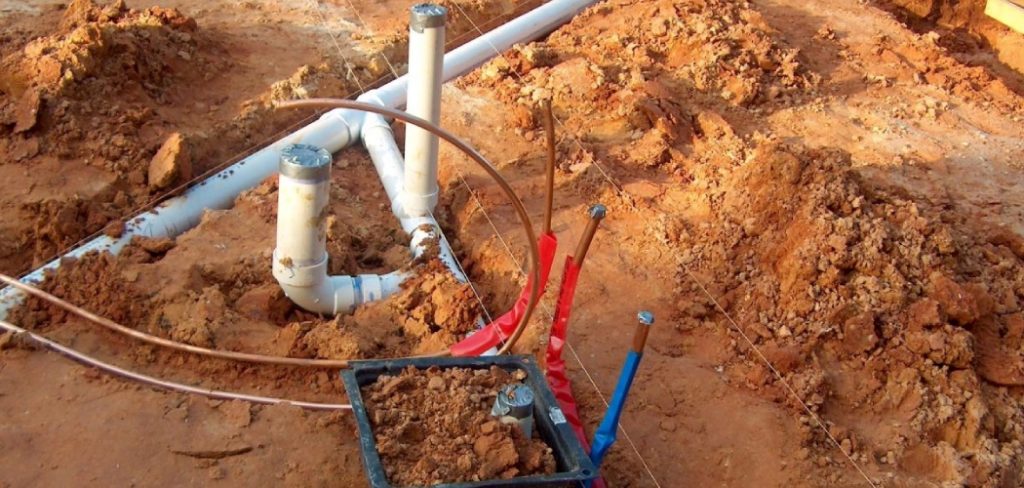
Step 3: Install the Drain and Vent Pipes
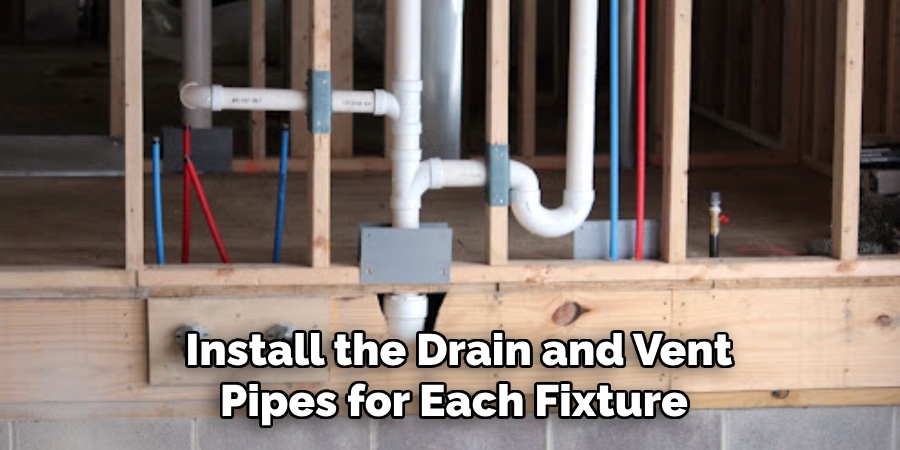
The next step is to install the drain and vent pipes for each fixture. Begin by installing the main sewer line that connects to the city’s sewage system or septic tank. Then, run individual drain lines for each fixture from the mainline. Ensure that all drain pipes slope downwards slightly towards the mainline to facilitate proper drainage flow.
Next, install vent pipes for each fixture that connect to an open-air vent on your roof. These vents allow air into the plumbing system, preventing suction and facilitating proper water flow. Properly installed drain and vent pipes are crucial for a functional and efficient bathroom.
Step 4: Configure Hot and Cold Water Supplies
After the drain and vent pipes are installed, the next step is to configure hot and cold water supplies for each fixture. Install separate supply lines for each fixture, connecting them to the main water supply line. Consider installing shutoff valves for each fixture that allow you to turn off the water in case of emergencies or repairs.
It’s also essential to ensure that all connections are secure and leak-proof, as any leaks can cause significant damage to your bathroom and home.
Step 5: Install Electrical Wiring
The rough-in stage is also when electrical wiring should be installed for outlets, lighting fixtures, fans, and any other necessary electrical components in the bathroom. Plan out the locations for each fixture and run the wiring accordingly, making sure to follow electrical codes and safety standards.
It’s recommended to hire a licensed electrician for this step to ensure proper installation and avoid any potential hazards.
Step 6: Ventilation
Proper bathroom ventilation is crucial for preventing moisture buildup and mold growth. During the rough-in stage, install vents or fans in appropriate locations, such as above the shower or bathtub. These vents should connect to ductwork that leads outside of your home.

Ensure that all connections are secure and well-insulated to prevent air leaks, which can impact energy efficiency.
Step 7: Install Bathtub or Shower Drain
Next, it’s time to install the drain for your bathtub or shower. Follow the manufacturer’s instructions carefully, and ensure that all connections are secure to prevent leaks.
Proper installation of this crucial component will prevent water damage and ensure efficient drainage in your bathroom.
Step 8: Test the System
After completing all the above steps, it’s time to test the plumbing and electrical systems before finishing work begins. Turn on the water supply and check for any leaks or issues with drainage. Test all outlets, light fixtures, and fans to ensure they are working correctly. If any problems are detected, address them immediately before continuing with further construction or renovation work.
Following these step-by-step guidelines on how to rough in a bathroom will help ensure a successful rough-in for your bathroom. Consider consulting with a professional if you are unfamiliar with plumbing or electrical work to avoid any potential mistakes and ensure compliance with building codes. A well-executed rough-in will set the foundation for a functional, efficient, and aesthetically pleasing bathroom that you can enjoy for years to come. Happy renovating!

Maintenance Tips for a Well-Functioning Bathroom
Aside from proper installation and rough-in, regular maintenance is also crucial for keeping your bathroom in top shape. Here are some essential maintenance tips to keep in mind:
Regularly Check for Leaks:
Keep an eye out for any signs of leaking pipes or fixtures, such as water stains, mold growth, or musty odors. Address any leaks immediately to prevent further damage.
Clean and Unclog Drains:
Regularly clean your drains to prevent clogs from building up. Avoid using harsh chemicals, as they can damage pipes and harm the environment. Instead, use natural alternatives like baking soda and vinegar or invest in a drain snake for tougher clogs.
Check Caulking:
Inspect the caulking around fixtures and re-caulk if necessary to prevent water seepage and maintain a watertight seal.
Maintain Proper Ventilation:
Ensure that your bathroom has adequate ventilation to prevent moisture buildup. Regularly clean vents and exhaust fans to keep them running efficiently.
Fix Any Plumbing or Electrical Issues Promptly:
If you notice any plumbing or electrical issues, such as slow drainage or flickering lights, address them promptly to prevent more significant problems down the line.
By following these maintenance tips and regularly conducting inspections, you can ensure that your bathroom remains in top condition and avoid costly repairs in the future. Overall, proper rough-in and regular maintenance are essential for a functional and aesthetically pleasing bathroom that will stand the test of time. Happy renovating!
Frequently Asked Questions
Q1: How Long Does It Take to Rough in a Bathroom?
A1: The time required for roughing in a bathroom can vary depending on the complexity and size of the project. On average, it can take one to three days for a professional plumber to complete rough-in plumbing work for a standard bathroom.
Q2: Can I Rough in My Bathroom Myself?
A2: It is possible to bathroom plumbing rough in a bathroom yourself if you have prior experience or knowledge of plumbing and electrical work. However, hiring a licensed professional is recommended to ensure proper installation and compliance with building codes.
Q3: Do I Need Permits for Roughing in a Bathroom?
A3: Yes, obtaining permits from your local building department is necessary before starting any renovation or construction work, including roughing in a bathroom. This ensures that the project meets safety and building code requirements.
Q4: Can I Make Changes to the Rough-in Design Once It’s Completed?
A4: It is not recommended to make significant changes to the rough-in design once it’s completed, as it can be costly and time-consuming. However, minor adjustments may be possible with the help of a professional plumber or electrician. So, it is crucial to have a well-thought-out plan in place before starting any construction work.
Conclusion
The rough-in process is a critical phase in any bathroom renovation or construction project. By carefully planning, following the steps on how to rough in a bathroom outlined, and adhering to local building codes, you can ensure a successful and efficient installation of your bathroom’s plumbing, electrical, and ventilation systems.
Taking the time to correctly rough in your bathroom will not only save you from potential issues down the line but also set the stage for a safe, functional, and beautifully finished space. Remember, if you are unsure about any step, consulting with skilled professionals is always a wise decision. With proper execution, your bathroom will serve as a comfortable and reliable part of your home for many years to come.
About the Author
Adrian Green is a passionate woodworking enthusiast who has dedicated his life to the craft of woodworking. From his early days working alongside his father in the family woodworking shop, Adrian has honed his skills and developed a deep love for creating beautiful, functional pieces with his hands. As the voice behind The Woodenify Blog, he shares his knowledge, tips, and inspiration with fellow woodworkers of all skill levels, helping them build confidence in their abilities while learning new techniques.
Professional Focus
- Specializes in DIY woodworking projects, from furniture making to home décor.
- Provides step-by-step guides, tips, and practical tutorials for woodworkers at any skill level.
- Focused on empowering readers with confidence and knowledge through easy-to-follow instructions and hands-on techniques.
- Passionate about building a community where makers can share, learn, and grow together in the world of woodworking.
Education History
University of Craft and Design – Bachelor of Fine Arts (BFA) in Woodworking and Furniture Design
Woodworking Apprenticeships – Gained extensive hands-on experience through various workshops and mentorships with seasoned craftsmen, refining carpentry and furniture-making skills.
Expertise
- DIY woodworking, carpentry, furniture making, and home décor projects.
- Creating clear, accessible tutorials and guides for beginner to advanced woodworkers.
- Helping readers experience the satisfaction and fulfillment of turning raw materials into stunning finished products.