Are you tired of having hard water at home? Do you want to learn how to reset your water softener and eliminate those pesky mineral deposits? Look no further!
Resetting a water softener is a straightforward process that ensures the system operates effectively to provide softened water for everyday use. Over time, water softeners may require adjustments or resets to maintain their performance, especially after maintenance, power outages, or changes in water usage. By properly resetting your water softener, you can extend its lifespan, maintain optimal water quality, and prevent potential problems caused by hard water.
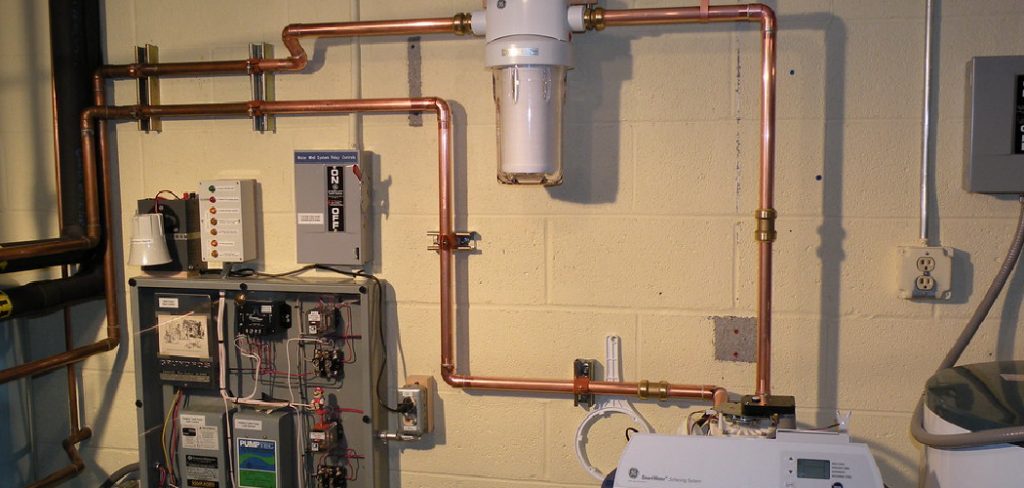
This guide on how to reset a water softener will walk you through the steps to reset your system safely and efficiently. Let’s get started with some background information on water softeners and their role in ensuring clean and safe water for your household.
What Are the Causes of Hard Water?
Before we dive into the reset process, let’s understand what hard water is and why it can be a problem for your household.
Hard water contains high dissolved minerals such as calcium, magnesium, and iron. These minerals are naturally present in groundwater sources and can cause various issues when they accumulate in your plumbing system or on surfaces touched by hard water. Some common signs of hard water include soap scum buildup, white spots on dishes after washing them, and dry skin and hair after showering.
If left untreated, hard water can also damage appliances that use water, decrease the efficiency of cleaning products, and increase energy costs.
What Will You Need?
To reset your water softener, you will need the following items:
- Owner’s Manual: This is important as different models may have unique reset procedures.
- Protective Gear: It’s always wise to wear gloves and protective eyewear when handling chemicals or working with plumbing systems.
- Wrenches or Pliers: These tools will come in handy for opening and accessing various parts of the water softener.
Once you have all the necessary tools, it’s time to start resetting your water softener.
10 Easy Steps on How to Reset a Water Softener
Step 1: Inspect the Power Supply
The first step in resetting your water softener is to ensure it receives power. Check that the unit is plugged into an operational power outlet and that the outlet itself is functional. You can test this by plugging in another device, such as a lamp or phone charger, to verify that power is being delivered. If your water softener has a power switch, ensure it is in the “on” position.
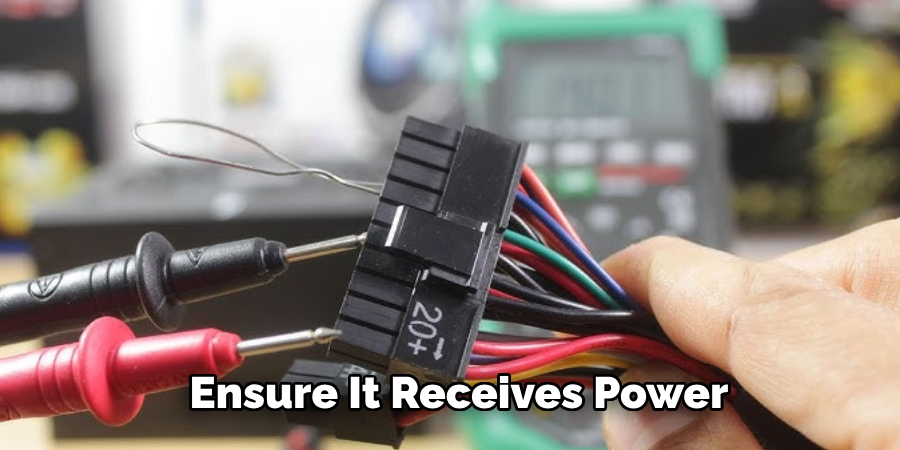
Additionally, inspect the power cord for any visible signs of damage, such as fraying or exposed wires, as these could compromise the system’s functionality and safety. If you encounter electrical issues, it might be necessary to consult an electrician or a professional technician to address the problem before proceeding further. Ensuring that the power supply is intact sets the foundation for successful resetting and optimal operation of your water softener.
Step 2: Locate the Reset Button or Function
Consult your owner’s manual to identify where the reset button or function is located on your specific water softener model. Most systems have a dedicated reset button, while others may require accessing a digital control panel to initiate a reset. Once located, familiarize yourself with the reset process outlined in the manual, as it may involve holding the button for a few seconds or navigating through menu options on the control panel.
Step 3: Check the Salt Levels
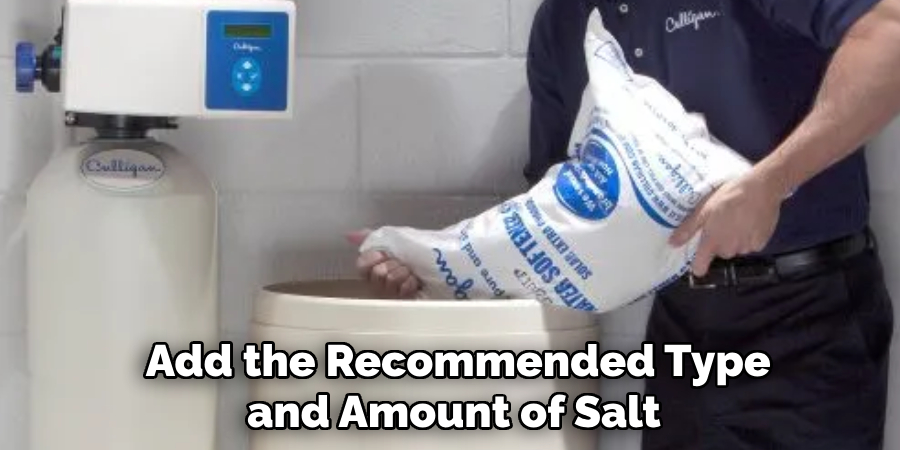
Open the brine tank and check the salt levels. Your water softener relies on a sufficient amount of salt to function correctly. If the salt level is low, add the recommended type and amount of salt as specified in your owner’s manual. Avoid overfilling the tank, as this can lead to inefficiencies. Once the salt levels are adjusted, you can proceed to the next step.
Step 4: Perform the Reset Process
With the salt levels adequately adjusted and the reset button or function located, perform the reset process as instructed in your owner’s manual. This may involve holding the reset button, entering specific commands on the control panel, or following a sequence of steps unique to your model. Once completed, the system will typically run a short diagnostic or recharging cycle. Wait for the system to finish before checking that it is functioning correctly.
Step 5: Test the Water Softener
After completing the reset process, test your water softener to ensure it works correctly. Run water from a faucet in your home and check for signs of softened water, such as improved lathering of soap or the absence of hard water spots. If you notice any issues, refer to your owner’s manual for troubleshooting tips or contact professional support. Regular testing and maintenance will help keep your water softener operating efficiently.
Step 6: Schedule Regular Maintenance
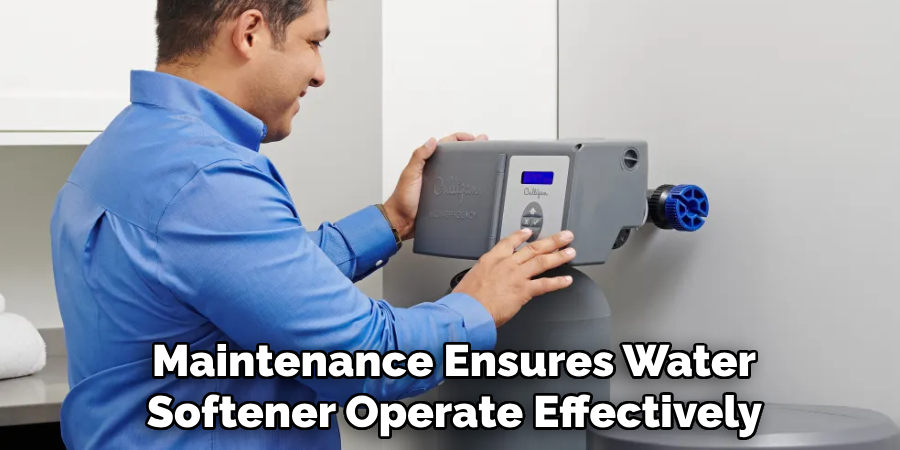
Establish a regular maintenance schedule to ensure your water softener continues to operate effectively over time. This includes checking salt levels in the brine tank and refilling it as needed, cleaning the resin tank periodically, and inspecting for any signs of wear or leaks. Follow the manufacturer’s recommendations for replacing filters or other consumable parts. Proactive maintenance will help extend the lifespan of your water softener and ensure consistent performance.
Step 7: Flush the System Periodically
To maintain optimal functionality, flush your water softener system periodically. This process helps remove any debris or sediment buildup that could interfere with performance. Refer to your owner’s manual for specific instructions on initiating a system flush, as the procedure may vary depending on the model. Regular flushing keeps the system running smoothly and helps prevent potential damage or clogs over time.
Step 8: Test Water Hardness Regularly
It is important to test your water hardness periodically to ensure your water softener is functioning correctly. Use a water hardness test kit to measure the levels and compare them to the desired result. If the hardness level is higher than expected, it may indicate that the system requires adjustment, maintenance, or additional regeneration cycles. Regular testing will help identify any issues early and allow you to address them promptly for optimal water quality.
Step 9: Refill the Salt Tank
Maintaining an adequate salt level in the brine tank is essential for adequately functioning your water softener. Check the tank regularly and refill it as needed with the appropriate type of salt recommended by the manufacturer. Be sure not to overfill the tank, which can impact the system’s efficiency. Keeping the salt at an optimal level ensures the resin can effectively regenerate and continue treating your water.
Step 10: Clean the Brine Tank
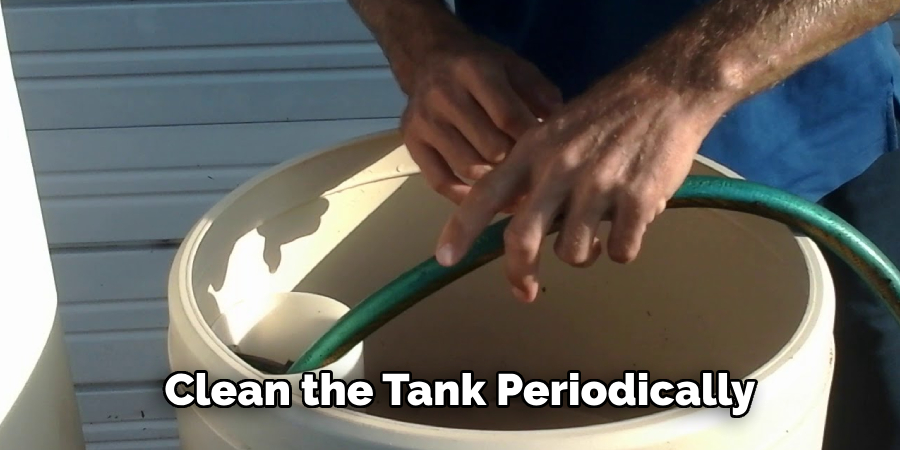
Over time, sediment or residues may build up in the brine tank, reducing the water softener’s efficiency. To prevent this, clean the tank periodically according to the manufacturer’s recommendations. Start by emptying the tank and rinsing it with warm water to remove any debris. If necessary, use a mild detergent to scrub away any stubborn buildup, but rinse thoroughly to avoid leaving any soap residue. Once clean, refill the tank with fresh water and the appropriate salt. Regular cleaning will ensure your water softener remains in top working condition.
By following these 10 easy steps to reset a water softener, you can keep your system running smoothly and ensure your household has access to quality, softened water.
5 Things You Should Avoid
- Skipping the User Manual: Avoid bypassing the user manual provided by the manufacturer. Every water softener model is different, and the reset process may vary. Failing to follow specific instructions can lead to errors or damage to the unit.
- Resetting Without Checking Power Supply: Always ensure the water softener is adequately connected to a power source before resetting. Attempting to reset the system without electricity can cause unnecessary troubleshooting confusion.
- Ignoring Error Codes: If the water softener displays error codes, do not ignore them. These codes can provide crucial information about the problem, and resetting the system without addressing underlying issues can lead to repeated malfunctions.
- Forgetting to Turn Off the Water Supply: Before resetting, turning off the water supply is essential to prevent potential leaks or water damage. Skipping this step can create a messy situation and complicate the process.
- Using Force During the Process: Avoid forcing buttons or components during resetting. Water softeners are delicate systems, and using excessive force can damage buttons, valves, or other key parts, resulting in costly repairs.
By avoiding these common mistakes, you can ensure a successful reset and prolong the life of your water softener.
Conclusion
How to reset a water softener may seem intimidating at first, but by following a precise and methodical approach, the process can be straightforward and hassle-free.
Always consult the user manual for your specific model to ensure accurate instructions. Take the necessary precautions to prevent further complications, such as turning off the water supply and addressing error codes. Additionally, the system components must be handled carefully to avoid damage.
By avoiding common mistakes and following the recommended steps, you can restore your water softener to optimal functionality and enjoy the benefits of soft water for years to come.
About the Author
Adrian Green is a passionate woodworking enthusiast who has dedicated his life to the craft of woodworking. From his early days working alongside his father in the family woodworking shop, Adrian has honed his skills and developed a deep love for creating beautiful, functional pieces with his hands. As the voice behind The Woodenify Blog, he shares his knowledge, tips, and inspiration with fellow woodworkers of all skill levels, helping them build confidence in their abilities while learning new techniques.
Professional Focus
- Specializes in DIY woodworking projects, from furniture making to home décor.
- Provides step-by-step guides, tips, and practical tutorials for woodworkers at any skill level.
- Focused on empowering readers with confidence and knowledge through easy-to-follow instructions and hands-on techniques.
- Passionate about building a community where makers can share, learn, and grow together in the world of woodworking.
Education History
University of Craft and Design – Bachelor of Fine Arts (BFA) in Woodworking and Furniture Design
Woodworking Apprenticeships – Gained extensive hands-on experience through various workshops and mentorships with seasoned craftsmen, refining carpentry and furniture-making skills.
Expertise
- DIY woodworking, carpentry, furniture making, and home décor projects.
- Creating clear, accessible tutorials and guides for beginner to advanced woodworkers.
- Helping readers experience the satisfaction and fulfillment of turning raw materials into stunning finished products.
