
Replacing a tub drain may seem like a daunting task, but with the right tools and a step-by-step approach, it can be a manageable DIY project. Whether you’re dealing with a clogged, damaged, or outdated drain, installing a new one can improve both the functionality and appearance of your bathtub.
This guide on how to replace tub drain will walk you through everything you need to know to replace your tub drain safely and efficiently.
Why Replace Your Tub Drain?
There are several reasons why you may need to replace your tub drain. Here are a few common situations:
Clogged Drain:
If your tub is not draining properly or taking a long time to do so, it could be due to a clogged drain. Overtime, hair, soap scum, and other debris can build up in the drain and cause blockage. In this case, replacing the drain can help improve drainage.
Damaged Drain:
If your tub drain is broken, corroded, or leaking, it’s time for a replacement. A damaged drain can lead to water damage and other issues if left unaddressed.
Outdated Design:
Tub drains come in different styles and designs, and if you have an outdated one that doesn’t match your bathroom aesthetic, replacing it can give your tub a fresh look.
Tools You’ll Need
Adjustable Pliers:
These will come in handy for removing the old drain and installing the new one.
Screwdriver:
You’ll need a screwdriver to remove any screws or bolts holding the old drain in place.
Putty Knife:
This tool will help you scrape away any old putty or caulk from around the drain.
Plumber’s Putty:
You’ll need this waterproof sealant to create a watertight seal between the tub and the new drain.
Tub Drain Removal Tool (optional):
If your tub has a crossbar-style drain, you may need this specialized tool to remove it.
8 Step-by-step Guides on How to Replace Tub Drain
Step 1: Prepare Your Work Area
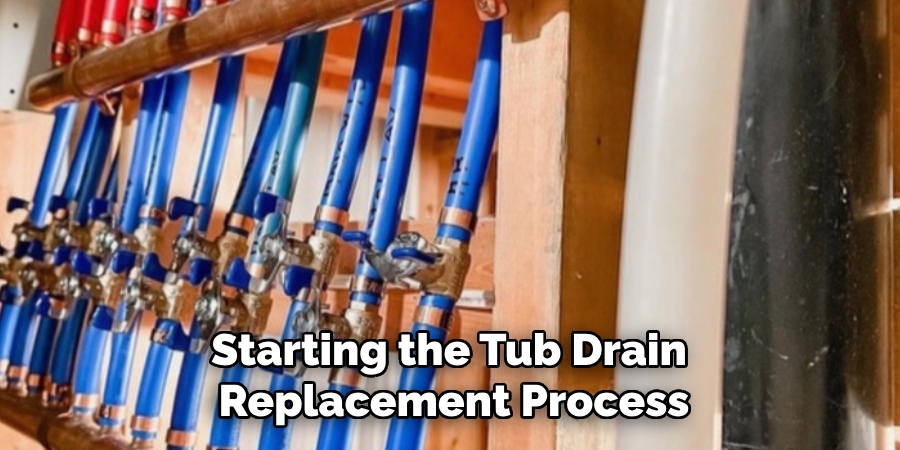
Before starting the tub drain replacement process, ensure your work area is properly prepared. Begin by clearing out any items from around the bathtub, such as toiletries or bath mats, to create a clean and accessible workspace. Place a towel or drop cloth inside the tub to protect the surface from scratches or damage during the project.
Additionally, ensure you have all the necessary tools and materials on hand to avoid interruptions. Proper preparation will set the stage for a smoother and more efficient drain replacement process.
Step 2: Remove the Old Drain Cover
The next step is to remove the old drain cover. Most tub drains have a cover or stopper that needs to be taken off before you can access the drain itself. Depending on the type of drain cover, you may need to either unscrew it or pull it out. Use a screwdriver if there are screws securing the cover, and carefully remove them to avoid damage to the tub surface.
For a pop-up or lift-and-turn style stopper, you may need to twist and lift it to detach it. Once the drain cover is removed, inspect the area for any buildup or debris and clear it to ensure smooth progress in the next steps.
Step 3: Remove the Old Drain
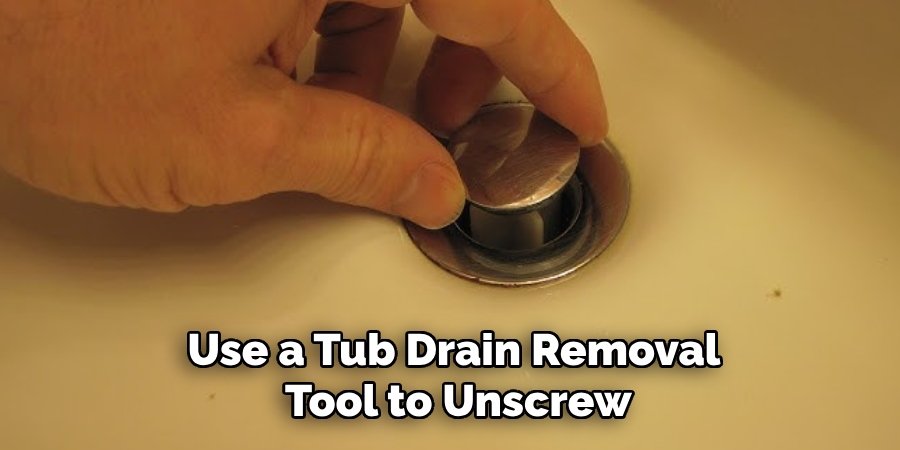
Now it’s time to remove the old drain. This may require different tools depending on the type of drain you have. If your tub has a crossbar-style drain, use a tub drain removal tool to unscrew and remove the drain from the tub. For other types of drains, you can use adjustable pliers or a screwdriver to loosen and remove them.
Once the old drain is removed, thoroughly clean any remaining debris or buildup in and around the drain area.
Step 4: Prepare the New Drain
Before installing the new drain, it’s essential to prepare it properly to ensure a secure and watertight fit. Start by applying a generous amount of plumber’s putty around the underside of the new drain flange. This putty will create a seal between the drain and the tub surface, preventing water leaks. Roll the putty into a rope-like shape if needed and press it evenly around the drain flange.
Ensure that the new drain is compatible with your tub’s specifications and fits the drain opening correctly. Double-check all components of the drain assembly to confirm they are in good condition and free of any defects. Properly prepared, the new drain will be ready for installation in the next step.
Step 5: Install the New Drain
With the new drain prepared, it’s time to install it into the tub. Carefully place the new drain into the drain opening, ensuring it is aligned properly. Press down firmly to seat the drain and form a secure seal with the plumber’s putty underneath the flange.
Using adjustable pliers or a tub drain removal tool, gently tighten the drain by turning it clockwise. Be cautious not to overtighten, as this could damage the tub or the drain assembly. As you tighten, excess plumber’s putty may squeeze out from around the edges of the flange. Once the drain is securely installed, use a putty knife or a clean rag to remove the excess putty, leaving a clean and neat finish.
At this stage, verify that the drain is tightly and securely installed for a watertight seal. This completes the installation of the new drain, setting the foundation for the remaining steps.
Step 6: Reattach the Drain Cover or Stopper
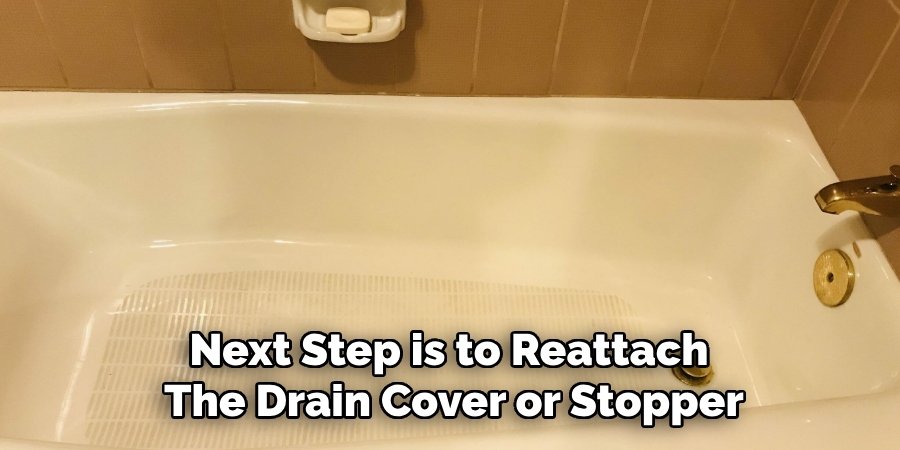
After the new drain is securely in place, the next step is to reattach the drain cover or stopper. Depending on the type of cover or stopper your tub uses, this process may vary. For a screw-in style drain cover, align it properly over the drain and use a screwdriver to secure it in place without overtightening. For a pop-up or lift-and-turn style stopper, follow the manufacturer’s instructions to connect and adjust the mechanism.
Once the cover or stopper is reattached, test its functionality to ensure it operates smoothly and sits flush with the tub surface. This step not only completes the visible setup but also ensures your newly installed drain is ready for use.
Step 7: Seal the Drain Perimeter
To complete the tub drain replacement process, seal the perimeter around the drain with silicone caulk. This will provide an extra layer of protection against water leaks and also help secure the new drain in place. Run a bead of silicone caulk around the edges of the drain where it meets the tub surface, using a caulking gun for precision.
Smooth out any excess caulk with your finger or a damp rag. Allow the caulk to dry completely according to the manufacturer’s instructions before using your bathtub.
Step 8: Clean Up and Test Your New Drain
With all steps completed, it’s time to clean up your work area and test your newly replaced tub drain. Remove any tools or materials used during the process and dispose of them properly. Clean the tub surface of any remaining debris, put away your drop cloth or towel, and return any items you moved in Step 1.
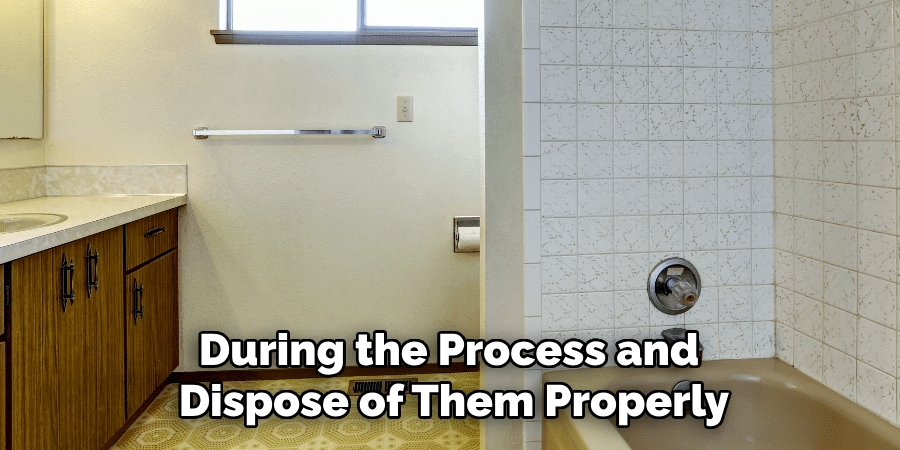
Finally, the new drain will be tested by running water into the tub and observing for any leaks or issues. If everything looks good, you’ve successfully replaced your tub drain!
Following these steps on how to replace tub drain and performing regular maintenance can ensure your tub drain remains in good condition for years to come. Now you can enjoy a relaxing bath without worrying about any drainage issues.
Additional Tips for Maintaining Your Tub Drain
To keep your new tub drain functioning properly, here are some additional tips for maintaining it:
- Use a hair catcher or screen to prevent hair and debris from clogging the drain.
- Regularly clean your tub’s overflow drain to avoid buildup of grime.
- Avoid pouring harsh chemicals down the drain, as they can damage the pipes and cause leaks. Instead, use natural cleaning solutions such as baking soda and vinegar.
- If you notice slow drainage, try using a plunger or a plumbing snake to clear any blockages before calling a professional.
By following these tips and regularly inspecting and maintaining your tub drain, you can extend its lifespan and avoid costly repairs in the future. A professional tub drain replacement can improve the functionality and appearance of your bathroom, ensuring a secure and leak-free drain system.
Conclusion
Replacing a tub drain may seem like a daunting task, but by following the 8 step-by-step guides on how to replace tub drain outlined above, you can easily accomplish it on your own.
Remember to prepare your work area properly before starting, carefully remove the old drain and clean the area, properly prepare and install the new drain, reattach the drain cover or stopper, seal the perimeter, clean up, and test your new drain.
With proper maintenance and care, your newly replaced tub drain will provide you with hassle-free drainage for years to come.
About the Author
Adrian Green is a passionate woodworking enthusiast who has dedicated his life to the craft of woodworking. From his early days working alongside his father in the family woodworking shop, Adrian has honed his skills and developed a deep love for creating beautiful, functional pieces with his hands. As the voice behind The Woodenify Blog, he shares his knowledge, tips, and inspiration with fellow woodworkers of all skill levels, helping them build confidence in their abilities while learning new techniques.
Professional Focus
- Specializes in DIY woodworking projects, from furniture making to home décor.
- Provides step-by-step guides, tips, and practical tutorials for woodworkers at any skill level.
- Focused on empowering readers with confidence and knowledge through easy-to-follow instructions and hands-on techniques.
- Passionate about building a community where makers can share, learn, and grow together in the world of woodworking.
Education History
University of Craft and Design – Bachelor of Fine Arts (BFA) in Woodworking and Furniture Design
Woodworking Apprenticeships – Gained extensive hands-on experience through various workshops and mentorships with seasoned craftsmen, refining carpentry and furniture-making skills.
Expertise
- DIY woodworking, carpentry, furniture making, and home décor projects.
- Creating clear, accessible tutorials and guides for beginner to advanced woodworkers.
- Helping readers experience the satisfaction and fulfillment of turning raw materials into stunning finished products.