
Replacing a bathtub faucet may seem like a daunting task, but it is a straightforward process with the right tools and guidance. Whether you’re upgrading to a new design or fixing a leaky faucet, this project can enhance the functionality and appearance of your bathroom.
By following a few simple steps on how to replace bathtub faucet, you can complete this DIY project efficiently without the need for professional assistance.
What is a Bathtub Faucet?
A bathtub faucet is a crucial fixture in your bathroom that controls the flow and temperature of water filling your tub. Designed to provide both functionality and style, bathtub faucets come in various types, including wall-mounted, deck-mounted, and freestanding models. These faucets often feature different finishes, such as chrome, brushed nickel, or oil-rubbed bronze, to match the overall aesthetic of your bathroom.
Beyond aesthetics, a well-functioning bathtub faucet ensures a reliable water supply and helps conserve water by providing efficient flow control. Understanding the type and features of your faucet is essential when considering a replacement or upgrade.
Tools Required
To replace a bathtub faucet, you will need these essential tools:
Adjustable Wrench
An adjustable wrench is a versatile tool that can be used for various plumbing tasks, including tightening and loosening nuts and bolts. Make sure to choose one that fits your faucet fittings in an appropriate size range.
Pipe Wrench
A pipe wrench is a heavy-duty tool designed specifically for gripping and turning pipes. It has sharp teeth that provide a strong grip without damaging the pipe surface. This tool will come in handy when removing old pipes or fittings.
Plumber’s Tape
Also known as Teflon tape, plumber’s tape is a thin film of polytetrafluoroethylene (PTFE) used to create a watertight seal between threaded connections. It helps prevent leaks by filling in the gaps between the threads and provides lubrication for easier installation.
Plumber’s Putty
Plumber’s putty is a soft, pliable sealant used to create watertight seals around faucets and drains. It is made from a mixture of linseed oil, powdered clay, and other additives that provide a waterproof seal. Unlike silicone caulk, plumber’s putty can be easily removed without damaging surfaces.
Thread Sealant
Thread sealant, also known as pipe dope or joint compound, is applied to threaded connections to prevent leaks. It typically comes in paste form and contains PTFE or other lubricants to help create a tight seal. This type of sealant is commonly used in plumbing, gas lines, and other industrial applications.
6 Simple Steps on How to Replace Bathtub Faucet
Step 1: Shut Off the Water Supply
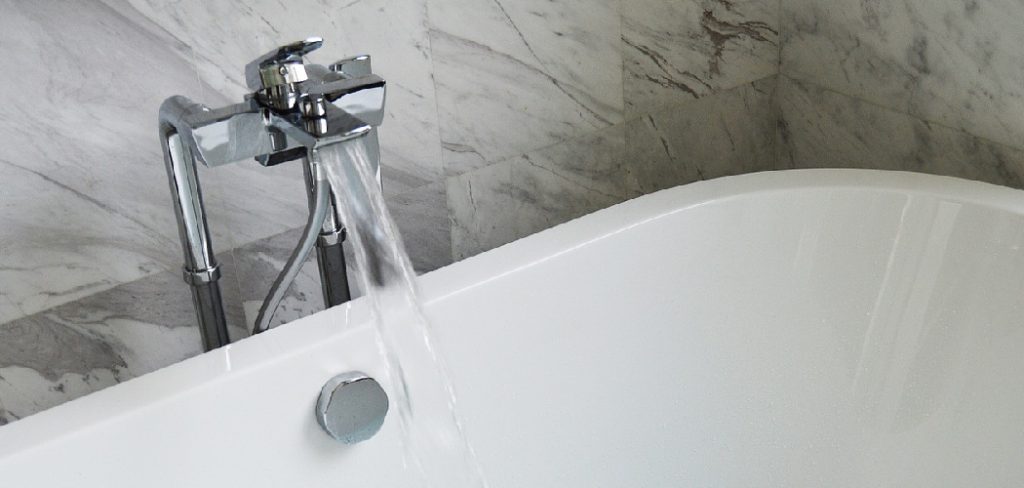
Before beginning any work on your bathtub faucet, locate the water shut-off valves. These are typically found near the bathtub or on the main water supply line. Turn the valves completely off to stop the flow of water.
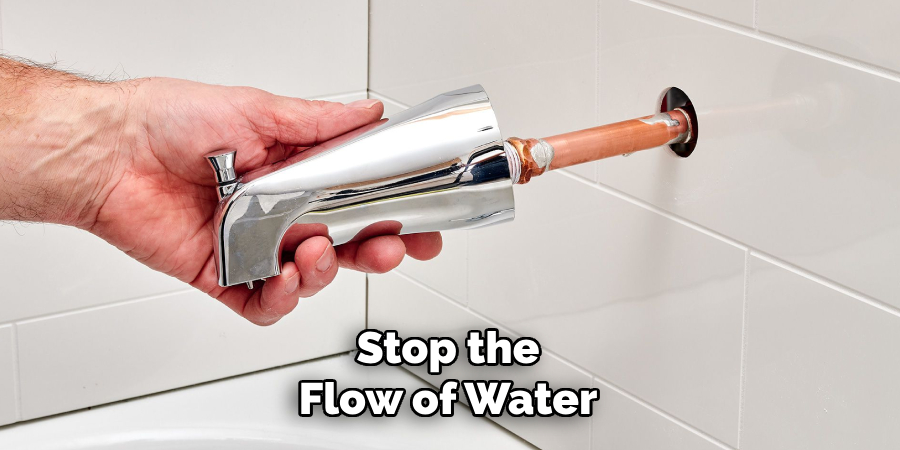
If your home doesn’t have individual shut-off valves for the bathtub, you may need to turn off the main water supply. This step is crucial to prevent water from leaking or spraying during the faucet replacement process.
Step 2: Remove the Old Faucet
Once you have shut off the water supply, you can begin removing the old bathtub faucet. Start by unscrewing any decorative covers or handles on the faucet. You may need a screwdriver or adjustable wrench for this step.
Next, use pliers to loosen and remove any nuts or bolts that are holding the faucet in place. As you remove these pieces, keep them organized so they can be easily reassembled later on. Once all hardware has been removed, lift the faucet off of the bathtub.
Step 3: Prepare for Installation
Before installing your new wall-mounted faucet, make sure to clean up any debris and inspect the area where the old faucet was installed. Ensure there are no leaks or damage to the wall where the old faucet was attached.
If you are switching from a deck-mounted faucet to a wall-mounted one, you will need to cover or seal any holes left behind. You can use silicone caulk to fill in these holes and create a smooth surface for your new faucet.
Step 4: Install New Faucet
Now it’s time to install your new wall-mounted faucet. Begin by following the manufacturer’s installation instructions, which may vary depending on the model you have chosen.
Typically, this involves attaching any necessary hardware onto the back of the faucet before securing it onto the mounting plate. Then, insert the faucet through the pre-drilled holes on your wall and secure it with bolts or screws.
Step 5: Connect Water Supply
With the faucet securely in place, it’s time to connect the water supply. This step may require some additional tools, such as a wrench or pliers.
First, turn off the main water supply to your home. Then, attach the hot and cold water supply lines to the corresponding connections on your faucet. Use Teflon tape to ensure a tight seal and prevent any leaks.
Step 6: Test and Adjust
Before fully securing your new wall-mounted faucet, turn on the main water supply and test the flow of both hot and cold water. Make sure everything is working properly before tightening any bolts or screws.
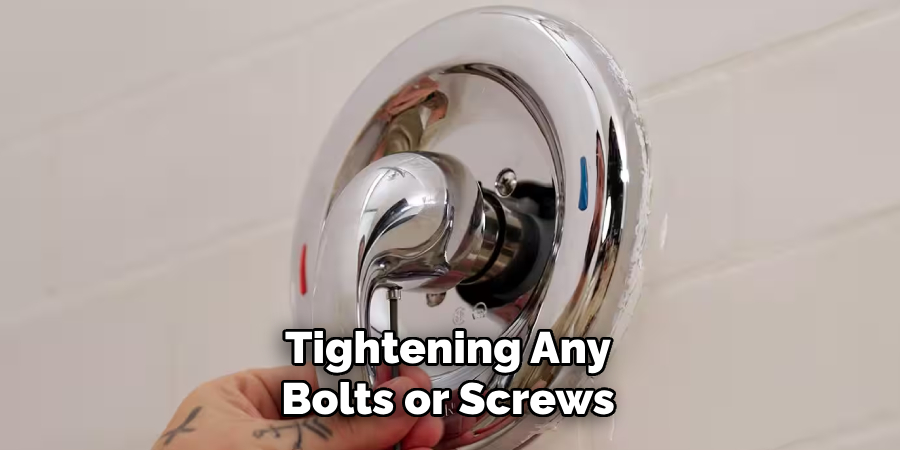
You may also need to adjust the position of your faucet if it is not centered or level. Use a level to ensure the faucet is straight and adjust accordingly.Once you are satisfied with the placement and function of your new faucet, use a wrench to secure any remaining bolts or screws.
Following these steps on how to replace bathtub faucet will ensure that your new wall-mounted faucet is installed correctly and securely. If you encounter any issues or have any questions, consult the instruction manual or contact a professional plumber for assistance.
Maintenance Tips
To keep your wall-mounted faucet in good condition, it is important to regularly clean and maintain it. Wipe down the faucet with a soft cloth after each use to prevent water spots and buildup of dirt or soap residue. You can also use a mild cleaner specifically designed for faucets.
If you notice any leaks or issues with your faucet, address them immediately before they become bigger problems. Regularly check the connection points and tighten any loose bolts or screws. This will prevent water leakage and potential damage to your wall.
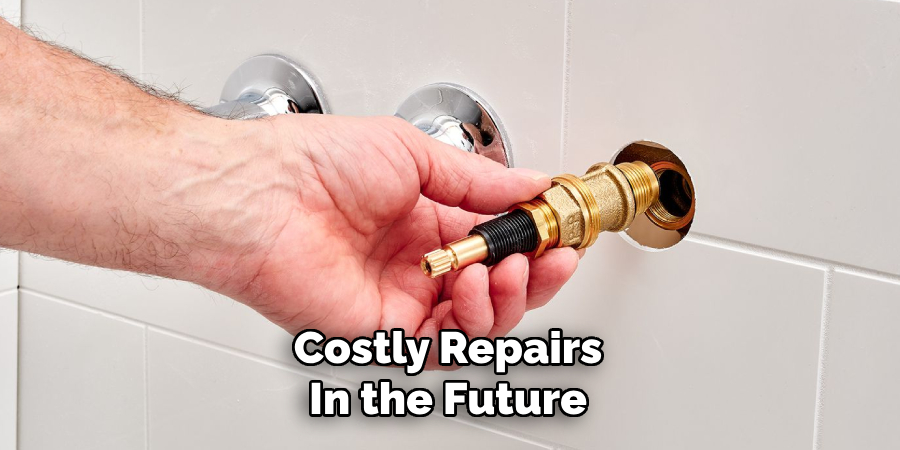
Additionally, consider replacing the washers and O-rings on a yearly basis to keep your faucet functioning properly. Keeping up with these maintenance tasks can prolong the life of your faucet and save you from costly repairs in the future.
When it comes to maintaining the overall look of your wall-mounted faucet, make sure to avoid using harsh cleaning products or abrasive materials that can cause scratches or damage to the finish. Stick to gentle cleaners and soft cloths for regular cleaning.
Frequently Asked Questions
Q: How Often Should I Replace the Washers and O-rings on My Wall-mounted Faucet?
A: It is recommended to replace these parts on a yearly basis to ensure proper functioning of your faucet. The frequency may vary depending on the usage and water quality in your area.
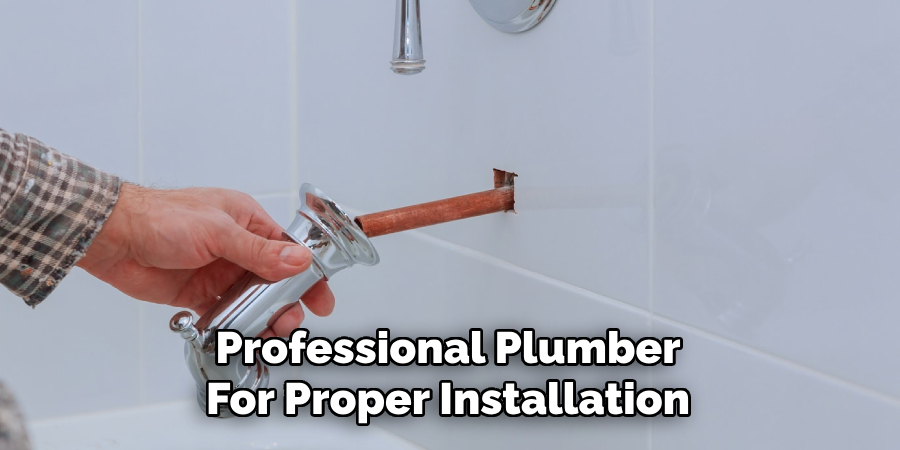
Q: Can I Install a Wall-mounted Faucet Myself?
A: While it is possible to install a wall-mounted faucet yourself, it is recommended to hire a professional plumber for best results. Improper installation can lead to leaks or other issues that may be costly to fix.
Q: Is it Possible to Switch from a Deck-mounted Faucet to a Wall-mounted Faucet?
A: Yes, it is possible but will require some modifications to your plumbing system. It is best to consult with a professional plumber before making any changes.
Q: What Types of Finishes are Available for Wall-mounted Faucets?
A: Wall-mounted faucets come in a variety of finishes, including chrome, brushed nickel, bronze, and brass. It is important to choose a finish that complements the rest of your bathroom fixtures for a cohesive look. Be sure to also consider the durability and maintenance requirements of each finish.
Q: Can I Install a Wall-mounted Faucet in an Existing Bathroom?
A: Yes, it is possible to install a wall-mounted faucet in an existing bathroom. However, depending on the layout of your current plumbing system and the location where you want to place the faucet, there may be some modifications required. It is always best to consult with a professional plumber for proper installation.
Conclusion
When it comes to upgrading or renovating your bathroom, careful planning and consideration are key to achieving a functional and stylish space. By understanding the requirements for specific installations, such as wall-mounted faucets, and selecting finishes that match your aesthetic while ensuring durability, you can create a bathroom that meets both your practical needs and design preferences.
Don’t hesitate to consult professionals when necessary to ensure the best results for your project. Thanks for reading this article on how to replace bathtub faucet.
About the Author
Adrian Green is a passionate woodworking enthusiast who has dedicated his life to the craft of woodworking. From his early days working alongside his father in the family woodworking shop, Adrian has honed his skills and developed a deep love for creating beautiful, functional pieces with his hands. As the voice behind The Woodenify Blog, he shares his knowledge, tips, and inspiration with fellow woodworkers of all skill levels, helping them build confidence in their abilities while learning new techniques.
Professional Focus
- Specializes in DIY woodworking projects, from furniture making to home décor.
- Provides step-by-step guides, tips, and practical tutorials for woodworkers at any skill level.
- Focused on empowering readers with confidence and knowledge through easy-to-follow instructions and hands-on techniques.
- Passionate about building a community where makers can share, learn, and grow together in the world of woodworking.
Education History
University of Craft and Design – Bachelor of Fine Arts (BFA) in Woodworking and Furniture Design
Woodworking Apprenticeships – Gained extensive hands-on experience through various workshops and mentorships with seasoned craftsmen, refining carpentry and furniture-making skills.
Expertise
- DIY woodworking, carpentry, furniture making, and home décor projects.
- Creating clear, accessible tutorials and guides for beginner to advanced woodworkers.
- Helping readers experience the satisfaction and fulfillment of turning raw materials into stunning finished products.