
A functioning water heater is essential for comfort and convenience, providing hot water for bathing, cleaning, and cooking. However, over time, water heaters can encounter a variety of common issues, such as producing no hot water, leaking, making unusual noises, or experiencing pilot light problems. These issues can disrupt your routine and may even lead to costly repairs if not addressed promptly.

This guide offers step-by-step troubleshooting and repair solutions for these problems, helping you confidently understand how to repair water heater malfunctions. It is crucial to prioritize safety while working on your water heater. Always turn off the power supply, whether electric or gas, before beginning any repairs, and shut off the water supply if leaks occur. Following these precautions will ensure a safer and more effective repair process.
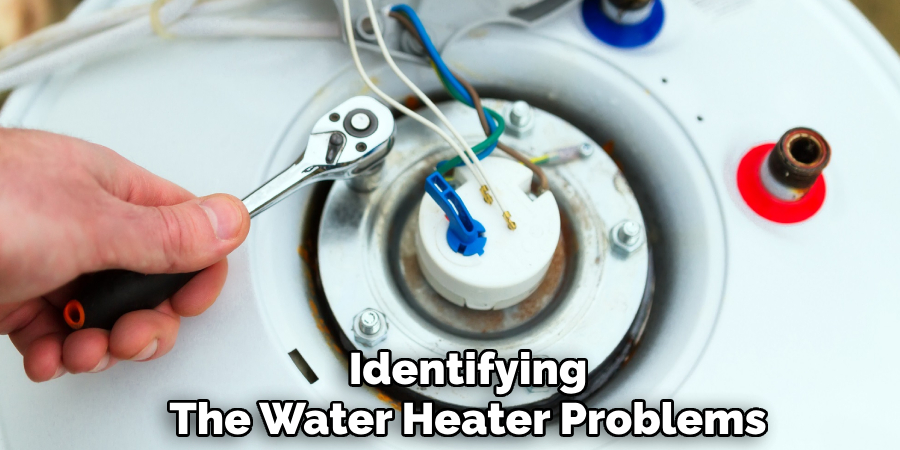
Identifying Common Water Heater Problems
Water heaters can develop various issues that impact their performance and efficiency. Below are some of the most common problems and their potential causes:
No Hot Water
If your water heater fails to produce hot water, the issue might stem from faulty heating elements in electric models or a disrupted gas supply in gas-powered units. A broken thermostat can also result in a lack of heating, requiring inspection and potential replacement.
Water Is Too Hot or Too Cold
Temperature inconsistencies often occur due to improper thermostat settings. If the water is too hot, the thermostat may need to be set to a lower level. Conversely, if the water is too cold, the thermostat might require increased temperature settings or malfunction altogether.
Leaks
Leaking water heaters can indicate several problems, including a faulty drain valve, loose pipe connections, or internal corrosion of the tank. It’s important to address leaks quickly to prevent water damage and extend the heater’s lifespan.
Strange Noises
Popping or rumbling sounds are often caused by sediment buildup at the bottom of the tank. This sediment reduces efficiency and can lead to overheating, requiring routine tank flushing to resolve the issue.
Low Water Pressure
Reduced water pressure may result from clogged pipes caused by sediment or mineral deposits. Flushing the tank and inspecting the pipes for blockages can typically restore normal water flow.
How to Repair Water Heater: Fixing a Gas Water Heater
If your gas water heater is malfunctioning, follow these steps to diagnose and resolve common issues.
Step 1: Check the Pilot Light
One of the most common problems with a gas water heater is the pilot light going out. To fix this, locate the pilot light and attempt to relight it according to the manufacturer’s instructions. Wait the recommended time before lighting to avoid potential gas buildup. If the pilot light does not stay lit, there may be additional underlying issues to address.
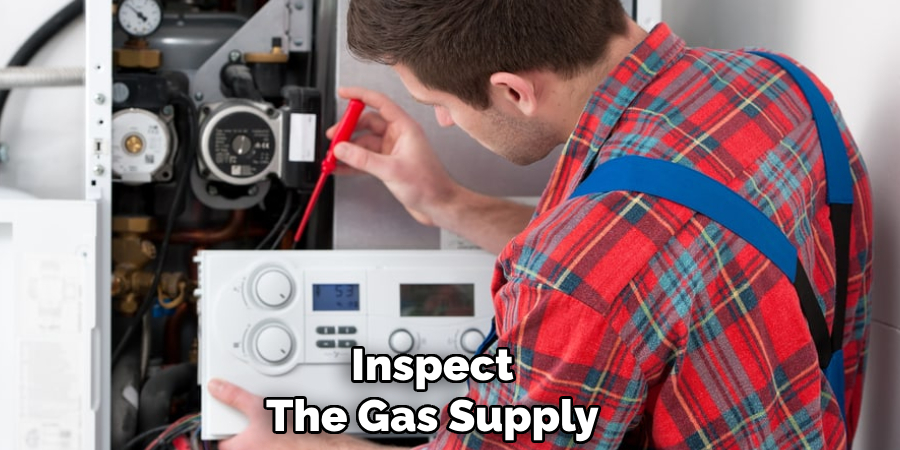
Step 2: Inspect the Gas Supply
A disrupted gas supply can prevent the water heater from operating correctly. Verify that the gas valve is fully open to ensure a steady gas flow to the unit. To check for leaks, apply a soapy water solution to the gas line and look for bubbles indicating escaping gas. If a leak is discovered, immediately turn off the gas supply and contact a certified professional to repair it.
Step 3: Clean or Replace the Thermocouple
The thermocouple is a safety device that signals the gas valve to remain open when the pilot light is on. A dirty or malfunctioning thermocouple can prevent the gas burner from staying lit. Remove the thermocouple and gently clean it with fine sandpaper to remove dirt or corrosion. If cleaning does not resolve the issue, replace the thermocouple with a new one. Always ensure the thermocouple is securely positioned near the pilot flame when reattaching.
By systematically following these steps, you can often restore your gas water heater to proper working condition.
How to Repair Water Heater: Repairing Water Heater Leaks
Leaks in a water heater can cause significant water damage and signal underlying issues that need attention. Addressing leaks promptly helps prevent further complications and ensures the water heater operates efficiently.
Fixing a Leaky Drain Valve
If the drain valve at the bottom of your water heater is leaking, the first step is to tighten it. Use a wrench to gently turn the valve clockwise, but avoid overtightening, as this could cause damage. If the valve continues to drip, it may need to be replaced. To do this, turn off the water supply and drain the tank before unscrewing the old valve and installing a new one. Ensure the replacement valve is securely tightened and check for leaks after refilling the tank.
Replacing a Faulty Temperature & Pressure (T&P) Valve
The T&P valve is a safety mechanism that releases pressure if it gets too high. If this valve is leaking, it may be faulty and require replacement. Turn off the water heater, release pressure from the tank, and drain it partially. Unscrew the old valve and install a new one, ensuring it is tight and well-sealed.
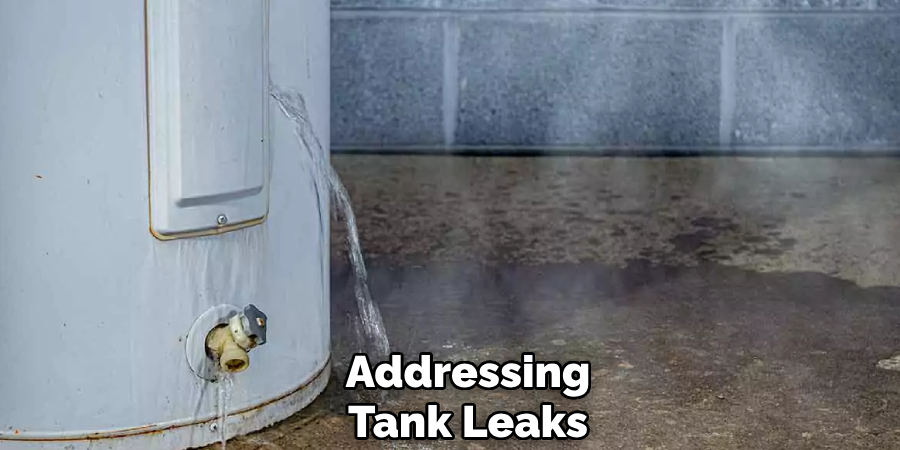
Addressing Tank Leaks
If you discover a leak coming from the tank itself, it typically signifies corrosion or damage to the inner lining. Unfortunately, a leaking tank cannot be repaired, and the entire water heater will need to be replaced. Consult a professional to ensure proper installation of the new unit.
Flushing the Water Heater to Remove Sediment
Over time, sediment can accumulate at the bottom of your water heater, reducing its efficiency and potentially causing damage. Flushing the tank regularly helps maintain the heater’s performance and extends its lifespan. Follow these steps to flush the water heater:
Step 1: Turn Off the Power and Water Supply
Start by shutting off the power to the water heater. For electric heaters, turn off the breaker at the electrical panel. For gas heaters, switch off the gas valve. Next, close the cold water supply valve to stop water from entering the tank.
Step 2: Drain the Tank
Attach a garden hose to the drain valve near the tank’s bottom. Run the other end of the hose to a drain or outside area. Open the drain valve and allow all the water to flow out completely. Be cautious, as the water may still be hot. Opening a hot water tap in the house can help the tank drain faster by relieving pressure.
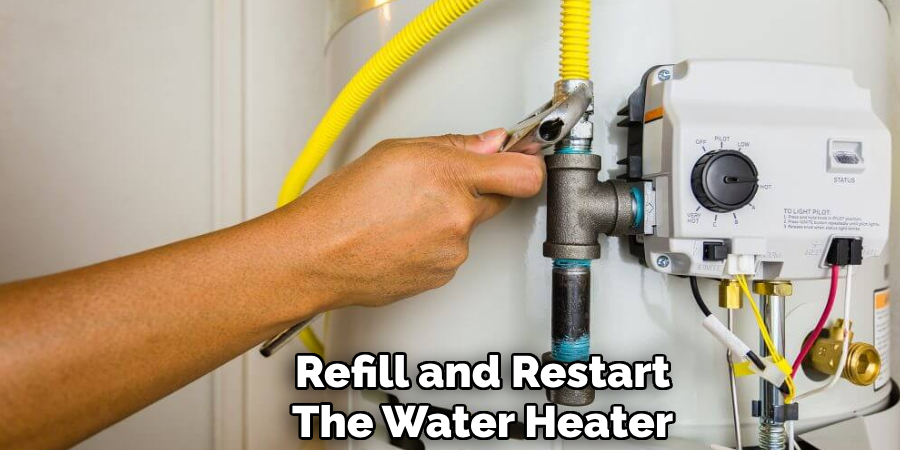
Step 3: Refill and Restart the Water Heater
Once the tank is empty, close the drain valve tightly. Reopen the cold water supply valve to refill the tank. After the tank is full, turn the power or gas back on to restore the heater to normal operation. Check for leaks and ensure the water heater is functioning efficiently.
Preventive Maintenance Tips
Proper maintenance of your water heater can extend its lifespan and improve efficiency. Here are some essential tips you should follow:
Check the Anode Rod Annually
The anode rod inside the tank prevents corrosion by attracting minerals that cause rust. Inspect it at least once a year and replace it if it’s significantly worn down, as this will help protect the tank’s interior lining.
Flush the Tank Every 6-12 Months
Over time, sediment can build up at the bottom of the tank, reducing its efficiency and potentially causing damage. Draining and flushing the tank with fresh water every 6 to 12 months helps eliminate sediment accumulation and ensures optimal performance.
Inspect and Tighten Connections
Regularly check all water and gas line connections for signs of wear or leakage. Tightening loose fittings can prevent leaks and avoid costly repairs down the line.
Test the T&P Valve Regularly
The temperature and pressure (T&P) relief valve is a critical safety feature that prevents excessive pressure buildup in the tank. Test it periodically by lifting the lever and ensuring water flows out. Replace the valve if it appears faulty.
By following these preventive maintenance steps, you can ensure your water heater operates efficiently and reliably for years to come.
Conclusion
Regular troubleshooting and maintenance are essential to keep your water heater functioning efficiently and to avoid unexpected breakdowns. Simple steps like flushing the tank, testing the T&P valve, and inspecting connections can prevent costly repairs and extend the heater’s lifespan. However, if issues persist despite regular care, it may be time to consult a professional plumber to diagnose and resolve the problem.
Understanding “how to repair water heater” components and addressing them promptly can save time, money, and inconvenience in the long run. A well-maintained water heater ensures reliable performance and continues providing comfort for years to come.
About the Author
Adrian Green is a passionate woodworking enthusiast who has dedicated his life to the craft of woodworking. From his early days working alongside his father in the family woodworking shop, Adrian has honed his skills and developed a deep love for creating beautiful, functional pieces with his hands. As the voice behind The Woodenify Blog, he shares his knowledge, tips, and inspiration with fellow woodworkers of all skill levels, helping them build confidence in their abilities while learning new techniques.
Professional Focus
- Specializes in DIY woodworking projects, from furniture making to home décor.
- Provides step-by-step guides, tips, and practical tutorials for woodworkers at any skill level.
- Focused on empowering readers with confidence and knowledge through easy-to-follow instructions and hands-on techniques.
- Passionate about building a community where makers can share, learn, and grow together in the world of woodworking.
Education History
University of Craft and Design – Bachelor of Fine Arts (BFA) in Woodworking and Furniture Design
Woodworking Apprenticeships – Gained extensive hands-on experience through various workshops and mentorships with seasoned craftsmen, refining carpentry and furniture-making skills.
Expertise
- DIY woodworking, carpentry, furniture making, and home décor projects.
- Creating clear, accessible tutorials and guides for beginner to advanced woodworkers.
- Helping readers experience the satisfaction and fulfillment of turning raw materials into stunning finished products.