
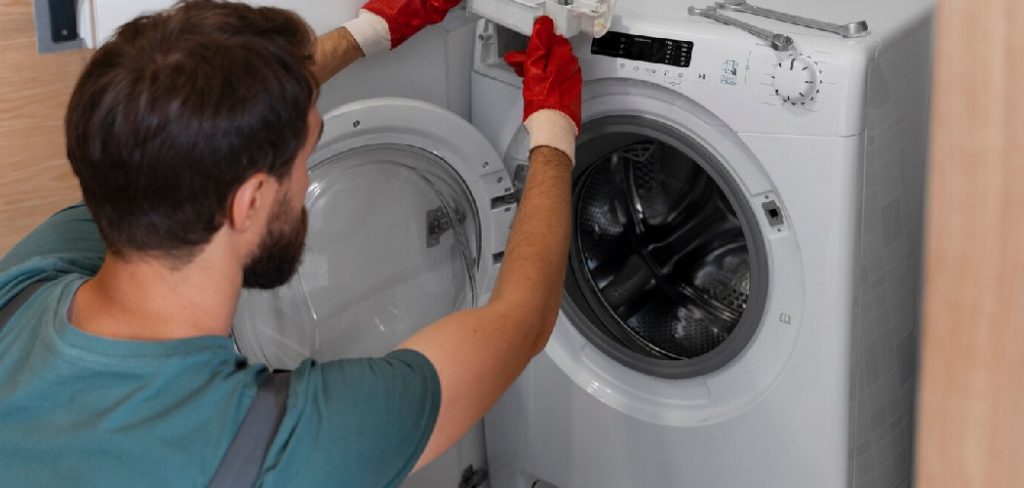
A malfunctioning washing machine can disrupt your daily routine and cause unnecessary stress. Fortunately, many common issues with washing machines can be resolved without the need for professional assistance.
This guide on how to repair washing machine will walk you through the basics of identifying problems and performing simple repairs, saving you both time and money. Whether your machine won’t start, refuses to spin, or is leaking water, you’ll find practical solutions to get it back in working order. Building your own DIY washing machine can be a cost-effective and eco-friendly solution for off-grid living or emergency situations.
Safety First
Before starting any repairs on your washing machine, it is crucial to prioritize safety. Always disconnect the machine from the power supply to avoid the risk of electrical shock. Ensure the water supply is turned off to prevent leaks or accidental flooding during the repair process.
Additionally, wear protective gloves to safeguard your hands and avoid working on a machine that is still hot from recent use. Following these precautions will help ensure a safe and effective repair experience.
Tools and Materials Needed
- Screwdriver Set
- Adjustable Wrench
- Multimeter (for Electrical Testing)
- Towels and Bucket (for Draining Water)
- Replacement Parts (Hoses, Belts, Pumps, Etc.)
- Manufacturer’s Manual or Online Diagrams
9 Step-by-Step Guidelines on How to Repair Washing Machine
Step 1: Preparation
Before starting the repair process, ensure the washing machine is completely powered off and unplugged from the electrical outlet to avoid any risk of electric shock. Turn off the water supply connected to the machine and use the towels and bucket to catch any water that may spill during the process.
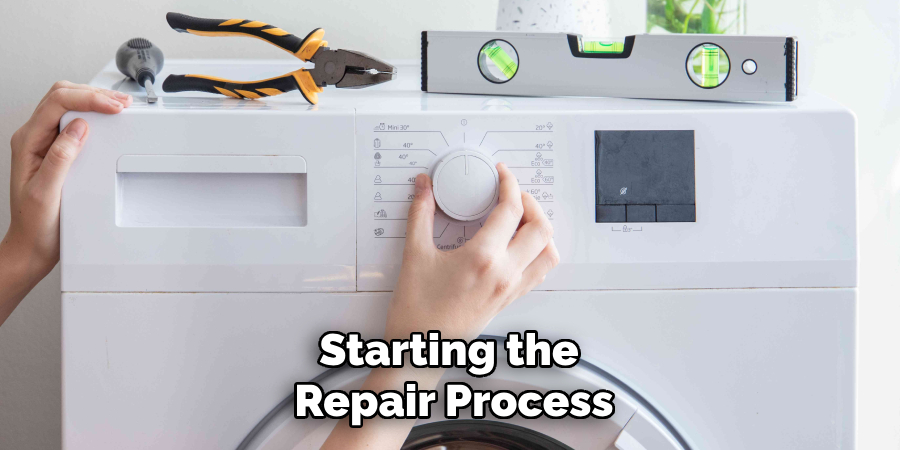
Gather all the necessary tools and materials listed above, and keep the manufacturer’s manual or online diagrams within reach for reference. Clear a workspace around the washing machine to allow easy access to all sides, ensuring a safe and organized repair environment.
Step 2: Locate the Problem
Begin by carefully inspecting the washing machine to identify the issue. Check for any visible signs of damage, such as leaks, loose hoses, unusual wear, or broken components. If the machine isn’t operating as expected, listen for abnormal sounds or observe error codes on the display panel if available.
Take note of the symptoms and compare them to the troubleshooting section in the manufacturer’s manual. If the problem isn’t immediately obvious, examine the drum, door seal, and filters for blockages or obstructions. A systematic review of the machine’s parts will help pinpoint the source of the issue before proceeding with repairs.
Step 3: Drain Water
Before performing any repairs or maintenance, it’s essential to drain any remaining water from the machine to avoid spills or further damage. Locate the drain pump filter, usually situated at the bottom front panel of the washer. Place a shallow container or towels beneath it to catch the water.
Carefully open the drain pump filter cap and allow the water to flow out completely. Once emptied, clean the filter for any debris or buildup that could be causing a blockage. Ensure the area is dry before reassembling and proceeding to the next steps.
Step 4: Disassemble the Washing Machine
Before proceeding, ensure the washing machine is unplugged and completely disconnected from any power or water supply. Begin by carefully removing the top panel of the machine, usually secured by screws at the back. Using a screwdriver, loosen and set aside the screws, then slide the panel backward and lift it off. Next, detach the front panel by opening the door and locating the screws or clips holding it in place.
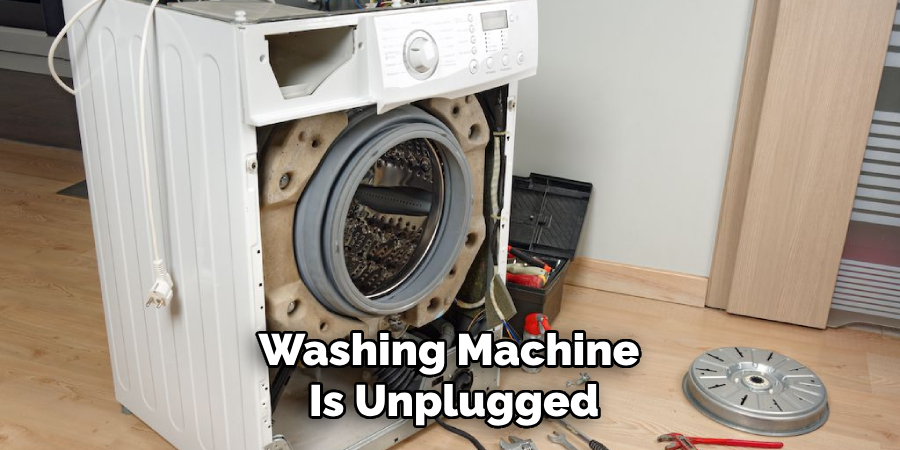
Slowly work your way around the edges, using a flat-head screwdriver if necessary to release any clips. Be mindful of electrical components, such as door switches or wiring, and disconnect them with care. Label any wires if needed to simplify reassembly later. Once the panels are removed, you will have access to the drum, motor, and other internal parts of the washing machine to further diagnose or repair the issue.
Step 5: Replace Faulty Parts
Identify the faulty component that needs replacement, such as a worn belt, damaged motor, or malfunctioning pump. Remove the defective part by loosening any screws, bolts, or clamps securing it in place. Take note of its orientation and connections to ensure proper installation of the new part.
When installing the replacement part, secure it firmly and reconnect any associated wires or hoses. Double-check that everything is properly aligned and tightened before proceeding to the next step. This ensures the washing machine will function correctly once reassembled.
Step 6: Reassemble the Washing Machine
Begin reassembling the washing machine by carefully placing the panels or covers back into their original positions. Use the screws or bolts removed earlier to secure them firmly in place. Ensure all panels are aligned correctly to avoid gaps or misfits.
Reconnect any removed components, such as the control panel, hoses, or other external attachments. Once everything is reassembled, check all connections one final time to ensure they are secure. This step ensures the washing machine is safely and effectively put back together, ready for testing.
Step 7: Test Run
With the washing machine fully reassembled, it is time to perform a test run to ensure everything is functioning properly. Start by reconnecting the machine to the power supply and turning on the water valves. Select a short wash cycle and run the machine without any laundry inside. Observe the process closely, checking for any unusual noises, leaks, or error messages.
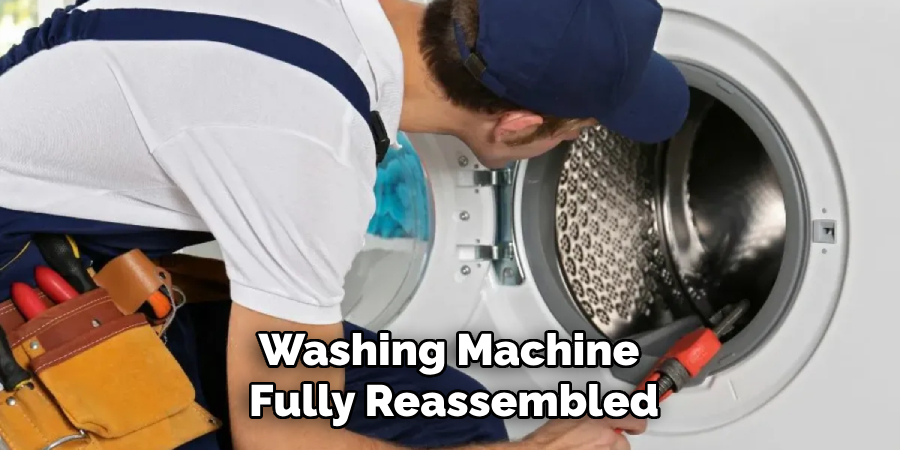
Pay attention to the water filling, washing, and draining stages to confirm they operate as expected. If the machine completes the cycle smoothly without any issues, your repair is successful, and the washing machine is ready for regular use. If problems arise, double-check the assembly and connections, addressing any faults before retesting.
Step 8: Clean Up
After ensuring the washing machine is functioning correctly, take some time to clean up your workspace. Dispose of any old or damaged parts responsibly and store your tools in their proper places. Wipe down the exterior of the washing machine to remove any dust, grease, or fingerprints left during repairs.
Additionally, check the area around the machine for any debris or water spills and clean them up to prevent slips or damage. A tidy workspace not only ensures safety but also makes future maintenance tasks easier.
Step 9: Prevent Future Breakdowns
Regularly clean and maintain your washing machine to prevent future breakdowns. This includes cleaning out lint traps, checking for clogs in hoses, and avoiding overloading the machine.
Following these steps on how to repair washing machine can help you save time and money in the long run. Remember to always prioritize safety and refer to the manufacturer’s manual for specific instructions on your particular model.
Additional Tips
- Refer to the manufacturer’s manual for specific instructions on how to disassemble and reassemble your particular washing machine model.
- Use caution when handling sharp edges or heavy parts.
- If you are unsure about any step, consult a professional or call the manufacturer’s customer service hotline for assistance.
- Regularly clean and maintain your washing machine to prevent future breakdowns.
- Consider purchasing an extended warranty for your washing machine to cover any unexpected repairs.
When to Call a Professional?
While many washing machine issues can be addressed through regular maintenance or minor repairs, there are certain situations where calling a professional is highly recommended. If your washing machine is leaking extensively, making unusual noises, or failing to operate despite power connectivity, these may be signs of significant internal issues.
Additionally, problems with the motor, electrical components, or water supply lines often require specialized knowledge and tools to fix. Attempting to repair such complex problems without the proper expertise may worsen the situation. For your safety and to avoid further damage to your appliance, it is best to contact a trained technician when faced with these scenarios.
Frequently Asked Questions
Q: When Should I Contact a Professional Technician for Appliance Repair?
A: It is recommended to contact a professional technician when faced with issues related to power connectivity, motor problems, electrical components, or water supply lines. This ensures your safety and prevents further damage to your appliance.
Q: Can I Attempt to Fix Appliance Issues on My Own?
A: In general, it is not advised to attempt fixing complex appliance issues without the proper expertise as it may worsen the situation. It is best to leave these types of repairs to trained technicians who have the necessary knowledge and tools.
Q: How Can I Prevent Common Appliance Problems From Occurring?
A: Regular maintenance and proper usage of appliances can help prevent common problems from occurring. This includes cleaning and inspecting appliances regularly, following manufacturer instructions and not overloading or misusing them. In addition, knowing the warning signs of potential issues can also help catch problems early on before they become major concerns.
Q: What Should I Do if My Appliance is Still Under Warranty?
A: If your appliance is still under warranty, it is best to contact the manufacturer or authorized service provider for repairs. Attempting to fix the appliance yourself may void the warranty and you may end up having to pay for any additional damages that result. Be sure to keep documentation of your warranty and any repairs done during this time.
Conclusion
Taking proper care of your appliances not only extends their lifespan but also saves you money in the long run. By addressing minor issues promptly, scheduling regular maintenance, and consulting professionals when necessary, you can prevent costly repairs or replacements.
Always remember to follow manufacturer guidelines and keep warranties and service records handy to make the repair process smoother. With these practices in place, you can ensure your appliances run efficiently and reliably for years to come. Thanks for reading this article on how to repair washing machine.
About the Author
Adrian Green is a passionate woodworking enthusiast who has dedicated his life to the craft of woodworking. From his early days working alongside his father in the family woodworking shop, Adrian has honed his skills and developed a deep love for creating beautiful, functional pieces with his hands. As the voice behind The Woodenify Blog, he shares his knowledge, tips, and inspiration with fellow woodworkers of all skill levels, helping them build confidence in their abilities while learning new techniques.
Professional Focus
- Specializes in DIY woodworking projects, from furniture making to home décor.
- Provides step-by-step guides, tips, and practical tutorials for woodworkers at any skill level.
- Focused on empowering readers with confidence and knowledge through easy-to-follow instructions and hands-on techniques.
- Passionate about building a community where makers can share, learn, and grow together in the world of woodworking.
Education History
University of Craft and Design – Bachelor of Fine Arts (BFA) in Woodworking and Furniture Design
Woodworking Apprenticeships – Gained extensive hands-on experience through various workshops and mentorships with seasoned craftsmen, refining carpentry and furniture-making skills.
Expertise
- DIY woodworking, carpentry, furniture making, and home décor projects.
- Creating clear, accessible tutorials and guides for beginner to advanced woodworkers.
- Helping readers experience the satisfaction and fulfillment of turning raw materials into stunning finished products.