
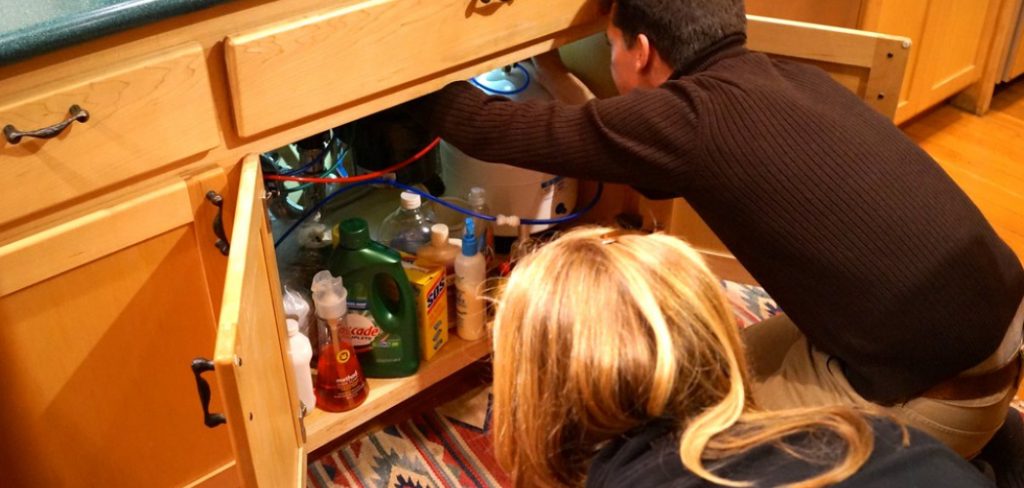
A kitchen sink diy can disrupt daily routines and cause unnecessary stress, but with a little guidance, many common issues can be resolved without professional help. From fixing leaks to unclogging drains, understanding the basic steps to repair your kitchen sink can save you time and money. This guide will walk you through how to repair kitchen sink, ensuring your kitchen runs smoothly once again.
Why a Functional Kitchen Sink is Essential
A functional kitchen sink is at the heart of an efficient and hygienic household. It is central to daily chores such as washing dishes, preparing meals, and cleaning up, making it a crucial element of any kitchen. A malfunctioning sink can lead to disrupted routines, unsanitary conditions, and even increased water bills due to leaks or inefficiencies. Additionally, a well-working sink helps conserve water, ensuring that resources are used responsibly. Having a fully operational kitchen sink not only improves convenience but also contributes to a cleaner, more organized kitchen environment.
Common Kitchen Sink Issues
Several common problems can arise with kitchen sinks, each requiring specific solutions. One of the most frequent issues is a leaky faucet, which can waste significant amounts of water and increase utility bills. Clogged drains are another typical problem, often caused by food particles, grease, or debris building up over time. Low water pressure might result from mineral deposits in the faucet aerator or issues within the plumbing system. Additionally, malfunctioning garbage disposals and worn-out seals or gaskets can also lead to inefficiencies or leaks. Identifying the problem early is key to addressing these issues effectively and preventing further damage.
10 Methods How to Repair Kitchen Sink
1. Fixing a Leaky Faucet
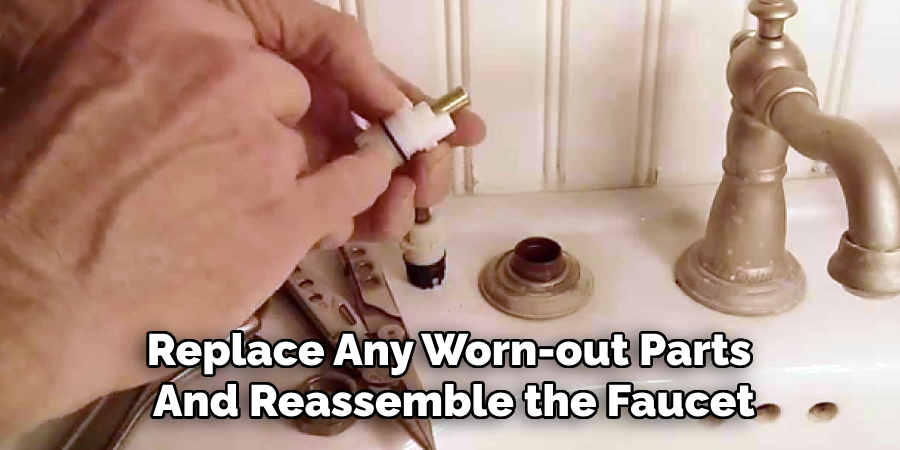
A leaking faucet can waste water and increase your utility bills. To repair a leaky faucet, first, turn off the water supply using the shut-off valves beneath the sink. Remove the faucet handle using a screwdriver or wrench, then inspect the washer, O-ring, and cartridge for damage. Replace any worn-out parts and reassemble the faucet. Turn the water supply back on and test for leaks.
2. Repairing a Clogged Drain
A clogged sink can lead to slow drainage and unpleasant odors. To clear the clog, start by using a plunger to create suction and dislodge debris. If that doesn’t work, try pouring a mixture of baking soda and vinegar down the drain, followed by hot water. For stubborn blockages, use a plumber’s snake or a drain auger to break up the clog and restore normal water flow.
3. Sealing Leaks in the Sink Basin
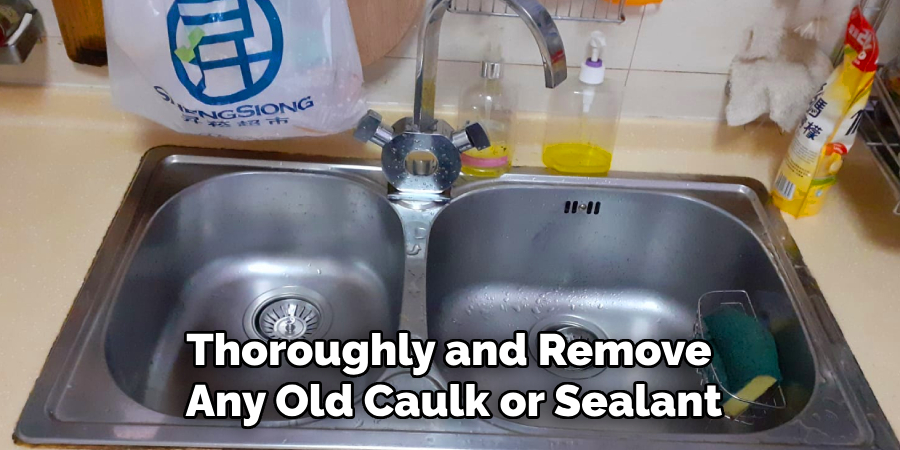
Over time, the seal between the sink and the countertop can weaken, leading to leaks. To fix this, clean the affected area thoroughly and remove any old caulk or sealant. Apply a fresh bead of waterproof silicone caulk around the sink’s edges and smooth it out with a caulking tool or finger. Let it cure for at least 24 hours before using the sink again.
4. Tightening Loose Sink Mounts
If your sink feels wobbly or uneven, the mounting clips or brackets may have loosened. Check underneath the sink for any loose or missing fasteners. Use a wrench or screwdriver to tighten the mounting hardware securely. If necessary, add extra support by placing wooden shims or brackets under the sink for better stability.
5. Replacing a Faulty Garbage Disposal
A malfunctioning garbage disposal can cause drainage problems and unpleasant odors. To replace a broken disposal unit, turn off the power supply and disconnect the unit from the sink drain and electrical wiring. Install the new disposal by securing it to the mounting ring and connecting the drain pipe and power wires. Turn the power back on and test the unit for proper operation.
6. Fixing a Broken Sink Pipe

If you notice water pooling under the sink, a broken or loose pipe may be the culprit. Check for visible cracks or leaks in the P-trap or other pipes. If the P-trap is clogged, remove it using a pipe wrench and clean it out before reattaching it. For cracked pipes, replace the damaged section with a new PVC pipe and secure it with plumber’s tape or pipe cement.
7. Unclogging an Air Gap Blockage
An air gap helps prevent dirty water from backflowing into the dishwasher, but it can become clogged over time. If your dishwasher isn’t draining properly, remove the air gap cover and clean out any debris with a small brush or compressed air. Reattach the cover and test the dishwasher to ensure proper drainage.
8. Repairing a Cracked Sink Basin
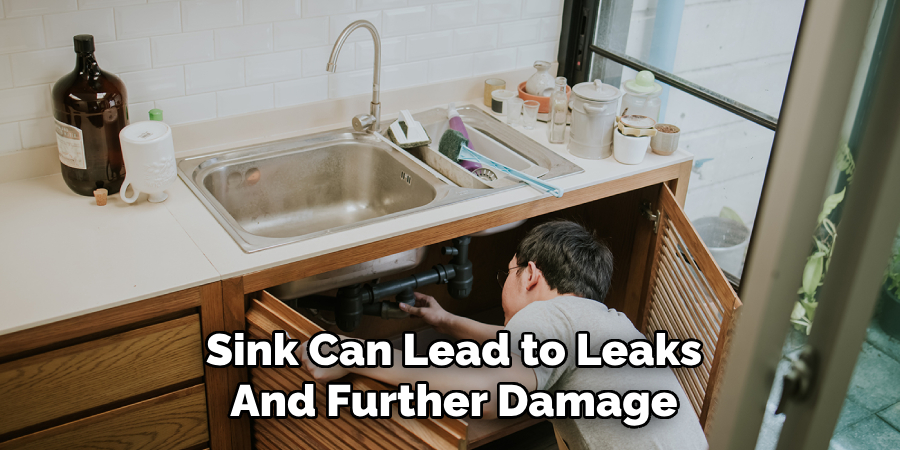
Small cracks in a kitchen sink can lead to leaks and further damage if left unaddressed. To repair minor cracks in a porcelain or stainless steel sink, use an epoxy repair kit. Clean the damaged area thoroughly, apply the epoxy according to the instructions, and let it dry completely. For larger cracks, consider replacing the sink to prevent long-term issues.
9. Replacing a Worn-Out Sink Strainer
A sink strainer helps prevent debris from entering the drain, but it can deteriorate over time. To replace a damaged sink strainer, unscrew the lock nut underneath the sink and remove the old strainer. Apply plumber’s putty around the new strainer’s edge and insert it into the sinkhole. Secure it from underneath with a lock nut and tighten it until snug. Wipe away any excess putty and test for leaks.
10. Adjusting Water Pressure Issues
If your kitchen sink has low water pressure, the aerator may be clogged with mineral deposits. Unscrew the aerator from the faucet tip and soak it in vinegar for about an hour to dissolve any buildup. Rinse it thoroughly and reattach it to the faucet. If water pressure is still low, check for leaks in the supply lines or call a plumber to inspect your home’s water system.
Maintenance and Upkeep
Regular maintenance of your kitchen sink ensures its longevity and optimal performance. Start by routinely cleaning the sink basin, faucet, and drain with mild soap and warm water to prevent the buildup of grime and stains. Avoid pouring grease, oil, or food scraps directly into the drain to minimize clogs, and use a strainer to catch debris. Inspect all visible parts of the plumbing system periodically for leaks or damage, addressing issues promptly to prevent costly repairs.
For garbage disposals, run cold water while in use and clean the unit with a mixture of ice cubes and salt to eliminate residue buildup. Additionally, descale the faucet aerator every few months to maintain proper water flow. By following these simple upkeep practices, you can keep your kitchen sink in excellent condition for years to come.
Troubleshooting Common Issues
Even with proper maintenance, kitchen sinks can encounter common issues that require quick troubleshooting. Below are some practical solutions to address these problems:
Low Water Pressure
If the water flow from your kitchen faucet is weak, the aerator or supply lines could be clogged. Start by removing the aerator and soaking it in vinegar to dissolve any mineral buildup. If the problem persists, check the water supply valves under the sink to ensure they are fully open. Leaks in supply lines or a malfunctioning faucet may also cause pressure issues, which may need professional attention.
Persistent Drain Clogs
If a drain clog remains even after using a plunger or drain snake, the blockage may be farther down the pipe. Try using a chemical drain cleaner sparingly or a combination of baking soda, vinegar, and boiling water for a more natural solution. If the clog is still present, the plumbing system might need inspection to determine if there’s a more significant issue, such as tree roots or collapsed pipes.
Foul Odors
Unpleasant odors emanating from the sink often result from food debris or grease buildup in the drain or garbage disposal. Clean the disposal by running cold water and grinding ice cubes and citrus peels. For the drain, flush it with hot water and a mix of baking soda and vinegar. If the smell continues, check for standing water in the P-trap, which could indicate a blockage or improper installation.
Leaky Faucet or Connections
If your faucet continues to leak after replacing its internal parts, inspect the water supply connections for loose fittings or damaged washers. Use a wrench to tighten connections carefully, ensuring the seals are intact. For persistent leaks, there may be cracks or defects in the faucet that necessitate a full replacement.
Garbage Disposal Not Working
A non-functioning garbage disposal might be due to an electrical issue. Ensure the unit is plugged in and press the reset button located on the bottom of the disposal. If it still doesn’t work, check your circuit breaker to make sure it hasn’t tripped. If the issue persists, the motor may have failed and likely needs replacement.
By following these troubleshooting steps, you can efficiently resolve many common kitchen sink problems, maintaining a functional and hassle-free workspace. If these solutions don’t fix the issue, consulting a licensed plumber is recommended for more complex repairs.
Conclusion
Repairing a kitchen sink doesn’t always require professional help. By using these ten effective methods, you can fix leaks, clogs, and other common issues to keep your sink functioning properly. Regular maintenance and prompt repairs can help extend the life of your kitchen sink and ensure a smooth and efficient kitchen workflow. Thanks for reading, and we hope this has given you some inspiration on how to repair kitchen sink!
About the Author
Adrian Green is a passionate woodworking enthusiast who has dedicated his life to the craft of woodworking. From his early days working alongside his father in the family woodworking shop, Adrian has honed his skills and developed a deep love for creating beautiful, functional pieces with his hands. As the voice behind The Woodenify Blog, he shares his knowledge, tips, and inspiration with fellow woodworkers of all skill levels, helping them build confidence in their abilities while learning new techniques.
Professional Focus
- Specializes in DIY woodworking projects, from furniture making to home décor.
- Provides step-by-step guides, tips, and practical tutorials for woodworkers at any skill level.
- Focused on empowering readers with confidence and knowledge through easy-to-follow instructions and hands-on techniques.
- Passionate about building a community where makers can share, learn, and grow together in the world of woodworking.
Education History
University of Craft and Design – Bachelor of Fine Arts (BFA) in Woodworking and Furniture Design
Woodworking Apprenticeships – Gained extensive hands-on experience through various workshops and mentorships with seasoned craftsmen, refining carpentry and furniture-making skills.
Expertise
- DIY woodworking, carpentry, furniture making, and home décor projects.
- Creating clear, accessible tutorials and guides for beginner to advanced woodworkers.
- Helping readers experience the satisfaction and fulfillment of turning raw materials into stunning finished products.