
A clogged or damaged shower drain can disrupt your daily routine, but fortunately, the process to address the problem is manageable. Learning how to remove shower drain components is crucial for anyone looking to clean, repair, or replace this vital bathroom fixture. Whether your drain is obstructed by debris or simply needs an upgrade, removing it is the first step to restoring a fully functioning shower.
Before beginning, gather the necessary tools such as a screwdriver, pliers, and possibly a drain wrench, depending on your drain type. Ensure the shower area is clean and free of excess water to make the process safer and more efficient. Start by inspecting the drain cover, as many are secured using screws or simply snapped into place. Unscrew or gently pry off the cover, taking care to avoid damaging the surrounding surface. For stubborn or older drains, you may need to use a bit of extra force, but always proceed cautiously to avoid complications. Once the cover is removed, you’re ready to address the inner components or clean out any blockages that have accumulated.
This guide provides a comprehensive, beginner-friendly approach to safely removing a shower drain. With a bit of patience and focus, you’ll soon clear the path for any cleaning, maintenance, or renovation project you aim to tackle.
Why Knowing How to Remove Shower Drain Is Important
Understanding how to remove shower drain ideas offers significant benefits, making it one of the most practical skills to acquire for home maintenance. Shower clogs can cause water backup, unpleasant odors, and potential damage to your bathroom, so addressing them promptly is vital. The ability to remove a drain equips you to clean out persistent blockages or repair parts without having to rely on costly professional help.
Additionally, some older shower drains may develop leaks over time, leading to structural issues if left unattended. Removing the drain allows you to inspect the condition of the pipes and surrounding areas, ensuring that your bathroom stays in excellent shape.
Not only does this skill save you money, but it also empowers you to maintain a cleaner, healthier home by preventing recurring problems. Whether you’re managing routine cleaning or preparing for a complete shower remodel, mastering this process ensures that you’re ready for any drain-related challenge.
Step-by-Step Guide on How to Remove Shower Drain
When you’re ready to tackle this plumbing task, follow this straightforward step-by-step guide. Each step is designed to help you safely and effectively remove your shower drain, ensuring the best results for cleaning, repair, or replacement.
Step 1: Gather Necessary Tools and Materials
Before starting, assemble the tools needed for the job. Depending on your drain type, these may include a screwdriver, a drain wrench, pliers, a utility knife, and a bucket to catch debris. With everything at your fingertips, you’ll streamline the process and avoid unnecessary interruptions.

If possible, identify the model or type of shower drain you have. This allows you to understand how it’s secured and which tools will work best to remove it. Knowing these details in advance prevents damage and speeds up the process.
Step 2: Assess the Drain’s Condition
Inspect the drain closely to identify whether it’s a screw-in, snap-in, or glued joint. Dirt, rust, or buildup might obscure some components, so cleaning the visible areas can provide clarity. Understanding the drain type ensures you know exactly how to approach its removal.
For example, screw-in drains require you to locate the screws holding the drain in place, while snap-in types rely on tabs or clips. This knowledge saves time and reduces the risk of accidental damage during removal.
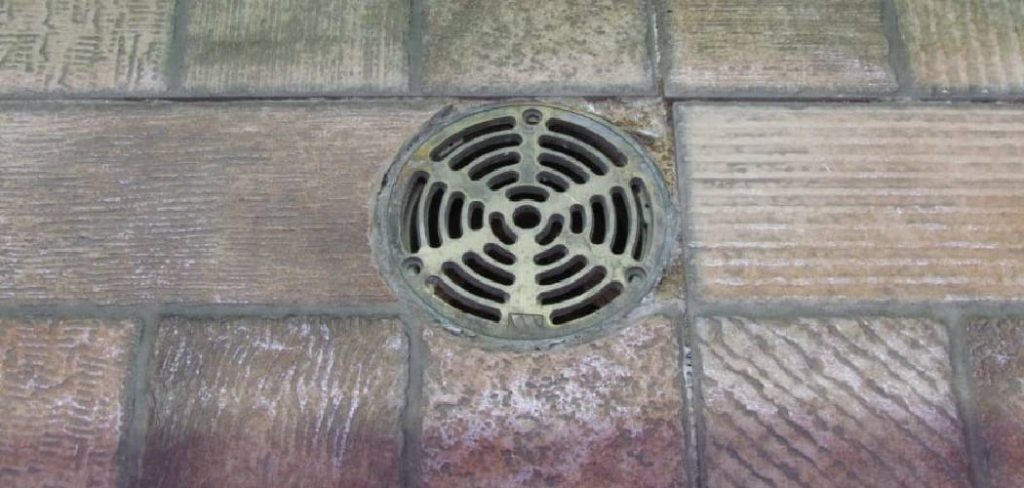
Step 3: Remove the Strainer Cover
Most shower drains are topped with a strainer cover that needs to be removed first. Use a screwdriver to loosen and extract any screws securing the cover. For snap-on covers, gently pry around the edges with a flat-head tool to lift it without bending or snapping it.
If the cover is stuck, apply a little lubricant around the edges to loosen it. Be patient during this step, as forcing the cover can cause cracks or other damage that complicates the process.
Step 4: Loosen the Drain Assembly
Once the strainer cover is off, access the main drain assembly. Insert a drain wrench or pliers into the cross-section of the drain and turn counterclockwise to loosen it. For tougher connections, using additional leverage or applying a lubricant may help break the seal.
If your drain is held by tabs or snaps, press on the release mechanisms to lift it out. Be cautious and press only as much force as needed, as excessive pressure could damage the surrounding tile or piping.
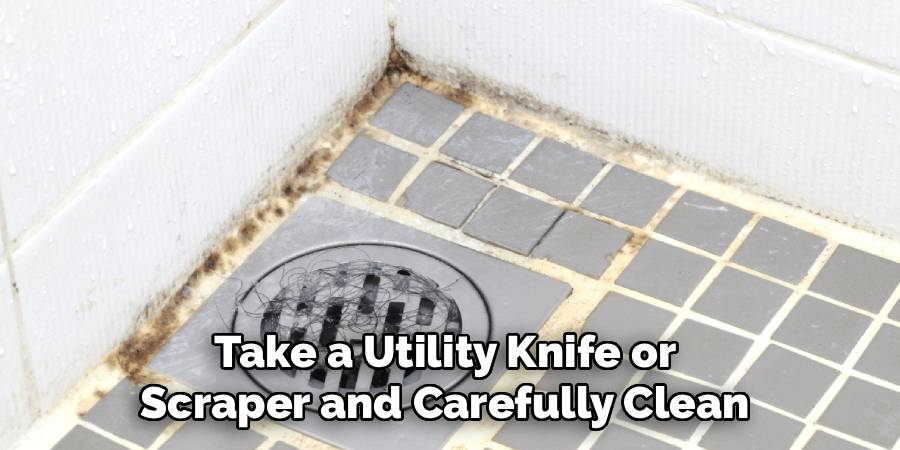
Step 5: Handle Persistent Buildup or Corrosion
Sometimes, mineral buildup or rust can make it difficult to loosen the drain assembly. Take a utility knife or scraper and carefully clean around the edges, removing any deposits that obstruct movement. A vinegar or baking soda solution can also soften tough grime.
Work slowly, as aggressive scraping could scratch the surface or cause injury. With buildup addressed, try loosening the assembly again.
Step 6: Disconnect the Drain Pipe
Depending on your drain type, you may need to remove a gasket or sealing ring connecting the drain to the pipe. This usually involves prying the gasket free with a screwdriver or pliers. Examine its condition carefully to determine if it needs replacing.
Before proceeding, place a bucket underneath to catch any water or debris that may fall during disconnection. This prevents unnecessary mess and disruption.
Step 7: Remove the Drain Assembly Completely
With all attachments and seals removed, carefully lift the drain body out of its opening. Depending on how it’s installed, this may require tilting or wiggling the assembly to work it free.
Take care not to damage the surrounding tile or flooring when handling the removed assembly. Use the opportunity to check for any hidden buildup or signs of wear on the fixture or pipe.
Step 8: Clean the Area Thoroughly
After successfully removing the drain, clean the opening and surrounding surfaces. Use a brush or vacuum to clear away any debris or grime that has accumulated in the drainpipe or housing.
This ensures that the area is ready for the next steps, whether it’s replacing the old drain or installing a completely new one. Proper cleaning also minimizes the chances of future blockages.
Additional DIY Project Ideas
Fix a Leaky Faucet
A dripping faucet not only wastes water but can also increase your utility bills. With a few basic tools and replacement parts like washers or cartridges, you can fix a leaky faucet in just an afternoon.
Build a Custom Shelf
Enhance your storage space by building a custom shelf. You can use wood or repurposed materials to create a piece that fits perfectly in your home while adding a touch of personality.
Repaint a Room
Refresh the look of your home by repainting a room. Choose colors that complement your decor, and don’t forget to properly prep the walls for a professional finish.

Install a New Light Fixture
Swap out an outdated light fixture with a modern design to instantly update a room’s ambiance. This project adds style while improving lighting efficiency.
Create a Garden Bed
Whether for flowers, vegetables, or herbs, building a raised garden bed is a rewarding project. It’s a great way to enhance your outdoor space while enjoying the benefits of homegrown produce.
Frequently Asked Questions
1. How do I know what type of shower drain I have?
To identify your shower drain type, you can examine its installation method. Screw-in drains typically feature visible screws around the cover, while snap-in versions have plastic or metal tabs securing them. For glued joints, the connections generally appear seamless and are held in place with adhesive. Understanding the type is crucial, as it dictates the tools and techniques needed for removal.
2. What should I do if my shower drain is stuck?
If your shower drain is stuck, start by applying a lubricant such as WD-40 around the edges. Allow the lubricant to penetrate for several minutes before attempting to loosen the drain again. You can also use moderate heat from a hair dryer to soften adhesive seals, though extreme care is needed to avoid damaging nearby materials.
3. Can I remove a shower drain without special tools?
Yes, in some cases, you can remove a shower drain using common household tools such as pliers, screwdrivers, or a wrench. However, specialized tools like a drain wrench or sealant remover make the process easier and help prevent damage to the surrounding structure.
4. How long does it take to remove a shower drain?
Removing a shower drain can take anywhere from 30 minutes to an hour, depending on the drain type and condition. Persistent buildup or rust might extend the time required, especially if additional cleaning or loosening is necessary. Working methodically and carefully prevents costly mistakes and ensures successful removal.
5. Do I need to replace the drain after removing it?
Not always. If the shower drain is in good condition and only required cleaning or disassembly, you can reinstall it after completing any necessary maintenance. However, if there are signs of damage, corrosion, or wear, it’s best to replace it with a new drain to prevent future problems.

Conclusion
Removing a shower drain may seem like a daunting task, but with the right approach, it becomes an achievable and rewarding project. By following the steps outlined in this guide, you’ll gain the confidence and skills needed to tackle this essential home maintenance activity.
Proper maintenance of your shower drain can prolong its lifespan and prevent costly repairs down the line. Regularly cleaning the drain and checking for early signs of clogs or damage can save you both time and effort. Establishing a consistent maintenance schedule will ensure your drainage system functions smoothly, keeping your shower in optimal condition.
Knowing how to remove shower drain components independently not only saves money but also prevents disruption in your daily routine. Don’t hesitate to take on this challenge—it’s a valuable skill that ensures your bathroom stays clean, functional, and free from unwanted blockages. Prepare your tools, follow the steps, and enjoy the satisfaction of completing the job successfully!
About the Author
Adrian Green is a passionate woodworking enthusiast who has dedicated his life to the craft of woodworking. From his early days working alongside his father in the family woodworking shop, Adrian has honed his skills and developed a deep love for creating beautiful, functional pieces with his hands. As the voice behind The Woodenify Blog, he shares his knowledge, tips, and inspiration with fellow woodworkers of all skill levels, helping them build confidence in their abilities while learning new techniques.
Professional Focus
- Specializes in DIY woodworking projects, from furniture making to home décor.
- Provides step-by-step guides, tips, and practical tutorials for woodworkers at any skill level.
- Focused on empowering readers with confidence and knowledge through easy-to-follow instructions and hands-on techniques.
- Passionate about building a community where makers can share, learn, and grow together in the world of woodworking.
Education History
University of Craft and Design – Bachelor of Fine Arts (BFA) in Woodworking and Furniture Design
Woodworking Apprenticeships – Gained extensive hands-on experience through various workshops and mentorships with seasoned craftsmen, refining carpentry and furniture-making skills.
Expertise
- DIY woodworking, carpentry, furniture making, and home décor projects.
- Creating clear, accessible tutorials and guides for beginner to advanced woodworkers.
- Helping readers experience the satisfaction and fulfillment of turning raw materials into stunning finished products.