
When it comes to maintaining your water heater, knowing how to remove the pressure relief valve is an essential skill. This valve is a safety device designed to release excess pressure that builds up inside the tank, preventing leaks or potential damage. Over time, the valve may wear out or develop issues, requiring replacement or inspection.
By following the proper steps on how to remove pressure relief valve on water heater, you can safely remove and inspect the pressure relief valve, ensuring your water heater continues to operate efficiently and safely.
Why is It Important to Remove the Pressure Relief Valve?
One of the main reasons why it is important to know how to remove the pressure relief valve on a water heater is for regular maintenance and inspection. As mentioned, the valve plays a crucial role in preventing potential damage or leaks from excessive pressure buildup inside the tank. By removing and inspecting the valve, you can ensure that it is functioning correctly and replace it if necessary.
Additionally, removing the pressure relief valve allows for better cleaning and flushing of your water heater. Over time, sediment and debris can build up in your water heater tank, potentially causing efficiency issues or even damaging the heating elements. Removing the pressure relief valve gives you better access to clean and flush the tank thoroughly, ensuring your water heater operates at its best.
Tools and Materials Needed
Before starting on how to remove the pressure relief valve on a water heater, make sure you have the necessary tools and materials. These include:
Adjustable Wrench or Pipe Wrench:
You will need this tool to loosen and remove the pressure relief valve from its fitting on the water heater.
Teflon Tape:
This is used to wrap around the threads of the new pressure relief valve to prevent leaks.
Replacement Pressure Relief Valve:
If you are inspecting or replacing a faulty valve, make sure you have a compatible replacement before removing the old one. You can usually find this information in your water heater manual or by contacting the manufacturer.
7 Step-by-step Guides on How to Remove Pressure Relief Valve on Water Heater
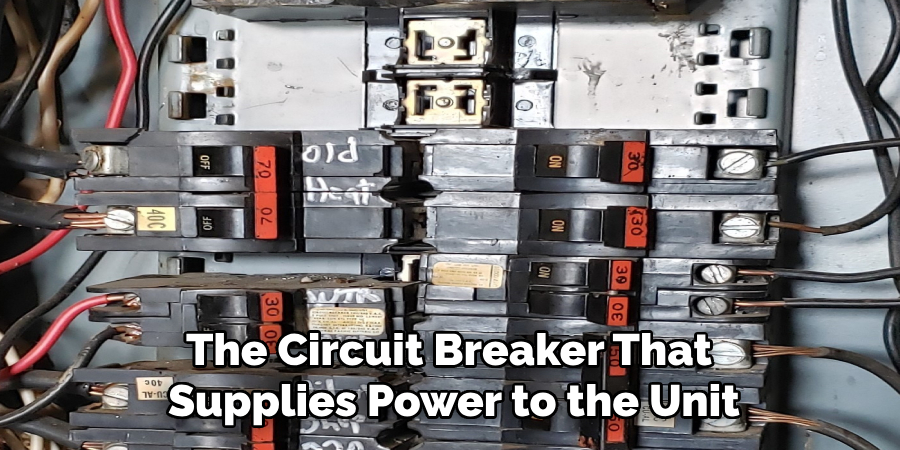
Step 1: Turn Off the Power Supply
Before you begin removing the pressure relief valve, ensure that the power supply to the water heater is turned off. If you have an electric water heater, switch off the circuit breaker that supplies power to the unit. For gas water heaters, turn the gas control valve to the “OFF” position.
This precaution is crucial for your safety, as working on an active water heater can pose electrical or gas hazards. Always double-check that the power or gas supply is completely turned off before proceeding to the next step.
Step 2: Shut Off the Water Supply
The next step is to shut off the water supply to the water heater. Locate the cold water supply valve, which is usually positioned above the water heater, and turn it clockwise to close it. This step prevents water from flowing into the tank while you work on removing the pressure relief valve.
Once the valve is tightly closed, open a nearby hot water faucet to relieve any pressure inside the tank and drain a small amount of water. This ensures a safer working environment by minimizing the risk of water spilling during the process.
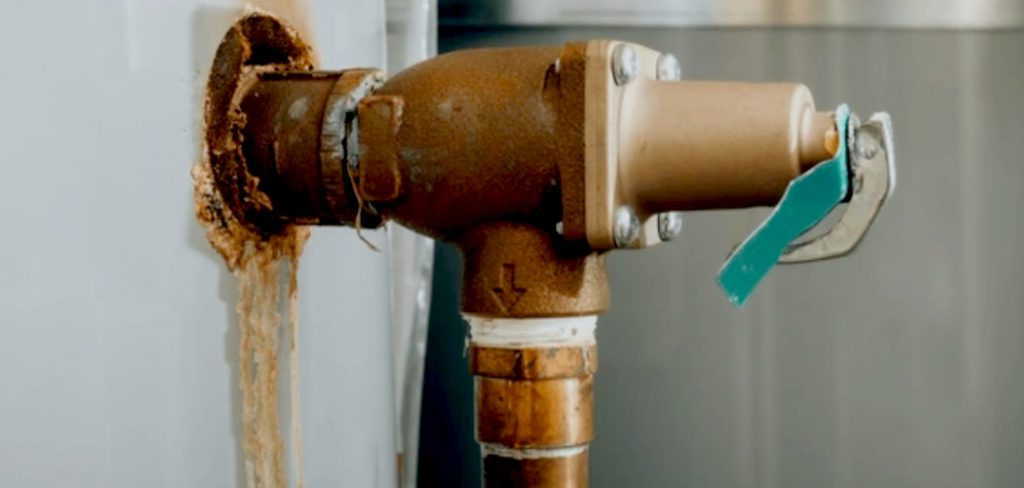
Step 3: Locate the Pressure Relief Valve
The pressure relief valve is typically located on the side or top of your water heater tank. It has a lever or handle with a pipe that extends down to near the bottom of the tank. You may also see a small discharge tube connected to the valve, leading to a drain or outside area.
It is essential to identify the pressure relief valve before proceeding to the next step. If you are unsure about its location, refer to your water heater manual or contact a professional for assistance.
Step 4: Release Pressure from the Valve
Before removing the pressure relief valve, you need to release any pressure inside it. To do this, lift the valve’s lever or handle to open it and allow air to enter. This action will relieve any excess pressure in the tank and make it easier to remove the valve.
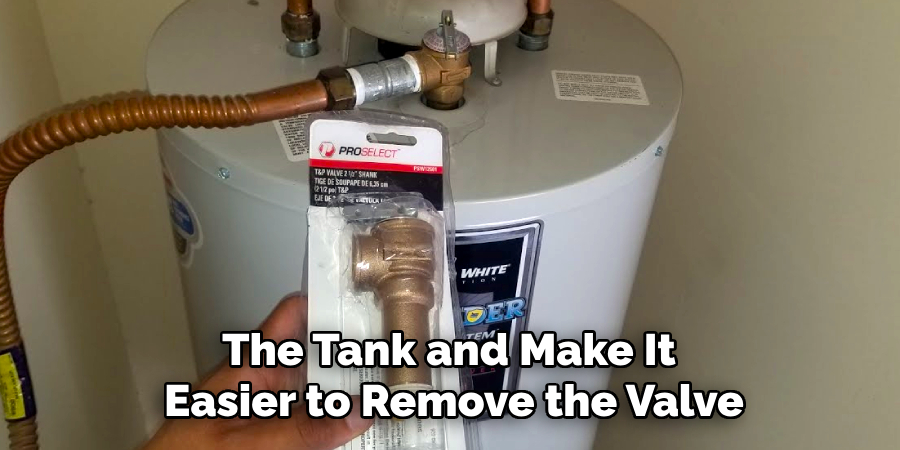
Once released, let go of the lever and close it again. This step should only take a few seconds but is crucial for your safety during removal.
Step 5: Loosen and Remove the Valve
Using an adjustable or pipe wrench, loosen and remove the pressure relief valve from its fitting. Turn it counterclockwise until it is loose enough to be removed by hand.
Be careful as you remove the valve, as there may still be some water remaining inside. You can place a small bucket or towel underneath to catch any residual water that may spill out.
Step 6: Inspect and Clean the Valve
Once you have removed the pressure relief valve, inspect it for any signs of damage or corrosion. If you are replacing it with a new one, compare them side by side before installing the replacement.
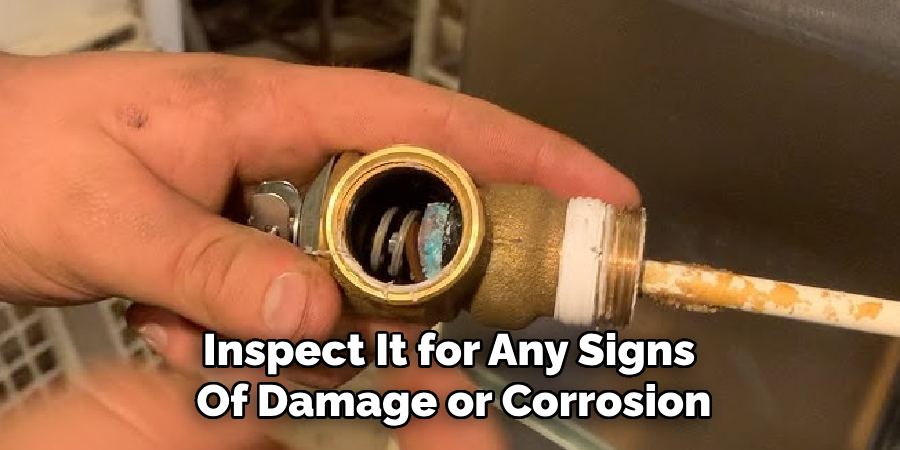
This is also a good time to clean the valve and its threads using a wire brush or cloth. Removing any buildup or debris from the threads will help prevent leaks when installing the new valve.
Step 7: Install the New Valve and Reconnect
If you are replacing the pressure relief valve, wrap the threads with Teflon tape before installing it. This tape helps create a watertight seal and prevents leaks.
Following the reverse steps on how to remove pressure relief valve on water heater, install the new valve onto its fitting and tighten it with a wrench. Once secure, turn on the water supply and power your water heater.
Importance of Proper Water Heater Maintenance
Regular maintenance of your water heater, including inspecting and removing the pressure relief valve, is crucial for its longevity and performance. Neglecting this task can lead to potential damage or malfunction, resulting in costly repairs or replacements.
By following these simple steps on how to remove the pressure relief valve on a water heater, you can ensure that your unit operates safely and efficiently. Remember to always exercise caution and consult a professional if you are unsure about any step in the process. Proper maintenance and care will not only save you money but also provide peace of mind, knowing that your hot water supply is in good working condition. S,o make sure to add this task to your regular home maintenance routine!
Do You Need to Use Professionals?
While the steps to remove and replace a pressure relief valve on a water heater may seem straightforward, there are situations where hiring a professional is highly recommended. If you are unsure about any step in the process, lack the necessary tools, or feel uncomfortable working with gas or electrical systems, it is best to rely on an experienced plumber or technician.
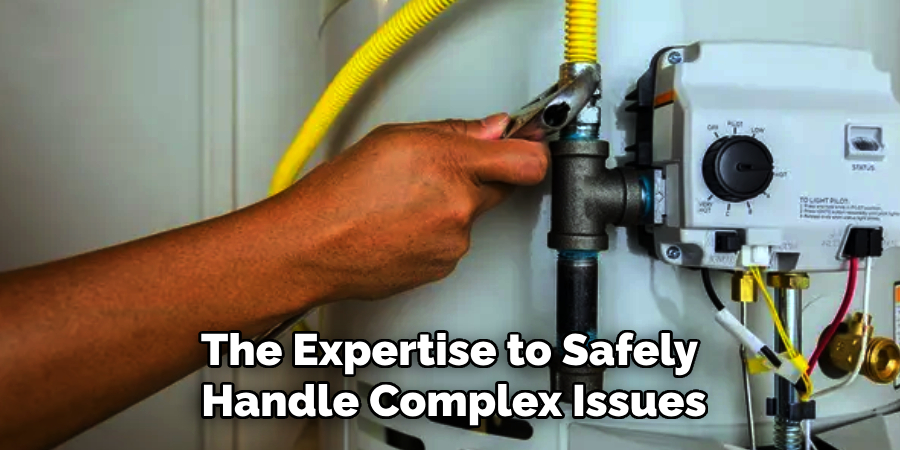
Professionals have the expertise to safely handle complex issues, such as addressing underlying problems that may cause the valve to malfunction. Additionally, some water heater warranties may require professional servicing to remain valid. Investing in professional help ensures the job is done correctly, minimizing risks and ensuring the longevity of your water heater.
Frequently Asked Questions
Q: How Often Should the Pressure Relief Valve on a Water Heater Be Checked?
A: It is recommended to check your water heater’s pressure relief valve annually as part of your regular maintenance routine. The valve should also be checked if you notice any signs of leakage or any other issues with your water heater.
Q: Can I Replace the Pressure Relief Valve Myself?
A: While it is possible to replace the pressure relief valve yourself, it is always best to consult a professional when in doubt. If you do choose to replace it yourself, make sure to follow all safety precautions and have the necessary tools and knowledge for the job.
Q: Is It Necessary to Drain the Water Heater Tank Before Removing the Pressure Relief Valve?
A: Yes, draining a small amount of water from the tank before removing the pressure relief valve is necessary to prevent any potential spills or accidents. This step also reduces pressure inside the tank, making it easier to remove the valve.
Q: How Long Does a Pressure Relief Valve Last?
A: The lifespan of a pressure relief valve can vary depending on factors such as usage and maintenance. However, most valves typically last between 3-5 years, and it is recommended to replace them every 3 years for optimal performance.
Conclusion
Maintaining your water heater is an essential part of ensuring the efficiency, safety, and longevity of your unit. By understanding how to remove pressure relief valve on water heater, you can address potential issues early and prevent costly repairs or accidents. Following the outlined steps with the necessary tools and precautions makes this task manageable for most homeowners.
If you are ever unsure or uncomfortable performing this maintenance, do not hesitate to seek professional assistance. Regular care will keep your water heater functioning optimally and provide you with reliable hot water for years to come.
About the Author
Adrian Green is a passionate woodworking enthusiast who has dedicated his life to the craft of woodworking. From his early days working alongside his father in the family woodworking shop, Adrian has honed his skills and developed a deep love for creating beautiful, functional pieces with his hands. As the voice behind The Woodenify Blog, he shares his knowledge, tips, and inspiration with fellow woodworkers of all skill levels, helping them build confidence in their abilities while learning new techniques.
Professional Focus
- Specializes in DIY woodworking projects, from furniture making to home décor.
- Provides step-by-step guides, tips, and practical tutorials for woodworkers at any skill level.
- Focused on empowering readers with confidence and knowledge through easy-to-follow instructions and hands-on techniques.
- Passionate about building a community where makers can share, learn, and grow together in the world of woodworking.
Education History
University of Craft and Design – Bachelor of Fine Arts (BFA) in Woodworking and Furniture Design
Woodworking Apprenticeships – Gained extensive hands-on experience through various workshops and mentorships with seasoned craftsmen, refining carpentry and furniture-making skills.
Expertise
- DIY woodworking, carpentry, furniture making, and home décor projects.
- Creating clear, accessible tutorials and guides for beginner to advanced woodworkers.
- Helping readers experience the satisfaction and fulfillment of turning raw materials into stunning finished products.