
Hard water deposits are a common household issue caused by the buildup of minerals such as calcium and magnesium found in hard water. Over time, these deposits can accumulate on various surfaces, leading to unsightly stains, reduced efficiency of appliances, and potential long-term damage if left untreated. Common areas where hard water deposits appear include faucets, showerheads, tiles, glassware, and household appliances like dishwashers and washing machines. Recognizing these deposits and addressing them promptly is key to maintaining the longevity and appearance of your home surfaces.
This guide is designed to provide you with detailed and effective methods on how to remove hard water deposits from a variety of surfaces. By incorporating these practical solutions and preventative measures, you can combat mineral buildup and keep your home spotless and functional over time.
Understanding Hard Water Deposits
What are Hard Water Deposits?
Hard water deposits, also known as mineral deposits, result from the presence of dissolved minerals like calcium and magnesium in hard water. When hard water evaporates or is heated, these minerals are left behind, creating a solid residue that adheres to various surfaces. The two most common types of hard water deposits are limescale, which appears as a chalky, white buildup, and lime spots, which are smaller and often leave a cloudy appearance on glass and other smooth surfaces.
Why They Build Up
The mineral content in hard water is a primary factor in the formation of hard water deposits. Hot water, in particular, accelerates this process, as heat causes the minerals to precipitate out of the water more quickly. This is why hard water deposits are frequently found in appliances that use hot water, like kettles, dishwashers, and water heaters. Additionally, regions with a naturally high mineral concentration in their water supply are more prone to hard water issues.
Impact of Hard Water Deposits
The effects of hard water deposits extend beyond their unsightly appearance. Over time, they can clog plumbing fixtures, reducing water flow and efficiency. Household appliances may require more energy to operate, leading to higher utility bills, and in severe cases, the deposits can lead to corrosion, significantly shortening an appliance’s lifespan. Recognizing and addressing hard water deposits is essential for maintaining a clean and efficient home.
Tools and Materials Needed
To effectively clean and remove hard water deposits, it’s essential to have the right tools and materials on hand.
Cleaning Tools
- Scrub brush, sponge, or microfiber cloths for scrubbing surfaces gently but thoroughly.
- Soft cloth for drying to prevent new deposits from forming.
- Plastic scraper for tackling stubborn and hardened deposits without damaging surfaces.
Cleaning Solutions
- White vinegar or lemon juice, which provide natural and eco-friendly options for descaling.
- Commercial descaling agents or hard water removers are designed for heavy-duty cleaning tasks.

Safety Equipment
- Gloves to protect your hands from exposure to chemicals or prolonged contact with acidic solutions.
- Goggles to ensure safety if working with stronger cleaning agents, especially in confined spaces.
Having these tools and materials ready will make the cleaning process smoother, safer, and more effective in restoring your surfaces and appliances to their optimal condition.
How to Remove Hard Water Deposits: Step-by-Step Guide
Step 1: Identify Affected Areas
Start by inspecting key areas in your home where hard water deposits are likely to accumulate. Check faucets, showerheads, tiles, bathtubs, sinks, and appliances like dishwashers and water heaters for visible mineral buildup. Identifying these areas will help you plan your cleaning effectively.
Step 2: Choose the Right Cleaning Method
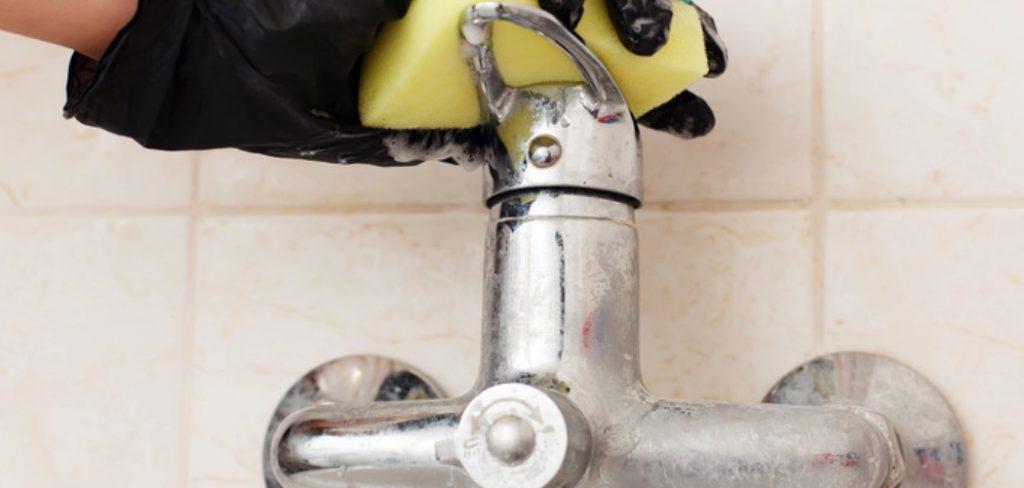
For Faucets and Showerheads
Soak a soft cloth in white vinegar and wrap it securely around the affected areas. If cleaning a showerhead, fill a plastic bag with vinegar and secure it around the showerhead so it is fully submerged.
For Tiles and Glass
Spray vinegar directly onto the deposits, covering the affected surfaces liberally. For more stubborn areas, mix lemon juice with baking soda to create a paste and apply it to the deposits for added cleaning power.
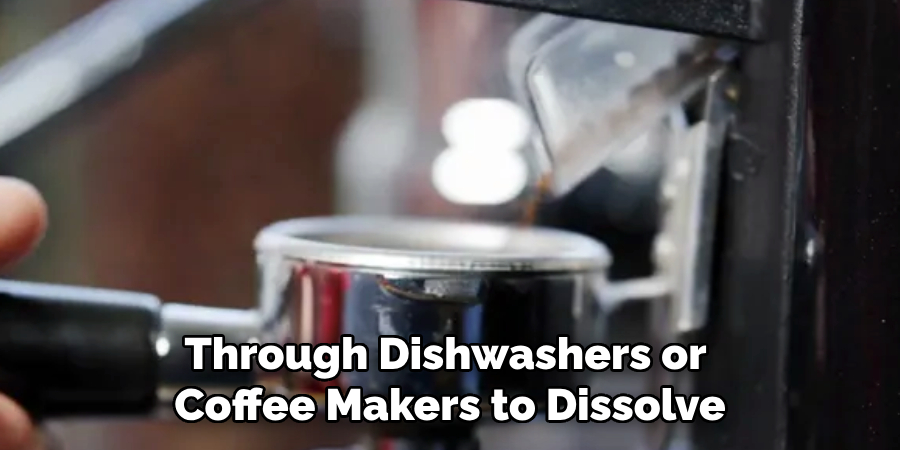
For Appliances
Run a solution of vinegar and water through dishwashers or coffee makers to dissolve mineral buildup. For heavier deposits in appliances like water heaters, use a commercial descaling product following the manufacturer’s instructions.
Step 3: Let the Solution Sit
Allow the vinegar or chosen cleaning solution to sit on the deposits for 15 to 30 minutes. This resting period helps to break down the mineral deposits, making them easier to remove.
Step 4: Scrub and Clean
After soaking, scrub the affected areas using a scrub brush, microfiber cloth, or sponge. For stubborn deposits, gently use a plastic scraper to lift them off without damaging the surface.
Step 5: Rinse and Dry
Thoroughly rinse the cleaned area with water to remove all traces of the cleaning solution and any dislodged debris. Use a clean towel or soft cloth to dry the surfaces completely, ensuring that no new deposits form as the water evaporates.
Using Commercial Products for Stubborn Hard Water Deposits
Types of Commercial Cleaners
When natural remedies aren’t enough for stubborn hard water deposits, commercial products can provide a more potent solution. Descaling agents, limescale removers, and hard water stain removers are specially formulated to break down tough mineral buildup. These products are available in sprays, gels, or liquid solutions. Be sure to carefully follow the manufacturer’s instructions to achieve optimal results.
When to Use Commercial Products
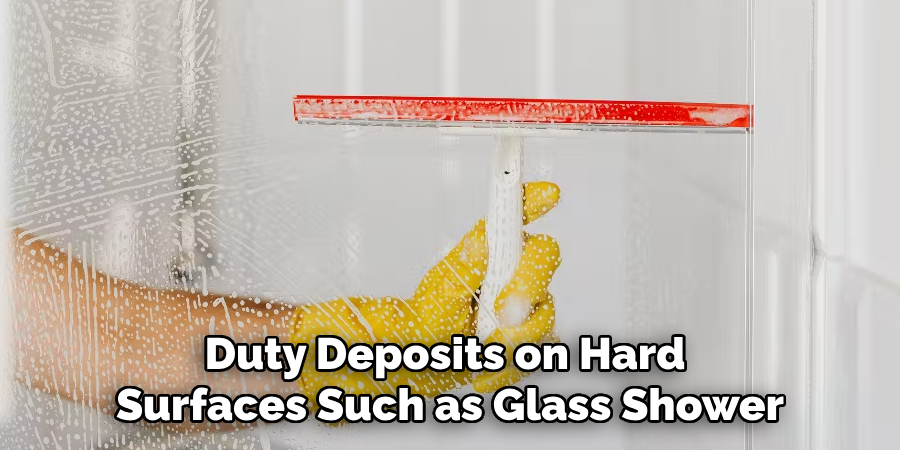
Commercial cleaners are best suited for heavy-duty deposits on hard surfaces such as glass shower doors, faucets, or tiled areas, where standard cleaning methods fail. They are especially useful in situations where large-scale buildup has become ingrained over time, leaving surfaces dull or discolored despite thorough cleaning attempts.
Precautions
Before using a commercial cleaner, always test the product on a small, inconspicuous area to ensure it won’t damage or discolor the surface. Wear gloves to protect your skin and ensure you are working in a well-ventilated area to avoid inhaling strong fumes. Keep these products out of reach of children and pets, and never mix them with other cleaning solutions, as this can create harmful reactions. Proper usage ensures that commercial cleaners deliver effective results without compromising safety.
Preventing Future Hard Water Deposits
Preventing hard water deposits requires a proactive approach to minimizing mineral buildup before it becomes a problem. Here are several effective methods to maintain clean and deposit-free surfaces in your home:
Use a Water Softener
Installing a water softener is one of the most effective ways to combat hard water issues. Water softeners work by removing calcium and magnesium ions, which are the primary culprits behind mineral buildup. This not only reduces deposits but also helps extend the lifespan of appliances and plumbing systems that come into contact with water.
Regular Cleaning Routine
Developing a weekly cleaning regimen can prevent hard water deposits from becoming stubborn over time. Use natural solutions such as white vinegar or a mild cleaning product to wipe down surfaces where water frequently accumulates, like sinks, faucets, and tiles.
Use a Squeegee After Showering
A quick and simple habit, of using a squeegee to remove water from glass shower doors and tiled surfaces, can prevent excess water from evaporating and leaving unsightly mineral traces behind. This is particularly important in areas with consistent exposure to water.
Install a Shower Filter
Installing a shower filter is another practical solution to reduce mineral content in water. These filters are designed to remove impurities and minerals, thereby decreasing the chances of hard water stains forming on your shower surfaces.
Natural Alternatives for Removing Hard Water Deposits
Baking Soda and Vinegar
Combine baking soda with vinegar for an effective paste that can scrub away deposits on sinks and tiles. This combination works due to the chemical reaction between the alkaline baking soda and the acidic vinegar, which helps break down stubborn mineral deposits. Simply apply the paste to the affected areas, scrub gently with a sponge or brush, and rinse thoroughly with water.
Lemon Juice and Borax
Use lemon juice as a natural acid and combine it with borax to form a paste for tough stains on glass and faucets. The acidity of lemon juice helps to dissolve mineral deposits, while borax acts as a gentle abrasive that enhances the cleaning process. Spread the paste on the stained surface, allow it to sit for a few minutes, then scrub and rinse. This solution is particularly effective on faucets and other metal surfaces.

Citric Acid
Citric acid, often found in citrus fruits, is another natural solution for dissolving mineral deposits. You can use a citric acid powder mixed with water or juice from fresh citrus fruits like lemons or limes. Apply the solution to the areas with deposits, leave it for about 10-15 minutes, and wipe away the residue to leave surfaces clean and shiny.
Conclusion
Removing hard water deposits doesn’t have to be an overwhelming task with the right approach. Effective methods such as using vinegar, lemon juice with borax, and citric acid offer simple and natural solutions for tackling buildup on various surfaces. Consistent cleaning is crucial to prevent stubborn deposits and potential damage over time. By addressing problem areas regularly, you’ll ensure longer-lasting cleanliness and surface protection. For a long-term solution, consider installing a water softener to minimize the occurrence of hard water issues. With these tips and techniques, you’ll always know how to remove hard water deposits effectively and efficiently.
About the Author
Adrian Green is a passionate woodworking enthusiast who has dedicated his life to the craft of woodworking. From his early days working alongside his father in the family woodworking shop, Adrian has honed his skills and developed a deep love for creating beautiful, functional pieces with his hands. As the voice behind The Woodenify Blog, he shares his knowledge, tips, and inspiration with fellow woodworkers of all skill levels, helping them build confidence in their abilities while learning new techniques.
Professional Focus
- Specializes in DIY woodworking projects, from furniture making to home décor.
- Provides step-by-step guides, tips, and practical tutorials for woodworkers at any skill level.
- Focused on empowering readers with confidence and knowledge through easy-to-follow instructions and hands-on techniques.
- Passionate about building a community where makers can share, learn, and grow together in the world of woodworking.
Education History
University of Craft and Design – Bachelor of Fine Arts (BFA) in Woodworking and Furniture Design
Woodworking Apprenticeships – Gained extensive hands-on experience through various workshops and mentorships with seasoned craftsmen, refining carpentry and furniture-making skills.
Expertise
- DIY woodworking, carpentry, furniture making, and home décor projects.
- Creating clear, accessible tutorials and guides for beginner to advanced woodworkers.
- Helping readers experience the satisfaction and fulfillment of turning raw materials into stunning finished products.