
Relocating a water heater is a task often undertaken to free up valuable space, improve household energy efficiency, or ensure compliance with building code requirements. Before starting the process, it’s essential to consider the type of water heater being moved. Traditional tank water heaters, which store heated water, may require more significant adjustments compared to tankless models, known for being compact and efficient.
Additionally, the energy source matters—whether the unit is gas or electric—as it affects the plumbing and electrical systems that need modification. Challenges include rerouting pipes, making electrical changes, and potentially obtaining permits, all contributing to the costs involved. Most importantly, safety should not be overlooked. Since water heaters involve gas, electricity, and water, mishandling can lead to serious risks.
For those unsure of “how to relocate a water heater,” consulting a licensed professional is highly recommended to complete the job safely and effectively.
Planning the New Location
Key Factors to Consider
Selecting the right location for your water heater is critical for ensuring long-term functionality, safety, and compliance. Start by considering accessibility—ensure the unit can be easily reached for routine maintenance and potential repairs. For gas models, ventilation is a key concern, as proper airflow is needed to prevent hazardous carbon monoxide buildup. Additionally, the area should have proper drainage to manage potential leaks or overflows, protecting your home from water damage.
Checking Local Building Codes
Before beginning the relocation process, check with your local building codes to ensure the new location meets all requirements. This includes maintaining the minimum clearance around the unit for safety and operational efficiency. Plumbing and gas line guidelines must also be followed to avoid issues compromising the system’s integrity.
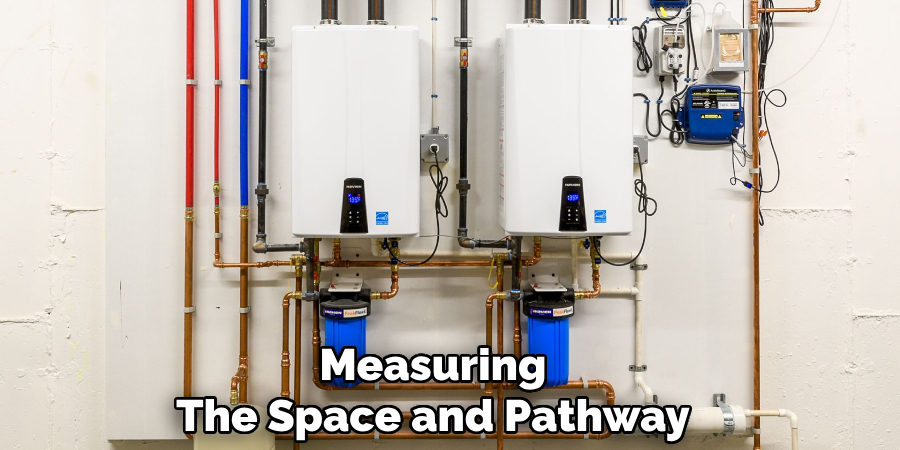
Measuring the Space and Pathway
Carefully measure the intended new location to confirm that it can accommodate the size of your water heater, including both the unit and any required clearance. Don’t forget to assess the pathway from the existing location to the new one, ensuring there’s enough space to transport the unit without obstructions or damage. Proper planning here can prevent delays and additional costs during the relocation process.
Gathering Tools and Materials
Gathering the right tools and materials before starting the water heater relocation is crucial to ensure the process proceeds smoothly. Having all the necessary items on hand can prevent interruptions and help maintain safety during the installation.
Tools Needed
You’ll need a variety of tools to complete the process effectively. Essential tools include pipe wrenches, a tubing cutter, and an adjustable wrench for handling pipes and fittings. If you need to secure the water heater in place, a drill with masonry bits will be required for mounting brackets. For gas water heaters, a gas leak detector solution is critical to check for potential leaks after reinstallation.
Required Materials
The relocation may need different materials depending on your water heater type. Ensure you have new piping suitable for your setup, such as PEX, copper, or PVC, along with compatible pipe fittings and shutoff valves. If your water heater is electric, you’ll need electrical conduit to safely house the wiring. For gas models, vent pipe extensions may be necessary if the move requires adjusting the exhaust system. Having these materials prepared ahead of time will help you avoid delays and create a safe and efficient installation process.
Draining and Disconnecting the Water Heater
Relocating a water heater involves careful preparation and following safety protocols. The first step in this process is to properly drain and disconnect the unit. Follow these steps to ensure the procedure is done safely and efficiently.
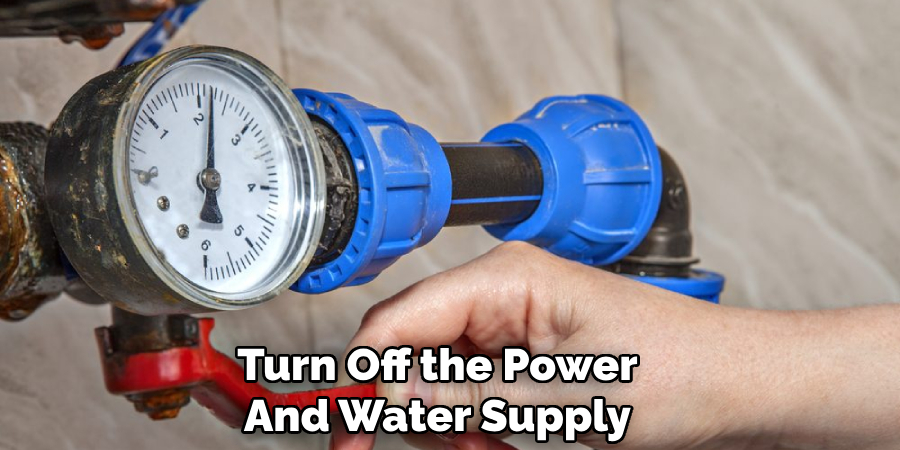
Step 1: Turn Off the Power and Water Supply
Before beginning, it’s crucial to shut off both the power and water supply. For an electric water heater, switch off the circuit breaker at the main electrical panel. If you are working with a gas water heater, turn off the gas supply by locating the shutoff valve on the gas line and setting it to the “Off” position. Additionally, close the cold water inlet valve to stop the flow of water into the tank.
Step 2: Drain the Tank
To empty the water heater, connect a garden hose to its drain valve, typically located near the bottom of the tank. Run the other end of the hose to a safe drainage area, preferably on a slope to ensure smooth water flow. Open the pressure relief valve at the top of the unit to release internal air pressure, allowing water to flow out more effectively. Then, turn the drain valve to the open position and wait until the tank is completely empty.
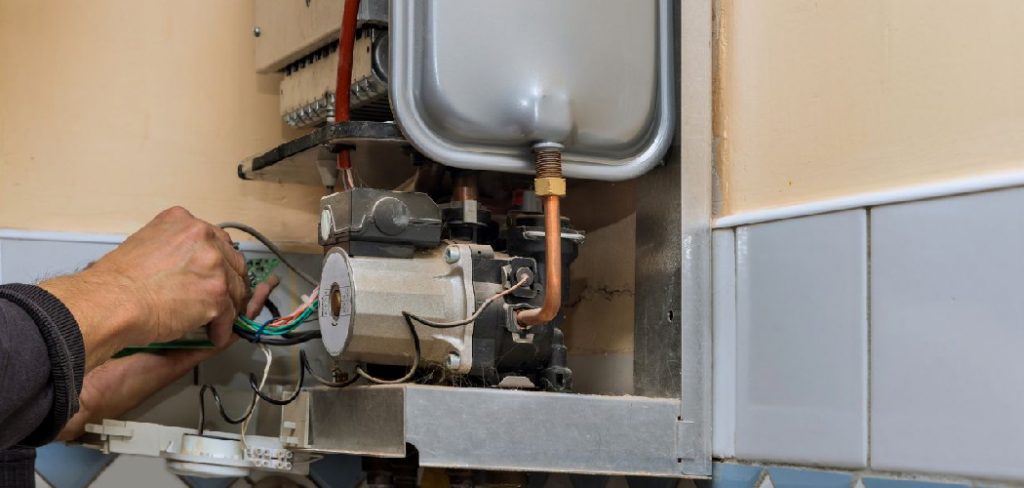
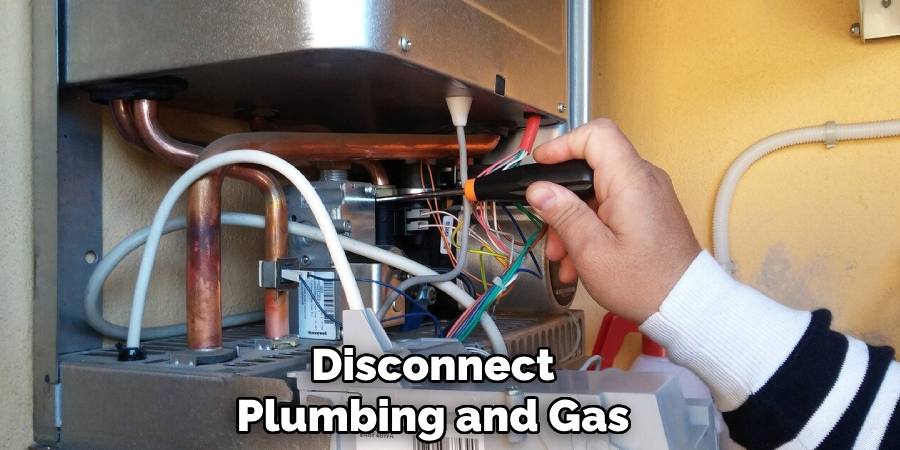
Step 3: Disconnect Plumbing and Gas/Electrical Connections
Loosen and remove the water supply lines connected to the unit using a pipe wrench. If your water heater operates on gas, carefully disconnect the gas line, ensuring no residual gas is present. For electric models, safely detach the wiring, double-checking to confirm the power supply has been deactivated. Handle all connections with care to prevent damage during the removal process.
Moving the Water Heater to the New Location
Safely Transporting the Unit
To transport the water heater to its new location, use a dolly, especially for heavy tank water heaters, to minimize physical strain and reduce the risk of injury. Secure the water heater to the dolly with straps to prevent it from tipping over during the move. Always keep the unit upright to avoid damaging internal components, such as the anode rod or inner lining. Be cautious when navigating stairs or tight spaces, and enlist assistance if needed to maneuver the appliance safely.
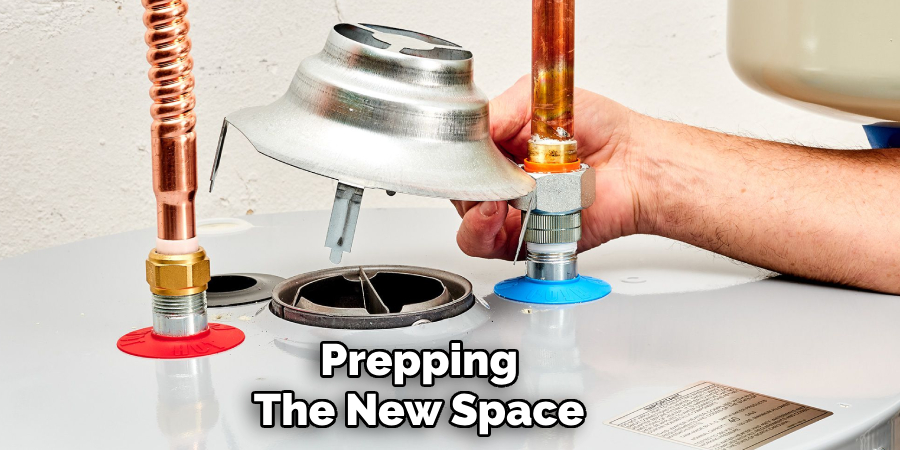
Prepping the New Space
Before placing the water heater in its designated spot, prepare the area to ensure a smooth installation process. Start by positioning a drain pan under the unit to catch any potential leaks and protect your floors. Check your local building codes to determine if the water heater requires elevation, such as being placed on a stand, particularly in spaces like garages. Ensure the area is clean, level, and has adequate ventilation for gas models to prevent safety hazards. Finally, verify that all necessary connections are within reach and ready for reconnection to the water heater. Proper preparation will streamline the installation and minimize potential complications.
How to Relocate a Water Heater: Reconnecting Water, Gas, and Electrical Supply
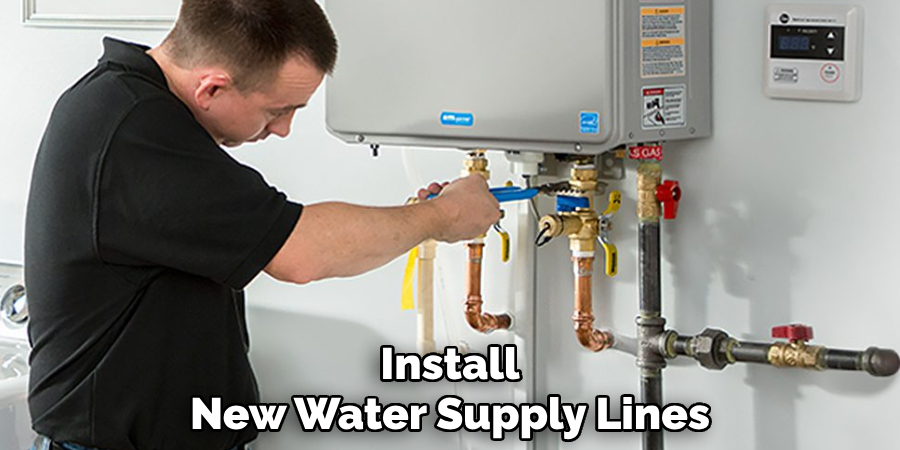
Step 1: Install New Water Supply Lines
Begin by attaching the cold and hot water supply lines to the water heater’s appropriate inlet and outlet ports. Depending on the setup and local building codes, flexible hoses or rigid piping can be used. When connecting these lines, ensure a watertight seal by wrapping the threads with Teflon tape and securing them with pipe fittings. Once installed, double-check all connections for tightness to prevent future leaks.
Step 2: Reconnect the Gas or Electrical Supply
For gas models, carefully attach the gas line to the heater’s gas input using the correct fittings. Once connected, check for any potential leaks by applying a soapy water solution to the fittings and looking for bubbles, which indicate escaping gas. Tighten as needed and ensure the gas line is securely in place. For electric models, reconnect the wiring according to the manufacturer’s wiring diagram. Use wire nuts or connectors to secure the wires safely, and confirm the unit is properly grounded to avoid electrical hazards. Always ensure all connections comply with local electrical codes before proceeding.
Step 3: Install Venting (If Required)
For gas water heaters, install the venting system to safely expel combustion gases. Check that the vent has the proper slope and clearance, as the manufacturer recommends. Secure all venting components firmly and use a power vent if the installation location requires additional airflow or exhaust assistance. Proper venting ensures the safe operation of the water heater while preventing harmful gases from accumulating indoors.
Testing and Final Adjustments
Turn on Water Supply and Check for Leaks
Begin by opening the cold water inlet valve to allow water into the heater. Carefully inspect all connections, including inlet and outlet pipes, for any signs of drips or moisture. Tighten any fittings if necessary to prevent future leaks. This step ensures that the water heater is properly sealed and ready for operation without risk of water damage.
Test Gas or Electrical Functionality
For gas water heaters, light the pilot following the manufacturer’s instructions and confirm that the flame is stable and burns cleanly. Turn on the circuit breaker on electric models and verify that the unit powers on. Monitor the system to ensure it is heating water effectively without tripping safety mechanisms or showing warning signs such as unusual noises or smells.
Adjust Temperature and Pressure Settings
Set the thermostat to an optimal temperature, typically 120°F, to balance energy efficiency and safety. Check the pressure relief valve by lifting its handle slightly to ensure it releases water properly and closes securely. This valve is a critical safety feature, and its functionality should be confirmed. After these adjustments, your water heater should be fully operational and safely configured.
Conclusion
Relocating a water heater involves several essential steps to ensure safety and functionality. Begin by draining the tank to prepare it for moving, then carefully transport it to the new location. Afterward, reconnect the water, gas, or electrical lines securely, and conduct thorough testing to confirm proper operation.
Pay special attention to venting setups and perform leak checks to avoid potential hazards. For those unsure about how to relocate a water heater, or for complex installations, professional assistance is highly recommended. These steps will help achieve a smooth relocation process while maintaining the unit’s safety and efficiency.
About the Author
Adrian Green is a passionate woodworking enthusiast who has dedicated his life to the craft of woodworking. From his early days working alongside his father in the family woodworking shop, Adrian has honed his skills and developed a deep love for creating beautiful, functional pieces with his hands. As the voice behind The Woodenify Blog, he shares his knowledge, tips, and inspiration with fellow woodworkers of all skill levels, helping them build confidence in their abilities while learning new techniques.
Professional Focus
- Specializes in DIY woodworking projects, from furniture making to home décor.
- Provides step-by-step guides, tips, and practical tutorials for woodworkers at any skill level.
- Focused on empowering readers with confidence and knowledge through easy-to-follow instructions and hands-on techniques.
- Passionate about building a community where makers can share, learn, and grow together in the world of woodworking.
Education History
University of Craft and Design – Bachelor of Fine Arts (BFA) in Woodworking and Furniture Design
Woodworking Apprenticeships – Gained extensive hands-on experience through various workshops and mentorships with seasoned craftsmen, refining carpentry and furniture-making skills.
Expertise
- DIY woodworking, carpentry, furniture making, and home décor projects.
- Creating clear, accessible tutorials and guides for beginner to advanced woodworkers.
- Helping readers experience the satisfaction and fulfillment of turning raw materials into stunning finished products.