
Are you tired of taking cold showers because your Rheem water heater stopped working? Don’t worry; you can easily relight your water heater and get it up and running again quickly.
Relighting a Rheem water heater is a straightforward process that can restore hot water to your home quickly. Whether the pilot light has gone out due to a power outage, gas supply interruption, or another common issue, this guide will walk you through the steps safely and efficiently.
By following the instructions below, you can ensure your water heater is functioning correctly again while avoiding potential mishaps. Refer to your specific model’s manual and take necessary safety precautions before beginning. Let’s dive into how to relight a Rheem water heater.
What Are the Benefits of Relighting a Rheem Water Heater?
There are several benefits to relighting a Rheem water heater, including:
- Restoring Hot Water: The most obvious benefit is having access to hot water again in your home. This can make daily tasks such as showering, doing dishes, and laundry much more comfortable and efficient.
- Saving Money: Sometimes, relighting a water heater can save you money by avoiding needing a professional repair or replacement. It also prevents wasted energy from continuously running an unlit pilot light.
- Extending the Lifespan of Your Water Heater: Regular maintenance, such as relighting the pilot light when needed, can help extend the lifespan of your water heater. This means you won’t have to spend money on a new one as frequently.
- Peace of Mind: Knowing how to relight your water heater can give you peace of mind in case it goes out unexpectedly. You won’t have to panic or wait for a professional to arrive, and you can quickly restore hot water to your home.
These benefits make it worthwhile to learn how to relight your Rheem water heater and perform regular maintenance.
What Will You Need?
Before you begin, make sure to gather the necessary tools and materials:
- Match or a long-reach lighter
- Protective gear (gloves, goggles, etc.)
- Flashlight (if needed)
Once you have everything ready, you can start the process of relighting your Rheem water heater.
10 Easy Steps on How to Relight a Rheem Water Heater
Step 1. Turn Off the Gas Supply
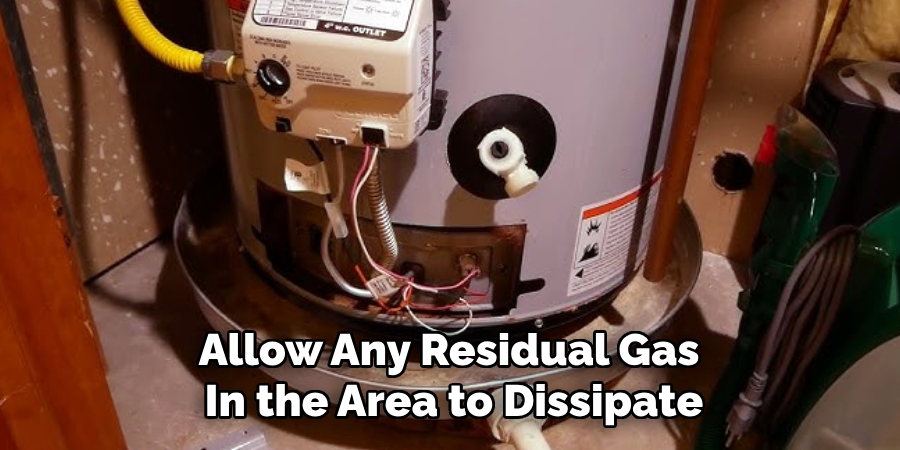
To ensure safety, the first step in relighting your Rheem water heater is to turn off the gas supply. Locate the gas shut-off valve near the bottom of the water heater. Turn the valve to the “OFF” position to stop gas flow. This step is crucial to prevent potential gas leaks or hazardous situations during relighting. After turning off the gas, wait a few minutes to allow any residual gas in the area to dissipate. This precaution reduces the risk of accidents and ensures a safe starting point for the following steps. Always prioritize safety when working with gas appliances.
Step 2. Turn Off the Water Heater Thermostat
Locate the thermostat control knob, typically found on the front of the water heater. Turn the knob to the “OFF” position to ensure the appliance is entirely powered down. This prevents the burners from igniting unexpectedly while you perform the relighting process. Allow the water heater to cool down for a few minutes before proceeding to the next step. This measure helps safeguard against any potential mishaps and ensures a smoother relighting process. Always double-check to confirm the thermostat is turned off before moving forward.
Step 3. Locate the Pilot Light Assembly
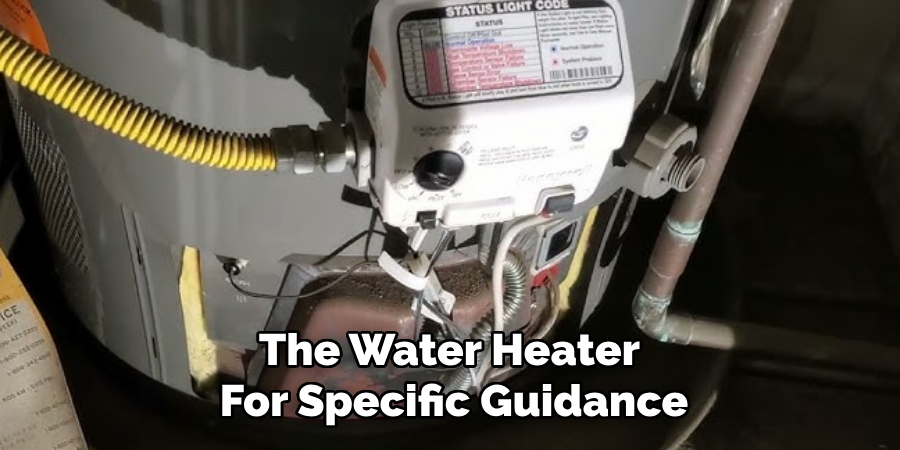
Find the pilot light assembly on your water heater, usually positioned near the bottom of the unit. The assembly typically includes the pilot light, a gas valve, and sometimes an ignition button. Refer to the manufacturer’s instructions or the label on the water heater for specific guidance. Ensure you can see the pilot area, which will be essential for relighting. Properly identifying the pilot light assembly is critical to safely proceeding with the next steps.
Step 4. Turn the Gas Control Valve to ‘Pilot’
Once you have located the pilot light assembly, carefully turn the gas control valve to the “Pilot” position. This setting allows a small flow of gas to reach the pilot light without igniting the main burners. Press and hold down the gas control knob to keep the gas flowing to the pilot light. This step is crucial for successfully relighting the pilot, so ensure the valve is firmly in the correct position before proceeding.
Step 5. Ignite the Pilot Light
While holding down the gas control knob in the “Pilot” position, use a long-reach lighter or match to ignite the pilot light. If your water heater has an ignition button, press it instead to create a spark. Keep holding the control knob down for 30-60 seconds after the pilot is lit to allow the thermocouple to heat up and confirm the pilot light is functioning correctly. Once the pilot stays lit, you can release the gas control knob. Repeat the process or consult a professional technician for assistance if it does not stay lit.
Step 6. Turn the Gas Control Valve to “On”
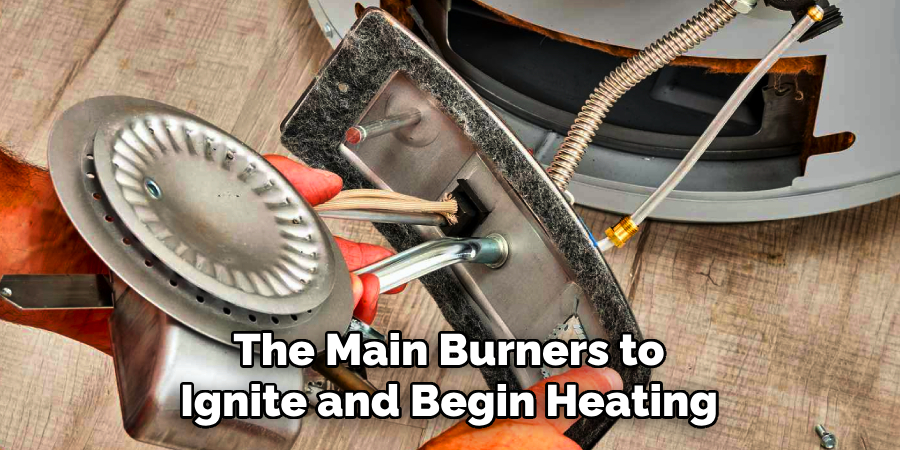
Once the pilot light is successfully lit and stays on, carefully turn the gas control valve from the “Pilot” position to the “On” position. This will allow the main burners to ignite and begin heating the water in the tank. You may hear a whooshing sound as the burners ignite, which is normal. Make sure to double-check that the pilot light remains lit and the water heater is operating correctly before leaving the area.
Step 7. Adjust the Temperature Setting
Locate the temperature control dial after ensuring the water heater is operating correctly. Set the temperature to your desired level, typically around 120°F (49°C), which is recommended for energy efficiency and safety. Avoid setting the temperature too high, as it may increase the risk of scalding and raise energy costs. Monitor the water heater to ensure it maintains the selected temperature and assess if any additional adjustments are needed.
Step 8. Inspect for Leaks
After the water heater has been running for a short time, inspect the surrounding area for any signs of leaks. Check the connections, valves, and tank base for water. Even a small amount of dripping can indicate a loose connection or a potential issue that needs to be addressed. If you do notice a leak, turn off the water supply and investigate further, or contact a professional plumber. Ensuring there are no leaks helps prevent water damage and ensures the proper functioning of the water heater.
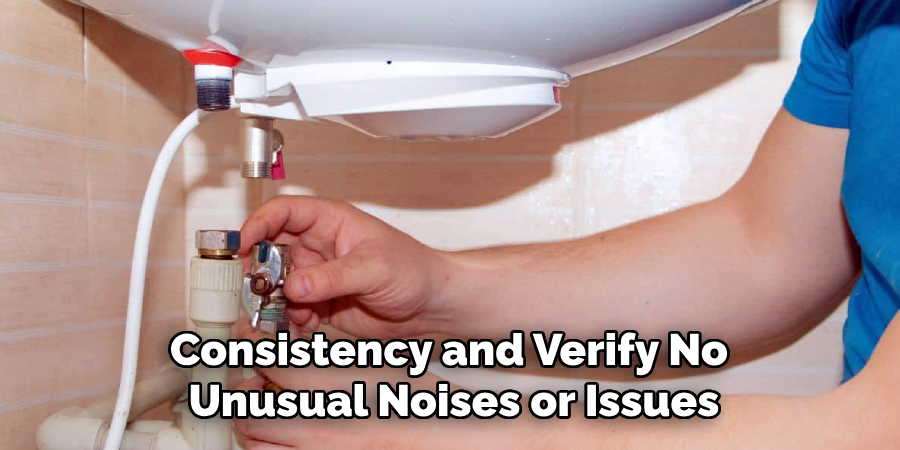
Step 9. Finalize and Test the System
Once you have inspected for leaks and confirmed the water heater is functioning correctly, turn on a faucet to test the hot water. Allow the water to run for a few minutes to ensure it reaches the desired temperature. Check the water flow for consistency and verify no unusual noises or issues. If everything appears to be working, your water heater installation or maintenance is complete. Regularly inspect and maintain the unit to ensure its efficiency and longevity.
Step 10. Clean Up the Area
After completing the installation or maintenance of your water heater, take time to clean up the work area. Dispose of any debris, old parts, or packaging appropriately. Ensure that all tools are accounted for and put away safely. A clean and organized workspace helps prevent any accidents and leaves the area neat. This final step ensures safety and peace of mind that the task has been completed efficiently.
By following these steps and prioritizing safety, you can successfully relight your water heater’s pilot light.
5 Things You Should Avoid
- Ignoring the Manufacturer’s Instructions: Always refer to the Rheem water heater’s manual for the correct procedure. Skipping or ignoring these guidelines can lead to improper handling and potential risks.
- Relighting Without Checking for Gas Leaks: Never attempt to relight the pilot light without first ensuring there are no gas leaks. A gas leak can cause dangerous explosions or fires, so use a gas detector or soapy water to check for leaks.
- Using Improper Tools or Methods: Avoid using makeshift tools or methods to relight the pilot light, such as lighters or matches that are not recommended. Incorrect tools can cause burns or damage to the heater.
- Skipping Proper Ventilation: Relighting the water heater in an enclosed or poorly ventilated space can lead to the buildup of harmful gases like carbon monoxide. Always ensure the area is well-ventilated before proceeding.
- Forgetting to Turn Off the Gas Control Valve: Before attempting to relight, make sure the gas control valve is turned off. Neglecting this step can result in dangerous gas buildup, increasing the risk of an accident.
Conclusion
How to relight a Rheem water heater can be a straightforward process when performed with the right precautions and knowledge.
Always prioritize safety by thoroughly checking for gas leaks, following the manufacturer’s instructions, and ensuring proper ventilation. Using the correct tools and turning off the gas control valve before starting the process is essential to minimize risks. If you feel unsure or encounter complications at any point, it’s best to contact a licensed professional to handle the task safely.
By adhering to these guidelines, you can effectively and securely relight your Rheem water heater, restoring hot water to your home confidently.
About the Author
Adrian Green is a passionate woodworking enthusiast who has dedicated his life to the craft of woodworking. From his early days working alongside his father in the family woodworking shop, Adrian has honed his skills and developed a deep love for creating beautiful, functional pieces with his hands. As the voice behind The Woodenify Blog, he shares his knowledge, tips, and inspiration with fellow woodworkers of all skill levels, helping them build confidence in their abilities while learning new techniques.
Professional Focus
- Specializes in DIY woodworking projects, from furniture making to home décor.
- Provides step-by-step guides, tips, and practical tutorials for woodworkers at any skill level.
- Focused on empowering readers with confidence and knowledge through easy-to-follow instructions and hands-on techniques.
- Passionate about building a community where makers can share, learn, and grow together in the world of woodworking.
Education History
University of Craft and Design – Bachelor of Fine Arts (BFA) in Woodworking and Furniture Design
Woodworking Apprenticeships – Gained extensive hands-on experience through various workshops and mentorships with seasoned craftsmen, refining carpentry and furniture-making skills.
Expertise
- DIY woodworking, carpentry, furniture making, and home décor projects.
- Creating clear, accessible tutorials and guides for beginner to advanced woodworkers.
- Helping readers experience the satisfaction and fulfillment of turning raw materials into stunning finished products.