Are you tired of constantly buying and replacing complex water filters? Do your dishes have spots even after being washed? If so, it may be time to regenerate your water softener.
How to regenerate a water softener is a crucial maintenance step to ensure its optimal performance. Over time, the resin beads inside the softener become saturated with minerals like calcium and magnesium, reducing their ability to soften water effectively. The regeneration process flushes out these accumulated minerals and replenishes the resin, restoring the system to its full capacity. This guide will walk you through the key steps in regenerating a water softener, allowing you to enjoy continuous access to clean, softened water.
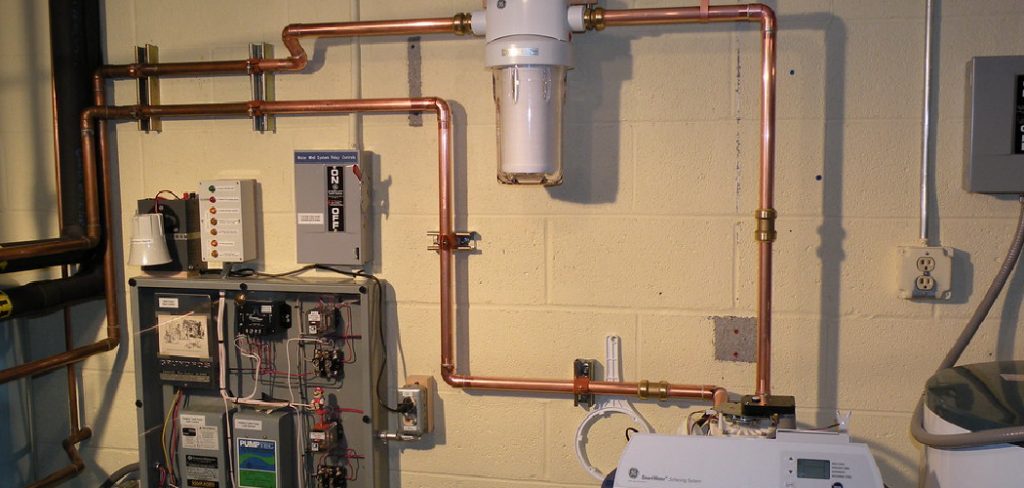
Regular regeneration not only enhances the lifespan of your system but also ensures the water in your home remains efficient for daily use.
What Are the Benefits of Regenerating a Water Softener?
Regenerating your water softener has several benefits, including:
- Improved Water Quality: Regeneration removes mineral buildup and restores the resin beads’ ability to filter out hard minerals effectively. This results in softer water that is gentler on your skin and hair. It also prevents scale buildup on appliances and fixtures, prolonging their lifespan.
- Cost Savings: Regularly regenerating your water softener can prolong its lifespan and reduce the need for costly repairs or replacements.
- Energy Efficiency: With softened water, your appliances, such as washing machines, dishwashers, and hot water heaters, will operate more efficiently. This means using less energy to heat or pump water, lowering utility bills.
- Better Tasting Water: Hard water can sometimes taste metallic or bitter. Regenerating your water softener will improve the overall taste of your drinking water and its beverages.
Once you understand the importance and benefits of regenerating your water softener, it’s time to learn how to do it properly.
What Will You Need?
Before you begin the regeneration process, make sure you have the following items on hand:
- Water Softener Regeneration Kit: This typically includes resin cleaner and salt pellets or crystals.
- Container for Salt: A clean container with a handle will make adding salt to your water softener easier.
- Rubber Gloves: These will protect your hands from chemical contact during cleaning.
Once everything is ready, follow the steps below to regenerate your water softener.
10 Easy Steps on How to Regenerate a Water Softener
Step 1: Check the Salt Levels
Ensure the salt levels in the brine tank are adequate before beginning the regeneration process. Open the brine tank lid and inspect the contents. The salt should cover the water in the tank but not be overly compacted. If the salt level is low, add enough salt pellets or crystals to fill the tank up to the recommended level, as stated in your water softener’s user manual. Use your clean container to make the process easier and avoid spilling salt.
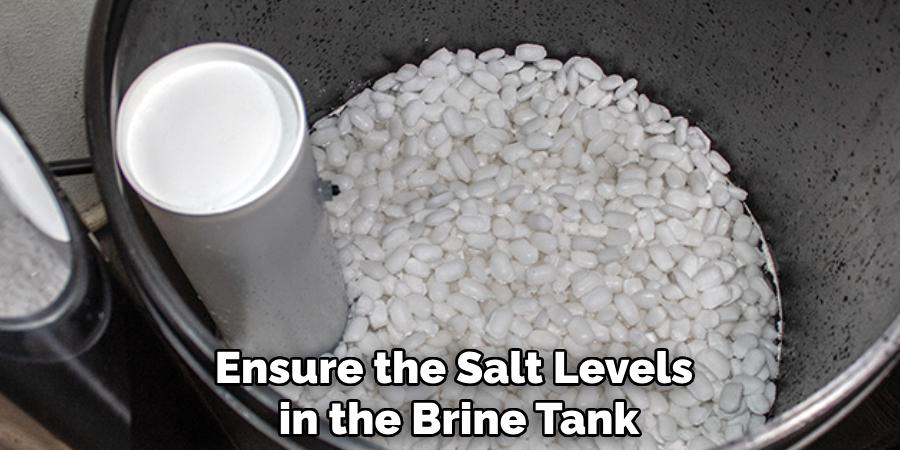
Additionally, check for any salt bridges or clumps that may have formed and break them apart gently with a stick or broom handle. Ensuring proper salt levels is essential for the regeneration process to work effectively and maintain the efficiency of your water-softening system.
Step 2: Set the Water Softener to Bypass Mode
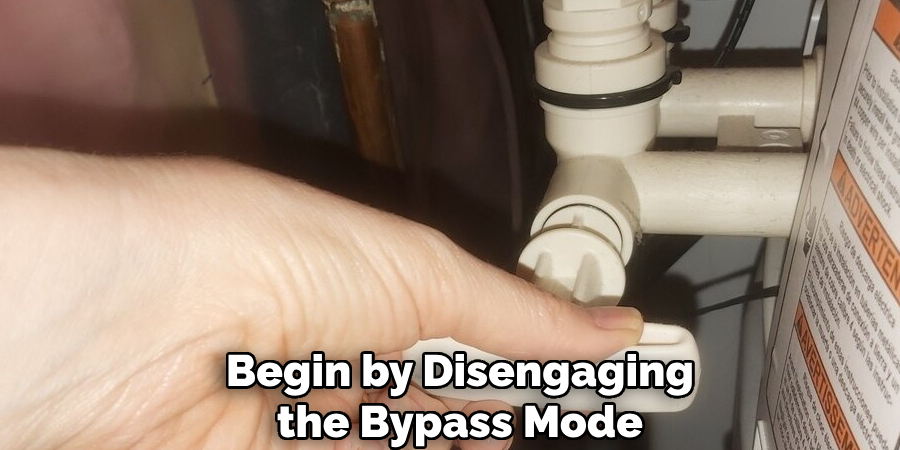
Before starting the regeneration cycle, locate the bypass valve on your water softener. Turn the valve to bypass mode to prevent untreated water from flowing into your household plumbing. This step ensures that the regeneration process does not interfere with water usage. Refer to your water softener’s manual if you are unsure how to activate bypass mode. Setting the system to bypass is an important safety measure to protect your plumbing and avoid interruptions while regenerating.
Step 3: Initiate the Regeneration Cycle
Once the water softener is in bypass mode, locate your system’s control panel or regeneration button. Depending on the model, you may need to manually start the regeneration process or program it through the settings. Follow the instructions in your water softener’s user manual to ensure the correct procedure. During this process, the system will flush out impurities and recharge the resin beads with sodium ions, restoring their ability to soften water effectively. Allow the regeneration cycle to complete fully before making any adjustments to the system.
Step 4: Return the System to Service Mode
After the regeneration cycle, it’s time to return the water softener to service mode. Begin by disengaging the bypass mode, allowing water to flow through the system normally. Double-check that the control panel displays the correct settings and confirm the successful regeneration process. Run water from a nearby faucet to verify that softened water is being supplied. If any issues persist, consult your system’s troubleshooting guide or contact a professional.
Step 5: Perform Routine Maintenance
Regular maintenance is essential to ensure your water softener continues to operate efficiently. Check the salt levels in the brine tank and replenish them as needed, typically keeping the salt level above the water line. Periodically clean the brine tank to prevent the buildup of residue or sludge. Additionally, inspect the resin beads and other components for any signs of wear or damage. Performing these routine tasks will help prolong the lifespan of your water softener and maintain optimal water quality.
Step 6: Monitor Water Hardness Levels
Regularly test your water hardness to ensure your water softener is performing effectively. Use a water hardness testing kit to measure the hardness of your water before and after it passes through the softener. If you notice an increase in hardness levels, it may indicate that the system needs maintenance, such as resin replacement or regeneration adjustments. Keeping track of water hardness will help you identify issues early and maintain consistent water quality.
Step 7: Replace the Filter Cartridge
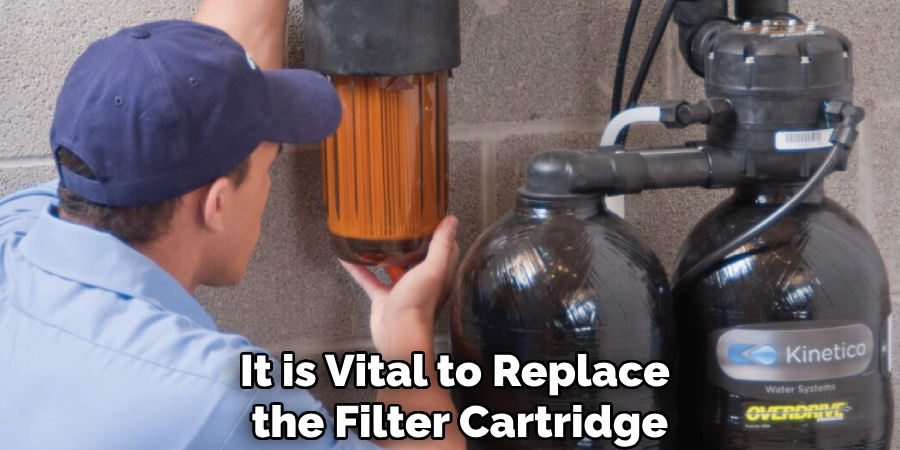
If your water softener system includes a pre-filter or post-filter, it is vital to replace the filter cartridge as the manufacturer recommends, typically every 3 to 6 months. These filters help remove sediment, dirt, and other impurities, preventing them from clogging the softener’s components. A clogged or worn-out filter can reduce the system’s efficiency and affect water quality. Regular filter replacement ensures your water softener continues to perform optimally and protects your household plumbing from potential damage.
Step 8: Clean the Brine Tank
Periodically cleaning the brine tank is essential to ensure the efficient operation of your water softener system. Over time, salt bridges or sludge can build up in the tank, which may interfere with the dissolving process and reduce the system’s effectiveness. To clean the brine tank, first, empty it and remove any remaining salt or debris. Use warm, soapy water to scrub the interior, then rinse thoroughly to remove soap residue. Allow the tank to dry completely before adding fresh salt. Keeping the brine tank clean will prevent blockages and maintain the quality of softened water.
Step 9: Inspect and Adjust the Settings
Regularly inspecting and adjusting the settings of your water softener ensures it continues to meet your household’s water needs efficiently. Check the hardness setting and salt dosage levels on your system to align them with the quality of your water supply and the size of your household. If you notice changes in water softness or unusual system behavior, revisiting these settings can help troubleshoot potential issues. Refer to your system’s manual for guidance on optimal settings and adjust as necessary to maintain consistent performance.
Step 10: Test Water Softness
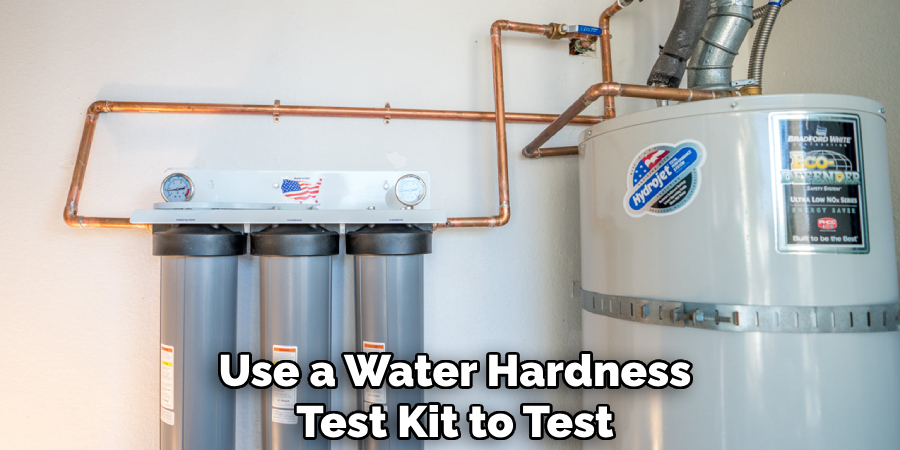
After completing maintenance tasks, it is essential to test the softened water to ensure your system is functioning correctly. Use a water hardness test kit, which can be found at most hardware stores, to measure the hardness level of your water. Follow the test kit instructions for accurate results. Ideally, the test should indicate a low hardness, confirming that your water softener works effectively.
If the results are unsatisfactory, consider revisiting earlier steps, such as checking the brine tank, cleaning components, or adjusting the system settings to resolve any issues. Regular testing helps ensure consistent water quality and timely identification of potential problems.
Following these steps and performing regular maintenance, you can keep your water softener running efficiently and provide your household with high-quality softened water.
5 Things You Should Avoid
- Using the Wrong Type of Salt: Ensure you use the correct salt, such as pellet, crystal, or block salt, depending on your water softener’s specifications. Using the wrong salt can lead to inefficiencies and damage to the system.
- Overfilling the Brine Tank: Adding too much salt to the brine tank can create salt bridges, which prevent proper regeneration. Always follow the manufacturer’s guidelines on the appropriate amount of salt.
- Ignoring Regular Maintenance: Neglecting to clean the system or inspect for clogs can compromise its performance. Regularly cleaning the brine tank and checking the resin beads are crucial steps for consistent results.
- Setting Incorrect Regeneration Cycles: Improper regeneration timing can waste salt and water or leave your water stiff. Double-check the settings to ensure the cycles match your household’s water usage needs.
- Skipping Pre-Filled Instructions: Some water softeners require specific procedures during installation or after replacing parts. Always read the manual carefully to avoid damaging the system during regeneration.
Conclusion
How to regenerate a water softener is essential for maintaining its efficiency and ensuring a consistent supply of soft water.
By understanding common mistakes and following the manufacturer’s instructions, you can extend the lifespan of your system and prevent performance issues. Regular maintenance, precise salt levels, and correct regeneration settings are key to running the system smoothly.
A proactive approach will not only enhance the water quality in your home but also protect your appliances and plumbing from the adverse effects of hard water.
About the Author
Adrian Green is a passionate woodworking enthusiast who has dedicated his life to the craft of woodworking. From his early days working alongside his father in the family woodworking shop, Adrian has honed his skills and developed a deep love for creating beautiful, functional pieces with his hands. As the voice behind The Woodenify Blog, he shares his knowledge, tips, and inspiration with fellow woodworkers of all skill levels, helping them build confidence in their abilities while learning new techniques.
Professional Focus
- Specializes in DIY woodworking projects, from furniture making to home décor.
- Provides step-by-step guides, tips, and practical tutorials for woodworkers at any skill level.
- Focused on empowering readers with confidence and knowledge through easy-to-follow instructions and hands-on techniques.
- Passionate about building a community where makers can share, learn, and grow together in the world of woodworking.
Education History
University of Craft and Design – Bachelor of Fine Arts (BFA) in Woodworking and Furniture Design
Woodworking Apprenticeships – Gained extensive hands-on experience through various workshops and mentorships with seasoned craftsmen, refining carpentry and furniture-making skills.
Expertise
- DIY woodworking, carpentry, furniture making, and home décor projects.
- Creating clear, accessible tutorials and guides for beginner to advanced woodworkers.
- Helping readers experience the satisfaction and fulfillment of turning raw materials into stunning finished products.
