
Are you tired of taking a shower with low water pressure? Do you want to know how to reduce the pressure in your hot water tank without calling a plumber? Look no further; we have some simple and effective solutions for you.
Maintaining the correct pressure in your hot water tank ensures its safe and efficient operation. Excessive pressure can lead to leaks, damage to the tank, or even pose safety risks. Fortunately, you can take several practical steps to reduce pressure and maintain the system’s longevity.
This guide on how to reduce pressure in hot water tank will walk you through the basics of managing hot water tank pressure, helping you identify potential issues and adopt preventive measures to keep your system functioning correctly.
What Are the Causes of High Pressure in a Hot Water Tank?
Before we dive into ways to reduce pressure, let’s understand what causes high pressure in a hot water tank.
- Thermostat Set Too High: If your thermostat is set too high, the water in the tank will heat up and expand, resulting in increased pressure.
- Faulty Pressure Relief Valve: A malfunctioning pressure relief valve can build up excessive pressure in the tank.
- Closed Water Supply Valve: The valve should always be open to maintain proper water flow and prevent pressure build-up.
- Sediment Build-Up: Over time, sediment can accumulate at the bottom of the tank, reducing its efficiency and causing higher pressure levels.
What Will You Need?
To reduce pressure in your hot water tank, you will need the following tools and materials:
- A pressure gauge
- A garden hose
- A bucket
- Teflon tape
Once you have gathered these supplies, you are ready to start working on reducing the pressure in your hot water tank.
9 Easy Steps on How to Reduce Pressure in Hot Water Tank
Step 1. Turn Off the Power Supply
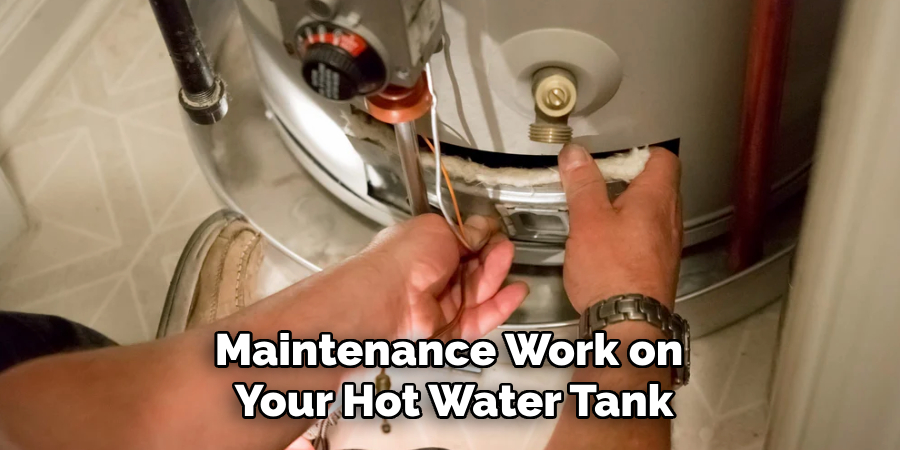
Before starting any maintenance work on your hot water tank, it is critical to turn off its power supply to ensure safety. If your hot water tank is powered by electricity, locate the circuit breaker box and switch off the breaker connected to the tank. For gas-powered tanks, find the gas control valve and twist it to the “pilot” position or turn it off completely. This step helps prevent any risk of electrical shock or accidental ignition during the pressure-reduction process. Always double-check that the power supply is fully deactivated before proceeding to the next step. Safety should always be your top priority.
Step 2. Turn Off the Water Supply
Turning off the water supply to the hot water tank is essential before proceeding with any maintenance or adjustment tasks. To do this, locate the cold-water shut-off valve, typically on the pipe that brings water into the tank. Turn the valve clockwise to close it fully. This step ensures that no additional water enters the tank during the process, which can prevent potential flooding or further pressure build-up.
If you cannot find the shut-off valve directly connected to your tank, you may need to turn off the main water supply to your home. Always verify that the water supply has been effectively shut off by checking for any water flow from the fixtures or faucets. Taking this precaution dramatically minimizes the likelihood of complications and ensures a safer working environment.
Step 3. Attach the Garden Hose
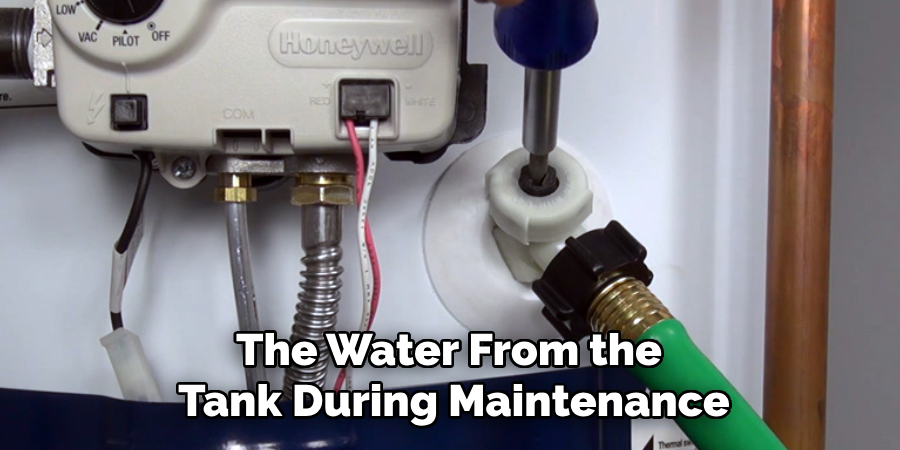
Once the water supply is turned off, the next crucial step is to attach a garden hose to the drain valve located at the base of the hot water tank. This step is necessary to safely drain the water from the tank during maintenance or repairs. Start by ensuring you have a garden hose long enough to reach an appropriate drainage area, such as a floor drain, driveway, or outdoor space away from your home’s foundation.
Carefully connect one end of the hose to the drain valve, ensuring the connection is secure to prevent leaks. Use a wrench if needed, but avoid overtightening, as this could damage the valve. The other end of the hose should be placed in your chosen drainage area, ensuring it remains stable and will not shift as water begins flowing. Before continuing, double-check that the hose isn’t kinked or obstructed, as this could impede water flow and cause unnecessary pressure in the tank. Properly attaching the hose at this stage ensures an efficient and clean water drainage process, laying the groundwork for the next steps in the maintenance procedure.
Step 4: Open the Drain Valve
Once the hose is securely attached and positioned in the drainage area, it’s time to open the drain valve on your water heater. Slowly turn the valve counterclockwise to begin releasing water from the tank. Be cautious during this step, as the water may still be hot, depending on how long the heater has been off. Allow the water to flow freely through the hose and into the designated drainage area. Monitor the process to ensure no leaks at the connection point or blockages in the hose. This step is essential for completely emptying the tank, allowing for effective maintenance or repair work.
Step 5: Flush the Tank
After the tank has been completely drained, it’s essential to flush out any remaining sediment or debris. To do this, turn on the cold water supply to the water heater while keeping the drain valve open. The incoming water will help rinse out any residue from the bottom of the tank. Allow the water to flow through the hose until it runs clear, indicating that the tank has been properly flushed. This step ensures the longevity and efficiency of your water heater by removing buildup that can affect performance.
Step 6: Close the Drain Valve and Refill the Tank
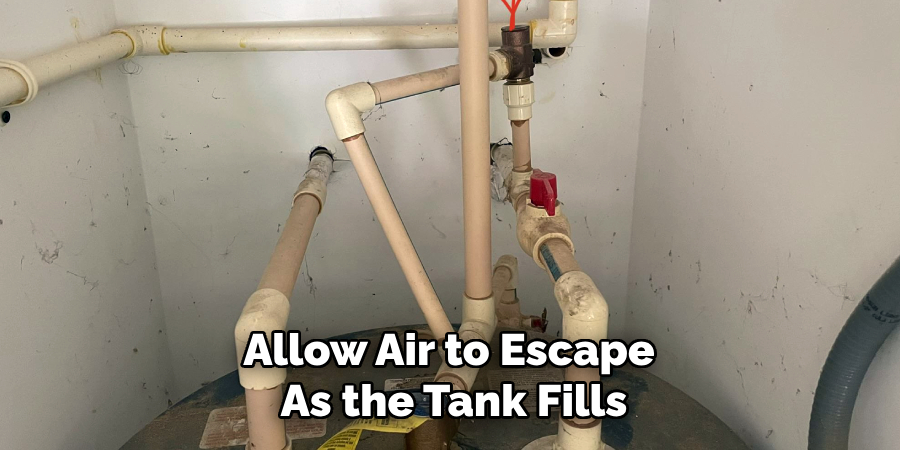
Once the tank has been adequately flushed, close the drain valve securely to prevent leaks. Next, turn off the hose and remove it from the drain connection. Then, turn on the cold water supply to begin refilling the tank. Open a nearby hot water faucet to allow air to escape as the tank fills. Wait until a steady stream of water flows from the faucet, indicating the tank is full and free of air pockets, and closing the hot water faucet after this process completes the refilling step. This ensures the water heater is ready for use without any interruptions.
Step 7: Restore Power or Relight the Pilot
After the tank is refilled and the hot water faucet is closed, it’s time to restore power to your water heater or relight the pilot if you have a gas-powered unit. Turn the power back on for electric water heaters at the circuit breaker. Follow the manufacturer’s instructions for gas water heaters to relight the pilot light safely. Ensure all controls are set to proper settings and allow the water heater to reheat thoroughly. This final step ensures your water heater is back in operation and ready to provide hot water efficiently.
Step 8: Inspect for Leaks
Once the water heater is back in operation, carefully inspect the unit and the surrounding area for any signs of leaks. Check all connections, including the inlet and outlet pipes, pressure relief, and drain valves. If any leaks are found, tighten the connections or address the issue as per the manufacturer’s guidelines. Ensuring there are no leaks will help maintain the water heater’s efficiency and prevent potential water damage to your property.
Step 9: Perform Regular Maintenance
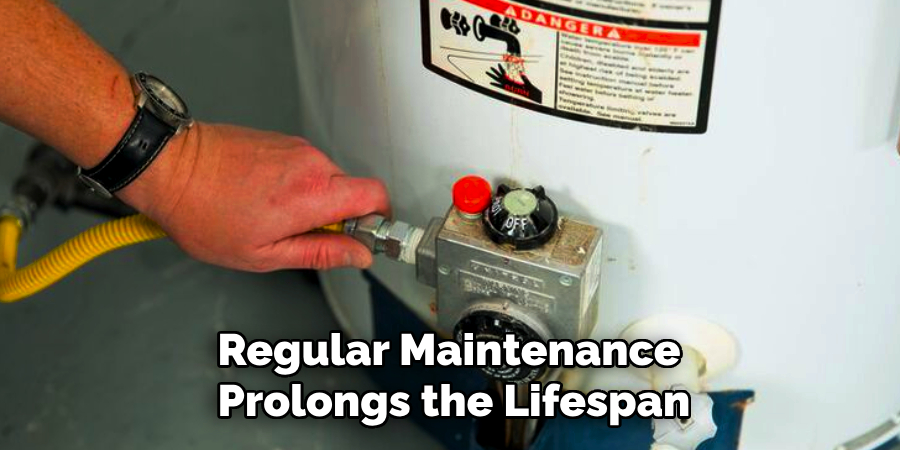
To keep your water heater functioning optimally, establish a regular maintenance schedule. This includes flushing the tank periodically to remove sediment buildup, testing the pressure relief valve to ensure it operates correctly, and inspecting the anode rod for signs of corrosion. Regular maintenance prolongs the lifespan of your water heater and ensures it operates efficiently, saving energy and reducing utility costs over time. Always refer to the manufacturer’s recommendations for specific maintenance guidelines.
Following these simple steps, you can safely and effectively drain and maintain your water heater safely and effectively.
5 Things You Should Avoid
- Ignoring the Pressure Relief Valve: Never attempt to block or disable the pressure relief valve. This valve is a critical safety feature that prevents the tank from over-pressurizing, which could lead to severe damage or potential explosions.
- Overtightening Connections: Avoid overtightening connections when adjusting components or replacing parts. Excessive force can damage threads, cause leaks, or compromise the system’s integrity.
- Draining the Tank Without Proper Knowledge: Draining your tank incorrectly or without understanding the procedure can lead to scalding, water damage, or damage to the tank itself. Always follow the manufacturer’s instructions.
- Using the Wrong Tools: Utilizing improper tools for adjustments or repairs, such as incompatible wrenches or materials, can damage the tank components or create unsafe conditions.
- Neglecting Safety Precautions: Skipping essential safety measures, such as turning off the power supply or water source before making adjustments, can pose serious risks, including electrical shock or flooding. Always prioritize safety and consult a professional if unsure.
Conclusion
How to reduce pressure in hot water tank is a vital step to ensure the safety and longevity of the system.
To effectively lower pressure, follow the proper procedures, such as adjusting the temperature and pressure (T&P) relief valve or regulating the incoming water pressure with a pressure-reducing valve. Always turn off the power supply and water source before performing any maintenance to prevent accidents. Regularly inspect the tank and its components and promptly address any signs of overpressure, such as unusual noises or leaks.
When in doubt, consult the manufacturer’s guidelines or seek assistance from a qualified professional to avoid potential hazards and ensure the system operates efficiently.
About the Author
Adrian Green is a passionate woodworking enthusiast who has dedicated his life to the craft of woodworking. From his early days working alongside his father in the family woodworking shop, Adrian has honed his skills and developed a deep love for creating beautiful, functional pieces with his hands. As the voice behind The Woodenify Blog, he shares his knowledge, tips, and inspiration with fellow woodworkers of all skill levels, helping them build confidence in their abilities while learning new techniques.
Professional Focus
- Specializes in DIY woodworking projects, from furniture making to home décor.
- Provides step-by-step guides, tips, and practical tutorials for woodworkers at any skill level.
- Focused on empowering readers with confidence and knowledge through easy-to-follow instructions and hands-on techniques.
- Passionate about building a community where makers can share, learn, and grow together in the world of woodworking.
Education History
University of Craft and Design – Bachelor of Fine Arts (BFA) in Woodworking and Furniture Design
Woodworking Apprenticeships – Gained extensive hands-on experience through various workshops and mentorships with seasoned craftsmen, refining carpentry and furniture-making skills.
Expertise
- DIY woodworking, carpentry, furniture making, and home décor projects.
- Creating clear, accessible tutorials and guides for beginner to advanced woodworkers.
- Helping readers experience the satisfaction and fulfillment of turning raw materials into stunning finished products.