
Are you tired of looking at your dull, tarnished nickel faucets in your bathroom or kitchen? Polishing them is an easy and affordable way to bring back their shine.
Maintaining the luster of nickel faucets requires proper care and attention. Over time, these fixtures can lose their shine due to water spots, soap residue, and natural wear. Polishing nickel faucets restores their original brilliance and help protect the surface from damage and discoloration. Using the proper techniques and cleaning products, you can ensure your faucets remain a highlight of your bathroom or kitchen, adding elegance and sophistication to your home.
This guide on how to polish nickel faucets will walk you through the steps to effectively clean and polish your nickel faucets, keeping them in pristine condition.
What Are the Benefits of Polishing Nickel Faucets?
Before we dive into the actual polishing process, it’s essential to understand why you must polish your nickel faucets regularly. Here are some benefits of polishing nickel faucets:
- Restores Shine and Luster: Nickel fixtures can lose their shine over time due to everyday use and exposure to water and cleaning products. Polishing them will return their original luster, making them look brand new.
- Prevents Corrosion and Damage: Regularly polishing your nickel faucets helps protect the surface from potential damage, such as discoloration or corrosion. This is especially important for areas with hard water, which can cause mineral buildup on fixtures if improperly maintained.
- Removes Soap Scum and Water Spots: Polishing helps remove stubborn soap scum and water spots that can accumulate on nickel faucets over time, leaving them looking dull and tarnished. Regularly polishing your fixtures can prevent this buildup from happening in the first place.
- Saves Money: Instead of constantly replacing old or damaged fixtures, regular maintenance through polishing can save you money in the long run. Plus, polished nickel faucets add value to your home and can increase its overall appeal.
What Will You Need?
Before you begin the polishing process, gather the following materials:
- Soft cloths or microfiber towels
- Mild dish soap or specialized nickel cleaner
- Distilled water
- White vinegar
- Baking soda (optional)
- Lemon juice (optional)
Once you have these items, you can start polishing your nickel faucets!
9 Easy Steps on How to Polish Nickel Faucets
Step 1. Prepare the Area
Before you begin polishing, it’s essential to prepare the area around your nickel faucets to ensure a smooth and efficient cleaning process. Start by clearing away any items or clutter near your sink or faucet area, such as soap dishes, toothbrush holders, or other accessories. This will give you ample space to work and prevent accidental spills or splashes from damaging nearby items.

Next, wipe the surface around the faucet with a soft cloth to remove any loose dust, dirt, or debris. If there are stubborn spots or residue, dampen the fabric with a bit of distilled water to clean the area thoroughly. Preparing the area ensures that the polishing process focuses solely on the faucet without interference from external grime or obstructions. Once the surrounding area is clean and clear, you’re ready to move on to the next step!
Step 2. Gather the Necessary Materials
To achieve a polished and gleaming finish on your nickel faucets, having the right materials on hand is crucial. You will need a soft microfiber cloth, a gentle cleaning solution designed explicitly for nickel finishes, a bowl of warm distilled water, and a non-abrasive sponge or brush. Avoid using harsh chemicals or abrasive materials, as these can damage the nickel surface or dull its shine. Once you’ve gathered all the necessary items, you can proceed confidently, knowing you’re fully equipped for the task ahead.
Step 3. Clean the Faucet Surface
Start by gently wiping the nickel faucet with a soft microfiber cloth to remove any surface dust or light dirt. Dip the non-abrasive sponge or brush into the warm distilled water and apply a small amount of the gentle cleaning solution. Carefully scrub the faucet, focusing on areas with accumulated grime or fingerprints. Avoid excessive pressure, as this can harm the nickel finish. Once the faucet has been thoroughly cleaned, rinse it by wiping it down with a cloth dampened in plain distilled water. This step ensures that no cleaning solution residue is left behind, preventing streaks or damage to the finish. Finally, dry the faucet entirely with a separate microfiber cloth to prepare it for polishing.
Step 4. Polish the Nickel Faucet
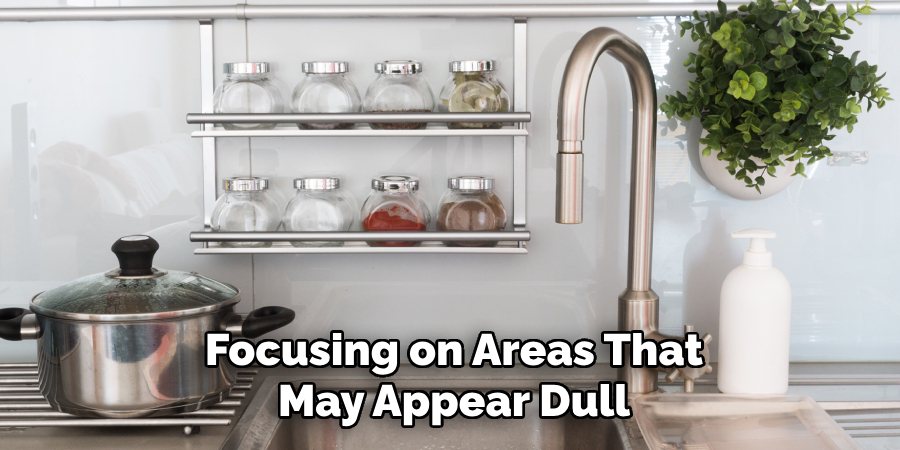
After cleaning and drying the faucet, it’s time to restore its shine by polishing the nickel surface. Apply a small amount of nickel-safe polish or a mixture of distilled water and white vinegar onto a clean microfiber cloth. Gently buff the faucet in circular motions, focusing on areas that may appear dull or less reflective. Avoid using excessive amounts of polish, as this can leave a residue.
Once finished, wipe the faucet with another clean, dry microfiber cloth to remove any excess polish and reveal a brilliant, streak-free finish. Polishing enhances the faucet’s appearance and helps maintain its protective coating, preserving its luster for longer.
Step 5. Regular Maintenance
Incorporate regular maintenance into your routine to keep your nickel faucet looking beautiful and spotless. Wipe the faucet with a damp microfiber cloth daily or after heavy use to prevent the buildup of water spots and grime. For a deeper clean, follow the cleaning and polishing steps outlined above once every few weeks or as needed. Avoid using harsh chemicals, abrasive materials, or scrubbing pads that can damage the nickel finish. With consistent care, your faucet will remain in excellent condition, maintaining its shine and functionality for years to come.
Step 6. Addressing Stubborn Stains
If you encounter stubborn stains or mineral deposits on your nickel faucet, gently remove them. Create a solution of equal parts white vinegar and warm water. Dampen a clean microfiber cloth with the solution and gently rub the affected areas. Avoid letting the vinegar sit on the surface for too long to prevent potential damage to the nickel finish. Once the stains are removed, rinse the faucet thoroughly with clean water and dry it with a soft cloth. This method helps to resolve tough stains while protecting the integrity of your faucet’s finish.
Step 7. Preventing Future Build-Up
Take preventative measures to minimize the chances of stains or mineral deposits forming on your nickel faucet. After each use, wipe the faucet with a dry, soft cloth to remove water droplets and prevent water spots. Additionally, consider using a water softener if you live in an area with hard water, as this can significantly reduce mineral build-up. Periodically inspect your faucet for any signs of residue or discoloration, promptly addressing them with gentle cleaning. By incorporating these practices into your routine, you can extend the life and appearance of your faucet.
Step 8. Keep an Eye on the O-Ring
The O-ring is a crucial component of your faucet that helps to prevent leaks and maintain water pressure. Over time, this small rubber ring may wear out or accumulate grime, affecting its effectiveness. To keep your nickel faucet functioning properly, regularly inspect the O-ring and replace it if necessary. If you notice any wear or damage, consult a plumbing professional for assistance.
Step 9. Protect Your Nickel Faucet During Renovations
During home renovations, taking proactive measures to protect your nickel faucet from potential damage is essential. Renovation projects often involve dust, debris, heavy tools, and the risk of accidental bumps, all of which can harm the finish or functionality of your faucet. Cover the faucet with a soft, clean cloth or bubble wrap to shield it from scratches and impacts.

Secure the covering with tape or a rubber band, ensuring it stays in place without applying pressure to the faucet. Additionally, avoid using the faucet for any tasks unrelated to the renovation to prevent accidental misuse. If the renovation involves water shut-offs or plumbing modifications, make sure to follow proper protocols to avoid unnecessary strain on the faucet during this time.
By following these steps and incorporating regular maintenance, you can keep your nickel faucet looking beautiful and functioning flawlessly for years.
5 Things You Should Avoid
- Using Abrasive Cleaners: Avoid harsh, abrasive cleaners or scrubbing pads, as they can scratch and damage the delicate nickel finish, reducing its shine and durability.
- Applying Harsh Chemicals: Avoid chemical-based cleaners containing bleach or ammonia, as these can corrode the nickel surface and lead to discoloration over time.
- Skipping Regular Cleaning: Neglecting routine maintenance allows grime and mineral deposits to build up, making it harder to restore the faucet’s original luster without causing damage.
- Using Excess Water: Avoid soaking the faucet or letting water sit on the surface for prolonged periods, as it can lead to water stains and tarnishing.
- Ignoring Proper Drying: Leaving the faucet damp after cleaning can result in water spots or streaks. Always dry the surface with a clean, soft cloth to maintain its polished appearance.
Conclusion
How to polish nickel faucets is a straightforward task when approached with care and the right technique.
Begin by using a mild soap or specialized nickel cleaner with a soft cloth to remove any dirt or buildup gently. After cleaning, rinse thoroughly with water to ensure no residue is left behind. To achieve a polished finish, lightly buff the surface with a clean microfiber cloth, restoring its natural shine without causing damage.
By following these steps and avoiding abrasive methods, your nickel faucets will retain their elegance and longevity for years. Consistent maintenance is key to preserving their timeless beauty.
About the Author
Adrian Green is a passionate woodworking enthusiast who has dedicated his life to the craft of woodworking. From his early days working alongside his father in the family woodworking shop, Adrian has honed his skills and developed a deep love for creating beautiful, functional pieces with his hands. As the voice behind The Woodenify Blog, he shares his knowledge, tips, and inspiration with fellow woodworkers of all skill levels, helping them build confidence in their abilities while learning new techniques.
Professional Focus
- Specializes in DIY woodworking projects, from furniture making to home décor.
- Provides step-by-step guides, tips, and practical tutorials for woodworkers at any skill level.
- Focused on empowering readers with confidence and knowledge through easy-to-follow instructions and hands-on techniques.
- Passionate about building a community where makers can share, learn, and grow together in the world of woodworking.
Education History
University of Craft and Design – Bachelor of Fine Arts (BFA) in Woodworking and Furniture Design
Woodworking Apprenticeships – Gained extensive hands-on experience through various workshops and mentorships with seasoned craftsmen, refining carpentry and furniture-making skills.
Expertise
- DIY woodworking, carpentry, furniture making, and home décor projects.
- Creating clear, accessible tutorials and guides for beginner to advanced woodworkers.
- Helping readers experience the satisfaction and fulfillment of turning raw materials into stunning finished products.