
How to plumb water softener is an essential task for ensuring your home benefits from softened water, free of excessive minerals like calcium and magnesium that cause hardness.
A properly installed water softener can help extend your plumbing system’s lifespan, improve your appliances’ efficiency, and protect your skin and hair from the effects of hard water. This guide will walk you through the steps to successfully plumb a water softener, from understanding the tools and materials needed to connect it to your main water supply. As always, remember to follow manufacturer instructions for specific equipment.
Whether you’re a seasoned DIY enthusiast or a beginner, following these instructions will help you achieve a reliable and efficient installation. Let’s get started!
What Are the Benefits of Softened Water?
Before delving into how to plumb a water softener, it’s essential to understand why it’s necessary. Hard water contains minerals like calcium and magnesium that can wreak havoc on your plumbing system and cause damage to your appliances. Some of the benefits of softened water include:
- Reduced scale buildup in pipes
- Improved efficiency of water heaters and other appliances
- Softer skin and hair
- Cleaner dishes, clothes, and surfaces without residue
Once you install a water softener, you’ll immediately start seeing these benefits and enjoy the convenience of using softened water. So, let’s get started on how to plumb water softener.
What Will You Need?
Before beginning the installation process, ensure you have all the necessary tools and materials. Here are some things you’ll need:
- A water softener unit
- Pipe cutter or hacksaw
- Fittings (e.g., elbows, tees, couplings)
- Copper pipes or PEX tubing
- Compression fittings for copper pipes or crimp rings for PEX tubing
- Shutoff valve
- Drainage pipe
Once you have all the necessary tools and materials, you can proceed with the installation process.
10 Easy Steps on How to Plumb Water Softener
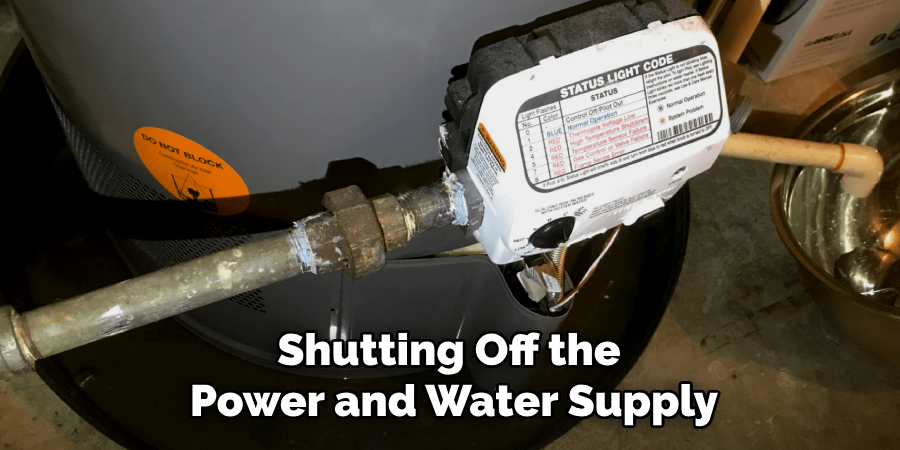
Step 1: Turn Off the Water Supply
Before you begin any work, turning off the main water supply to your home is crucial. Locate your main water shutoff valve near your water meter or where the main water line enters your home. Turn the valve completely clockwise to stop the flow of water. This step ensures no water pressure in the pipes while you work, reducing the risk of leaks or accidents. Additionally, open a few faucets around the house to drain any remaining water from the lines and release pressure. Taking the time to entirely shut off and drain the system will make the installation safer and more efficient.
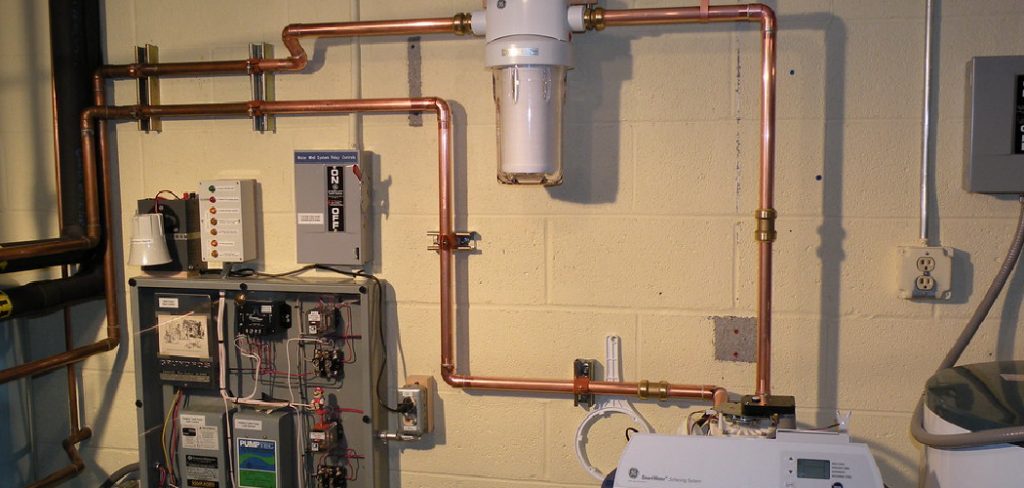
Step 2: Choose the Installation Location
Select an appropriate location for your water softener installation. Ideally, this should be near the main water line and close to a power outlet, as most water softeners require electricity. Ensure the area is well-ventilated, easily accessible for maintenance, and offers enough space to accommodate the system and any additional components, such as a brine tank. Place the softener where it can treat the water before it branches off to other areas in your home, ensuring the entire house benefits from softened water.
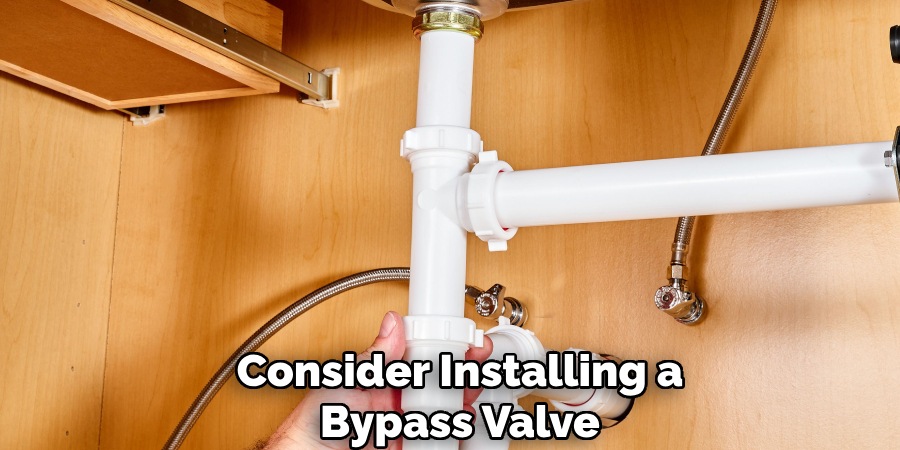
Step 3: Prepare the Plumbing Connections
Before connecting your water softener, ensure the plumbing system is ready for installation. Consider installing one if your plumbing does not already have a bypass valve. This will allow you to easily divert water back through the central line whenever maintenance or repairs are needed. Measure and cut the necessary sections of pipe to fit the inlet and outlet ports of the water softener. Use the appropriate fittings and materials, such as Teflon tape or pipe joint compound, to create watertight seals. Double-check that the fittings match and align with your water softener specifications to avoid any mismatches or leaks during operation.
Step 4: Connect the Water Softener
Once the plumbing is prepared, connect the water softener to the inlet and outlet pipes. Attach the incoming water line to the softener’s inlet port and the outgoing water line to the outlet port. Ensure the connections are secure and tightened properly to prevent leaks. If a drain hose is required, attach it to the designated drain port on the water softener and route it to an appropriate drainage location, ensuring it meets local plumbing codes. Leave enough slack in the hose to avoid kinks or blockages that could impede water flow.
Step 5: Test the Installation
After connecting the water softener, it is crucial to test the system to ensure everything is functioning correctly. Turn on the water supply slowly to pressurize the system while checking for any connection leaks. Next, follow the manufacturer’s instructions to initiate the regeneration process and flush the system. This step helps to clear out any debris or residue from the installation process. Monitor the softener during operation to confirm the water is flowing correctly and that the system cycles as intended. If any issues arise, double-check the connections and settings before proceeding.
Step 6: Program the Water Softener
Once the system has been tested and operates correctly, program the water softener according to the manufacturer’s guidelines. This typically involves setting the current time, water hardness level, and regeneration schedule. Refer to your local water report or use a water testing kit to determine the hardness level accurately.
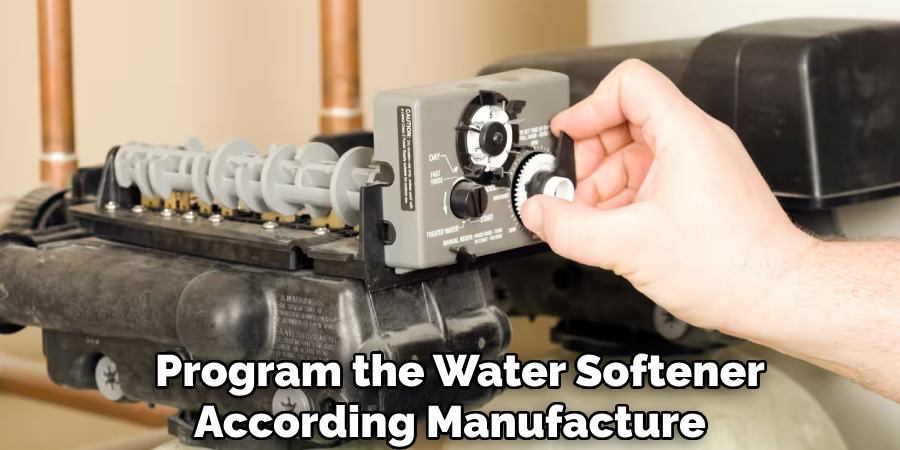
Input these settings into the control panel, ensuring the system regenerates at a time that will not disrupt household water usage, such as at night. Proper programming optimizes performance and efficiency, allowing the water softener to deliver consistent results.
Step 7: Perform Routine Maintenance
Regular maintenance is crucial to ensure the long-term effectiveness of your water softener. Check the salt levels in the brine tank monthly and replenish with high-quality water softener salt as needed. Periodically clean the brine tank to prevent salt buildup or bridging, which can interfere with the system’s operation. Additionally, inspect the system for any signs of wear or leaks and replace worn components promptly. Follow the manufacturer’s maintenance recommendations, including using a resin cleaner periodically to maintain the softening efficiency of the resin beads. Routine upkeep will help extend the life of your water softener and maintain optimal water quality.
Step 8: Troubleshoot Common Issues
Even with proper maintenance, issues may occasionally arise with your water softener. Common problems include insufficient softening, salt bridging, or error codes on the system. If your water isn’t as soft as it should be, check the bypass valve to ensure it is in the correct position and verify that the brine tank has adequate salt. For salt bridging, manually break up the hardened salt and ensure the tank is cleaned regularly. Refer to the user manual for error code troubleshooting or reset procedures. If the issue persists, contacting a professional technician or the manufacturer’s support team can ensure the problem is resolved promptly and effectively.
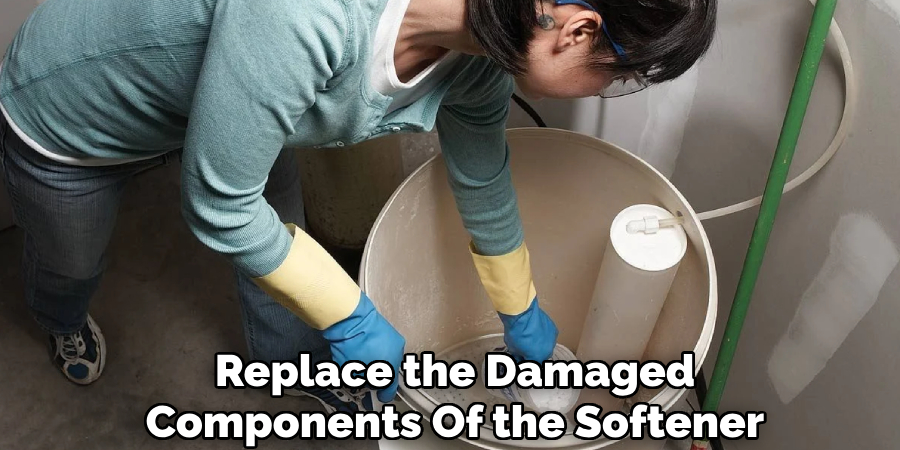
Step 9: Replace Worn-Out Components
Over time, specific water softener components may experience wear and tear, affecting the system’s performance. Regularly inspect parts such as the resin beads, seals, and O-rings for signs of damage or degradation. If you notice a decline in efficiency or visible wear, replace these components according to the manufacturer’s guidelines. Using genuine replacement parts will ensure compatibility and maintain the system’s integrity. Performing timely replacements can prevent more significant issues and help your water softener operate at peak performance.
Step 10: Schedule Professional Maintenance
To keep your water softener functioning optimally, consider scheduling regular professional maintenance. A qualified technician can thoroughly inspect the system, clean internal components, and address any issues that may not be visible during routine user checks. Professional maintenance can also include recalibrating the system and testing its efficiency to ensure it effectively softens water. Establishing a maintenance routine can extend the lifespan of your water softener and minimize the risk of unexpected malfunctions.
By following these steps to install and maintain your water softener, you can enjoy the benefits of softened water for years to come.
5 Things You Should Avoid
- Skipping the Shut-Off Valve Installation: Always include a shut-off valve when plumbing your water softener. Skipping this step can make isolating the system for maintenance or emergency repairs difficult, leading to unnecessary complications and potential water damage.
- Incorrect Pipe Sizing: Using pipes too large or too small for your system can disrupt water flow and cause inefficiencies. Ensure the pipes you use match the recommended specifications for your water softener model.
- Ignoring Drain Line Requirements: The drain line is a crucial component of the water softener system. Avoid placing it too far from a drain or failing to secure it properly, as this can lead to clogs or leaks that could damage your plumbing or surrounding areas.
- Reversing the Water Flow Direction: Incorrectly hooking up the inlet and outlet connections can prevent your water softener from functioning properly. Always double-check the flow direction before finalizing the connections to ensure the system filters the water as intended.
- Failing to Use Bypass Valves: Installing a bypass valve is essential for situations where you need unsoftened water or need to perform maintenance on the system. Failing to include one can cause inconvenience and require additional work in the future.
Conclusion
How to plumb water softener is essential to ensure its efficiency and longevity.
By adhering to the recommended installation practices, such as using the correct pipes, securing the drain line, and verifying the flow direction, you can avoid common mistakes and potential damage to your plumbing system. Additionally, integrating a bypass valve will offer convenience for maintenance and situations requiring unsoftened water. Taking the time to set up your water softener system carefully will improve water quality and help you avoid costly repairs down the line.
Always consult the manufacturer’s manual and seek professional advice to ensure a successful installation.
About the Author
Adrian Green is a passionate woodworking enthusiast who has dedicated his life to the craft of woodworking. From his early days working alongside his father in the family woodworking shop, Adrian has honed his skills and developed a deep love for creating beautiful, functional pieces with his hands. As the voice behind The Woodenify Blog, he shares his knowledge, tips, and inspiration with fellow woodworkers of all skill levels, helping them build confidence in their abilities while learning new techniques.
Professional Focus
- Specializes in DIY woodworking projects, from furniture making to home décor.
- Provides step-by-step guides, tips, and practical tutorials for woodworkers at any skill level.
- Focused on empowering readers with confidence and knowledge through easy-to-follow instructions and hands-on techniques.
- Passionate about building a community where makers can share, learn, and grow together in the world of woodworking.
Education History
University of Craft and Design – Bachelor of Fine Arts (BFA) in Woodworking and Furniture Design
Woodworking Apprenticeships – Gained extensive hands-on experience through various workshops and mentorships with seasoned craftsmen, refining carpentry and furniture-making skills.
Expertise
- DIY woodworking, carpentry, furniture making, and home décor projects.
- Creating clear, accessible tutorials and guides for beginner to advanced woodworkers.
- Helping readers experience the satisfaction and fulfillment of turning raw materials into stunning finished products.