
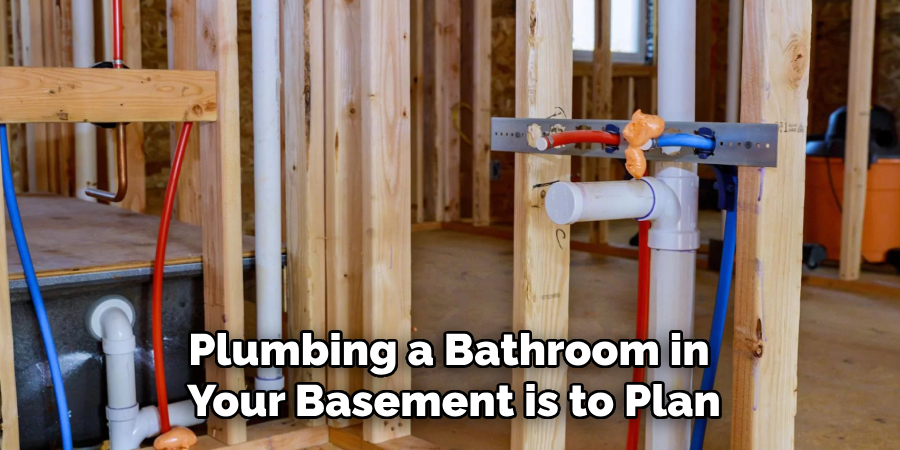
Plumbing a bathroom in the basement can seem like an overwhelming task, but with the right tools, planning, and knowledge, it is entirely feasible. Whether you’re adding a new bathroom to increase convenience or enhance your home’s value, understanding the steps involved is crucial for a successful outcome.
This guide on how to plumb a bathroom in basement will walk you through the essentials, from planning the layout to installing pipes and fixtures, ensuring that your basement bathroom is both functional and up to code. A basement bathroom remodel can significantly enhance the functionality and value of your home by transforming an underutilized space into a comfortable, stylish retreat.
Why Plumb a Bathroom in the Basement?
Before diving into the steps, let’s explore some of the reasons why plumbing a bathroom in the basement might be necessary or beneficial.
Increase Convenience:
Adding a bathroom in your basement can make life easier for you and your family, especially if you have multiple floors in your home. It eliminates the need to go upstairs every time nature calls, making it ideal for guests or elderly family members who may have difficulty climbing stairs.
Increase Home Value:
Plumbing a bathroom in your basement can significantly increase the value of your home. It is especially attractive to potential buyers who want the convenience and flexibility of a multi-level living space. Additionally, having an extra bathroom can add significant value if you decide to sell your home in the future.
Flexibility for Basement Renovations:
If you plan on finishing your basement or using it as additional living space, installing plumbing for a bathroom beforehand can save time and money in the long run. This way, you won’t have to disrupt any finished walls or floors when adding a bathroom down the line.
7 Simple Steps on How to Plumb a Bathroom in Basement
Step 1: Plan the Layout
The first step in plumbing a bathroom in your basement is to plan out the layout. Consider where you want to place the toilet, sink, and shower or bathtub, taking into account the location of existing plumbing lines.
Keep in mind that fixtures should be at least 15 inches apart from each other for proper spacing. The ideal placement for the main plumbing stack is against an exterior wall to minimize the need for additional piping.
Step 2: Determine How to Connect Basement Plumbing to Existing Pipes
Before starting any installation, you will need to determine how to connect your new basement plumbing system to existing pipes. This may involve digging out a trench in the basement floor or cutting into existing walls.
It’s crucial to locate and avoid any existing wiring or gas lines before making any cuts or trenches. If necessary, seek professional help from a plumber or electrician.
Step 3: Install Drainage Pipes
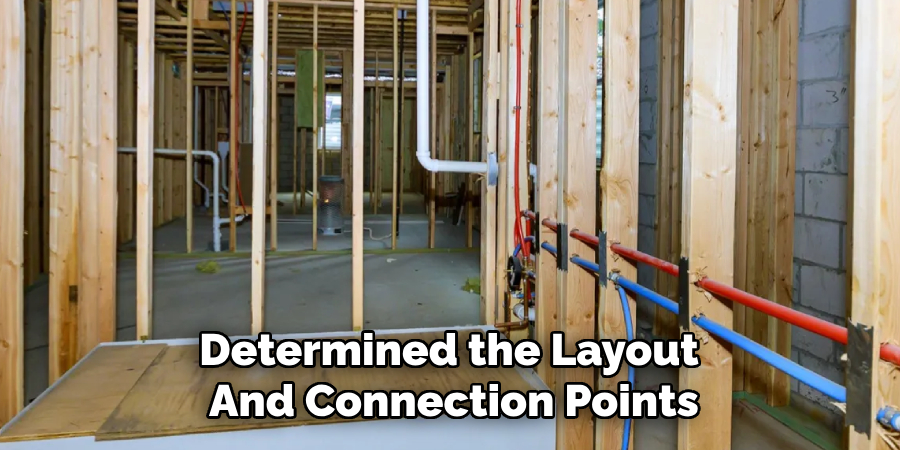
Once you have determined the layout and connection points, the next step is to install the drainage pipes. Begin by marking the locations where the toilet, sink, and shower or bathtub will drain. Use a concrete saw to carefully cut through the basement floor and create trenches for the pipes. Make sure to wear protective gear and take appropriate safety measures during this process.
Install PVC pipes at a downward slope, typically 1/4 inch per foot, to ensure proper drainage and prevent backups. Connect the pipes to the main sewer line or septic system, following local building codes to ensure compliance. For the toilet, you will need to install a closet flange at the correct height to match the finished floor.
Step 4: Install Vent Pipes
Vent pipes are essential for proper drainage and can also prevent unpleasant odors from entering your basement bathroom. They work by allowing air to enter the plumbing system, which maintains pressure and keeps water flowing smoothly.
Install vent pipes connected to the main stack or sewer line for each fixture in your new bathroom. These pipes should run vertically through the walls and connect to existing vents on higher floors leading outside of the house.
Step 5: Connect Water Supply Lines
After installing the drainage and vent pipes, it’s time to connect the water supply lines. Begin by installing a shut-off valve near where you plan to place the fixtures. Use copper or PEX pipes for the water supply, and make sure to insulate them if they run through unheated areas of the basement.
Connect the hot and cold water lines to each fixture, including the toilet, sink, and shower or bathtub. Use appropriate connectors and fittings as needed, following local building codes.
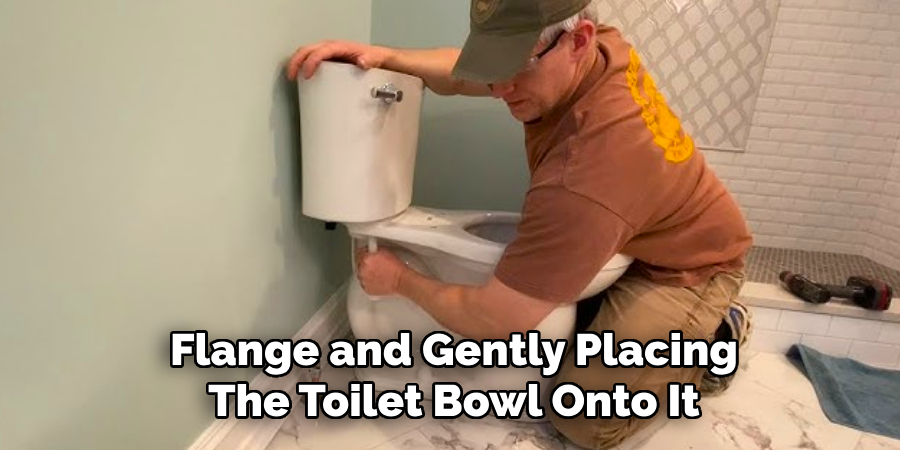
Step 6: Install Fixtures
With the plumbing system in place, it’s time to install the fixtures. Start with the toilet by securing the wax ring onto the closet flange and gently placing the toilet bowl onto it. Ensure it is level before tightening the bolts, then attach the tank and connect the water supply line. For the sink, install the faucet onto the sink basin before securing the sink to its vanity or pedestal. Connect the water supply lines to the faucet and attach the drain pipe to the P-trap, making sure all connections are watertight.
If you’re installing a shower or bathtub, position the unit in the planned location and connect the drain to the installed drainpipe. Attach the water supply lines to the shower valve and install the showerhead or faucet as per the manufacturer’s instructions. Once all fixtures are installed, turn on the water supply and test each fixture for leaks. Address any issues before moving on to the final steps of completing your basement bathroom.
Step 7: Finish Off the Walls and Floor
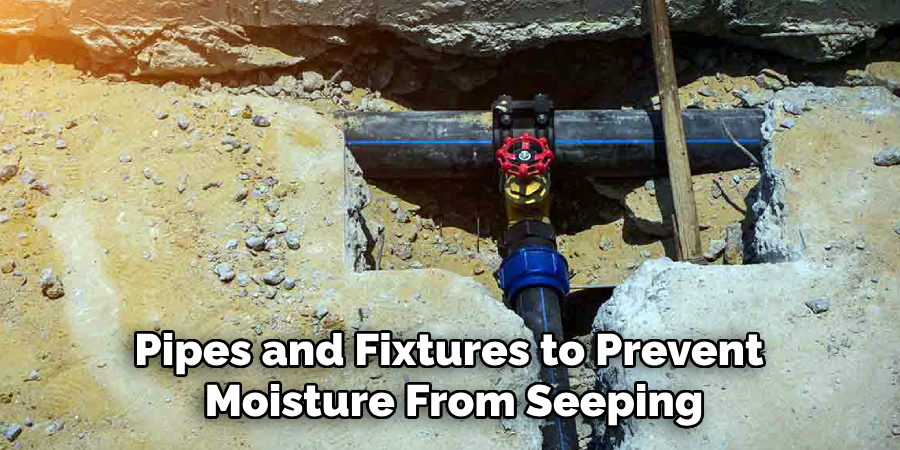
The final step is to finish off the walls and floor of your new basement bathroom. This may involve installing drywall, tiling, or other wall coverings, as well as laying flooring materials. Make sure to properly seal any openings or gaps around pipes and fixtures to prevent moisture from seeping into the walls.
Once everything is finished, you now have a fully functioning basement bathroom that adds convenience, value, and flexibility to your home. Congratulations on completing this project! Remember to always follow local building codes and regulations when plumbing a bathroom in your basement. If you are unsure about any steps on how to plumb a bathroom in basement, it’s best to seek professional help for a successful and safe renovation. Finally, enjoy the added benefits of having an extra bathroom in your basement for years to come!
Common Mistakes to Avoid
- Not following building codes and regulations
- Failing to properly plan out the layout and connection points
- Cutting into existing wiring or gas lines without proper precautions
- Improperly sloping drainage pipes, leading to backups
- Forgetting to install vent pipes for proper airflow
- Using incorrect fittings or connectors for water supply lines
By avoiding these common mistakes, you can ensure a smooth and successful basement bathroom plumbing project. Always remember to consult with professionals if you are unsure about any steps or need assistance. With careful planning and execution, your new basement bathroom will be a valuable addition to your home.
Frequently Asked Questions
Q: Do I Need a Permit to Install a Basement Bathroom?
A: It depends on your location and local regulations. In most cases, a permit is required for any plumbing work, including installing a basement bathroom. It’s best to check with your local building department before starting the project.
Q: Can I Use Existing Drainage Pipes in My Basement?
A: It’s not recommended to use existing pipes unless they are in good condition and properly sized for the new fixtures. Adding additional fixtures may overload the existing system, leading to backups and other issues. It’s best to consult with a plumber to determine if using existing pipes is feasible for your specific situation.
Q: How Much Does it Cost to Install a Basement Bathroom?
A: The cost will vary depending on various factors such as the size of the bathroom, materials used, and labor costs. On average, a basic basement bathroom can cost anywhere from $5,000 to $15,000.
Q: How Long Does it Take to Plumb a Basement Bathroom?
A: The time it takes to plumb a basement bathroom will depend on the complexity of the project and your experience level. It can take anywhere from 1-2 weeks for a DIY project or up to 3-4 weeks for a professional installation. Proper planning and organization can help speed up the process.
Conclusion
Adding a bathroom to your basement is an excellent way to enhance the functionality and value of your home. By following the steps on how to plumb a bathroom in basement outlined above, you can confidently tackle this project while saving time and money. Proper planning, installation, and adherence to local building codes are essential to ensure your basement bathroom is safe and efficient.
Whether you’re improving your home’s resale value or creating a more comfortable living space for your family, the effort you put into this renovation will be well worth it. Remember, if any part of the process feels overwhelming, don’t hesitate to consult a professional for guidance. Enjoy the benefits of your newly added basement bathroom!
About the Author
Adrian Green is a passionate woodworking enthusiast who has dedicated his life to the craft of woodworking. From his early days working alongside his father in the family woodworking shop, Adrian has honed his skills and developed a deep love for creating beautiful, functional pieces with his hands. As the voice behind The Woodenify Blog, he shares his knowledge, tips, and inspiration with fellow woodworkers of all skill levels, helping them build confidence in their abilities while learning new techniques.
Professional Focus
- Specializes in DIY woodworking projects, from furniture making to home décor.
- Provides step-by-step guides, tips, and practical tutorials for woodworkers at any skill level.
- Focused on empowering readers with confidence and knowledge through easy-to-follow instructions and hands-on techniques.
- Passionate about building a community where makers can share, learn, and grow together in the world of woodworking.
Education History
University of Craft and Design – Bachelor of Fine Arts (BFA) in Woodworking and Furniture Design
Woodworking Apprenticeships – Gained extensive hands-on experience through various workshops and mentorships with seasoned craftsmen, refining carpentry and furniture-making skills.
Expertise
- DIY woodworking, carpentry, furniture making, and home décor projects.
- Creating clear, accessible tutorials and guides for beginner to advanced woodworkers.
- Helping readers experience the satisfaction and fulfillment of turning raw materials into stunning finished products.