
Installing a sump pump drain system is an essential step in protecting your home from water damage and ensuring proper drainage. This system helps to prevent flooding by collecting and channeling excess water away from your foundation, keeping your basement or crawl space dry.
Whether you’re addressing an existing water issue or taking preventative measures, understanding the installation process can save you time and money while safeguarding your property. This guide will walk you through the key steps of how to install sump pump drain system.
Common Sump Pump Drainage Ideas
When installing a sump pump drain system, choosing the right drainage solution is critical to ensure effective water management. Here are some common sump pump drainage ideas to consider:
Downspout Extensions
Connecting your sump pump discharge line to downspout extensions can direct water away from your home’s foundation. These extensions help prevent water from pooling near your property and reduce the risk of basement flooding.
French Drain Systems
A French drain is a popular option for managing sump pump discharge. This involves digging a trench and filling it with gravel, along with a perforated pipe. The water from the sump pump is channeled through this system, dispersing it into the soil away from your home.
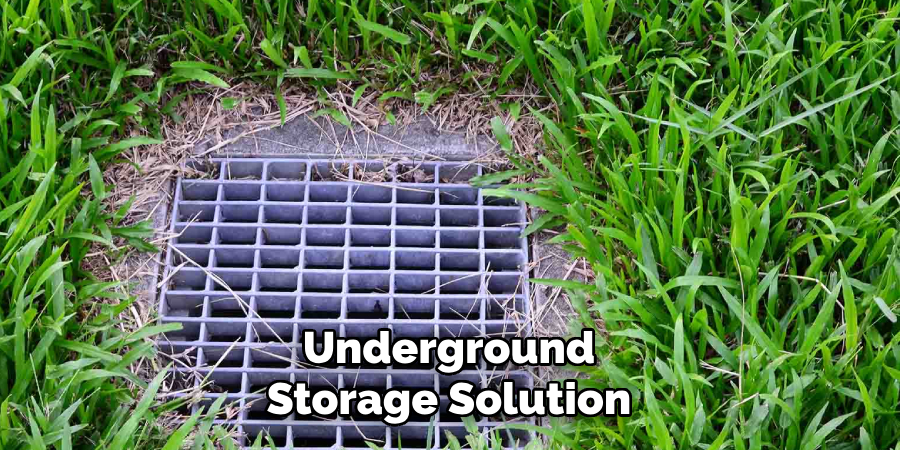
Dry Wells
A dry well is an underground storage solution that collects runoff from the sump pump. Water gradually seeps into the surrounding soil, minimizing surface water accumulation and potential drainage issues.
Tools and Materials Needed
Before you begin installing a sump pump drain system, it’s important to gather all the necessary tools and materials. Having everything prepared in advance will help streamline the process and ensure a successful installation. Here’s a list of commonly required items:
Tools:
- Shovel – For digging trenches or holes for the drainage system.
- Drill and Drill Bits – To create openings for pipe connections and mounting components.
- PVC Pipe Cutter or Hacksaw – To cut pipes to the required lengths.
- Tape Measure – To measure distances accurately for proper pipe placement.
- Level – To ensure that pipes are installed with the correct slope for water flow.
- Screwdriver Set – For securing connections and clamps.
- Wheelbarrow – To transport soil, gravel, or other materials during the installation process.
- Work Gloves and Safety Gear – To protect your hands and ensure safety while working.
Materials:
- PVC Pipes and Fittings – For constructing the discharge line and drainage system.
- Gravel – For filling trenches and stabilizing French drains or dry wells.
- Sump Pump – If not already installed, choose one that meets your property’s water management needs.
- Perforated Drain Pipe – For use in French drains or similar drainage solutions.
- Downspout Extensions – To direct water away from the foundation.
- Dry Well Kit – If incorporating a dry well into your drainage design.
- Landscaping Fabric – To prevent soil from clogging drainage pipes.
- PVC Cement and Primer – For securely sealing pipe joints.
- Hose Clamps – To fasten discharge hoses or pipes.
Ensure that you have everything on this list before beginning. Additionally, check your local building codes and regulations to confirm which materials and techniques are compliant in your area.
10 Methods How to Install Sump Pump Drain System
1. Assessing the Drainage Needs and Choosing the Right Sump Pump
Before beginning the installation, it’s essential to evaluate your property’s drainage needs. Check for areas prone to flooding, such as basements or crawl spaces, and determine where water collects after heavy rain. Based on this assessment, choose an appropriate sump pump. There are two main types of sump pumps: submersible and pedestal. Submersible pumps sit inside the sump pit and are quieter, while pedestal pumps have a motor above the pit, making them easier to maintain.
2. Selecting the Ideal Location for the Sump Pit
The sump pit should be installed in the lowest part of the basement or crawl space, where water naturally accumulates. Choose a location near an electrical outlet to power the pump and ensure that there is enough space for maintenance.
The ideal placement should also allow easy routing of the drainpipe to discharge water safely away from the foundation. Avoid placing the sump pit near utilities such as gas lines or electrical wiring. Mark the chosen spot before proceeding to excavation.
3. Digging and Preparing the Sump Pit
To create the sump pit, use a jackhammer or a masonry drill to cut through the concrete floor of the basement. Dig a hole that is at least 2 feet deep and wide enough to accommodate the sump basin. Ensure that the hole is slightly deeper than the basin so that it sits level with the floor. Once the hole is dug, place a layer of gravel at the bottom to help with drainage and prevent sediment buildup. Insert the sump basin into the hole and check that it sits evenly. If necessary, adjust the gravel to ensure proper positioning.
4. Installing the Sump Pump Inside the Basin
After placing the sump basin, install the sump pump inside it. Submersible pumps should sit directly on the gravel base, while pedestal pumps have a stand that keeps the motor above water. Attach the pump to the discharge pipe, ensuring a tight and secure fit. The pump should be positioned so that it can effectively collect and pump out water. If required, use a check valve to prevent backflow, ensuring that water does not return to the pit after being pumped out.
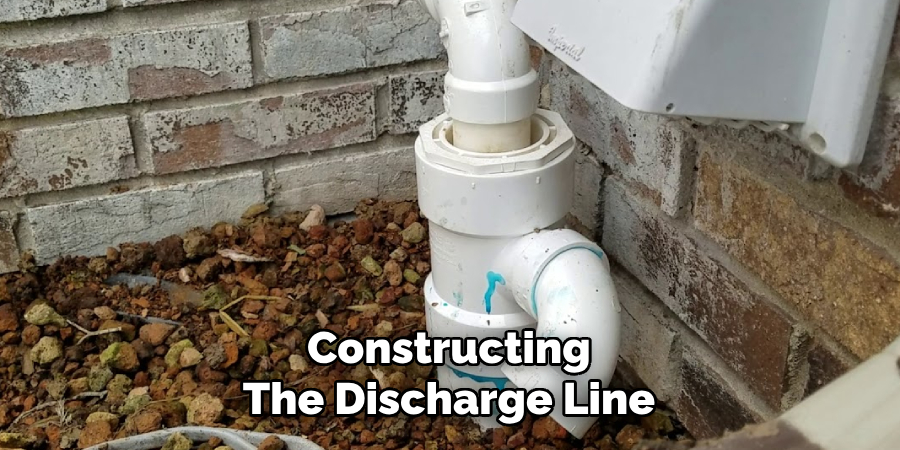
5. Installing the Discharge Pipe for Proper Water Removal
The discharge pipe carries water from the sump pump to an external drainage area. Connect a PVC pipe to the pump’s outlet and route it towards the exit point. The pipe should have a slight downward slope to promote water flow. Use pipe glue or clamps to secure all connections and prevent leaks. If needed, drill a small weep hole in the discharge pipe near the pump to prevent airlock, which can cause the pump to malfunction. Ensure that the pipe is properly supported and positioned to avoid kinks or bends.

6. Routing the Drain Line Away from the Foundation
The drainpipe should lead water at least 10 to 20 feet away from the foundation to prevent reabsorption into the soil. Options for drainage include a dry well, a storm drain, or a sloped area where water can disperse safely. If burying the pipe, dig a trench at least 6 to 12 inches deep and place the pipe inside. Ensure the pipe has a proper slope for efficient drainage. Consider adding a gravel bed around the pipe to improve drainage and prevent clogging.
7. Sealing the Sump Pit and Floor for a Watertight Fit
After installing the sump pump and pipes, seal the area around the sump basin to prevent water seepage. Use concrete or hydraulic cement to fill any gaps between the sump basin and the surrounding floor. Smooth out the surface and allow it to dry completely. This helps prevent water from seeping under the basement floor and ensures that the sump pump functions efficiently. If needed, apply a waterproof sealant around the sump pit for added protection.
8. Connecting the Sump Pump to a Power Source
The sump pump requires a dedicated electrical outlet for operation. Avoid using extension cords, as they can pose a safety risk. Instead, plug the pump into a grounded GFCI (Ground Fault Circuit Interrupter) outlet to reduce the risk of electrical hazards. If your basement experiences frequent power outages, consider installing a battery backup system to keep the sump pump running during emergencies. Some advanced sump pumps also have Wi-Fi monitoring systems that send alerts if the pump stops working.
9. Testing the Sump Pump for Proper Operation
Before considering the installation complete, test the sump pump to ensure it functions correctly. Pour a few gallons of water into the sump basin and observe how the pump activates. The float switch should rise with the water level, triggering the pump to start. Check that water is being discharged properly through the drainpipe and that there are no leaks in the system. If the pump does not turn on or fails to discharge water, adjust the float switch or check the power connections. Repeat the test to confirm reliable operation.
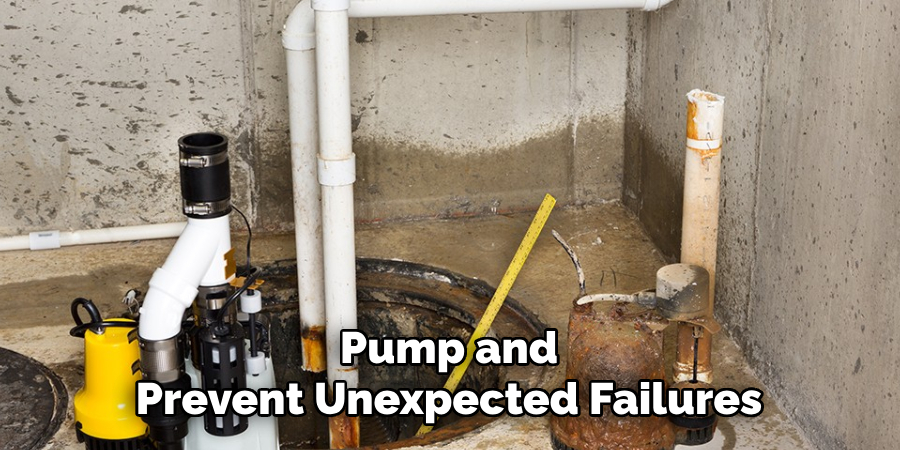
10. Performing Regular Maintenance for Long-Term Efficiency
After installation, regular maintenance is essential to keep the sump pump drain system working efficiently. Every few months, inspect the pump for debris, clean the basin, and ensure that the float switch moves freely. Test the pump by pouring water into the pit and checking its response. Additionally, inspect the check valve and discharge pipe for blockages or leaks. If using a battery backup system, test the battery regularly to ensure it is functional. Routine maintenance will extend the lifespan of the sump pump and prevent unexpected failures during heavy rainfall.
Conclusion
Installing a sump pump drain system is a crucial step in protecting your home from water damage and basement flooding. By following these 10 detailed methods, you can ensure a reliable and efficient installation. From assessing drainage needs to proper maintenance, every step plays a vital role in the overall effectiveness of the system. Thanks for reading, and we hope this has given you some inspiration on how to install sump pump drain system!
About the Author
Adrian Green is a passionate woodworking enthusiast who has dedicated his life to the craft of woodworking. From his early days working alongside his father in the family woodworking shop, Adrian has honed his skills and developed a deep love for creating beautiful, functional pieces with his hands. As the voice behind The Woodenify Blog, he shares his knowledge, tips, and inspiration with fellow woodworkers of all skill levels, helping them build confidence in their abilities while learning new techniques.
Professional Focus
- Specializes in DIY woodworking projects, from furniture making to home décor.
- Provides step-by-step guides, tips, and practical tutorials for woodworkers at any skill level.
- Focused on empowering readers with confidence and knowledge through easy-to-follow instructions and hands-on techniques.
- Passionate about building a community where makers can share, learn, and grow together in the world of woodworking.
Education History
University of Craft and Design – Bachelor of Fine Arts (BFA) in Woodworking and Furniture Design
Woodworking Apprenticeships – Gained extensive hands-on experience through various workshops and mentorships with seasoned craftsmen, refining carpentry and furniture-making skills.
Expertise
- DIY woodworking, carpentry, furniture making, and home décor projects.
- Creating clear, accessible tutorials and guides for beginner to advanced woodworkers.
- Helping readers experience the satisfaction and fulfillment of turning raw materials into stunning finished products.