
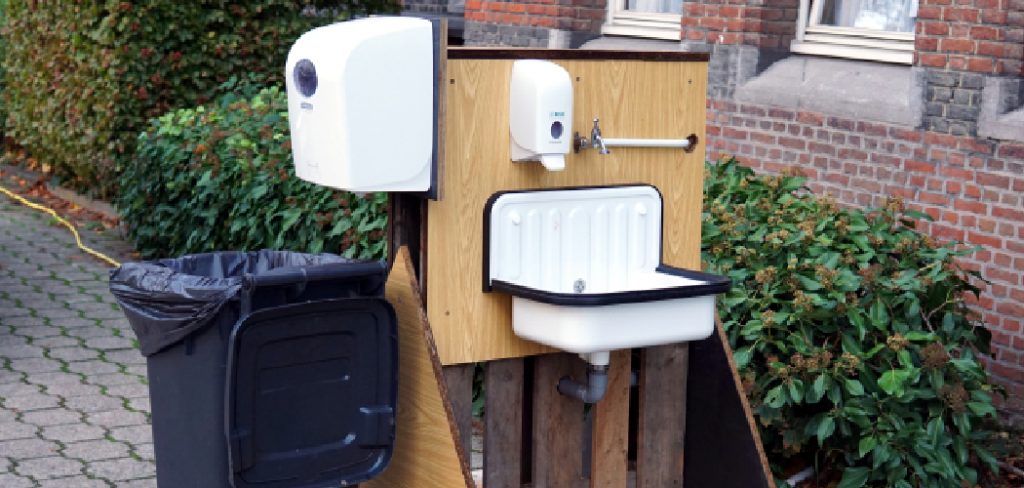
Adding an outdoor sink to your backyard or patio can be a convenient and practical upgrade for your home. Whether you’re an avid gardener, a grill master, or simply love spending time outside, an outdoor sink provides a dedicated space for washing hands, cleaning vegetables, or prepping meals without the need to go indoors. This guide will walk you through the steps of how to install outdoor sink, ensuring functionality and durability while enhancing your outdoor living space.
Common Uses for Outdoor Sinks
Outdoor sinks are versatile and can serve a variety of purposes, making them a valuable addition to any outdoor space. Here are some common uses:
- Gardening: Outdoor sinks are perfect for cleaning freshly picked vegetables and rinsing off gardening tools, keeping dirt and residue out of your indoor sink.
- Cooking and Grilling: They provide a convenient station for washing hands, cleaning utensils, and preparing food while hosting barbecues or outdoor meals.
- Entertaining Guests: An outdoor sink can act as a practical addition during parties or gatherings, allowing guests to rinse drinkware or plates without needing to go indoors.
- Pet Care: They offer a handy spot for bathing small pets or rinsing muddy paws before letting them back inside.
- DIY Projects: Whether it’s washing off paint brushes or cleaning up after messy craft projects, an outdoor sink makes cleanup quick and easy.
By catering to these purposes, outdoor sinks can enhance both the functionality and enjoyment of your outdoor living area.
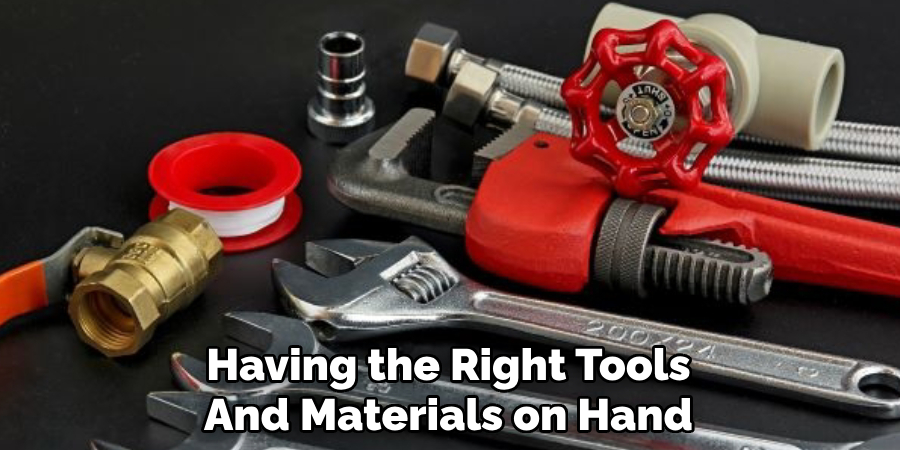
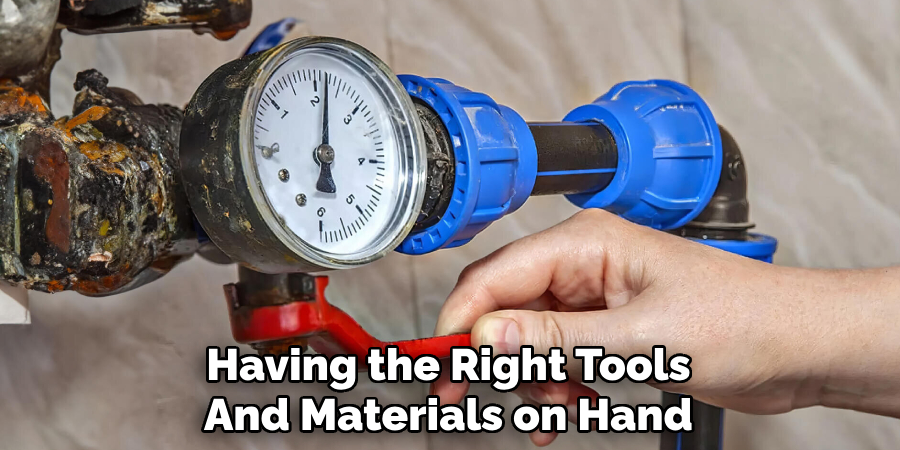
Tools and Materials Needed
When installing an outdoor sink, having the right tools and materials on hand can make the process smoother and more efficient. Here’s a list of essential items to consider:
- Sink and Faucet – Choose a durable outdoor-rated sink and faucet that can withstand weather conditions.
- Plumbing Supplies – These include pipes, connectors, valves, and fittings compatible with your existing water lines.
- Water Source and Drainage Components – Ensure you have an accessible water source and appropriate drainage system materials, such as PVC pipes or a hose for temporary setups.
- Sealant and Tape – Use plumber’s tape and waterproof sealant to prevent leaks in joints and connections.
- Mounting Hardware – Depending on your sink’s design, you may need brackets or screws for secure installation.
- Wrenches and Screwdrivers – For tightening and securing all fittings and components.
- Saw or Pipe Cutter – To trim pipes or other hardware to the required length.
- Level and Tape Measure – Essential for precise and even installation.
- Work Gloves and Safety Gear – Protect your hands and eyes during the installation process.
Having these tools and materials ready ensures a seamless installation, letting you enjoy your outdoor sink with minimal hassle.
10 Methods How to Install Outdoor Sink
1. Using a Hose-Fed Cold Water Supply
One of the simplest methods to install an outdoor sink involves using a standard garden hose as the water supply. Start by selecting a weather-resistant sink and stand or installing it onto an exterior wall or countertop. Connect the hose to an outdoor spigot and attach it to the faucet using an adapter or quick-connect fitting. This method works best for cold water only and is ideal for gardeners or campers who need a temporary solution. Remember to shut off and drain the hose in winter to prevent freezing damage.
2. Connecting to Existing Outdoor Faucet Plumbing
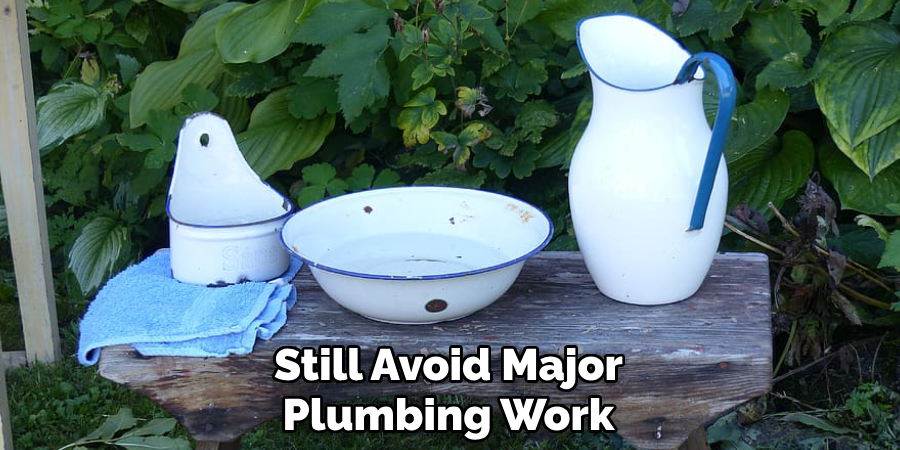
If you want a more semi-permanent solution but still avoid major plumbing work, you can split your existing outdoor faucet line using a Y-valve or a hose diverter. One line can go to your usual garden hose, and the other can be connected to your sink’s faucet via flexible tubing or PEX pipe. This allows you to operate both simultaneously without cutting into your main plumbing. Be sure to use food-grade tubing and install shutoff valves for maintenance ease. Mount the faucet securely to avoid stress on the hose connections.
3. Tapping into an Indoor Water Supply
For a more stable and year-round solution, consider tapping into your home’s indoor cold (or hot and cold) water supply. You’ll need to drill a hole through the wall, run PEX or copper piping from inside, and install a shutoff valve. Use frost-proof hose bibs or wall hydrants for safety in cold climates. This method is more labor-intensive but gives better water pressure and insulation, and you can even add a mixing valve for warm water. Make sure the pipe run is pitched properly and insulated where necessary.
4. Connecting a Hot Water Line for Comfort
If you want warm or hot water outside—perhaps for cleaning dishes or washing hands in chilly weather—you can run a hot water line alongside the cold supply from inside your home. This may involve copper or PEX piping, insulation, and a mixing valve near the faucet to prevent scalding. Alternatively, installing a point-of-use electric water heater under the sink can provide hot water without long pipe runs. Be sure the electrical connections meet outdoor code and that the unit is protected from the elements.
5. Installing a Gravity-Fed Water Tank
For locations without nearby plumbing, such as garden sheds or remote areas, a gravity-fed system using a water tank placed on a raised platform can be very effective. Fill the tank manually or with a hose, and let gravity create the water pressure. Connect the tank to the faucet using flexible tubing or PVC pipe. Install a ball valve or spigot at the bottom of the tank to control flow. This system is simple and eco-friendly but limited in pressure and water volume, so it’s best for light-duty outdoor cleaning.
6. Building a Greywater Drainage System
Outdoor sinks don’t always need to be connected to the municipal drain system, especially if you’re using biodegradable soaps. A greywater system allows you to divert used sink water into a gravel pit, dry well, or garden bed for irrigation. Make sure your system complies with local regulations. Use a 1½” to 2″ PVC drainpipe with a trap, sloped for drainage. Install a simple filter box (like a mesh basket) to catch solids before they reach your garden area. This is eco-friendly and great for low-impact living.
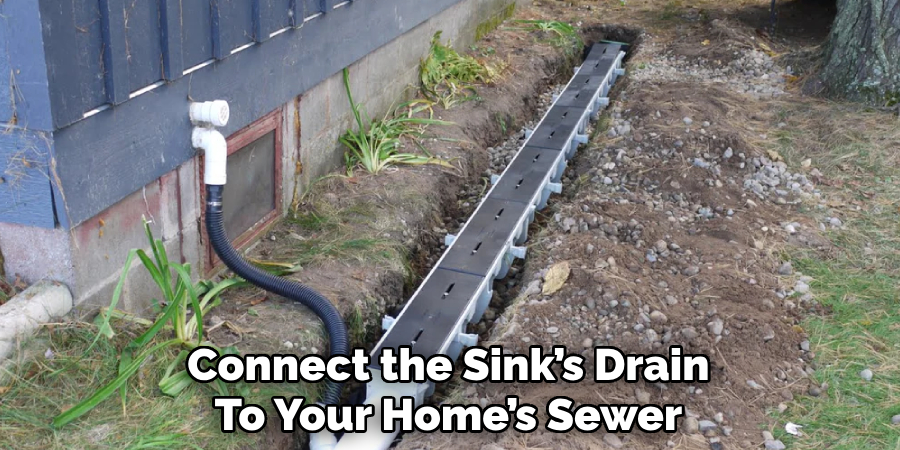
7. Connecting to Existing Sewer or Septic System
For a fully integrated outdoor kitchen or utility sink, connect the sink’s drain to your home’s sewer or septic line. This involves running proper drainpipes with traps and vents, usually below the frost line. It’s essential to follow building codes and may require permits. Use a 2″ PVC pipe for the main drain, with a slope of at least ¼ inch per foot. Vent the drainpipe properly to avoid slow drainage or sewer gases. This is the most permanent and reliable option, especially for heavy-duty use.
8. Installing a Portable Sink with Water Jugs
For renters or temporary setups, a portable sink that uses jugs for fresh and greywater is ideal. These self-contained units feature a small tank or jug connected to a hand pump or battery-powered faucet, with another jug to collect wastewater. No plumbing is required, and the entire setup can be moved or stored away as needed. These sinks are especially useful for outdoor events, food trucks, or gardening sheds. Just remember to empty and sanitize the tanks regularly.
9. Mounting Sink on Outdoor Counter or Cart
No matter the water supply or drain method, the physical mounting of the sink matters for long-term use. You can install the sink into a custom-built outdoor countertop made from pressure-treated wood, stone, or concrete. Use a jigsaw to cut the opening and secure the sink with brackets and weather-resistant sealant. Alternatively, use a mobile cart or stand with built-in shelves for soap and tools. Ensure the base is level and anchored if needed. Choose stainless steel or resin sinks for maximum durability in outdoor conditions.
10. Winterizing the Outdoor Sink
An often-overlooked step in outdoor sink installation is proper winterization. In climates where temperatures drop below freezing, failing to winterize can lead to burst pipes and damaged fixtures. Before the first frost, shut off the water supply, disconnect hoses, and drain all water from the pipes, valves, and faucets. Open the faucet to allow residual water to escape. You can use compressed air to blow out lines or add RV antifreeze in the trap if connected to drainage. For permanent setups, install frost-proof faucets and insulate exposed pipes.
Conclusion
Installing an outdoor sink ideas doesn’t have to be overly complicated or expensive. With a little planning, you can customize your setup to match your location, water access, and usage needs. Whether you go for a hose-fed system, a fully plumbed-in kitchen sink, or a portable unit with gravity-fed tanks, the right method ensures functionality, hygiene, and durability. Consider your climate, plumbing access, and how often you’ll use the sink to determine the best method. Thanks for reading, and we hope this has given you some inspiration on how to install outdoor sink!
About the Author
Adrian Green is a passionate woodworking enthusiast who has dedicated his life to the craft of woodworking. From his early days working alongside his father in the family woodworking shop, Adrian has honed his skills and developed a deep love for creating beautiful, functional pieces with his hands. As the voice behind The Woodenify Blog, he shares his knowledge, tips, and inspiration with fellow woodworkers of all skill levels, helping them build confidence in their abilities while learning new techniques.
Professional Focus
- Specializes in DIY woodworking projects, from furniture making to home décor.
- Provides step-by-step guides, tips, and practical tutorials for woodworkers at any skill level.
- Focused on empowering readers with confidence and knowledge through easy-to-follow instructions and hands-on techniques.
- Passionate about building a community where makers can share, learn, and grow together in the world of woodworking.
Education History
University of Craft and Design – Bachelor of Fine Arts (BFA) in Woodworking and Furniture Design
Woodworking Apprenticeships – Gained extensive hands-on experience through various workshops and mentorships with seasoned craftsmen, refining carpentry and furniture-making skills.
Expertise
- DIY woodworking, carpentry, furniture making, and home décor projects.
- Creating clear, accessible tutorials and guides for beginner to advanced woodworkers.
- Helping readers experience the satisfaction and fulfillment of turning raw materials into stunning finished products.