
Are you considering adding an outdoor shower to your backyard or pool area? Installing the plumbing for an outdoor shower may seem daunting, but it can be a straightforward process with the right tools and knowledge.
How to install outdoor shower plumbing can be a rewarding DIY project that adds both functionality and charm to your outdoor space. Whether you need a convenient way to rinse off after a swim or simply want to enhance your backyard with a new feature, an outdoor shower is a practical and stylish addition. This guide will walk you through the essential steps, tools, and materials needed to install outdoor shower plumbing.
With careful planning and the right approach, you can create a sturdy and efficient system that will last for years to come.
What Are the Benefits of an Outdoor Shower?
Before we dive into the installation process, let’s explore some of the benefits of having an outdoor shower.
- Convenience: An outdoor shower provides a convenient way to rinse off after swimming or outdoor activities. You won’t have to track dirt and sand into your home anymore.
- Saves Water: With an outdoor shower, you can use less water than filling up a bathtub or using an indoor shower.
- Enhances Your Outdoor Space: An outdoor shower can add charm and style to your backyard or pool area, making it a more inviting and functional space for gatherings and relaxation.
What Will You Need?
Before you start the installation process, gather all the necessary tools and materials. Here’s a list of items you’ll need:
- Pipes and Fittings: PVC or copper pipes and appropriate fittings for your desired design.
- Showerhead: Choose a suitable showerhead that can withstand outdoor elements.
- Faucet: You can opt for an outdoor faucet or use a hose bib if you have one nearby.
- Water Supply Line: For homes with existing plumbing, you’ll need to connect the outdoor shower to an existing water supply line. If not, a new line must be installed from the main water source.
- Digging Tools: A shovel, post-hole digger, and trowel will be necessary for digging trenches and holes.
- Level: This tool will help you install your pipes straight and level.
- Pipe Cutter or Saw: These tools cut the pipes to the desired length.
- Teflon Tape: Used to create a watertight seal between pipe fittings.
- Plumber’s Putty: To seal gaps around the showerhead and faucet connections.
Once you have all the necessary tools and materials, it’s time to start the installation process.
9 Easy Steps on How to Install Outdoor Shower Plumbing
Step 1: Plan the Location
The first and most crucial step in installing an outdoor shower is choosing the correct location. Identify a spot close to your home’s plumbing to make the installation process easier and more cost-effective. Ensure the area is on level ground to prevent water from pooling or causing drainage issues. Consider the privacy of the space, mainly if the shower will be used regularly. You may want to place it near a fence wall or install a privacy screen if the area is exposed. It is also essential to factor in adequate drainage—avoid areas where runoff water could flow towards your home’s foundation. Lastly, think about convenience and accessibility.
A spot near your pool, garden, or patio could enhance its practical use while providing an ideal spot for rinsing off after outdoor activities. Proper planning and attention to detail at this stage can save time and effort later in the installation process.
Step 2: Gather Your Materials and Tools
Once you have chosen the perfect location for your outdoor shower, the next step is to gather all the necessary materials and tools. Start by determining the type of shower you want to install—this could range from a simple garden hose attachment to a more sophisticated plumbed fixture. You will typically need a showerhead, piping or hoses, a water mixing valve if you include hot water, and fittings such as brackets or clamps.
Materials for flooring, such as wood slats, gravel, or concrete, may also be required to ensure proper drainage and safety. Additionally, collect tools like a power drill, pipe cutter, wrench set, and sealant tape to streamline the installation process. Preparing and organizing everything beforehand will help the project go smoothly and reduce interruptions.
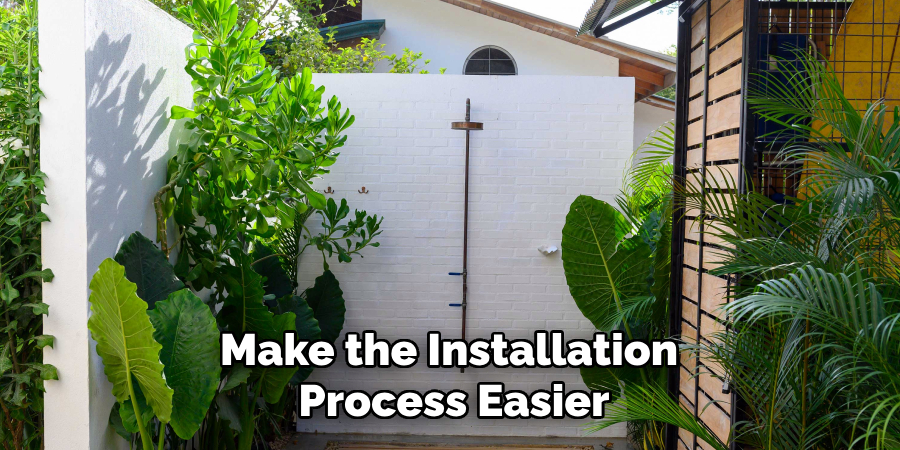
Step 3: Prepare the Site
With your materials and tools ready, it’s time to prepare the site for your outdoor shower. Start by clearing the designated area of any debris, plants, or obstacles to create a clean, level surface. To install flooring, such as wooden slats or a concrete pad, ensure the ground is leveled and compacted adequately before installation. This step is essential for providing stability and ensuring proper water drainage.
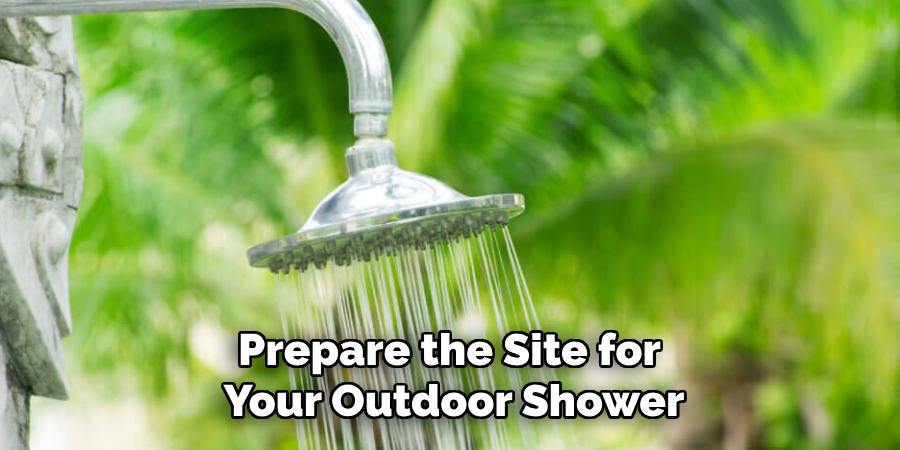
Additionally, consider installing a simple drainage system, such as a gravel bed or PVC pipe leading water away from the site, to prevent pooling and avoid water damage to the surrounding area. Taking the time to prepare the site thoroughly will create a solid foundation for the next steps in your project.
Step 4: Install the Plumbing
With the site prepared, you can begin installing the plumbing for your outdoor shower. Start by connecting the water supply line to your chosen location. This may involve tapping into an existing outdoor faucet or running a dedicated line from your home’s plumbing system. Use durable piping materials, such as PEX or copper, to ensure longevity and resistance to outdoor conditions. Securely attach the pipes to the shower fixture and include a shut-off valve for added control and maintenance ease.
If installing hot and cold water lines, ensure they are properly insulated to maintain water temperature and prevent freezing during colder months. Carefully test the connections for leaks before proceeding to the next stage of your project.
Step 5: Construct the Shower Enclosure
Once the plumbing is in place and tested, it’s time to construct the shower enclosure. The enclosure provides privacy and helps shield the area from wind and debris. Begin by selecting durable and weather-resistant materials, such as treated wood, composite panels, or metal. Design the structure to complement your outdoor space, whether a minimalist frame or a more decorative, enclosed cabin-style shower. Securely anchor the enclosure to the ground to ensure stability, particularly in areas prone to strong winds.

Consider incorporating a drainage system or slatted flooring to help water flow away efficiently. Once constructed, adjust any details and confirm that the enclosure meets your desired aesthetic and functional needs before moving on to the finishing touches.
Step 6: Add Fixtures and Accessories
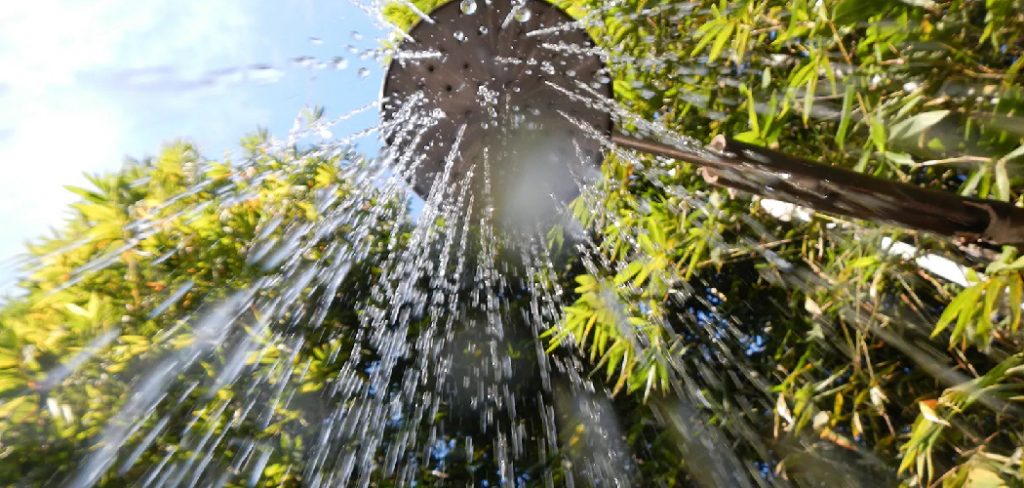
With the enclosure complete, it’s time to install the shower fixtures and personalize your outdoor shower space with accessories. Begin by mounting the showerhead and any additional fixtures, such as a handheld sprayer or temperature controls, ensuring they are securely fitted and compatible with your plumbing setup. Test the water flow and make any necessary adjustments to the pressure or temperature settings.
Next, consider adding practical elements like hooks for towels, shelves for toiletries, or a bench for convenience. Incorporate decorative lighting, lush plants, or even a small storage cabinet for a touch of luxury. These finishing touches enhance functionality and elevate the overall experience of your outdoor shower.
Step 7: Test and Enjoy Your Outdoor Shower
Before declaring your project complete, thoroughly test your outdoor shower. Turn on the water and check for consistent flow, proper drainage, and any leaks in the plumbing. Verify that all fixtures are functioning correctly, including temperature controls and additional features like a handheld sprayer. Once you’re satisfied that everything is operating smoothly, take some time to enjoy the fruits of your labor. Relax and experience the refreshing feeling of your new outdoor shower, whether as a quick rinse after a swim or a tranquil nature retreat.
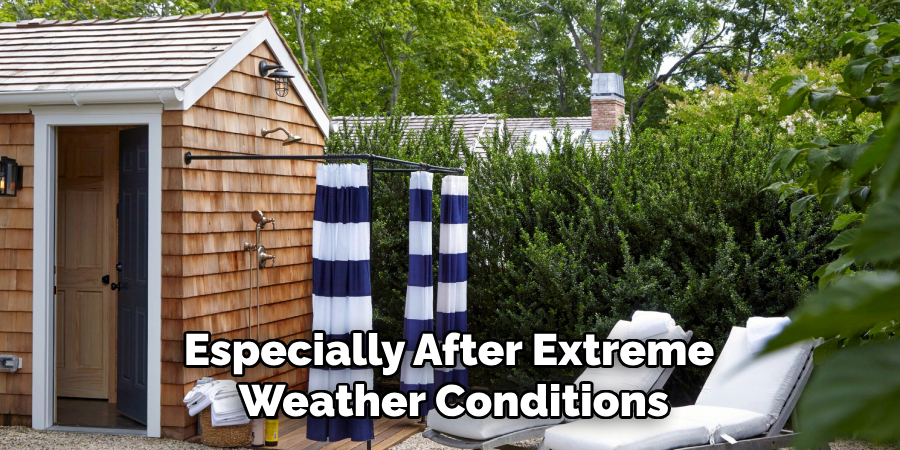
Step 8: Maintain Your Outdoor Shower
Regular maintenance is key to ensuring the longevity and efficiency of your outdoor shower. Periodically inspect the plumbing for any wear or leaks, especially after extreme weather conditions. Clean the shower fixtures to prevent dirt, limescale, or mold buildup, and treat any wooden elements with a sealant to protect against moisture and UV damage. Additionally, during colder months, consider winterizing your shower by draining the water lines and shutting off the supply to prevent freezing and potential damage.
Step 9: Personalize Your Outdoor Shower
Now that your outdoor shower is fully functional and well-maintained, it’s time to add your personal touch. Consider incorporating elements that reflect your style and enhance the experience. Add decorative features like plants, outdoor rugs, or bamboo screens for privacy and ambiance. Install shelves or hooks for towels, toiletries, or swimsuits to make your shower area more practical and inviting. You could also explore lighting options, like string lights or solar-powered fixtures, to create a cozy atmosphere for evening use.
By following these steps, you can create a beautiful and functional outdoor shower that will enhance the enjoyment of your outdoor space and provide a convenient water source for all your activities.
Conclusion
How to install outdoor shower plumbing may seem like a complex task, but with careful planning and the right tools, it can be an achievable and rewarding project.
By following the steps outlined—choosing the right location, selecting appropriate materials, and ensuring proper water supply and drainage—you can create a functional and beautiful addition to your outdoor space. Regular maintenance and thoughtful personalization will ensure that your outdoor shower remains a versatile and enjoyable feature for years to come.
Whether it’s for rinsing off after a swim or simply enjoying a refreshing moment outdoors, your new shower will undoubtedly enhance your connection to nature and elevate your outdoor living experience.
About the Author
Adrian Green is a passionate woodworking enthusiast who has dedicated his life to the craft of woodworking. From his early days working alongside his father in the family woodworking shop, Adrian has honed his skills and developed a deep love for creating beautiful, functional pieces with his hands. As the voice behind The Woodenify Blog, he shares his knowledge, tips, and inspiration with fellow woodworkers of all skill levels, helping them build confidence in their abilities while learning new techniques.
Professional Focus
- Specializes in DIY woodworking projects, from furniture making to home décor.
- Provides step-by-step guides, tips, and practical tutorials for woodworkers at any skill level.
- Focused on empowering readers with confidence and knowledge through easy-to-follow instructions and hands-on techniques.
- Passionate about building a community where makers can share, learn, and grow together in the world of woodworking.
Education History
University of Craft and Design – Bachelor of Fine Arts (BFA) in Woodworking and Furniture Design
Woodworking Apprenticeships – Gained extensive hands-on experience through various workshops and mentorships with seasoned craftsmen, refining carpentry and furniture-making skills.
Expertise
- DIY woodworking, carpentry, furniture making, and home décor projects.
- Creating clear, accessible tutorials and guides for beginner to advanced woodworkers.
- Helping readers experience the satisfaction and fulfillment of turning raw materials into stunning finished products.