
Installing a no-caulk shower drain is a straightforward and efficient way to ensure a secure and leak-free connection in your shower. Unlike traditional methods that require additional sealing materials like caulk or plumber’s putty, no caulk drains are designed for convenience and durability.
Whether you are replacing an old drain or working on a new installation, this guide on how to install no caulk shower drain will walk you through the steps to complete the process with ease and confidence.
Why Choose a No Caulk Shower Drain?
A no-caulk shower drain is an increasingly popular choice among homeowners and professional plumbers for several reasons. Some of the benefits of using a no-caulk drain include the following:
Easy Installation:
As the name suggests, these drains do not require any additional caulk or sealing materials during installation, making the process quick and hassle-free. This also means that if you ever need to replace the drain in the future, it can be done easily without any leftover residue from caulk or putty.
Leak-proof Seal:
No caulk shower drains use a compression sealing method that ensures a tight and secure connection between the drain
and the shower base. This eliminates the risk of leaks and helps prevent water damage to your bathroom floors and walls.
Durable Design:
With no caulk needed, these drains are made with durable materials like stainless steel or PVC, making them resistant to corrosion and wear over time. This makes them a long-term solution for your shower drainage needs.
Tools and Materials Needed
Before starting the installation process, make sure you have all the necessary tools and materials ready. Here’s a list of what you will need:
- No Caulk Shower Drain Kit
- Adjustable Wrench
- Screwdriver (If Required by Specific Kit)
- Pipe Cutter or Hacksaw
- Silicone Sealant (Optional)
8 Step-by-step Guidelines on How to Install No Caulk Shower Drain
Step 1: Prepare the Shower Base
Start by ensuring that the shower base is clean, dry, and free of any debris. Remove any old sealant, putty, or remnants of a previous drain to create a smooth surface for the new installation.
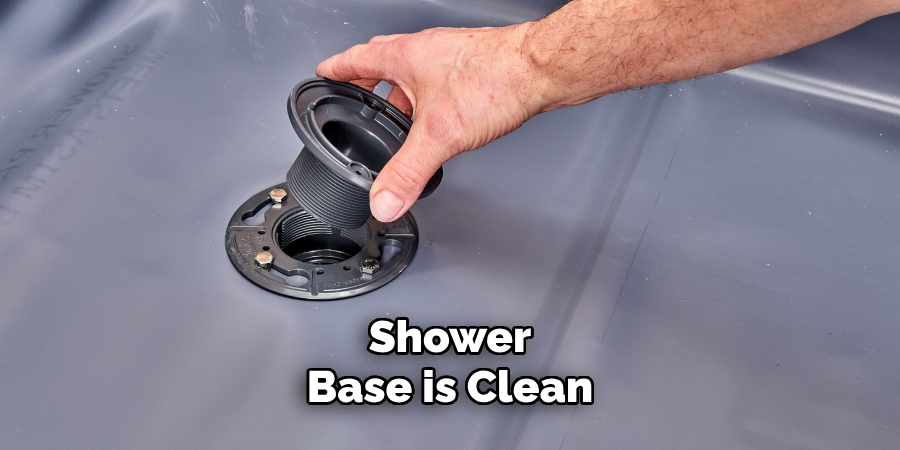
Check for any visible cracks or damage to the shower base and repair them if necessary to prevent leaks. Finally, confirm that the shower base hole matches the size of the no-caulk shower drain to ensure a proper fit during installation.
Step 2: Assemble the Drain Kit
Unpack the no-caulk shower drain kit and ensure all components are included as per the manufacturer’s instructions. This typically consists of the drain body, rubber gasket, friction ring, and locking nut. Begin by placing the rubber gasket over the drain pipe, followed by the friction ring. Align the drain body with the shower base opening and insert it into the drainpipe.
Ensure that all components are positioned correctly, as this will ensure a snug and secure fit. Keep the locking nut within reach, as it will be used to secure the assembly in the subsequent steps.
Step 3: Tighten the Locking Nut
Once the drain body is in place and aligned correctly with the shower base opening, thread the locking nut onto the drain body from underneath the shower base. Use an adjustable wrench to tighten the locking nut securely, but be careful not to overtighten, as this could damage the components.
The locking nut, combined with the rubber gasket and friction ring, will create a compression seal around the drainpipe and shower base, ensuring a leak-proof connection. Double-check that the drain body remains properly aligned throughout this step for optimal performance.
Step 4: Trim the Drainpipe
If necessary, use a pipe cutter or hacksaw to trim the drain pipe to the correct length. This step is only applicable if you are installing a new drain and need to adjust the height of the pipe for a proper fit with the shower base.
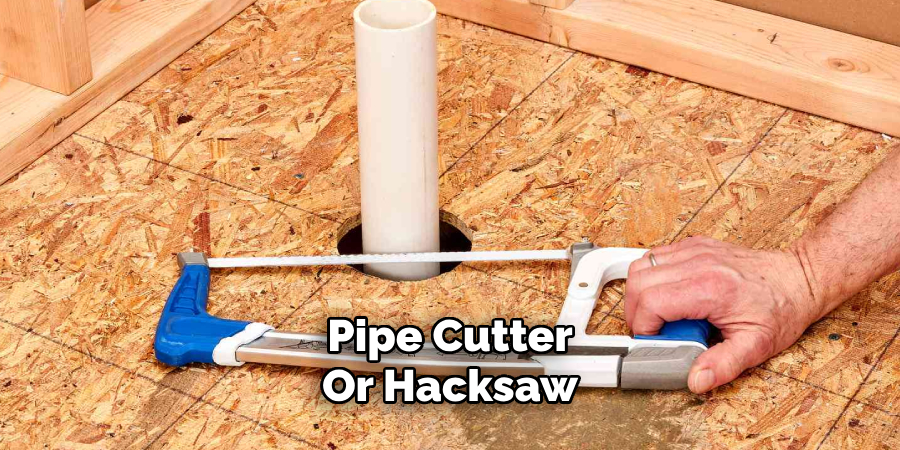
Make sure to measure accurately and wear safety goggles when cutting through any pipes to prevent injury. Double-check that the cut end of the drainpipe is clean and free from any sharp edges before proceeding.
Step 5: Install the Strainer
Next, place the strainer over the drain body, ensuring it sits flush against the shower base surface. Insert any screws provided by your specific drain kit and use a screwdriver to secure the strainer in place.
Be careful not to overtighten the screws, as this could damage the strainer or cause it to sit unevenly on top of the shower base. If your-caulk shower drain does not require any screws for installation, you can skip this step.
Step 6: Test for Leaks
Before moving on to the final steps, it’s essential to test your newly installed no-caulk shower drain for any leaks. To do this, fill a bucket with water and slowly pour it over the area around the drain while keeping an eye out for any potential leaks.
If you notice any water escaping from the drain, tighten the locking nut a little more and retest. If the issue persists, double-check that all components are correctly aligned and contact the manufacturer for further assistance if needed.
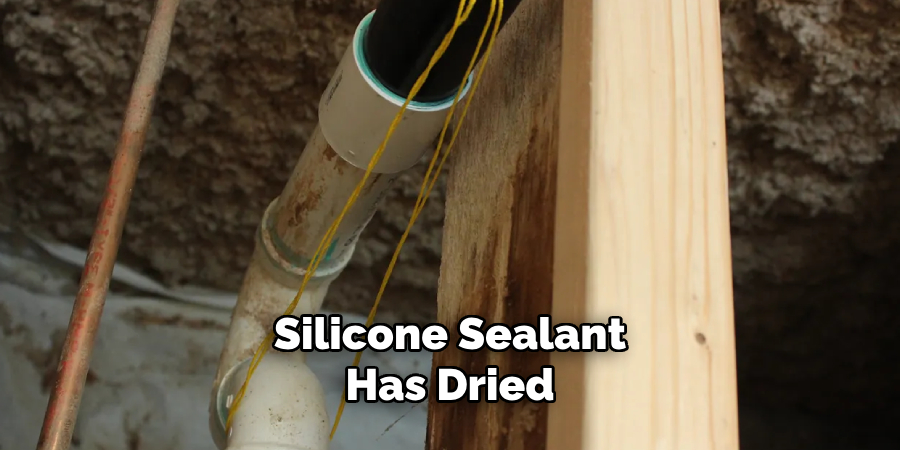
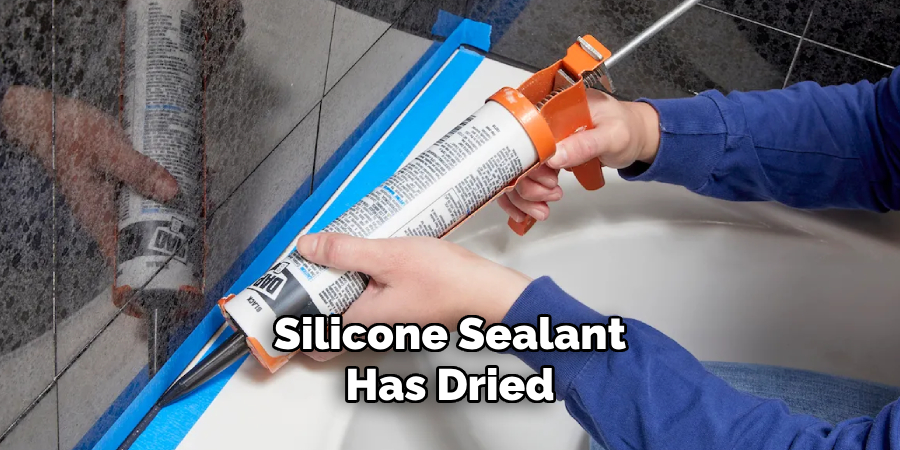
Step 7: Apply Silicone Sealant (Optional)
If you want additional protection against leaks or just prefer to use silicone sealant for added security, now is the time to apply it. Carefully run a bead of silicone around the edge of the strainer where it meets the shower base surface.
Smooth out any excess sealant with your finger or a putty knife to ensure a clean and even finish. Leave it to dry completely before using your shower to allow for proper adhesion.
Step 8: Final Adjustments
Once the silicone sealant has dried, you can make any final adjustments to the strainer if needed. If you notice any gaps between the strainer and shower base, tighten the screws or add more sealant as necessary to create a watertight finish.
Following these steps on how to install no caulk shower drain will ensure a successful and straightforward installation of your no-caulk shower drain, providing you with a durable and leak-proof solution for your shower drainage needs. Now, all that’s left to do is enjoy your new and improved shower experience without the hassle of caulk. So why wait? Upgrade to a no caulk shower drain today! Happier showers are guaranteed.
Additional Tips for Maintaining Your No Caulk Shower Drain
- Regularly clean the strainer and surrounding area to prevent clogs from hair or debris buildup.
- Do not use harsh chemicals to clean your drain, as they can damage the rubber gasket and cause leaks. Instead, opt for a mild detergent or vinegar solution.
- If you notice any unusual smells coming from your shower drain, pour a cup of baking soda followed by a cup of vinegar down the drain and let it sit for 15 minutes before flushing with hot water. This will help eliminate any odors caused by bacteria buildup.
- Inspect your no caulk shower drain at least once a year to ensure all components are still in good condition and functioning properly. Replace any damaged parts as needed to maintain optimal performance.
Frequently Asked Questions
Q: Can I Install a No Caulk Shower Drain on My Own?
A: Yes, with the right tools and following these step-by-step instructions, you can easily install a no caulk shower drain by yourself. However, if you are uncomfortable with DIY projects or have limited experience with plumbing, it’s best to hire a professional to ensure proper installation.
Q: Do I Need Any Special Tools for Installing a No Caulk Shower Drain?
A: While most no-caulk shower drain kits come with all the necessary components, you will need some basic tools to complete the installation, such as an adjustable wrench, screwdriver, and pipe cutter or hacksaw (if trimming the drainpipe is required).
Q: Can I Use a No Caulk Shower Drain for My Existing Shower?
A: Yes, as long as your existing shower base has a proper opening and the drainpipe is in good condition, you can easily replace your old caulked drain with a no-caulk option. Just make sure to choose a no caulk shower drain that is compatible with your specific shower base and drainpipe size.
Q: How Long Will a No Caulk Shower Drain Last?
A: With proper installation and maintenance, a no caulk shower drain can last for many years. However, it’s essential to regularly inspect and clean the components to ensure they remain in good condition and replace any damaged parts as needed.
Conclusion
Installing a no caulk shower drain is a straightforward and efficient way to enhance your shower’s drainage system while eliminating the need for messy caulking.
By following the step-by-step guide on how to install no caulk shower drain provided, you can ensure a smooth installation process and achieve a secure, leak-proof connection. Regular maintenance and proper care will extend the lifespan of your drain, keeping it functional and odor-free for years to come.
About the Author
Adrian Green is a passionate woodworking enthusiast who has dedicated his life to the craft of woodworking. From his early days working alongside his father in the family woodworking shop, Adrian has honed his skills and developed a deep love for creating beautiful, functional pieces with his hands. As the voice behind The Woodenify Blog, he shares his knowledge, tips, and inspiration with fellow woodworkers of all skill levels, helping them build confidence in their abilities while learning new techniques.
Professional Focus
- Specializes in DIY woodworking projects, from furniture making to home décor.
- Provides step-by-step guides, tips, and practical tutorials for woodworkers at any skill level.
- Focused on empowering readers with confidence and knowledge through easy-to-follow instructions and hands-on techniques.
- Passionate about building a community where makers can share, learn, and grow together in the world of woodworking.
Education History
University of Craft and Design – Bachelor of Fine Arts (BFA) in Woodworking and Furniture Design
Woodworking Apprenticeships – Gained extensive hands-on experience through various workshops and mentorships with seasoned craftsmen, refining carpentry and furniture-making skills.
Expertise
- DIY woodworking, carpentry, furniture making, and home décor projects.
- Creating clear, accessible tutorials and guides for beginner to advanced woodworkers.
- Helping readers experience the satisfaction and fulfillment of turning raw materials into stunning finished products.