
Installing a grease trap design is an essential step in maintaining a clean and efficient plumbing system, especially in kitchens where large amounts of grease and oil are generated. Grease traps are designed to intercept fats, oils, and grease (FOG) before they enter the drainage system, preventing clogs and environmental hazards. This guide will outline the steps of how to install grease trap, ensuring effective operation and compliance with local regulations.
Importance of a Grease Trap for Kitchens
A grease trap is a critical component for maintaining the functionality and hygiene of a kitchen. Kitchens, especially in commercial settings, produce substantial amounts of fats, oils, and grease during cooking and cleaning processes. Without a grease trap, these substances can accumulate in the plumbing system, leading to severe blockages, unpleasant odors, and costly repairs. Additionally, improper disposal of grease can result in environmental harm by contaminating water supplies and affecting local ecosystems.
By intercepting and separating grease from wastewater, grease traps help to maintain a smooth-flowing drainage system, extend the life of plumbing infrastructure, and ensure compliance with health and environmental regulations. Their use promotes sustainability and a cleaner working environment for kitchen operations.
Understanding Grease Traps
Grease traps function by slowing down the flow of wastewater, allowing fats, oils, and grease to cool and separate from the water. These substances are lighter than water, so they rise to the surface, while solid particles settle at the bottom. This process ensures that cleaner water flows into the drainage system while trapping grease and solids inside the grease trap.
Available in various sizes and designs, grease traps can be categorized into passive grease traps, which are typically installed under sinks, and automatic grease removal devices, which offer continuous grease separation. The type of grease trap needed often depends on the kitchen’s size, wastewater volume, and local regulations. Understanding the basic operation of grease traps is crucial for selecting the right model and maintaining its efficient performance over time.
10 Methods How to Install Grease Trap
1. Choose the Right Size Grease Trap
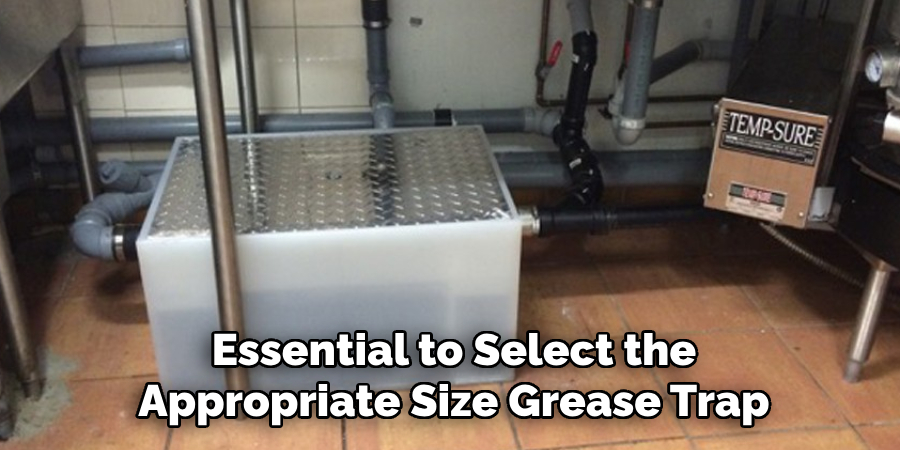
Before you begin the installation process, it’s essential to select the appropriate size grease trap for your needs. The size of the grease trap depends on the volume of wastewater being produced, usually based on the type and size of the kitchen or establishment. A grease trap that is too small will not effectively capture grease, while one that is too large can take up unnecessary space and incur higher installation costs. Typically, grease traps are sized by the flow rate (measured in gallons per minute), so you’ll need to know your system’s flow rate to make an informed decision.
2. Understand Local Regulations
Each locality may have specific regulations regarding the installation and maintenance of grease traps. Some jurisdictions require permits, while others have strict installation and maintenance guidelines to follow. It is crucial to consult with your local health department or waste management authorities to understand the rules and requirements. This ensures compliance and prevents fines or costly revisions later on. Additionally, your chosen grease trap must meet the relevant standards set by local environmental agencies.
3. Select the Installation Location
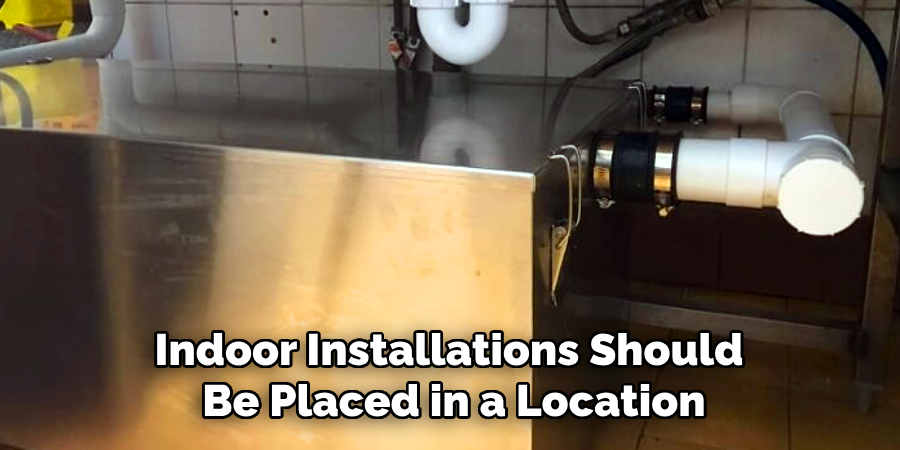
Once you’ve determined the appropriate size and type of grease trap, the next step is selecting a suitable installation site. Grease traps are typically installed either indoors, under the sink, or outdoors in the ground, depending on space and plumbing configuration. Indoor installations should be placed in a location where there is easy access for maintenance. Outdoor grease traps, on the other hand, must be located near the main wastewater line and positioned to allow proper drainage and easy access for cleaning and maintenance.
4. Shut Off Water Supply
Before starting the installation process, it is vital to shut off the water supply to the kitchen or facility. This prevents any accidental water flow during the installation, which could lead to flooding or damage. Ensure that both the water supply to sinks and dishwashers is turned off, as this will prevent wastewater from flowing while you are working on the plumbing system.
5. Disconnect Plumbing Connections
Next, you will need to disconnect the plumbing connections that lead to the existing drain or wastewater system. For indoor installations, you must disconnect the drain line from the sink or dishwasher. It is important to work carefully with the plumbing system to avoid damaging pipes, as this could lead to leaks or malfunctions. You may need to use a pipe wrench or similar tools to loosen any fasteners that hold the pipes in place.
6. Prepare the Grease Trap Installation Area
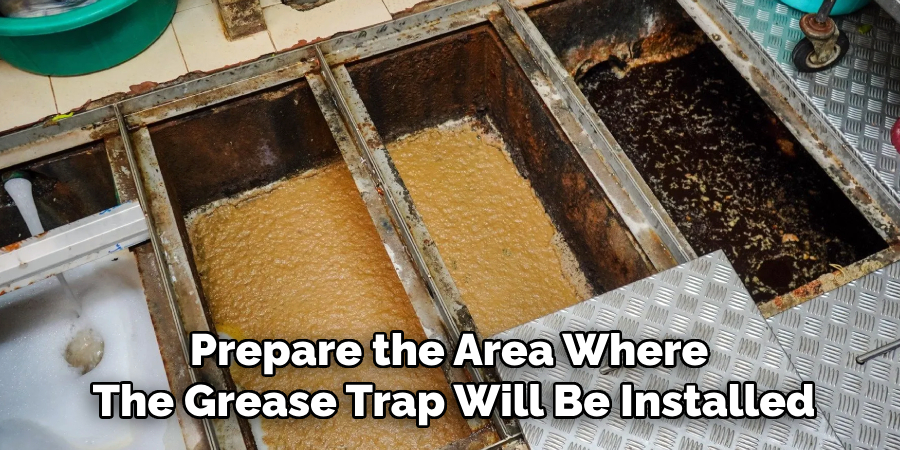
Once the plumbing connections are disconnected, prepare the area where the grease trap will be installed. If you’re installing an indoor grease trap, ensure that there is enough space beneath the sink or countertop to fit the trap securely. For outdoor installations, dig a hole that is large enough to accommodate the grease trap. The hole should be deep enough to ensure that the trap is positioned below the wastewater line but not too deep to avoid difficulties in future maintenance.
7. Install the Grease Trap
The next step is to install the grease trap itself. For indoor units, place the grease trap under the sink, aligning it with the drain and outlet connections. Secure the trap according to the manufacturer’s instructions. If you are installing an outdoor trap, carefully lower it into the hole you’ve prepared. The grease trap should be level to ensure proper drainage. In both cases, it is crucial to follow the manufacturer’s guidelines to ensure the trap is installed correctly and functions effectively.
8. Connect Plumbing to the Grease Trap
Once the grease trap is securely positioned, the next step is to connect the plumbing. First, attach the inlet pipe from the sink or dishwasher to the inlet of the grease trap. This pipe will carry wastewater into the trap. Next, connect the outlet pipe from the grease trap to the main sewage line, ensuring that wastewater can flow freely without obstruction. Make sure all connections are tight and properly sealed to avoid leaks. Use pipe joint compound or Teflon tape to ensure that the connections are secure.
9. Check for Proper Functionality
After all plumbing connections are made, check the system for any potential leaks. Turn on the water supply and run water through the system to test the grease trap’s functionality. Look for any signs of leaks at the connections and ensure that the water flows smoothly through the trap and into the sewage line. If you notice any leaks or blockages, address them before completing the installation. It may take some fine-tuning to ensure everything is working as expected.
10. Test the System and Perform Final Adjustments
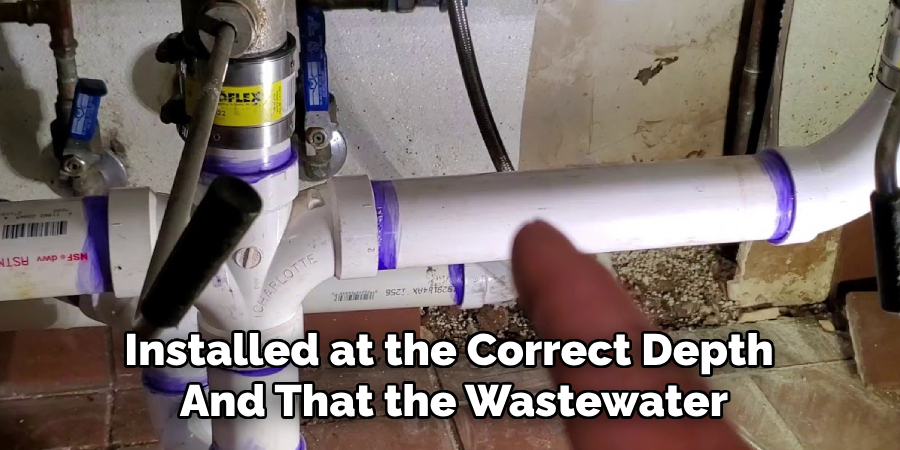
Once you’ve confirmed that the system is leak-free and functional, perform a final check of the installation. Ensure that the grease trap is installed at the correct depth and that the wastewater is properly flowing in and out of the trap. For outdoor installations, backfill the hole around the trap with soil and compact it to avoid shifting. For indoor installations, check that there is enough space for easy access during future maintenance. It is also essential to clean and maintain the grease trap regularly to keep it functioning effectively.
Things to Consider When Choosing a Grease Trap
Selecting the right grease trap for your needs involves several important considerations to ensure optimal performance and compliance with regulations. Below are key factors to keep in mind:
Capacity Requirements
Understanding your facility’s daily water usage and grease output is critical when choosing a grease trap. Undersized traps may lead to frequent clogs and maintenance issues, while oversized traps can be unnecessarily costly and take up excessive space.
Material and Durability
Grease traps are typically made from stainless steel, plastic, or concrete. Stainless steel units are durable and resistant to corrosion, making them ideal for high-use environments. Plastic options are more affordable but may have a shorter lifespan. Concrete grease traps are often used for large-scale operations but can be cumbersome to install and maintain.
Ease of Maintenance
Consider how often the grease trap will need to be cleaned and whether it allows for easy access. Some models have features like removable baffles or automatic cleaning systems to simplify maintenance processes. Ensuring that maintenance is manageable can reduce long-term costs and downtime.
Installation Space
Evaluate the available space in your kitchen or facility. Indoor grease traps need to fit snugly under sinks or in compact areas, whereas outdoor traps require excavation and planning to accommodate their larger size.
Budget
Factor in both the initial purchase price and long-term costs such as maintenance, repairs, and replacements. While cheaper options may save money upfront, they may not offer the durability or efficiency needed for larger or busier operations.
Balancing these factors will help you make an informed decision, ensuring that your grease trap meets the specific demands of your operation while complying with local regulations.
Conclusion
Installing a grease trap is a straightforward process if done with proper planning and attention to detail. By selecting the right size trap, ensuring compliance with local regulations, and following the steps outlined above, you can ensure that your grease trap will work efficiently to protect your plumbing system and prevent environmental contamination. Thanks for reading, and we hope this has given you some inspiration on how to install grease trap!
About the Author
Adrian Green is a passionate woodworking enthusiast who has dedicated his life to the craft of woodworking. From his early days working alongside his father in the family woodworking shop, Adrian has honed his skills and developed a deep love for creating beautiful, functional pieces with his hands. As the voice behind The Woodenify Blog, he shares his knowledge, tips, and inspiration with fellow woodworkers of all skill levels, helping them build confidence in their abilities while learning new techniques.
Professional Focus
- Specializes in DIY woodworking projects, from furniture making to home décor.
- Provides step-by-step guides, tips, and practical tutorials for woodworkers at any skill level.
- Focused on empowering readers with confidence and knowledge through easy-to-follow instructions and hands-on techniques.
- Passionate about building a community where makers can share, learn, and grow together in the world of woodworking.
Education History
University of Craft and Design – Bachelor of Fine Arts (BFA) in Woodworking and Furniture Design
Woodworking Apprenticeships – Gained extensive hands-on experience through various workshops and mentorships with seasoned craftsmen, refining carpentry and furniture-making skills.
Expertise
- DIY woodworking, carpentry, furniture making, and home décor projects.
- Creating clear, accessible tutorials and guides for beginner to advanced woodworkers.
- Helping readers experience the satisfaction and fulfillment of turning raw materials into stunning finished products.