
Protecting your outdoor faucets during cold weather is crucial to prevent freezing and potential damage. A faucet cover is a simple, cost-effective solution that insulates your faucets and helps safeguard your plumbing system.
This guide on how to install faucet cover will walk you through the steps to properly install a faucet cover, ensuring your home stays protected throughout the winter months.
Why Install a Faucet Cover?
Before we dive into the installation process, let’s take a moment to understand why it is important to install a faucet cover in the first place.
During colder months, water can freeze inside your outdoor faucets and cause them to burst, leading to costly repairs. Additionally, freezing pipes can also disrupt your water supply and cause inconvenience. By installing a faucet cover, you are providing insulation that helps prevent freezing and protects your plumbing system from potential damage.
Materials Needed
To install a faucet cover, you will need:
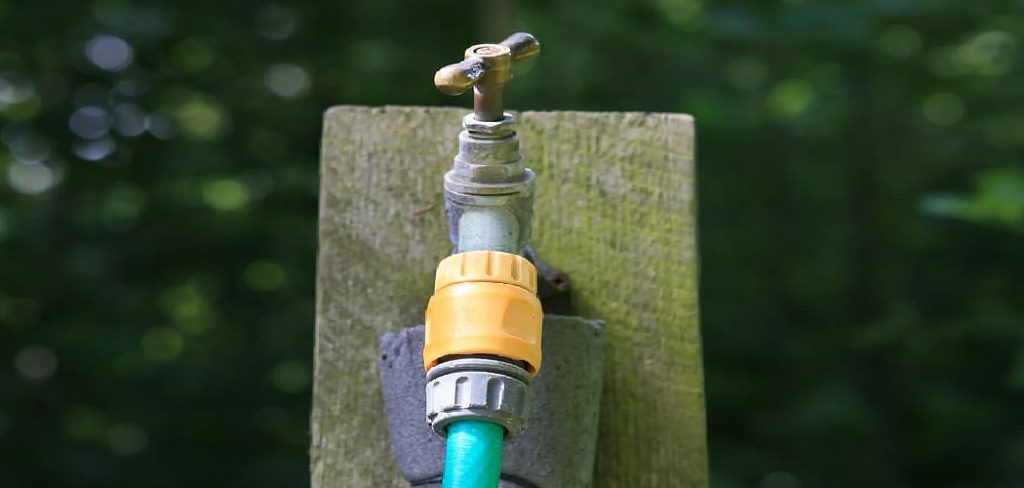
A Faucet Cover:
There are a variety of faucet covers available on the market, ranging from simple foam covers to more durable hard plastic covers. Depending on your specific needs and climate, you can choose the cover that best suits you.
Scissors:
Trim the faucet cover to fit your specific faucet size.
Waterproof Tape:
To secure the cover in place and prevent any moisture from seeping in.
A Towel:
To dry off your faucet before installing the cover.
10 Step-by-step Guidelines on How to Install Faucet Cover
Step 1: Turn Off the Water Supply
Before beginning the installation process, ensure that the water supply to the faucet is turned off. This step helps prevent any water leakage during the installation and protects the faucet from further exposure to moisture. Locate the shut-off valve connected to the faucet and turn it clockwise until it is fully closed.
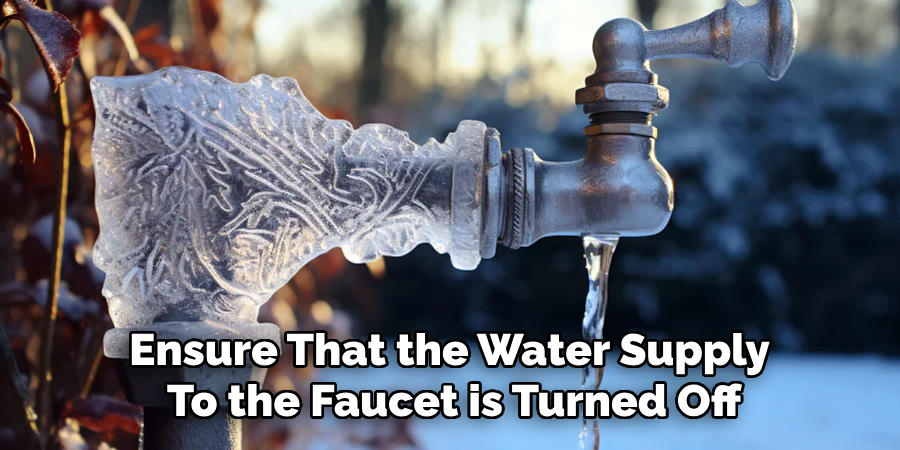
The shut-off valve is usually located under the sink, but if it cannot be found, turn off the main water supply to your house. Make sure to test whether the water has been successfully turned off by opening the faucet to check for any remaining water.
Step 2: Remove Any Excess Water
After ensuring the water supply is completely turned off, the next step is to remove any excess water from the faucet and connected pipes. Place a bucket or container underneath the faucet to catch any residual water. Then, turn on the faucet to drain out any remaining water in the system.
If needed, use a sponge or towel to absorb any lingering moisture around the faucet area. Taking this step will make the installation process cleaner and more manageable.
Step 3: Prepare the Installation Area
Before proceeding with the installation, take time to prepare the area thoroughly. Begin by cleaning the surface around the faucet opening to remove any debris, old caulking, or buildup that might interfere with the new fixture. Use a suitable cleaning solution and a cloth or scrub pad to ensure a clean and smooth surface.
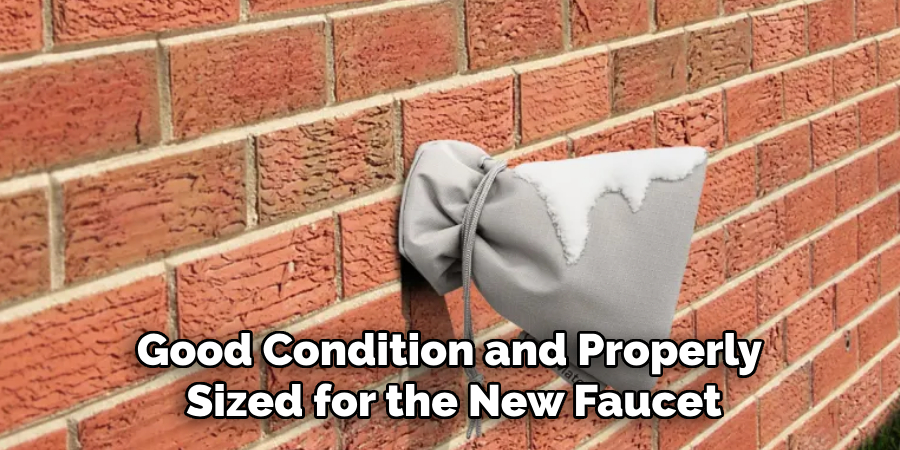
Next, inspect the mounting hole to confirm it’s in good condition and properly sized for the new faucet. If necessary, use a file or sandpaper to correct any imperfections or irregularities. This preparation step ensures a secure and leak-free installation, providing a solid foundation for the fixture.
Step 4: Install the New Faucet
Place the new faucet into the mounting hole, ensuring it is properly aligned with the sink. Secure the faucet base by tightening the mounting hardware underneath the sink, following the manufacturer’s instructions. For a snug and stable fit, use a wrench or pliers, but avoid overtightening to prevent damage to the components.
Once the faucet is secured, connect the water supply lines to the corresponding hot and cold inlets on the faucet, using an adjustable wrench to tighten the connections. Make sure the connections are secure, but do not overtighten, as this could cause leaks or damage. Double-check that all pieces are in place before moving on to testing the installation.
Step 5: Test the Faucet
Before using your newly installed faucet, it is important to test it for any leaks or malfunctions. To do this, turn on the water supply and run both hot and cold water through the faucet. Check for any drips or leaks around the base of the faucet, as well as from the handles and spout. If you notice any issues, make sure all connections are tight and secure before trying again.
If everything looks good, fill up a bucket or container with water and place it under the spout. Turn on both hot and cold water to full blast and let it run for a few minutes. This will help flush out any debris or sediment that may have built up in the pipes.
Step 6: Check the Drainage
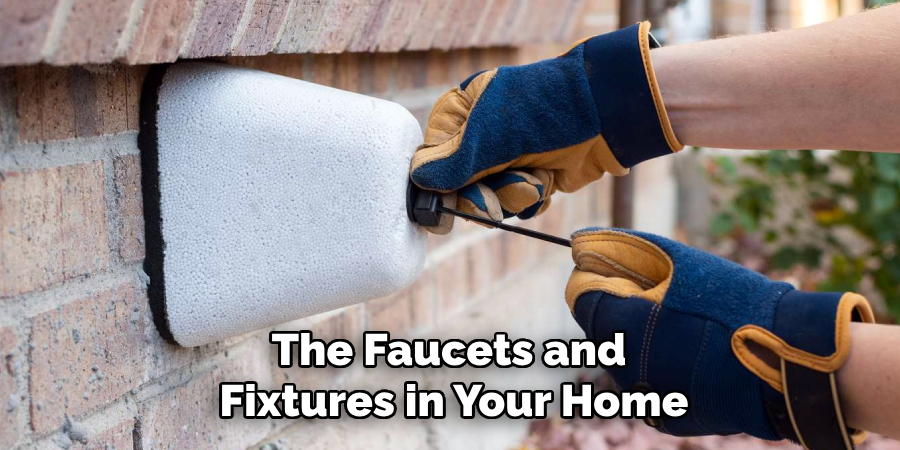
Once you have checked all the faucets and fixtures in your home, it’s important to test the drainage system as well. This includes sinks, showers, and toilets. Start by filling up each sink and bathtub with water and then draining it to see if there are any clogs or slow drainage issues. If you notice any problems, try using a plunger or a plumbing snake to clear the blockage. For toilets, you can also try flushing several times to make sure there are no issues with the flapper or valves.
Step 7: Check for Leaks
After testing all the faucets and drains, it’s important to check for any leaks in your plumbing system. Look for signs of water damage such as damp walls or floors, musty smells, and mold growth. You should also inspect visible pipes for any cracks or leaks.
If you do find a leak, it’s important to address and fix it as soon as possible to prevent further damage.
Step 8: Monitor Water Pressure
Another important aspect of plumbing maintenance is monitoring the water pressure in your home. High water pressure can cause stress on your pipes and fixtures, leading to leaks or burst pipes.
You can purchase a water pressure gauge from a hardware store and attach it to an outdoor faucet to check the pressure. If it’s too high, you may need to install a pressure regulator.
Step 9: Insulate Exposed Pipes
During the colder months, it’s essential to insulate any exposed pipes to prevent them from freezing and potentially bursting. You can use foam pipe insulation or wrap them with heat tape. It’s also important to disconnect any garden hoses and drain the remaining water.
If you have a vacation home or are planning on being away for an extended period, it’s recommended to shut off the main water supply and drain the pipes to prevent any potential damage from frozen pipes.
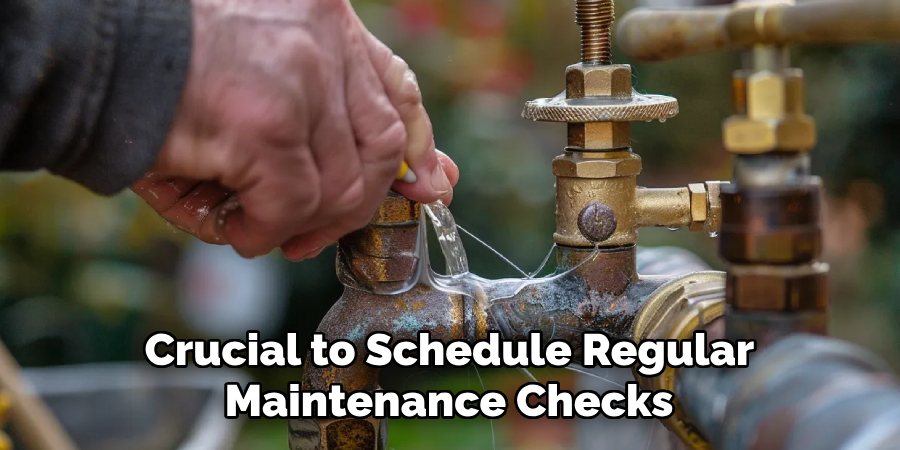
Step 10: Schedule Regular Maintenance Checks
To avoid major plumbing issues, it’s crucial to schedule regular maintenance checks with a professional plumber at least once a year. They can catch any small problems before they turn into costly repairs. Additionally, they can ensure that your plumbing system is working efficiently and make any necessary adjustments.
Following these maintenance guides on how to install faucet cover, make sure to keep a record of any repairs or replacements that were made. This will come in handy for future reference and may even be required by your homeowner’s insurance. During the winter months, it’s important to install an outdoor faucet cover to protect your pipes from freezing and potential damage.
Additional Tips for Installing a Faucet
- Always read and follow the manufacturer’s instructions carefully to ensure proper installation.
- Before beginning the installation, make sure you have all the necessary tools and materials on hand.
- If your faucet requires any additional pieces or adapters, be sure to purchase them before starting the installation.
- Turn off the water supply to the old faucet before removing it.
- Use a basin wrench or adjustable pliers to loosen and remove the old faucet from underneath the sink.
- Clean the surface of the sink where the new faucet will be installed, removing any debris or residue.
- Apply plumber’s tape to all threaded connections for a secure seal.
- If your new faucet has multiple pieces, assemble them according to the manufacturer’s instructions before attaching them to the sink.
- Follow proper tightening techniques to ensure that all connections are secure without being over-tightened.
- Once your new faucet is installed, turn on the water supply and check for any leaks.
- If there are any leaks, tighten the connections as needed or consider calling a professional for assistance.
Frequently Asked Questions
Q: How Do I Know if My New Faucet Is Compatible With My Sink?
A: Before purchasing a new faucet, make sure to check the compatibility with your sink’s current setup. You can usually find this information in the product description or by contacting the manufacturer. It’s important to also measure the sinkholes and spacing to ensure a proper fit.
Q: Can I Install a New Faucet Myself?
A: Installing a new faucet can be a DIY project for those with some experience in plumbing. However, if you are unsure or uncomfortable with installing it yourself, it is always recommended to hire a professional plumber for the job.
Q: How Often Should I Replace My Faucet?
A: The lifespan of a faucet can vary depending on usage and quality. On average, faucets should be replaced every 10-15 years. Signs that it may be time to replace your faucet include frequent leaks, rust or corrosion, and difficulty turning the handles.
Conclusion
Maintaining and replacing faucets is an essential part of ensuring the functionality and efficiency of your plumbing system. By paying attention to signs of wear and addressing issues promptly, you can avoid bigger problems down the line.
Whether you choose to tackle a faucet replacement as a DIY project or hire a professional, keeping your fixtures in good condition will save you time, money, and effort in the long run. Regular upkeep and timely replacements are key to a well-functioning and reliable home plumbing system. Thanks for reading this article on how to install faucet cover.
About the Author
Adrian Green is a passionate woodworking enthusiast who has dedicated his life to the craft of woodworking. From his early days working alongside his father in the family woodworking shop, Adrian has honed his skills and developed a deep love for creating beautiful, functional pieces with his hands. As the voice behind The Woodenify Blog, he shares his knowledge, tips, and inspiration with fellow woodworkers of all skill levels, helping them build confidence in their abilities while learning new techniques.
Professional Focus
- Specializes in DIY woodworking projects, from furniture making to home décor.
- Provides step-by-step guides, tips, and practical tutorials for woodworkers at any skill level.
- Focused on empowering readers with confidence and knowledge through easy-to-follow instructions and hands-on techniques.
- Passionate about building a community where makers can share, learn, and grow together in the world of woodworking.
Education History
University of Craft and Design – Bachelor of Fine Arts (BFA) in Woodworking and Furniture Design
Woodworking Apprenticeships – Gained extensive hands-on experience through various workshops and mentorships with seasoned craftsmen, refining carpentry and furniture-making skills.
Expertise
- DIY woodworking, carpentry, furniture making, and home décor projects.
- Creating clear, accessible tutorials and guides for beginner to advanced woodworkers.
- Helping readers experience the satisfaction and fulfillment of turning raw materials into stunning finished products.