
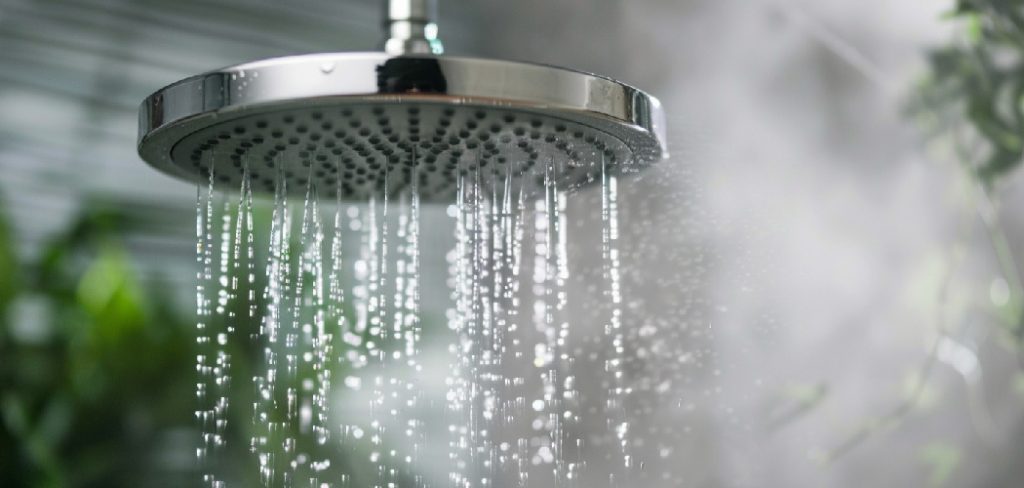
Installing dual shower heads can significantly enhance your showering experience, providing improved functionality and comfort. Whether you want to enjoy the luxury of multiple spray settings or accommodate diverse household needs, dual shower heads are a versatile solution. This guide will walk you through the process step by step of process how to install dual shower heads, ensuring a smooth installation and a professional finish.
Types of Double Head Shower Ideas
There are several types of dual shower head setups available, allowing you to choose one that best suits your preferences and needs. The most common types include:
- Fixed and Handheld Combination
This setup features a fixed shower head mounted to the wall and a handheld shower head attached to a flexible hose. It provides versatility for different uses, such as rinsing hard-to-reach areas or assisting with bathing children or pets.
- Two Fixed Shower Heads
With this configuration, two fixed shower heads are mounted on the wall, often positioned side by side or at different angles to provide a wider coverage area. This setup is ideal for those who enjoy enveloping water flow from multiple directions.
- Rainfall and Standard Head Combo
This setup combines a luxurious, ceiling-mounted rainfall shower head with a more traditional wall-mounted shower head. It offers the best of both worlds, delivering a soothing rain-like experience while retaining the practicality of a standard head.
10 Methods How to Install Dual Shower Heads
1. Choosing the Right Dual Shower Head System
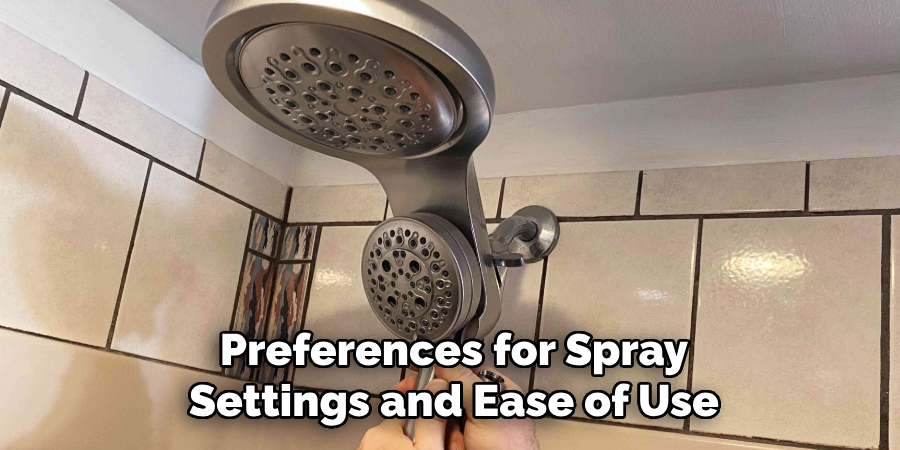
Before beginning the installation, it is essential to select the right dual shower head system that suits your needs. There are three main types of dual shower heads: a fixed showerhead with a handheld attachment, two fixed showerheads, or a rain shower with a secondary handheld unit. Consider water pressure, mounting style, and additional features like massage settings or anti-clog nozzles. Ensure that the system is compatible with your existing plumbing and meets your preferences for spray settings and ease of use.
2. Gathering the Necessary Tools and Materials
To ensure a smooth installation process, gather all the required tools and materials in advance. Basic tools include an adjustable wrench, Teflon tape (plumber’s tape), a screwdriver, and pliers. Depending on the installation type, you may also need a drill, pipe wrench, or additional shower arm extensions. Having everything ready beforehand prevents unnecessary interruptions during installation. Additionally, check that your shower plumbing has the necessary fittings to accommodate the dual shower head system.
3. Turning Off the Water Supply
Before removing the existing shower head, it is important to turn off the water supply to avoid leaks or accidental water spray. In most cases, you can shut off the water at the main valve or simply turn off the shower control. If your home has an individual shut-off valve for the bathroom, use it to isolate the water flow. This step prevents water from gushing out unexpectedly and allows you to work comfortably during installation.
4. Removing the Existing Shower Head
Once the water supply is off, remove the old shower head by gripping the base with an adjustable wrench and turning it counterclockwise. If the fixture is tightly secured, wrap a cloth around the connector to protect the finish while loosening it with pliers. Once removed, clean the shower arm threads with a damp cloth to remove any mineral deposits or old Teflon tape. Ensuring a clean connection will help prevent leaks when installing the new dual shower head system.
5. Installing a Diverter Valve for Dual Shower Heads
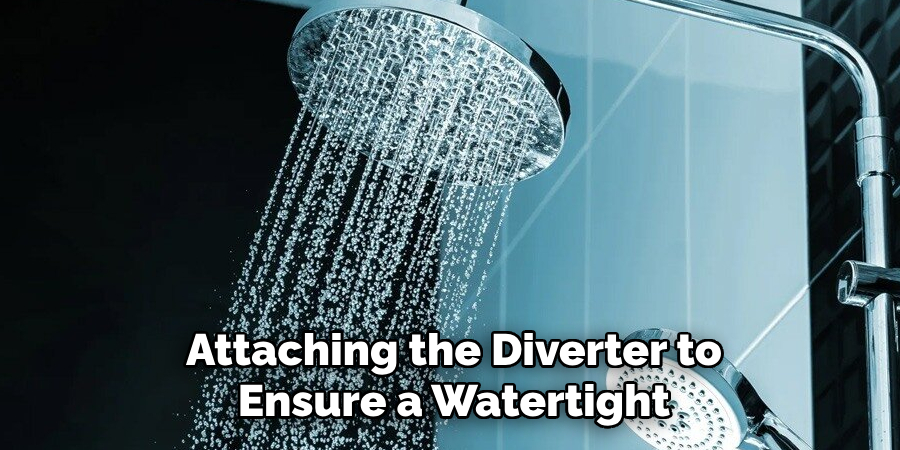
A diverter valve is necessary for most double head shower ideas installations, as it allows you to switch between or use both showerheads simultaneously. There are three-way diverters that direct water to one or both heads, and built-in diverters that come with certain shower fixtures. To install, screw the diverter onto the shower arm where the old showerhead was removed. Apply Teflon tape to the threads before attaching the diverter to ensure a watertight seal. Tighten it with a wrench but avoid overtightening, as this could damage the threads.
6. Attaching the Fixed Shower Head
Once the diverter valve is installed, attach the fixed showerhead to the main outlet. Wrap the shower arm threads with Teflon tape and screw the fixed head onto the diverter outlet, turning it clockwise. Hand-tighten first, then use a wrench to secure it without over-tightening. Ensure the showerhead is positioned correctly for optimal spray coverage. If using a rainfall showerhead, an extension arm may be required to adjust the height and angle for proper water flow.
7. Connecting the Handheld Shower Head
For dual shower head systems that include a handheld unit, attach the flexible hose to the diverter’s designated outlet. Apply Teflon tape to the threads before screwing the hose connector in place. Once secured, attach the handheld showerhead to the other end of the hose. Most handheld units come with a wall-mounted or sliding bracket for storage. If needed, drill holes and use anchors to install the bracket at a convenient height. This setup provides flexibility for rinsing and targeted water flow.
8. Testing for Leaks and Adjusting Water Flow
After both showerheads are securely installed, turn the water supply back on and test for leaks. Check all connections at the diverter valve, fixed showerhead, and handheld hose. If water drips from any joint, turn off the water and apply additional Teflon tape before reattaching the components. Test the water pressure by switching between the two showerheads using the diverter control. Adjust any angles or tighten connections as needed to ensure even water distribution and optimal performance.
9. Enhancing Water Pressure and Efficiency
If you notice weak water pressure after installation, consider removing the flow restrictor from the showerheads. Most new showerheads include flow restrictors to conserve water, but in some cases, these can significantly reduce pressure. If local regulations allow, carefully remove the restrictor using needle-nose pliers. Additionally, check that the diverter valve is fully open and free from obstructions. Cleaning any debris from the shower pipes and aerators can further improve water flow efficiency.
10. Maintaining and Cleaning the Dual Shower Head System
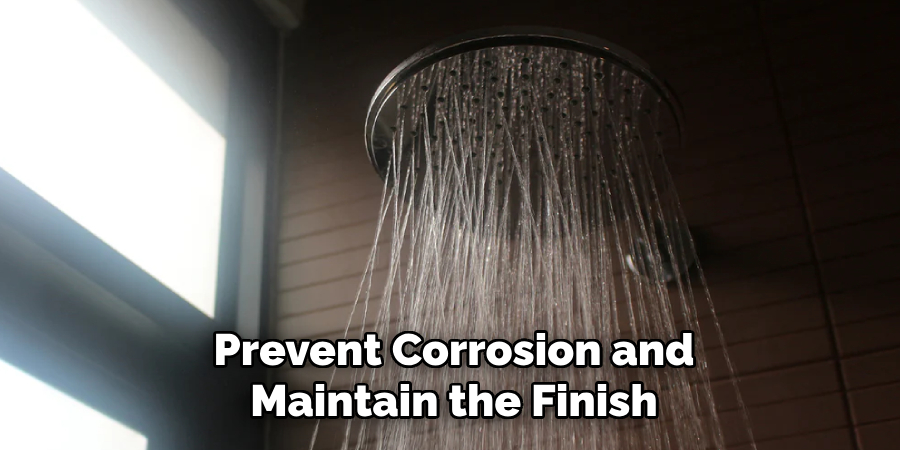
To ensure long-term functionality, regular maintenance of your dual shower head system is essential. Hard water deposits can clog nozzles and reduce water pressure over time. Clean the showerheads monthly by soaking them in a vinegar solution to dissolve mineral buildup. If using a handheld unit, periodically check the hose for leaks or kinks. Wipe down all metal components with a soft cloth to prevent corrosion and maintain the finish. Proper maintenance will extend the lifespan of your dual shower head system and keep it performing at its best.
Things to Consider When Choosing a Dual Shower Head System
When selecting a dual shower head system, there are several factors to keep in mind to ensure it suits your needs and complements your bathroom setup. First, consider the water pressure in your home, as some systems perform better with higher water pressure. Look for models designed to optimize flow if your water pressure is lower.
Next, evaluate the available space in your shower area. Dual shower heads often require adequate room for a fixed head and a handheld unit, along with any additional brackets or extensions. Ensure the system fits comfortably without overcrowding the shower space.
Additionally, consider the material and finish of the shower heads. Opt for durable materials like stainless steel or high-quality plastic to ensure long-lasting performance. Matching the finish to your bathroom’s existing fixtures will also contribute to a cohesive aesthetic.
Common Mistakes to Avoid
Installing a dual shower head system can be straightforward, but there are common mistakes to watch out for that may negatively impact the performance or longevity of your setup:
Skipping Teflon Tape Application
A secure, leak-free connection is crucial for any shower head installation. Failing to apply Teflon tape to the threads before connecting components can lead to leaks and reduce water efficiency. Always wrap the threads tightly with Teflon tape to ensure a watertight seal.
Overtightening Connections
While it’s important to have a firm connection, overtightening components like the diverter valve or showerheads can damage the threads or crack the fittings. Use a wrench carefully and only tighten until the connection feels snug.
Neglecting to Clean the Threads
Installing new components without cleaning the old Teflon tape or mineral deposits from the threads can result in poor connections and water leaks. Take the time to clean the threads thoroughly with a damp cloth before attaching any new parts.
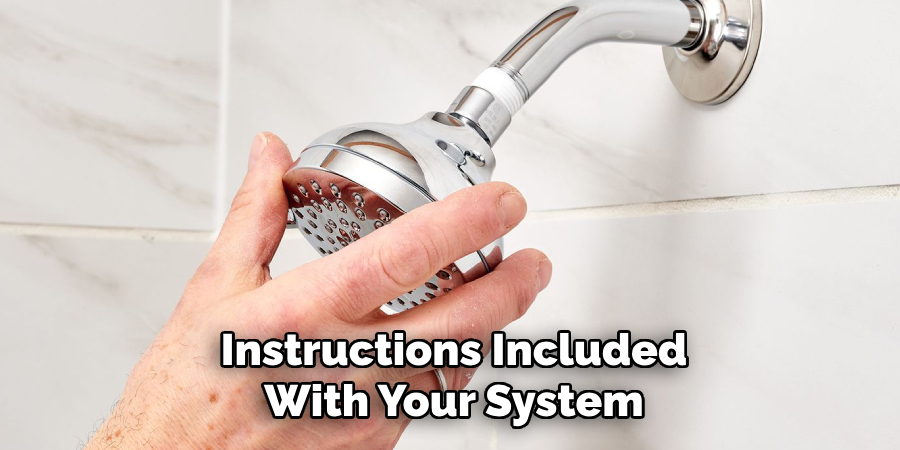
Installing Components in the Wrong Order
Proper installation requires following the correct sequence, especially when attaching the diverter valve, fixed showerhead, and handheld showerhead. Refer to the instructions included with your system to avoid confusion and ensure everything is placed in the right order.
Conclusion
Installing dual shower heads is a straightforward yet rewarding project that enhances your shower experience with improved coverage and flexibility. Proper installation ensures that your dual shower head system functions efficiently, providing both comfort and convenience for years to come. Whether upgrading your bathroom for personal relaxation or accommodating multiple users, a well-installed dual shower head system is a valuable addition to any home. So, there you have it – a quick and easy guide on how to install dual shower heads.
About the Author
Adrian Green is a passionate woodworking enthusiast who has dedicated his life to the craft of woodworking. From his early days working alongside his father in the family woodworking shop, Adrian has honed his skills and developed a deep love for creating beautiful, functional pieces with his hands. As the voice behind The Woodenify Blog, he shares his knowledge, tips, and inspiration with fellow woodworkers of all skill levels, helping them build confidence in their abilities while learning new techniques.
Professional Focus
- Specializes in DIY woodworking projects, from furniture making to home décor.
- Provides step-by-step guides, tips, and practical tutorials for woodworkers at any skill level.
- Focused on empowering readers with confidence and knowledge through easy-to-follow instructions and hands-on techniques.
- Passionate about building a community where makers can share, learn, and grow together in the world of woodworking.
Education History
University of Craft and Design – Bachelor of Fine Arts (BFA) in Woodworking and Furniture Design
Woodworking Apprenticeships – Gained extensive hands-on experience through various workshops and mentorships with seasoned craftsmen, refining carpentry and furniture-making skills.
Expertise
- DIY woodworking, carpentry, furniture making, and home décor projects.
- Creating clear, accessible tutorials and guides for beginner to advanced woodworkers.
- Helping readers experience the satisfaction and fulfillment of turning raw materials into stunning finished products.