
Are you tired of dealing with a soggy yard every time it rains? Don’t worry. Installing a dry well drainage system can help solve your drainage problems and keep your yard dry. Here’s how to install a dry well drainage system on your property.
How to install dry well drainage system is an effective way to manage excess water in your yard or property. This system helps prevent flooding, soil erosion, and damage to your foundation by safely redirecting runoff water into the ground. By creating an underground reservoir, the dry well allows water to seep back into the soil slowly.
The installation process is straightforward but requires proper planning, materials, and careful execution to ensure optimal performance and long-term functionality.
What are the Benefits of Installing a Dry Well Drainage System?
Before we dive into the installation process, let’s first understand the benefits of installing a dry well drainage system. Some of the advantages include:
- Improved Yard Drainage: A dry well helps to alleviate excess water in your yard, reducing the risk of standing water and creating an unsightly mess.
- Reduced Soil Erosion: By redirecting runoff water underground, a dry well prevents soil from being washed away, keeping your landscape intact.
- Protection Against Foundation Damage: Excess water can cause significant damage to your property’s foundation if left unchecked. A dry well helps to prevent this by managing water flow and preventing saturation around your home.
- Environmentally Friendly Solution: A dry well drainage system is a sustainable solution that helps to conserve water by allowing it to seep back into the ground instead of being wasted or causing harm.
What Will You Need?
Before you begin installing your dry well drainage system, make sure you have all the necessary materials and tools on hand. These include:
- Dry Well Kit: You can purchase a pre-made dry well kit from most hardware stores or online retailers. This contains all the necessary components for installation, including a basin, lid, and pipe fittings.
- Perforated Pipe: This type of pipe has small holes, allowing water to enter and exit freely.
- Gravel: Gravel will be used to fill the bottom of the dry well and provide drainage.
- Landscaping Fabric: This will help prevent sediment from clogging your system and ensure optimal performance.
- Shovel or Post-Hole Digger: You’ll need a tool to dig the hole for your dry well, so make sure you have either a shovel or a post-hole digger.
- Level: A level will help ensure that your dry well is installed evenly and at the correct angle for water flow.
You can begin the installation process once you have all the necessary materials and tools. Let’s take a look at the steps involved in installing a dry well drainage system.
8 Easy Steps on How to Install Dry Well Drainage
Step 1: Choose the Location
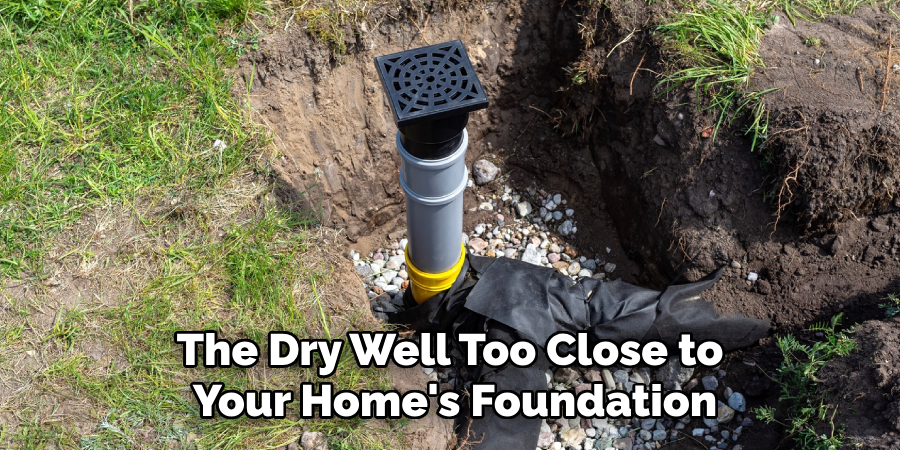
Selecting the right location for your dry well is critical to ensuring its effectiveness. Begin by identifying areas in your yard or property where water accumulates or pools during heavy rainfall. Typically, this would be at a low point in your landscape where runoff naturally flows. Avoid placing the dry well too close to your home’s foundation, which could lead to water infiltration and potential structural damage over time. Instead, aim for a distance of at least 10 to 15 feet from your house or any other structures.
Additionally, ensure that the location allows for proper drainage and isn’t too close to septic systems, underground utilities, or other sensitive areas. Once you’ve pinpointed an appropriate spot, you can proceed with marking the area for excavation.
Step 2: Calculate the Size and Capacity
Before digging, it’s essential to determine your dry well’s appropriate size and capacity. The volume of water your dry well needs to handle depends on the typical runoff in your area, the size of the drainage area, and the soil’s absorption rate. Start by assessing the square footage of the surface contributing to the runoff, such as roof areas or paved surfaces. Then, estimate the average rainfall in your region to calculate the potential water flow.
For an efficient system, the dry well should be large enough to hold runoff from a major storm, usually measured in gallons of water. You may also need to perform a percolation test to evaluate how well the soil absorbs water. This will help determine if additional drainage components, like gravel or perforated pipe, are necessary.
Step 3: Excavate the Area

After determining the size and capacity of your dry well, the next step is to excavate the designated area. Start by marking the outline of the dry well using stakes or spray paint to guide your digging. Use a shovel or rent equipment like a mini-excavator for larger projects to dig a hole that matches the dimensions you calculated earlier. Make sure to dig slightly deeper to allow space for layers of gravel or other drainage materials at the bottom of the well. Throughout the process, keep safety in mind by wearing protective gear and being cautious of underground utilities. Inspect the excavated area to ensure it’s level and free from large debris before proceeding to the next steps.
Step 4: Add a Base Layer of Gravel
Once the excavation is complete, it’s time to prepare the bottom of the dry well by adding a base layer of gravel. Spread a uniform layer of coarse gravel, typically 6-12 inches deep, at the bottom of the hole. This layer helps improve drainage by allowing water to disperse evenly and prevents sediment from clogging the system. Use a rake to level the gravel and ensure it is evenly distributed across the surface. Compact the gravel slightly to create a stable foundation for the next components of your dry well.
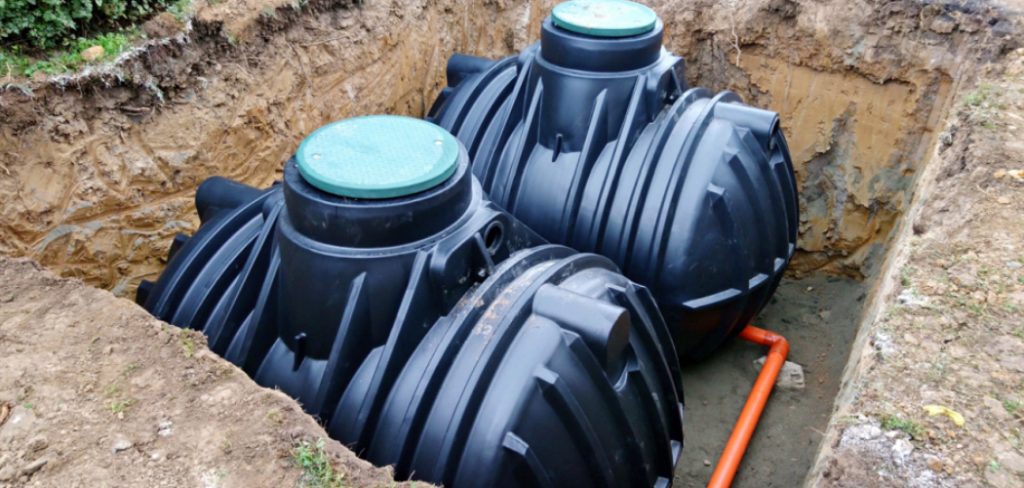
Step 5: Place the Dry Well Structure
After preparing the gravel base, carefully position the dry, healthy structure into the excavated hole. The dry well can be a prefabricated container designed for this purpose or a durable structure made from suitable materials. Ensure the structure is centered and sits level on the gravel base. Check that the top of the dry well is slightly below the surface grade to allow for proper coverage later. If necessary, make minor adjustments to the gravel base to maintain stability and alignment before proceeding to the next steps.
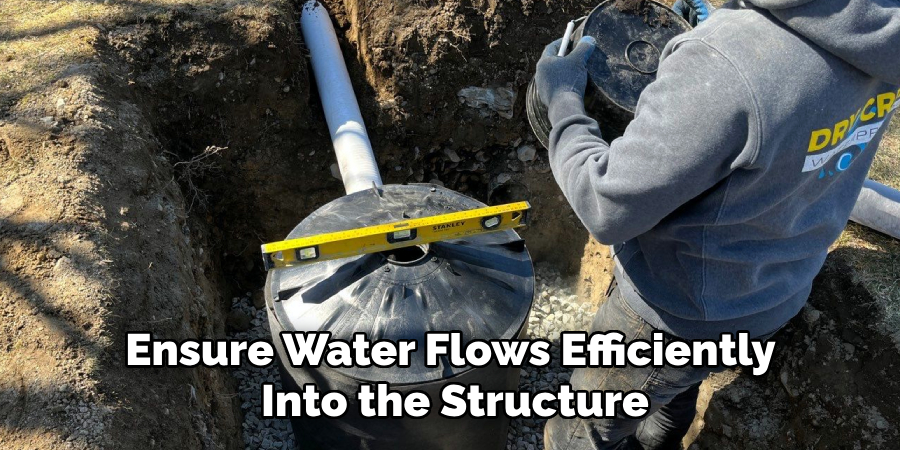
Step 6: Connect the Drainage Pipe
Once the dry well structure is securely in place, connect the drainage pipe to the inlet of the dry well. The drainage pipe should be adequately sloped to ensure water flows efficiently into the structure. Use a flexible coupling or a similar connector to create a secure and watertight seal between the pipe and the dry well inlet. Double-check the alignment and slope of the pipe to confirm that water will travel unimpeded. Cut the pipe to the appropriate length and secure it with clamps or adhesive designed for plumbing applications if needed. Once connected, test the system with a small amount of water to ensure proper flow before proceeding.
Step 7: Backfill Around the Dry Well
After ensuring the drainage pipe is securely connected and functioning as intended, backfill the area around the dry well. Use clean gravel or crushed stone to fill the space surrounding the dry well structure. This material helps to promote drainage and prevent soil from clogging the system. Gradually layer the gravel, compacting it lightly to maintain stability. Continue filling until the gravel reaches the top of the dry well. Once the gravel is in place, cover it with a layer of landscaping fabric to prevent soil intrusion while allowing water to flow through. Finish by backfilling the remaining area with soil and grading the surface to match the surrounding terrain.
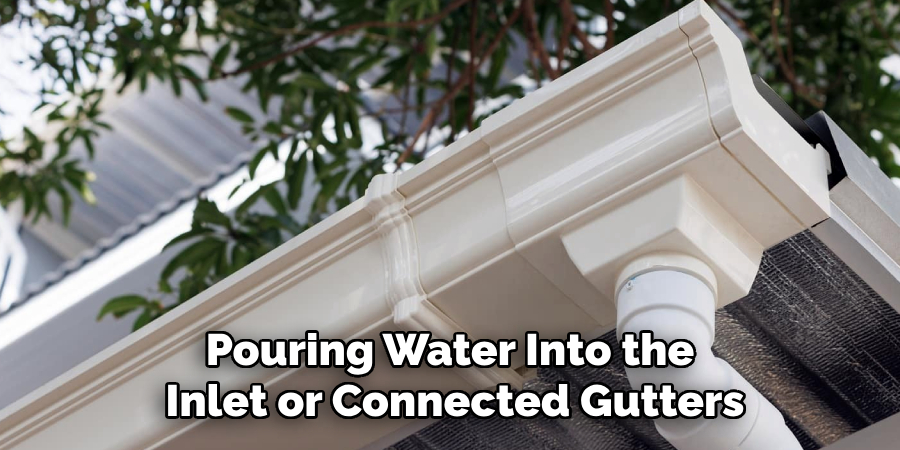
Step 8: Finalize and Test the System
After completing the backfill, inspect the entire area to ensure it’s appropriately leveled and debris-free. If the area has been disturbed, consider reseeding grass or adding landscaping to restore its appearance. Once the surface work is complete, perform a final test of the drainage system by pouring water into the inlet or connected gutters. Observe the water flow to confirm it moves freely through the pipe and into the dry well without any leaks or blockages. If any issues arise, address them promptly to ensure the system operates effectively.
By following these steps and properly installing a dry well, you can effectively manage excess water and prevent potential damage to your property.
5 Things You Should Avoid
- Skipping Site Assessment: Avoid installing a dry well without properly assessing the site. Factors such as soil type, groundwater level, and the slope of the land are crucial for ensuring the dry well functions efficiently and doesn’t cause further drainage issues.
- Ignoring Local Regulations: Never neglect local building codes or regulations when installing a dry well. These rules can dictate where and how a dry well can be installed, and failing to comply may result in fines or needing to redo the project.
- Using Improper Materials: Avoid using low-quality or unsuitable materials for the dry well, such as non-porous rocks or incorrect fabrics. These can clog the system or prevent proper water absorption, diminishing its effectiveness.
- Incorrectly Measuring Water Volume: Underestimating the volume of water the dry well needs to handle is a common mistake. This can lead to overflow issues, defeating the purpose of installing the drainage system in the first place.
- Poor Maintenance Planning: Neglecting to include a maintenance plan will lead to long-term performance issues. Over time, sediment and debris can clog the dry well, reducing its efficiency. Regular inspections and clean-ups are vital for optimal functionality.
Conclusion
How to install dry well drainage diy requires careful planning, proper materials, and adherence to local regulations.
By ensuring correct placement, accurately measuring water volume, and using suitable materials, you can create a compelling and durable solution for managing excess water. Additionally, incorporating regular maintenance into your plan is essential for long-term efficiency.
By avoiding common mistakes and following best practices, you can successfully install a dry well that prevents water pooling and protects your property from potential damage.
About the Author
Adrian Green is a passionate woodworking enthusiast who has dedicated his life to the craft of woodworking. From his early days working alongside his father in the family woodworking shop, Adrian has honed his skills and developed a deep love for creating beautiful, functional pieces with his hands. As the voice behind The Woodenify Blog, he shares his knowledge, tips, and inspiration with fellow woodworkers of all skill levels, helping them build confidence in their abilities while learning new techniques.
Professional Focus
- Specializes in DIY woodworking projects, from furniture making to home décor.
- Provides step-by-step guides, tips, and practical tutorials for woodworkers at any skill level.
- Focused on empowering readers with confidence and knowledge through easy-to-follow instructions and hands-on techniques.
- Passionate about building a community where makers can share, learn, and grow together in the world of woodworking.
Education History
University of Craft and Design – Bachelor of Fine Arts (BFA) in Woodworking and Furniture Design
Woodworking Apprenticeships – Gained extensive hands-on experience through various workshops and mentorships with seasoned craftsmen, refining carpentry and furniture-making skills.
Expertise
- DIY woodworking, carpentry, furniture making, and home décor projects.
- Creating clear, accessible tutorials and guides for beginner to advanced woodworkers.
- Helping readers experience the satisfaction and fulfillment of turning raw materials into stunning finished products.