
Installing a freestanding tub can transform your bathroom into a luxurious and relaxing space. Whether you are completing a bathroom renovation or simply upgrading your fixtures, a freestanding tub adds elegance and sophistication. While the process may seem daunting, with the right tools and a step-by-step approach, it can be straightforward and rewarding.
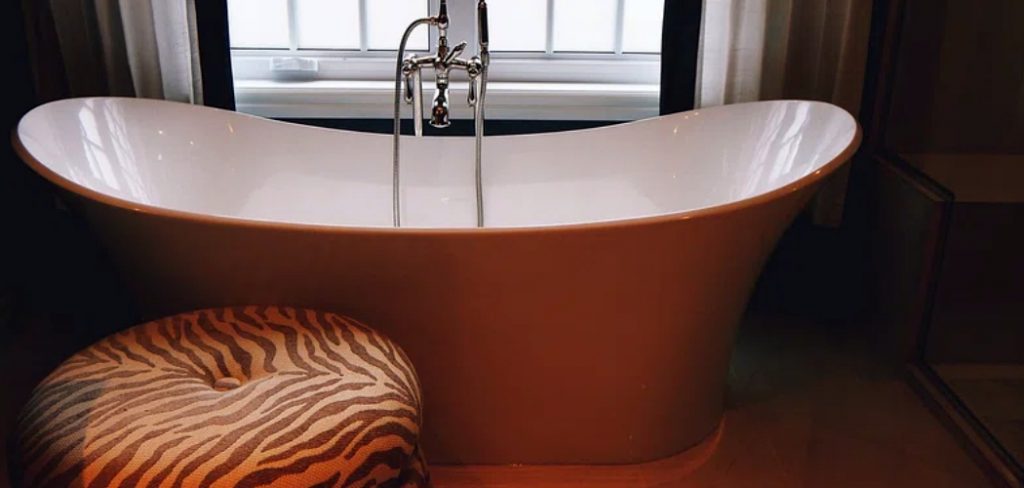
This guide on how to install a freestanding tub will walk you through everything you need to know to successfully install a freestanding tub and create the perfect centerpiece for your bathroom.
Tools and Materials Needed
Measuring Tape:
Before you begin the installation process, it’s essential to have a measuring tape on hand. This will help you determine the size and positioning of your tub in relation to other fixtures and walls in your bathroom.
Level:
A level is crucial for ensuring that your freestanding tub is installed evenly and does not tilt or wobble.
Wrenches:
You will need adjustable wrenches to tighten and secure plumbing connections.
Silicone Caulk:
Silicone caulk is used to create a watertight seal around the edges of the tub once it is installed.
Plumber’s Putty (Optional):
Plumber’s putty can be used as an alternative to silicone caulk for sealing the tub. It is recommended for use on acrylic tubs to prevent scratching.
Drain Assembly:
The specific drain assembly needed will depend on the type of tub you are installing. Make sure to purchase the appropriate one before beginning installation.
Tub Filler (Optional):
If your freestanding tub does not come with a built-in faucet, you will need a separate tub filler to fill the tub with water.
8 Step-by-step Guides on How to Install a Freestanding Tub
Step 1: Measure and Prepare the Space
Start by measuring the area where the freestanding tub will be installed. Use your measuring tape to confirm that the tub will fit comfortably while leaving enough clearance around it for accessibility and cleaning.

Check for any obstructions, such as existing fixtures or walls, and ensure that there are at least a few inches of space between the tub and surrounding elements. If the floor is uneven, use a level to identify areas that may need adjustment. Taking these preparatory steps is crucial to ensure the tub fits perfectly and is securely installed.
Step 2: Install the Drain Assembly
Before placing the tub in its final position, attach the drain assembly to the tub. Begin by consulting the manufacturer’s instructions specific to your tub model to ensure proper assembly. If using a plumber’s putty, apply it around the flange of the drain to create a watertight seal. Gently press the drain into the opening at the bottom of the tub, ensuring it is aligned correctly.
Next, tighten the drain components using an adjustable wrench, taking care not to overtighten and risk damaging the material of the tub. Once the drain is installed, double-check that all connections are secure and properly sealed to prevent leaks. This step ensures that the tub’s drainage system is functional and ready for plumbing connections.
Step 3: Position the Tub
Carefully position the freestanding tub in its designated spot. Gently lift and place the tub into the prepared area, ensuring it aligns with the measurements taken earlier. Check that the drain connections beneath the tub align with the floor drain or plumbing outlet.

Once the tub is in place, use a level to confirm that it is perfectly even. If necessary, adjust the leveling feet on the bottom of the tub to achieve proper balance and stability. Ensuring the tub is appropriately positioned at this stage will prevent issues with drainage or wobbling later. Take your time to make small adjustments as needed until the tub is securely positioned and ready for plumbing connections.
Step 4: Connect the Plumbing
With the tub in place, it’s time to connect the plumbing. If you are not familiar with plumbing, it may be best to hire a professional for this step. Begin by attaching the hot and cold water lines to the appropriate connections on the back of the tub filler or faucet. Follow manufacturer instructions carefully to ensure proper installation and prevent leaks.
Next, connect the drain pipe from your floor or wall to the drain assembly attached to the bottom of the tub. Secure all connections with the plumber’s tape and adjustable wrenches as needed.
Step 5: Seal Around Edges
Using silicone caulk or plumber’s putty (depending on your tub material), create a watertight seal around the edges of the tub where it meets the floor or wall. This will prevent any water from seeping through and causing damage to your bathroom flooring or walls.
If using silicone caulk, carefully apply a thin and even layer around the edges of the tub. Use your finger or a caulking tool to smooth out the caulk and create a clean finish. If using a plumber’s putty, roll it into a thin rope and press it onto the edges of the tub before smoothing it out with your fingers.
Step 6: Install Tub Filler (Optional)
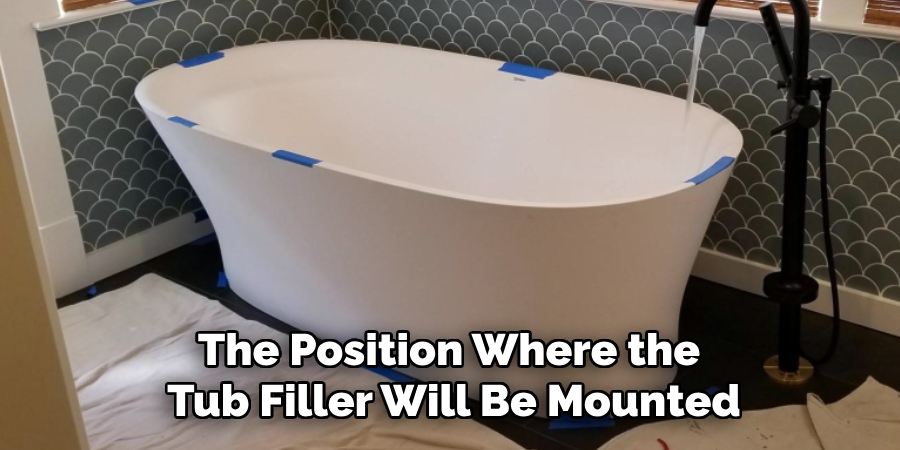
If your freestanding tub does not have a built-in faucet, you will need to install a separate tub filler as part of the setup. Begin by locating the position where the tub filler will be mounted—either on the floor near the tub or on the wall, depending on its design and your plumbing layout.
Follow the manufacturer’s instructions for assembling the tub filler. Attach the hot and cold water supply lines to the appropriate inlets on the filler. Use the plumber’s tape on the threads to ensure a tight seal and prevent leaks during use. Secure the connections with an adjustable wrench, taking care not to overtighten. Finally, mount the tub filler to its designated spot and test the water flow to ensure proper function.
Step 7: Test for Leaks
With all connections in place, it’s time to fill the tub with water and check for leaks. Slowly turn on the hot and cold water supply valves and allow the tub to fill up completely. As it fills, inspect all connections and areas where caulking was applied for any signs of leakage. If you notice any leaks, turn off the water supply immediately and address them before proceeding.
It is recommended that the tub be let fill and drain completely a few times to ensure there are no leaks before regular use. This will also help identify any potential issues that may need further adjustments or repairs.
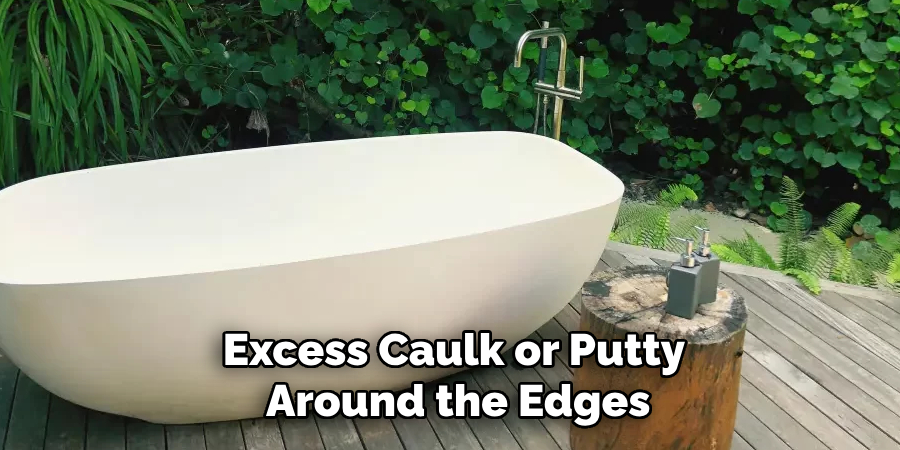
Step 8: Finishing Touches
Once you have confirmed the tub is installed securely and without any leaks, it’s time to add some finishing touches. Remove any excess caulk or putty around the edges of the tub and clean the surface with a damp cloth.
You can also install a drain cover or overflow cover for added functionality and aesthetics. Make sure to follow manufacturer instructions on how to install a freestanding tub properly. Finally, step back and admire your new freestanding tub – ready for relaxing baths whenever you desire.
Additional Considerations
When installing a freestanding tub, there are several additional considerations to keep in mind to ensure a smooth installation process and long-term functionality. First, always verify that your bathroom floor can support the weight of the tub, especially when filled with water. Some freestanding tubs, particularly those made from materials like cast iron or stone, can be extremely heavy and may require reinforced flooring.
Second, consider the accessibility of plumbing lines. Ensure that all water supply lines and the drain are easily accessible during installation and future maintenance. It may be helpful to install shut-off valves for the hot and cold water lines to quickly address any future plumbing issues without disrupting the entire system.
Lastly, be mindful of ventilation in your bathroom. Proper ventilation is essential to prevent moisture buildup, which can lead to mold and mildew over time. Installing an exhaust fan or ensuring your current fan is functioning correctly will help protect your bathroom’s longevity and appearance. By addressing these considerations, you can enjoy your newly installed freestanding tub for years to come without unnecessary complications.
Frequently Asked Questions
Q: Do I Need to Hire a Professional to Install a Freestanding Tub?
A: While it is possible to install a freestanding tub on your own, it is recommended to hire a professional plumber or contractor for proper installation and to ensure all connections are secure. This will also help prevent any potential damage to your bathroom and plumbing in the long run.
Q: Can a Freestanding Tub be Installed Anywhere in My Bathroom?
A: Freestanding tubs can be installed almost anywhere in a bathroom, as long as there is easy access to plumbing and proper support for the weight of the tub. It is essential to consult with a professional or do thorough research before deciding on a specific location for installation.
Q: How Do I Clean and Maintain My Freestanding Tub?
A: To clean your freestanding tub, avoid using harsh chemicals or abrasive materials that may damage the surface. Instead, use mild soap, warm water, and a soft cloth or sponge to wipe down the tub regularly. It is also recommended not to leave standing water in the tub for an extended period and to dry it after each use. For maintenance, routinely check for any signs of leaks or damage and address them promptly if found. You may also consider professional refinishing services every few years to keep your freestanding tub looking like new.
Conclusion
Installing a freestanding tub can add elegance, functionality, and relaxation to any bathroom. With proper planning, tools, and techniques, you can successfully install a freestanding tub on your own or with the help of a professional. Just remember to consider additional factors like weight, plumbing accessibility, and ventilation for long-term satisfaction with your new tub.
So go ahead, turn on the water and take a soak in your beautiful freestanding tub – you deserve it! Lastly, don’t forget to regularly clean and maintain your tub for its longevity and continued enjoyment. Thanks for reading this article on how to install a freestanding tub. We hope you find it helpful for your home renovation project. Happy tubbing!
About the Author
Adrian Green is a passionate woodworking enthusiast who has dedicated his life to the craft of woodworking. From his early days working alongside his father in the family woodworking shop, Adrian has honed his skills and developed a deep love for creating beautiful, functional pieces with his hands. As the voice behind The Woodenify Blog, he shares his knowledge, tips, and inspiration with fellow woodworkers of all skill levels, helping them build confidence in their abilities while learning new techniques.
Professional Focus
- Specializes in DIY woodworking projects, from furniture making to home décor.
- Provides step-by-step guides, tips, and practical tutorials for woodworkers at any skill level.
- Focused on empowering readers with confidence and knowledge through easy-to-follow instructions and hands-on techniques.
- Passionate about building a community where makers can share, learn, and grow together in the world of woodworking.
Education History
University of Craft and Design – Bachelor of Fine Arts (BFA) in Woodworking and Furniture Design
Woodworking Apprenticeships – Gained extensive hands-on experience through various workshops and mentorships with seasoned craftsmen, refining carpentry and furniture-making skills.
Expertise
- DIY woodworking, carpentry, furniture making, and home décor projects.
- Creating clear, accessible tutorials and guides for beginner to advanced woodworkers.
- Helping readers experience the satisfaction and fulfillment of turning raw materials into stunning finished products.