
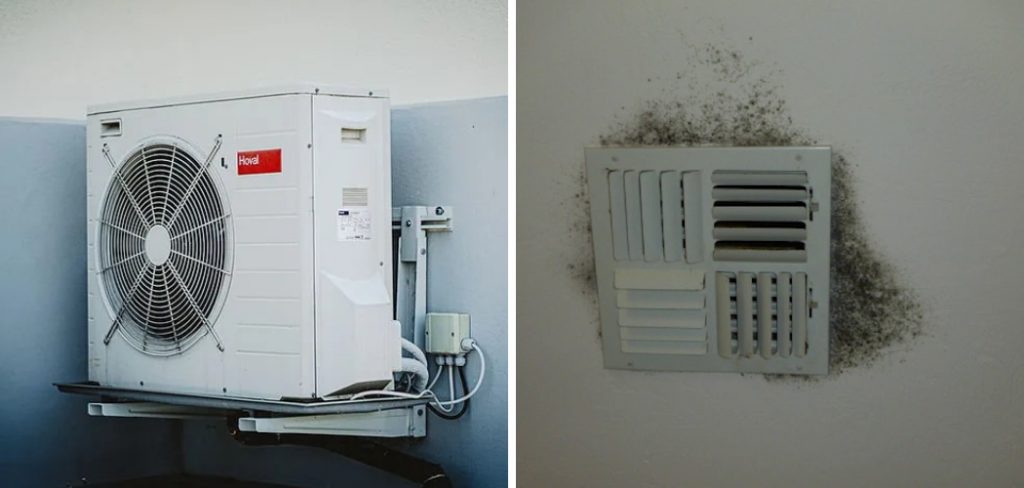
Are you noticing a musty smell in your home? This could be a sign of mold growing in your air conditioning ducts.
Mold in air conditioning ducts can pose serious health risks and negatively impact the efficiency of your HVAC system. Mold thrives in damp, dark environments, making air ducts an ideal breeding ground for its growth. Left untreated, it can spread throughout your home, causing respiratory issues, unpleasant odors, and potential structural damage. Fortunately, with the right approach and proper maintenance, you can effectively eliminate mold and prevent it from returning.
This guide on how to get rid of mold in air conditioning ducts will walk you through the steps to identify, remove, and safeguard your air conditioning system against mold infestation.
What Are the Causes of Mold Growth in Air Conditioning Ducts?
Mold spores are present everywhere, including the air we breathe. However, they need specific conditions to grow and multiply. In the case of air conditioning ducts, these conditions include:
- Moisture: Leaks or condensation inside your ductwork can create an ideal environment for mold growth.
- Dust and Debris Buildup: When dust and debris accumulate inside your ducts, it creates a food source for mold to feed on and grow.
- Lack of Sunlight: Ductwork is typically hidden from direct sunlight, which inhibits natural mold-killing UV rays.
- Poor Ventilation: Without proper circulation of fresh air into your home, moisture, and mold can become trapped inside your ducts.
- Inadequate Maintenance: Neglecting regular maintenance of your air conditioning system can lead to a buildup of mold over time.
Once mold starts to grow, it can quickly spread throughout your air conditioning system, leading to a variety of health issues and potentially expensive repairs.
What Will You Need?
Before getting started, make sure you have the following items on hand:
- Protective Gear: Mold can be hazardous to your health, so it’s essential to wear protective gear such as a mask, gloves, and safety goggles.
- Cleaning Solutions: You can either use a commercial mold cleaner or create your solution using equal parts white vinegar and water.
- Brushes and Cloths: You’ll need stiff-bristled brushes for scrubbing and dry cloths for wiping down surfaces.
- Vacuum with HEPA Filter: A vacuum with a high-efficiency particulate air (HEPA) filter is necessary for removing mold spores from the ducts.
Once you have all the necessary supplies, follow these steps to get rid of mold in your air conditioning ducts.
10 Easy Steps on How to Get Rid of Mold in Air Conditioning Ducts
Step 1. Turn Off the Air Conditioning System
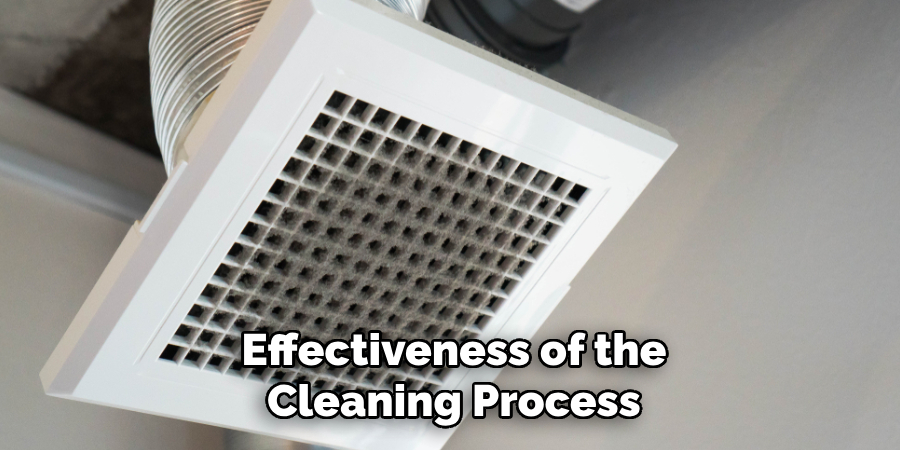
Before cleaning, ensure the air conditioning system is completely turned off. This step is crucial for preventing the spread of mold spores through airflow during cleaning. Locate the power switch on your air conditioning unit or turn off the circuit breaker connected to the system. By cutting the power, you eliminate any potential risks of the system unintentionally operating while you clean, ensuring both the safety and the effectiveness of the cleaning process. Don’t turn the system back on until all steps are complete and the ducts have been thoroughly cleaned and dried.
Step 2. Inspect the Ducts for Mold
Carefully examine the air conditioning ducts for visible signs of mold growth. Mold is often black, green, or white and may appear in spots or clusters. Use a flashlight to inspect hard-to-reach areas inside the ducts. Take note of the extent of the mold growth and identify any damp spots, as moisture is a primary contributor to mold development. This inspection will help you determine the severity of the issue and guide your cleaning efforts effectively. If mold appears to be widespread or deeply embedded, consider consulting a professional for safe removal.
Step 3. Gather Your Cleaning Supplies
Before you begin cleaning, it’s essential to ensure you have all the necessary supplies on hand to tackle the mold effectively and safely. Start with protective gear such as gloves, goggles, and a mask to protect yourself from mold spores and harsh cleaning products. Choose a cleaning solution suitable for mold removal; this can range from commercial mold removers to a homemade mixture of vinegar, baking soda, or bleach and water.
A scrub brush or sponge will help you remove mold residue from surfaces, while disposable rags or paper towels are ideal for wiping up dirt and moisture. Have a vacuum with a HEPA filter ready for cleaning up loose particles and spores, and keep a bucket or spray bottle for applying your cleaning solution. It’s also helpful to have plastic sheeting or tape to seal off the area you’re working on, preventing the spread of mold to other parts of the house, and a fan or dehumidifier to aid in drying out the cleaned surfaces.
Step 4. Turn Off the HVAC System
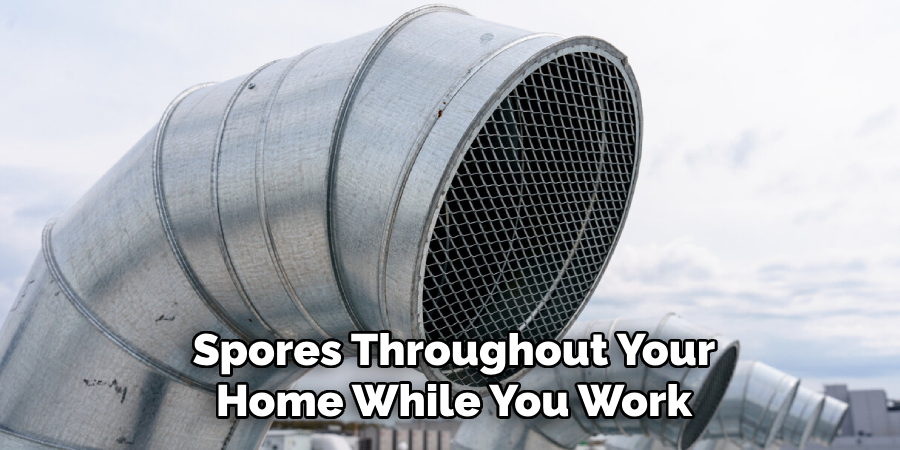
Before starting the cleaning process, make sure to turn off your HVAC system. This step is crucial to prevent the spread of mold spores throughout your home while you work. Turning off the system also ensures your safety by stopping airflow that could disrupt cleaning agents or cause debris to circulate. Once the system is off, you can safely access the ducts and start cleaning without worrying about further contamination.
Step 5. Inspect and Access the Affected Ducts
Carefully inspect the air conditioning ducts to identify the areas affected by mold growth. Use a flashlight to examine hard-to-see sections and make note of spots that require focused cleaning. Once the affected areas are identified, access them by removing vent covers or panels if necessary. Ensure you handle the components gently to avoid causing damage to the ductwork or the system. With proper access, you can effectively target and clean the mold-affected sections.
Step 6. Remove Mold Using Appropriate Cleaning Agents
Begin by applying a mold removal solution specifically designed for HVAC systems to the affected areas. Use a brush or cloth to gently scrub the mold off the duct surfaces, ensuring thorough cleaning without damaging the ductwork. Some popular cleaning agents include diluted vinegar or commercial mold removers approved for HVAC systems. After scrubbing, wipe down the area with a damp cloth to remove any residue. Always wear protective gear, such as gloves, goggles, and a mask, to protect yourself from mold spores and cleaning chemicals during this process.
Step 7. Dry and Inspect the Cleaned Areas
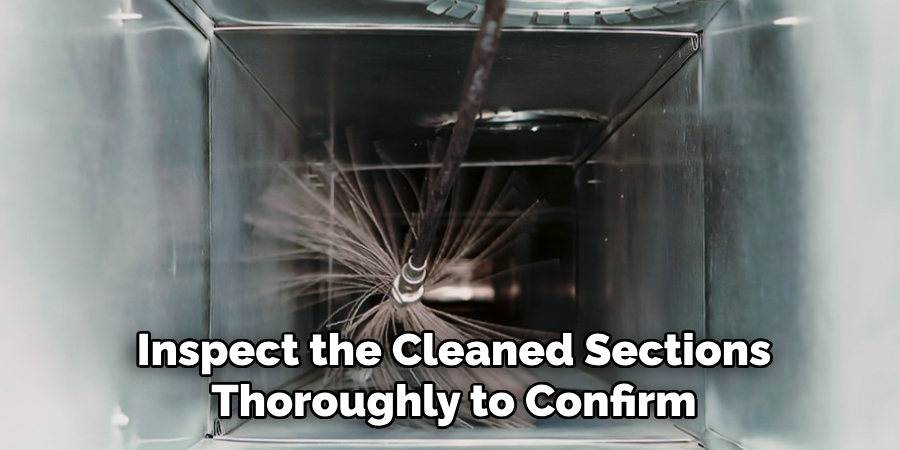
After cleaning, ensure the ductwork is completely dry to prevent future mold growth. Use a dry cloth or a portable fan to aid in drying. Once the area is dry, inspect the cleaned sections thoroughly to confirm that all traces of mold have been removed. If any signs of mold remain, repeat the cleaning process as necessary. Properly drying and inspecting the ductwork is essential to maintain a safe and efficient HVAC system.
Step 8. Reassemble and Test the System
Once the ductwork is thoroughly cleaned and inspected, carefully reassemble any components that were removed during the cleaning process. Ensure all connections are secure and that the system is properly sealed to avoid air leaks. After reassembling, turn on the HVAC system and monitor it for proper operation. Check for any unusual sounds, airflow issues, or lingering odors that could indicate remaining mold or other problems. Testing the system ensures it functions efficiently and safely after the cleaning process.
Step 9. Schedule Regular Maintenance
Establish a schedule for regular maintenance to prevent mold growth and ensure your HVAC system’s continued efficiency. This includes inspecting and cleaning the ductwork periodically, changing air filters as the manufacturer recommends, and monitoring humidity levels in your home. Regular maintenance helps identify potential issues early and extends your HVAC system’s lifespan, ensuring a healthier indoor environment for all occupants.
Step 10. Consult a Professional if Necessary
If you encounter persistent mold growth or extensive damage or cannot clean the HVAC system effectively on your own, consult a professional. Certified HVAC technicians or mold remediation specialists have the tools, experience, and expertise to address complex issues safely and thoroughly. Professional assistance can ensure that the problem is resolved entirely, preventing recurring mold issues and safeguarding the air quality in your home.
By following these steps, you can effectively clean mold from your air conditioning ducts and prevent future growth.
5 Things You Should Avoid
- Ignoring the Problem: Failing to address mold in your air conditioning ducts immediately can lead to worsening contamination, potential health issues, and extensive damage to your HVAC system.
- Using Harsh Chemicals Without Proper Knowledge: Applying strong chemicals, like bleach, without understanding their suitability for HVAC systems can damage duct materials or release harmful fumes into your home.
- Overlooking Professional Help: Attempting to remove mold without consulting professionals can result in incomplete cleaning, allowing mold to return and spread.
- Skipping Protective Equipment: Working on mold removal without wearing gloves, masks, and goggles puts you at risk of inhaling spores or contacting harmful substances.
- Neglecting Regular Maintenance: Avoiding routine inspection and upkeep of your air conditioning system creates ideal conditions for mold to thrive and spread undetected.
Conclusion
To effectively eliminate mold in air conditioning ducts, it’s crucial to take a systematic and thorough approach.
Begin by identifying the source of moisture contributing to mold growth and resolving it to prevent recurrence. Engage the services of certified HVAC professionals for deep cleaning to ensure every trace of mold is removed safely and completely. Use suitable cleaning products that are effective yet safe for your duct materials, and never skip protective equipment when handling mold. Finally, prioritize regular maintenance of your HVAC system to keep it clean, dry, and free of mold in the future.
Hopefully, the article on how to get rid of mold in air conditioning ducts has provided you with valuable insights and practical steps to maintain a healthy indoor environment for your family.
About the Author
Adrian Green is a passionate woodworking enthusiast who has dedicated his life to the craft of woodworking. From his early days working alongside his father in the family woodworking shop, Adrian has honed his skills and developed a deep love for creating beautiful, functional pieces with his hands. As the voice behind The Woodenify Blog, he shares his knowledge, tips, and inspiration with fellow woodworkers of all skill levels, helping them build confidence in their abilities while learning new techniques.
Professional Focus
- Specializes in DIY woodworking projects, from furniture making to home décor.
- Provides step-by-step guides, tips, and practical tutorials for woodworkers at any skill level.
- Focused on empowering readers with confidence and knowledge through easy-to-follow instructions and hands-on techniques.
- Passionate about building a community where makers can share, learn, and grow together in the world of woodworking.
Education History
University of Craft and Design – Bachelor of Fine Arts (BFA) in Woodworking and Furniture Design
Woodworking Apprenticeships – Gained extensive hands-on experience through various workshops and mentorships with seasoned craftsmen, refining carpentry and furniture-making skills.
Expertise
- DIY woodworking, carpentry, furniture making, and home décor projects.
- Creating clear, accessible tutorials and guides for beginner to advanced woodworkers.
- Helping readers experience the satisfaction and fulfillment of turning raw materials into stunning finished products.