
Framing around ductwork is a crucial step in improving a space’s aesthetics and functionality. Exposed ductwork can disrupt a room’s visual appeal while posing challenges related to insulation and airflow. Whether you are finishing a basement, remodeling a home, or upgrading an office, understanding how to frame around ductwork ensures a clean, polished appearance while maintaining proper ventilation and accessibility for future maintenance.
Key considerations such as preserving airflow, incorporating insulation, and planning for access panels play a vital role in the process. Proper framing hides unsightly ducts and helps optimize energy efficiency and structural integrity. This article provides a step-by-step guide covering everything from measuring and planning to applying final touches, offering practical tips and techniques to make the process smoother. By following this guide, you’ll gain the confidence to tackle the challenge of framing around ductwork effectively and professionally.
Planning and Measuring for the Frame
Assessing the Duct Layout
Before starting, carefully evaluate the ductwork layout to identify which sections require framing. Focus on larger components, such as the main trunk lines and smaller branch lines that may extend throughout the space. Pay close attention to height and clearance requirements, ensuring that the ducts are easily accessible but adequately enclosed. Properly addressing clearance needs will also prevent issues with airflow and future maintenance.
Choosing the Right Materials
Selecting suitable materials for the project is an essential step. Both wood and metal framing can be used, each offering distinct advantages. Wood, such as 2×2 or 2×4 lumber, is often more cost-effective and easier to work with, while metal framing provides greater durability and a cleaner finish. When choosing materials, consider factors like budget, ease of installation, and the overall aesthetics of the completed framing.
Measuring and Marking the Framing Area
Accurate measurements are critical to ensuring a well-fitted frame. Begin by measuring the dimensions of the ductwork and marking the surrounding area for the frame. Be sure to leave sufficient insulation space and maintain proper air circulation. Double-check your measurements to avoid common errors leading to gaps or misaligned framing, as precision is key to a successful outcome.
Gathering Tools and Materials
Essential Tools for Framing
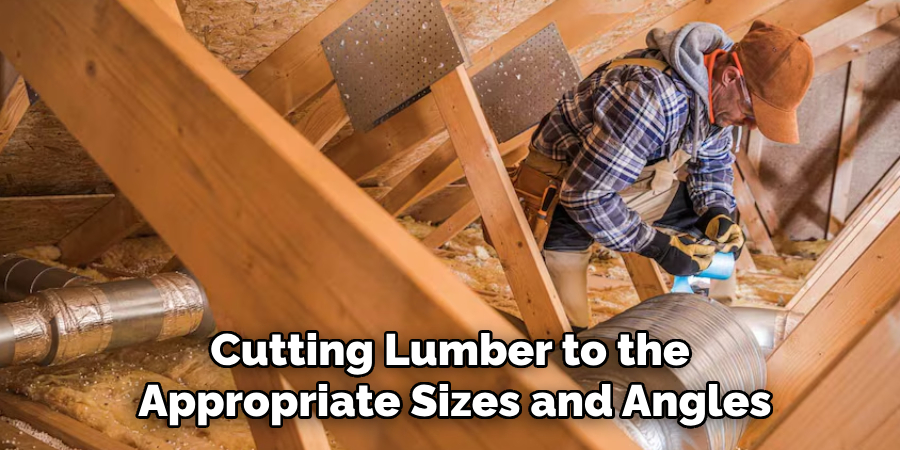
You will need a reliable set of tools to construct a strong and precise frame successfully. A circular saw or miter saw is essential for cutting lumber to the appropriate sizes and angles. A drill, along with screws and nails, will be necessary for securely assembling the frame. A level and a measuring tape are indispensable for ensuring accuracy throughout the process, helping to avoid misalignments that could compromise the frame’s integrity.
Additional Materials Needed
Beyond the basic tools, specific materials play a crucial role in completing the framing. Drywall or plywood will be needed to enclose the frame, providing a finished and professional appearance. If soundproofing or energy efficiency is a concern, including insulation is a valuable addition to the frame. Metal brackets, such as L-brackets, can also be used for added structural support, particularly in ensuring stability at critical joints. Through careful selection and preparation of both tools and materials, you can streamline the framing process and achieve high-quality results.
3 Easy Steps on How to Frame Around Ductwork
When building the frame around ductwork, precision, and proper planning are essential to ensure durability and accessibility for maintenance. The following steps provide a clear guide to constructing a strong and reliable frame.
Step 1: Installing the Bottom Plates and Top Plates
Begin by attaching the bottom plates to the floor and the top plates to the ceiling. These plates will outline the structure of the frame and serve as the foundation for the vertical studs. Before attaching them, use a measuring tape to mark their positions, ensuring alignment with the ductwork. Secure the plates with screws or nails, making sure they are firmly in place. To maintain the structure’s integrity, use a level to check that the plates are perfectly aligned horizontally and vertically. Uneven plates could lead to misalignments in the overall frame.
Step 2: Adding Vertical Studs for Support
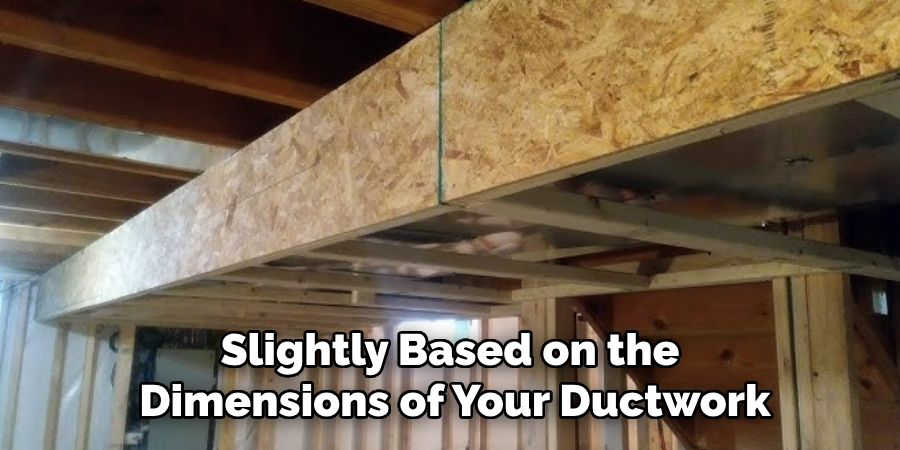
Installing vertical studs is critical for providing support to the frame. Ideally, studs should be spaced 16 inches apart, but the spacing may vary slightly based on the dimensions of your ductwork. Measure and mark the locations for each stud on the top and bottom plates before installation. Attach the studs securely to the plates using screws or nails, making sure they stand upright and are evenly spaced. A level is invaluable at this step to verify that the studs are straight and aligned. Proper spacing ensures the frame’s stability and accommodates the ductwork effectively.
Step 3: Creating Horizontal Cross Supports
To enhance the stability of the frame, add blocking or horizontal cross supports between the vertical studs. These cross supports provide extra rigidity to the structure and can help prevent warping or shifting over time. Additionally, ensure that there is sufficient clearance around the ductwork for maintenance access or future adjustments. Carefully measure the position of the blocking and attach it securely using screws or nails, checking alignment as you go. A sturdy frame with thoughtful cross-support placement will ensure long-term durability and functionality.
Enclosing the Frame with Drywall or Plywood
Installing Drywall Over the Frame
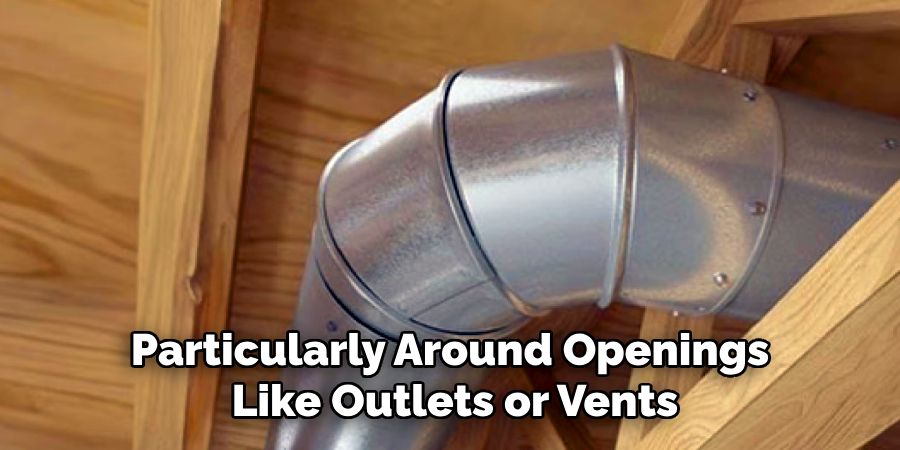
Enclosing the frame with drywall or plywood is crucial in creating a finished and polished appearance. Start by carefully measuring and cutting drywall panels to fit the frame’s dimensions. Use a sharp utility knife or a drywall saw to ensure precise cuts, particularly around openings like outlets or vents. Once the panels are cut to size, hold them securely against the frame and attach them using drywall screws. Space the screws evenly, approximately 12 to 16 inches apart, to ensure a snug and secure fit.
Finishing Touches (Taping and Sanding)
With the drywall securely attached, the next step is to create smooth, seamless surfaces. Begin by applying joint compound to the seams between panels, then press drywall tape into the wet compound to cover the gaps. Apply a second thin layer of joint compound over the tape, feathering the edges to blend them into the surface of the drywall.
Once the compound dries, sand the area lightly using fine-grit sandpaper to create a smooth, even finish. After sanding, prime the drywall to seal the surface and prepare it for painting or further treatment. These finishing touches transform the frame into a clean and professional-looking structure ready for its intended purpose.
Adding Access Panels and Ventilation
Why Access Panels Are Important
Access panels are crucial for any ductwork frame as they allow easy access for repairs, inspections, or cleaning. Maintaining the ductwork can become challenging and time-consuming without these panels. To simplify future maintenance, consider using magnetic or hinged access panels, which can be easily removed or opened without specialized tools. These panels blend seamlessly into the frame while offering practical functionality and convenience.
Maintaining Proper Airflow
Proper ventilation is essential to ensure that the HVAC system operates efficiently and effectively. Where necessary, adding vent openings in the frame will support unobstructed airflow to maximize performance. Careful placement is key—vent openings should be aligned with the ductwork to prevent any restriction to the airflow and avoid unnecessary strain on the system.
Take care to measure and cut openings precisely, using tools that accommodate the frame’s material, and ensure edges are smooth to protect the ducts. By providing both consistent access and optimal ventilation, the frame will support the long-term performance and reliability of the entire HVAC system. Each element plays a role in maintaining functionality and the ease of future adjustments.

Painting and Final Touches
Once the frame and ventilation elements are in place, the next step is to focus on aesthetics and final details. Begin by choosing a high-quality paint or finish that matches the surrounding space. Selecting the right color and type of paint ensures that the frame complements the overall design theme of the area while offering durability. For a more polished appearance, consider installing decorative trim or molding around the edges of the frame. These additions create a seamless transition between the frame and the surrounding walls or surfaces.
Before finalizing, inspect the frame thoroughly for any gaps, uneven edges, or imperfections. Use caulk or filler to address these issues, ensuring a smooth and professional look. Once satisfied, apply the final coat of paint or finish, allowing sufficient time to dry. These finishing touches enhance the visual appeal and ensure the frame integrates flawlessly into its environment.
Conclusion
Framing around ductwork requires careful planning and execution to ensure a functional and visually appealing result. Start by taking accurate measurements and selecting appropriate materials to frame securely around the duct. Proper ventilation is crucial, and incorporating access panels helps with future maintenance needs. Attention to detail during painting and finishing ensures the frame blends seamlessly with its surroundings. For those unsure about how to frame around ductwork, consulting a professional ensures the job is done correctly. By following these steps and prioritizing precision, homeowners can achieve a durable and aesthetically pleasing result that supports long-term functionality.
About the Author
Adrian Green is a passionate woodworking enthusiast who has dedicated his life to the craft of woodworking. From his early days working alongside his father in the family woodworking shop, Adrian has honed his skills and developed a deep love for creating beautiful, functional pieces with his hands. As the voice behind The Woodenify Blog, he shares his knowledge, tips, and inspiration with fellow woodworkers of all skill levels, helping them build confidence in their abilities while learning new techniques.
Professional Focus
- Specializes in DIY woodworking projects, from furniture making to home décor.
- Provides step-by-step guides, tips, and practical tutorials for woodworkers at any skill level.
- Focused on empowering readers with confidence and knowledge through easy-to-follow instructions and hands-on techniques.
- Passionate about building a community where makers can share, learn, and grow together in the world of woodworking.
Education History
University of Craft and Design – Bachelor of Fine Arts (BFA) in Woodworking and Furniture Design
Woodworking Apprenticeships – Gained extensive hands-on experience through various workshops and mentorships with seasoned craftsmen, refining carpentry and furniture-making skills.
Expertise
- DIY woodworking, carpentry, furniture making, and home décor projects.
- Creating clear, accessible tutorials and guides for beginner to advanced woodworkers.
- Helping readers experience the satisfaction and fulfillment of turning raw materials into stunning finished products.