
Fixing water pipes can seem like a daunting task, but with the right tools and a step-by-step approach, many common issues can be resolved easily. Whether it’s a leaky joint, a burst pipe, or simply wear and tear, learning to address these problems can save time and money.

This guide on how to fix water pipes will walk you through the basics of identifying pipe problems, gathering necessary materials, and performing effective repairs to keep your plumbing in top condition. Understanding the basics of water pipes plumbing can help you identify and fix common issues in your home’s water system.
Why is it Important to Fix Water Pipes
Water pipes are a crucial component of any plumbing system, responsible for carrying clean water into our homes and removing waste water. When pipes are damaged or malfunctioning, they can lead to costly water damage, reduced water pressure, and even health hazards.
Regular maintenance and timely repairs can prevent these issues from arising and ensure the longevity of your plumbing system. Taking the time to fix water pipes properly can also save money in the long run, as it minimizes the need for emergency repairs and potential replacement costs.
Needed Tools and Materials
Tools:
Pipe Cutter or Hacksaw:
A pipe cutter or hacksaw is needed to cut through pipes when replacing a section. A pipe cutter is recommended as it makes cleaner cuts and reduces the risk of burrs or jagged edges.
Adjustable Wrench:
An adjustable wrench is essential for loosening and tightening nuts on fittings.
Pipe Wrench:
A pipe wrench, also known as a plumber’s wrench, is used to grip and turn pipes without causing damage. It has serrated jaws that provide a strong grip on pipe surfaces.
Screwdriver:
A screwdriver is a versatile tool that can be used to remove screws on pipe clamps and fittings.
Plumbers Tape:
Plumbers tape, also known as Teflon tape, is used to create a watertight seal between threaded pipes and fittings.
Materials:
Replacement Pipes and Fittings:
When fixing a damaged or leaky section of pipe, you will need replacement pipes and fittings of the same material and size.
Pipe Joint Compound:
Pipe joint compound, also known as pipe dope, is used to seal joints between pipes and fittings. It fills gaps and prevents leaks from occurring.
Epoxy Putty:
Epoxy putty is a waterproof and heat-resistant material used for sealing leaks in pipes. It can be molded and pressed into place to create a temporary fix until a replacement pipe can be installed.
Pipe Repair Clamp:
A pipe repair clamp is a quick and easy solution for fixing small leaks in pipes. It consists of rubber gaskets, metal plates, and bolts that can be tightened around the damaged area to stop the leak.
8 Step-by-step Guides on How to Fix Water Pipes
Step 1: Identify the Problem
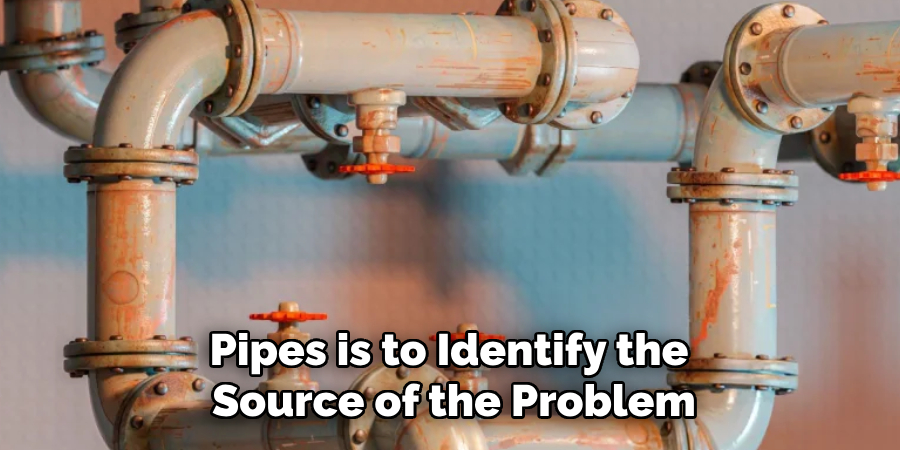
The first step in fixing water pipes is to identify the source of the problem. Begin by inspecting the area where you notice symptoms such as water leaks, reduced pressure, or unusual noises. Look for visible signs of damage, such as cracks, corrosion, or loose connections.
If the issue isn’t immediately apparent, consider turning off the water supply and checking for areas that remain wet, as this can help pinpoint hidden leaks. Taking the time to thoroughly identify the exact problem ensures that you can plan an effective repair and minimize unnecessary work.
Step 2: Shut off Water Supply
Before attempting any repairs, it is crucial to shut off the water supply to prevent further leakage or water damage. Locate the main water shut-off valve, which is typically found near where the main water line enters your home or building.
Turn the valve clockwise to fully close it. For localized problems, you may be able to use a nearby shut-off valve that controls water flow to specific fixtures like sinks or toilets. Once the water supply is turned off, open the faucets connected to the affected pipe to drain any remaining water, ensuring a dry workspace for the repair.
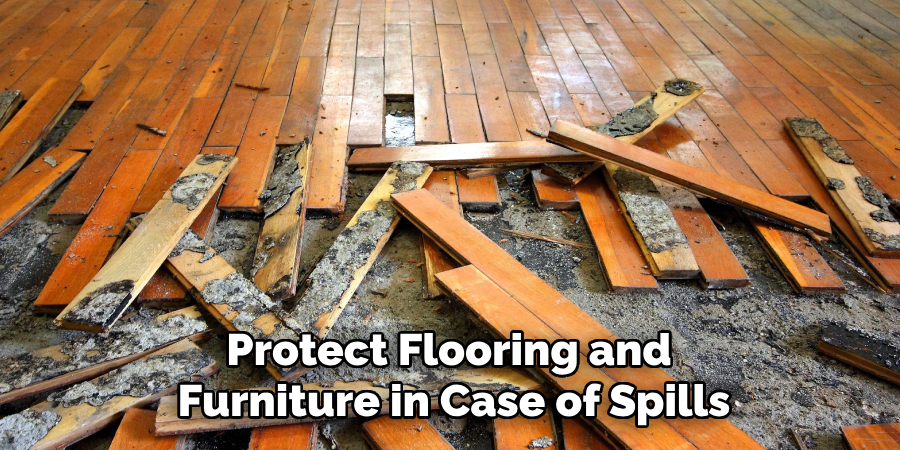
Step 3: Prepare the Work Area
To avoid any damage or mess, it is essential to prepare your work area before starting any repairs. Lay down a drop cloth or towels to protect flooring and furniture in case of spills. Additionally, have a bucket on hand to collect excess water.
If working with metal pipes, use a wire brush to remove any corrosion or debris from the surface where fittings will be connected. This allows for better adhesion and a tighter seal.
Step 4: Replace Damaged Pipes/Fittings
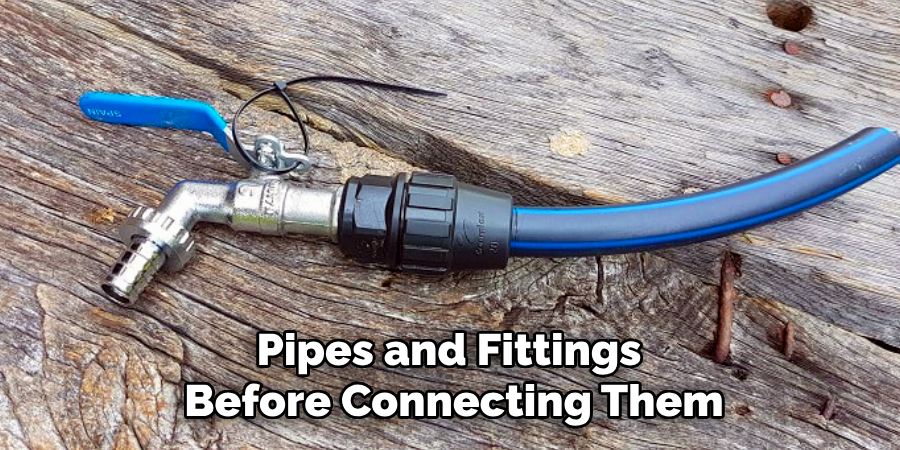
For damaged pipes or fittings, use a pipe cutter or hacksaw to cut out the affected section. Ensure that the cuts are straight and clean to prevent future leaks.
Next, use pipe joint compound to seal the joints between pipes and fittings before connecting them. Apply a thin layer of compound to the threads and tighten with an adjustable wrench. Avoid over-tightening, as this can damage the threads.
Step 5: Fix Leaks with Epoxy Putty
For small leaks or cracks in pipes, use epoxy putty as a temporary solution until a replacement pipe can be installed.
Clean and dry the affected area, then knead the putty until it becomes pliable. Press it onto the leak and smooth out any excess. The putty will harden within minutes, creating a waterproof seal.
Step 6: Use Pipe Repair Clamps for Quick Fixes
For a quick and easy fix, use a pipe repair clamp on small leaks. Place the rubber gasket over the damaged area and position the metal plates on either side of the pipe. Tighten the bolts with a screwdriver to secure the clamp in place.
The rubber gasket compresses against the pipe, creating a watertight seal.
Step 7: Test the Repairs
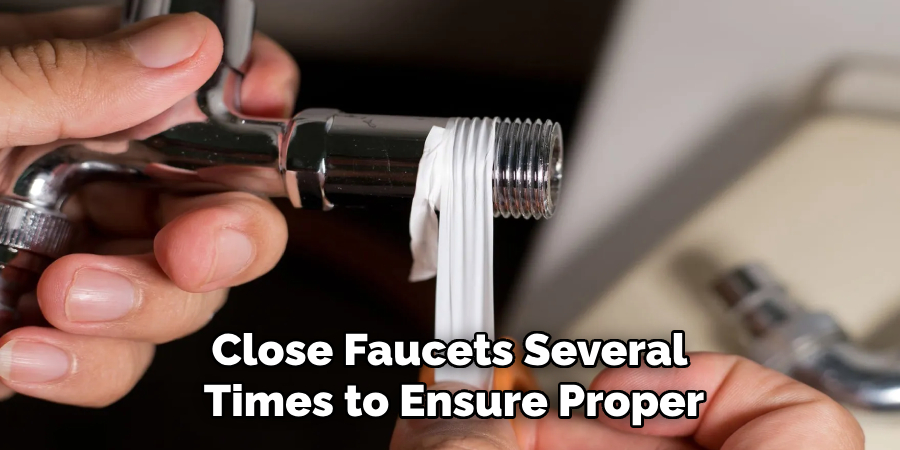
After completing the repairs, turn on the water supply and check for any leaks or issues. if everything appears to be in working order, open and close faucets several times to ensure proper water flow.
If you encounter any problems, double-check your work for any missed steps or mistakes.
Step 8: Clean Up and Maintain Pipes
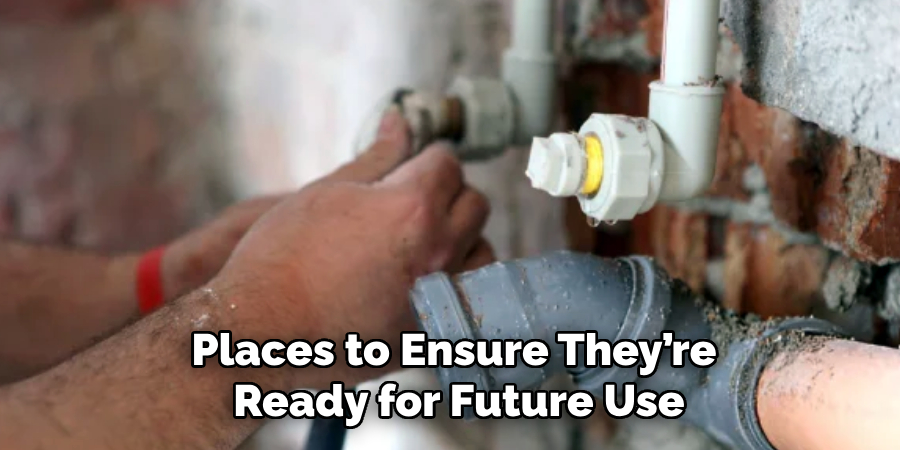
Once the repairs are complete and the system is functioning properly, take the time to clean up the work area. Dispose of any debris, old pipe sections, or used materials appropriately. Wipe down tools and store them in their designated places to ensure they’re ready for future use.
Following these steps on how to fix water pipes and maintaining your pipes regularly can help prevent future issues and ensure the longevity of your plumbing system.
Additional Tips for Maintaining Water Pipes
- Inspect pipes for signs of damage or wear regularly.
- Keep an eye out for rust, corrosion, or mineral build-up on metal pipes.
- Pay attention to changes in water pressure or unusual noises coming from pipes.
- Avoid pouring harsh chemicals down drains as they can corrode pipes.
- Consider insulating exposed pipes during cold weather to prevent freezing and potential bursts.
- Consult a professional plumber for any major issues or unfamiliar repairs.
By following these tips and steps, you can effectively fix water pipes and maintain your plumbing system for optimal performance.
Frequently Asked Questions
Q: How Long Does It Take to Fix Water Pipes?
A: The time it takes to fix water pipes varies depending on the extent of the damage and the type of repair needed. Simple fixes, such as sealing small leaks with epoxy putty, can take less than an hour, while more complex repairs may require several hours or even days to complete.
Q: Can I Fix Water Pipes Myself?
A: In most cases, homeowners can do minor repairs such as fixing small leaks or replacing fittings. However, for major issues or unfamiliar repairs, it is best to consult a professional plumber to ensure the job is done correctly and safely.
Q: How Do I Know If My Pipes Need to Be Replaced?
A: Signs that your pipes may need to be replaced include frequent leaks, low water pressure, discolored water, and visible damage such as cracks or corrosion. It is also recommended that pipes that are over 50 years old be replaced as they may be more prone to issues and failures. So, it is important to regularly inspect your pipes for any signs of damage and address them promptly.
Q: How Can I Prevent Future Issues with My Water Pipes?
A: Along with regular inspections, some preventative measures you can take to maintain your water pipes include avoiding pouring harsh chemicals down drains, insulating exposed pipes during cold weather, and consulting a professional plumber for any major repairs or unfamiliar tasks. Taking these steps can help prolong the life of your pipes and prevent potential future problems.
Conclusion
Fixing water pipes may seem daunting, but with the right tools and techniques, it can be a manageable task. By following this step-by-step guide on how to fix water pipes, you can effectively identify and repair common issues with your water pipes.
Remember to always take proper safety precautions, shut off the water supply before starting any work, and regularly maintain your plumbing system to prevent future problems. With these tips and tricks, you can confidently tackle any pipe repair projects that come your way.
About the Author
Adrian Green is a passionate woodworking enthusiast who has dedicated his life to the craft of woodworking. From his early days working alongside his father in the family woodworking shop, Adrian has honed his skills and developed a deep love for creating beautiful, functional pieces with his hands. As the voice behind The Woodenify Blog, he shares his knowledge, tips, and inspiration with fellow woodworkers of all skill levels, helping them build confidence in their abilities while learning new techniques.
Professional Focus
- Specializes in DIY woodworking projects, from furniture making to home décor.
- Provides step-by-step guides, tips, and practical tutorials for woodworkers at any skill level.
- Focused on empowering readers with confidence and knowledge through easy-to-follow instructions and hands-on techniques.
- Passionate about building a community where makers can share, learn, and grow together in the world of woodworking.
Education History
University of Craft and Design – Bachelor of Fine Arts (BFA) in Woodworking and Furniture Design
Woodworking Apprenticeships – Gained extensive hands-on experience through various workshops and mentorships with seasoned craftsmen, refining carpentry and furniture-making skills.
Expertise
- DIY woodworking, carpentry, furniture making, and home décor projects.
- Creating clear, accessible tutorials and guides for beginner to advanced woodworkers.
- Helping readers experience the satisfaction and fulfillment of turning raw materials into stunning finished products.