
Are you tired of showering with cold water or not having enough hot water for your daily needs? If you’re facing this issue, chances are your water heater is not functioning correctly. Don’t worry; we’ve got you covered!
When your water heater stops producing hot water, it can be a frustrating and inconvenient issue, especially during colder months. Thankfully, most problems can be diagnosed and resolved quickly with a little troubleshooting. Whether the issue lies with a tripped circuit breaker, a faulty thermostat, or sediment buildup in the tank, understanding the potential causes and how to address them can save you time and money.
This guide on how to fix water heater no hot water will walk you through the common reasons your water heater may not be providing hot water and provide step-by-step solutions to get it working again.
What Are the Causes of No Hot Water?
Before jumping into troubleshooting, it’s essential to understand the potential causes of no hot water in your water heater. Some common reasons include:
- Power Supply Issues: If your water heater is electric, a tripped circuit breaker or blown fuse can cause it to stop heating water. For gas water heaters, ensure the gas supply valve is open and the pilot light is lit.
- Faulty Thermostat: The thermostat controls the water temperature inside the tank. It can prevent the water from reaching the desired temperature if it’s not functioning correctly.
- Sediment Buildup: Over time, minerals and sediment can accumulate at the bottom of your water heater tank. This can cause the heating element to malfunction and result in no hot water.
- Heating Element Issues: A faulty heating element can prevent the water from getting heated for electric water heaters. This is a common issue as these elements wear out over time and may need replacement.
What Will You Need?
Before getting started, make sure you have the following tools and materials:
- Screwdriver
- Multimeter (for electric water heaters)
- Replacement heating element (if necessary)
- Cleaning solution for sediment buildup (if applicable)
Once you have everything on hand, let’s dive into the troubleshooting process.
8 Easy Steps on How to Fix Water Heater No Hot Water
Step 1. Turn Off Power or Gas Supply:
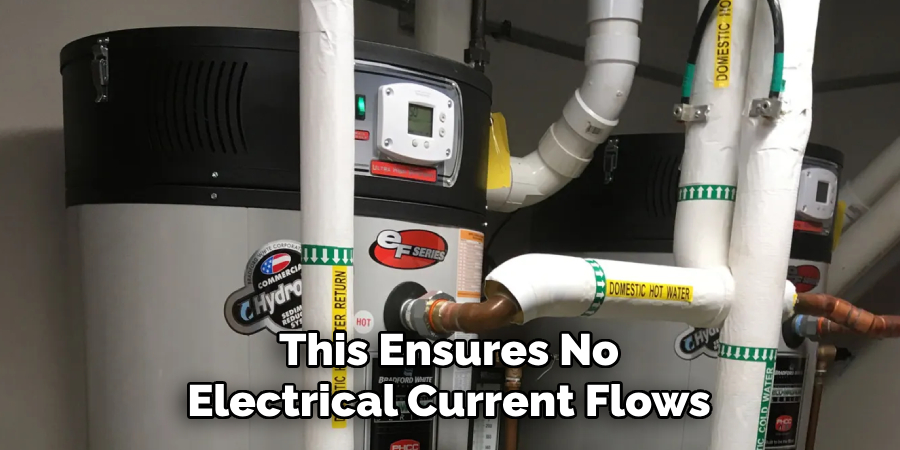
To begin working on your water heater safely, it’s essential to first turn off the power or gas supply to the unit. For electric water heaters, locate the circuit breaker panel and flip the breaker that controls power to the water heater to the “off” position. This ensures no electrical current flows to the device, preventing shocks or injuries while you’re working. For gas water heaters, you’ll need to turn the thermostat on the unit to the “off” position and shut off the gas valve to stop the gas flow to the heater.
It’s critical to give the system time to cool down to avoid burns, as hot water or steam can remain inside the tank even after it’s been turned off. Always double-check that the power or gas supply is fully disabled before proceeding to the next steps.
Step 2. Check the Thermostat Settings:
Once the power or gas supply is turned off, examine the thermostat settings on your water heater. Sometimes, a lack of hot water is caused by the thermostat being set too low. Remove the access panel for an electric water heater to expose the thermostat. Use a screwdriver to adjust the temperature setting, ensuring it’s optimal—typically between 120°F and 140°F. For gas water heaters, check the thermostat dial and adjust it as needed. If the thermostat is already set correctly, it may indicate a malfunction and need further testing or replacement.
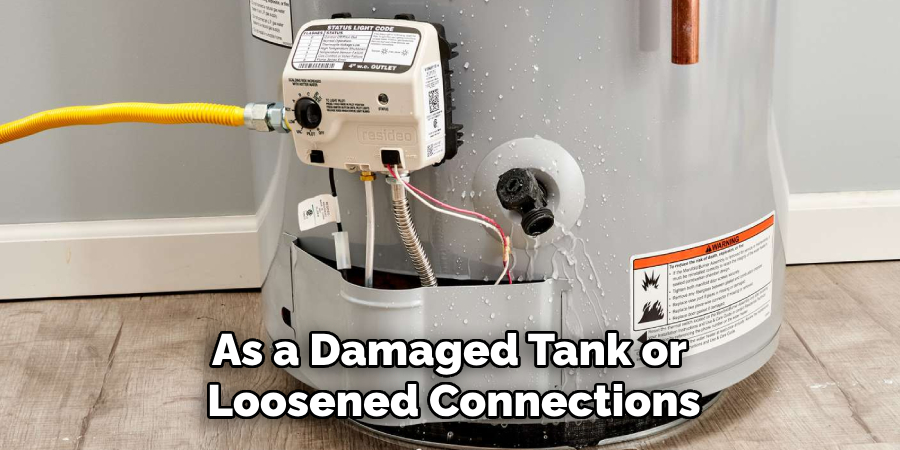
Step 3. Inspect for Leaks:
After checking the thermostat, inspect the water heater and the surrounding area for any signs of leaks. Leaks can indicate issues such as a damaged tank or loosened connections. Carefully examine the pipes, fittings, and tank base for water stains or pooling. If you detect a leak, you may need to tighten the connections or replace damaged parts. A professional repair or full replacement of the water heater may be necessary for more significant leaks, such as those in the tank itself. Addressing leaks promptly can prevent further damage and ensure the system operates efficiently.
Step 4. Flush the Tank:
Over time, sediment and mineral deposits can accumulate at the bottom of the water heater tank, reducing efficiency and potentially causing damage. To flush the tank, turn off the power supply or gas to the water heater and connect a garden hose to the drain valve at the base of the tank. Direct the hose to a floor drain or suitable location, then open the drain valve to allow the water and sediment to flow out.
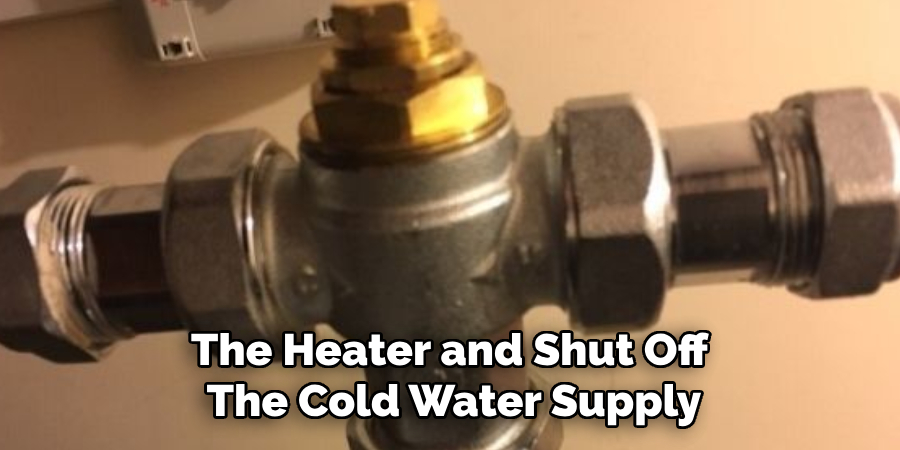
Be cautious, as the water may be hot. Once the tank has been emptied, close the drain valve, remove the hose, and refill the tank by turning the cold water supply back on. Restoring power or gas to the unit will complete the process. Regularly flushing the tank can prolong the lifespan of the water heater and help maintain optimal performance.
Step 5. Check the Anode Rod:
The anode rod is a crucial component of your water heater that helps prevent rust and corrosion inside the tank. To inspect the anode rod, turn off the water heater’s power or gas and shut off the cold water supply. Locate the anode rod, typically found at the top of the tank, and use a wrench to unscrew it. Check for significant corrosion or if the rod has been reduced to less than half of its original diameter.
If the anode rod is severely corroded, it should be replaced to ensure continued protection of the tank. After inspection or replacement, securely reinstall the rod, turn the water supply back on, and restore power. Regularly inspecting the anode rod can extend the lifespan of your water heater and prevent costly repairs.
Step 6. Inspect the Temperature and Pressure Relief Valve:
The temperature and pressure (T&P) relief valve is an essential safety feature of your water heater. To inspect it, first turn off the power or gas supply to the heater and shut off the cold water supply. Locate the T&P valve, usually found on the side or top of the tank, with a discharge pipe attached to it. Place a bucket beneath the discharge pipe to catch any water, then carefully lift the valve’s lever to release a small amount of water. If water flows freely and stops when you lower the lever, the valve functions correctly.
It should be replaced if the valve does not operate as expected or leaks continuously. After inspection, ensure the lever is secure, turn the cold water supply back on, and restore power to the unit. Regularly checking the T&P valve ensures the safe operation of your water heater.
Step 7. Examine the Heating Element:
For electric water heaters, a lack of hot water may be caused by a faulty heating element. To test the heating element, turn off the power supply to the heater and use a multimeter to check for continuity between the two terminals on each component. If there is no continuity, the element is damaged and needs replacement. After replacing the faulty element, restore power to the unit to see if this resolves the issue.
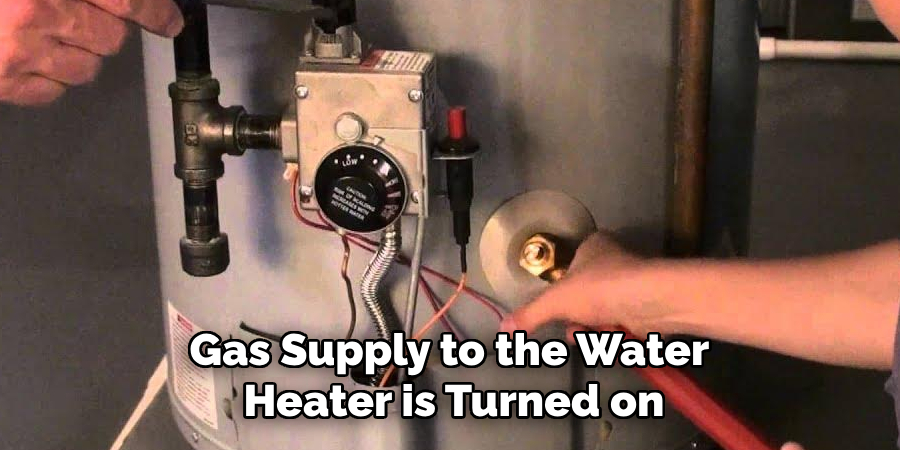
Step 8. Check the Gas Burner or Pilot Light:
For gas water heaters, issues with heating could stem from problems with the gas burner or pilot light. First, ensure the gas supply to the water heater is turned on. If the pilot light is out, carefully relight it, following the manufacturer’s instructions. Before doing so, check for any gas odor; if you detect gas, do not attempt to relight the pilot light and contact a professional immediately. Once the pilot light is lit, observe the flame to ensure it burns steadily with a blue hue. A yellow or flickering flame may indicate the burner or pilot assembly requires cleaning or adjustment.
Additionally, inspect for dust, debris, or blockages in the burner assembly, as these can reduce efficiency or cause malfunction. If the burner is faulty or corroded, it may need replacing. After performing these checks and any necessary maintenance, test the system to confirm the water heater is functioning correctly. Regular maintenance of the gas burner and pilot light is essential to ensure the efficiency and safety of your water heater.
By following these steps and performing regular maintenance, you can keep your water heater running efficiently and potentially extend its lifespan.
5 Things You Should Avoid
- Ignoring the Power Supply: Before fixing a water heater, always ensure that the power supply is turned off. Ignoring this step can lead to electrical shocks or severe injuries.
- Overlooking the Thermostat Settings: Incorrect thermostat settings commonly cause no hot water. Avoid jumping to complex solutions before checking and adjusting the temperature controls.
- Using the Wrong Tools: Using improper or unsafe tools can damage your water heater and potentially void warranties. Always use the appropriate tools recommended for the job.
- Neglecting to Check the Pilot Light or Heating Element: If your water heater relies on a pilot light or electric heating element, ensure these function correctly. Skipping these checks might result in unnecessary time and expense.
- Attempting Complex Repairs Without Expertise: When dealing with advanced issues like a faulty gas valve or severe leaks, DIY repairs can worsen the problem. It’s safer and often wiser to consult a professional plumber for a proper diagnosis and repair.
Conclusion
How to fix water heater no hot water requires a methodical approach and careful troubleshooting. Start by identifying simple issues such as power supply problems, thermostat settings, or pilot light functionality, as these are often the primary culprits.
For more complex problems, such as a failed heating element or gas valve, seek professional assistance to avoid further damage and ensure the repair is done safely. Regular maintenance and proactive monitoring can also prevent such issues from occurring in the first place.
By addressing the problem step-by-step and knowing when to involve an expert, you can effectively restore hot water and extend your water heater’s lifespan.
About the Author
Adrian Green is a passionate woodworking enthusiast who has dedicated his life to the craft of woodworking. From his early days working alongside his father in the family woodworking shop, Adrian has honed his skills and developed a deep love for creating beautiful, functional pieces with his hands. As the voice behind The Woodenify Blog, he shares his knowledge, tips, and inspiration with fellow woodworkers of all skill levels, helping them build confidence in their abilities while learning new techniques.
Professional Focus
- Specializes in DIY woodworking projects, from furniture making to home décor.
- Provides step-by-step guides, tips, and practical tutorials for woodworkers at any skill level.
- Focused on empowering readers with confidence and knowledge through easy-to-follow instructions and hands-on techniques.
- Passionate about building a community where makers can share, learn, and grow together in the world of woodworking.
Education History
University of Craft and Design – Bachelor of Fine Arts (BFA) in Woodworking and Furniture Design
Woodworking Apprenticeships – Gained extensive hands-on experience through various workshops and mentorships with seasoned craftsmen, refining carpentry and furniture-making skills.
Expertise
- DIY woodworking, carpentry, furniture making, and home décor projects.
- Creating clear, accessible tutorials and guides for beginner to advanced woodworkers.
- Helping readers experience the satisfaction and fulfillment of turning raw materials into stunning finished products.