
Are you experiencing a sudden spike in your water bill? Can’t find the source of that damp spot on your lawn or driveway? You may have an underground water leak.
Underground water leaks can lead to significant damage and costly repairs if not addressed promptly. Identifying and fixing these leaks requires a systematic approach, as they are often hidden from plain sight. Whether caused by aging pipes, shifting soil, or tree roots, underground leaks waste water and can compromise the integrity of your property. You can detect and resolve these issues efficiently by following proper techniques and using the right tools.
This guide on how to fix underground water leak will walk you through the steps needed to identify and fix an underground water leak to minimize damage and ensure a safe, leak-free system.
What Are the Benefits of Fixing an Underground Water Leak?
Fixing underground water leaks offers multiple benefits, including:
- Cost Savings: An undetected underground leak can lead to a significant increase in your water bill. You can avoid wasting money on excess water usage by fixing the leak.
- Prevents Property Damage: Water leaks, even small ones, can cause substantial damage to your property’s foundation and landscaping if left unaddressed. Fixing leaks promptly will minimize potential damages.
- Conserve Water: With millions of people facing water scarcity globally, fixing underground leaks helps preserve this precious resource.
- Protects Health and Safety: Water leaking into the ground can attract insects and create mold growth, posing health hazards to you and your family.
What Will You Need?
- Utility Locating Equipment: To accurately locate the underground pipes and pinpoint the leak’s location, you will need a utility locating tool such as a ground-penetrating radar or an electromagnetic pipe locator.
- Leak Detection Equipment: A water leak detector is essential in identifying the exact spot of the leak. Various types of detectors are available, including acoustic and thermal imaging devices.
- Plumbing Tools: Depending on the type of repair needed, you may need tools such as wrenches, pliers, and cutters.
Once you have gathered all the necessary equipment, follow these steps to fix an underground water leak:
9 Easy Steps on How to Fix Underground Water Leak
Step 1: Turn Off the Water Supply
Before beginning any repairs, turning off the water supply is crucial to prevent further leaks or flooding during the process. Locate your main water shut-off valve, typically found near the water meter or where the main water line enters your home or property. Turn the valve clockwise to shut it off completely.
If you are unsure of its location, consult your property’s plumbing diagram or contact your local utility provider for assistance. Shutting off the water supply ensures the repair area stays as dry as possible, reducing the risk of complications and making it easier to identify and address the leak effectively. Once the water supply is securely turned off, open all nearby faucets to drain any remaining water from the pipes. This step will help lessen water pressure and create a safer environment for working on the damaged pipe.
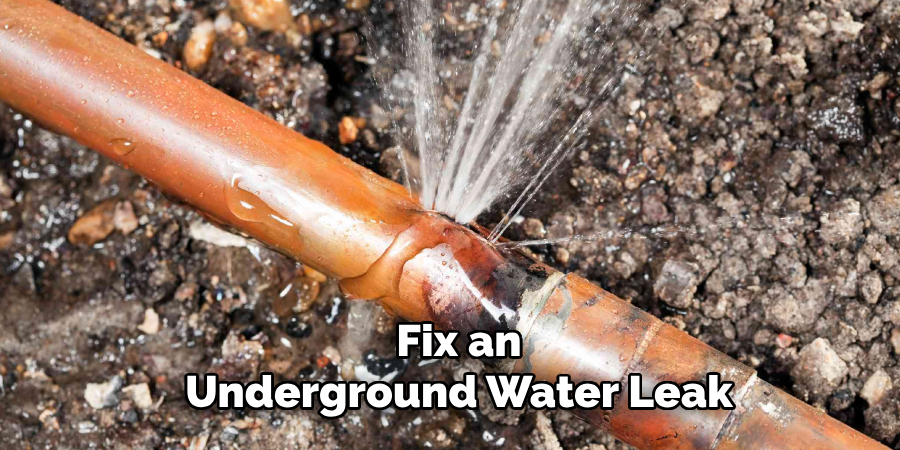
Step 2: Locate the Source of the Leak
After shutting off the water supply, the next step is to identify the exact location of the underground water leak. Start by inspecting visible signs of leakage, such as wet or soggy patches in your yard, unusually green grass in specific areas, or pooling water. You may also notice a drop in water pressure or an unexplained increase in your water bill, which are common indications of a hidden leak.
If the leak is not immediately visible, consider using specialized tools like a soil probe or an electronic leak detector to help pinpoint the problem area. Accurate identification of the leak is essential, as it allows you to focus your repair efforts on the damaged section of the pipe without unnecessary digging or disruption.
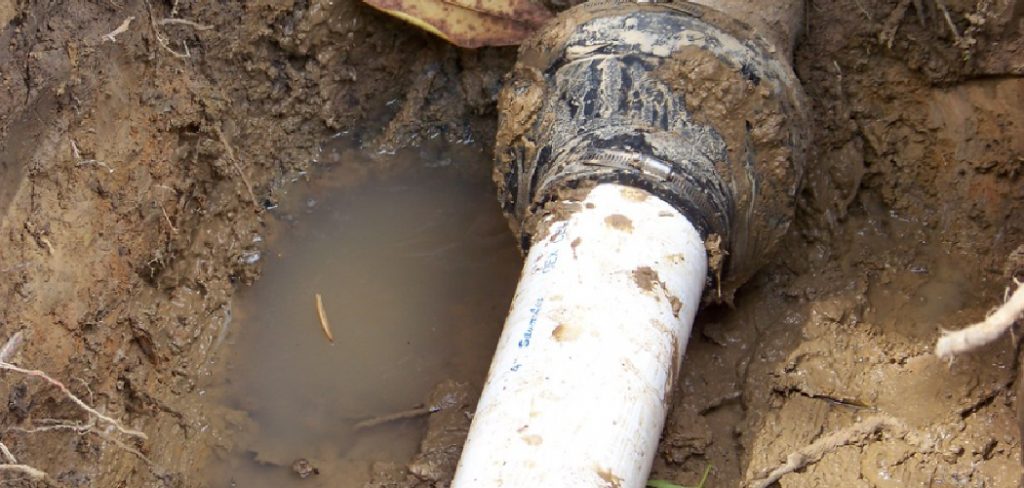
Step 3: Excavate the Area Around the Leak
Once the leak’s location has been identified, carefully excavate the area to expose the damaged pipe. Use a shovel or digging tools to remove soil, taking care not to cause further damage to the pipe or surrounding infrastructure. It’s important to dig a wide enough space around the leak to provide room for repairs and to ensure safety while working. If the pipe is located at a significant depth, consider using protective measures, such as shoring, to prevent the trench from collapsing. Proceed with caution to avoid disturbing underground utilities or causing additional harm to the surrounding environment.
Step 4: Repair the Damaged Pipe
With the damaged section of the pipe exposed, assess the extent of the damage to determine the best course of action for repair. For small cracks or holes, you may use pipe repair tape, epoxy putty, or a pipe clamp to seal the leak. If a larger section of the pipe is compromised, it may be necessary to cut out the faulty portion and replace it with a new pipe

segment. Ensure that the replacement pipe matches the material and size of the existing one. Secure the new section in place using appropriate connectors, such as couplings or solvent cement, and double-check for a tight seal before proceeding.
Step 5: Test the Repair
Once the repair is complete, it’s essential to test the pipe to ensure the leak has been adequately fixed. Gradually turn the water supply back on and closely monitor the repaired area for any signs of leakage. Allow water to flow through the pipe at standard pressure and inspect all connections and sealed areas to confirm their integrity. If any leaks are detected, turn off the water and make the necessary adjustments. Repeat the testing process until the pipe is fully sealed and functioning as intended.
Step 6: Prevent Future Leaks
After successfully repairing the pipe, take measures to prevent future leaks. Regularly inspect your plumbing system for wear, corrosion, or damage. Ensure pipes are appropriately insulated to protect against extreme temperatures, which can cause expansion, contraction, or freezing.
Avoid over-tightening fittings, as this can weaken connections over time. Additionally, consider installing a water pressure regulator to prevent unnecessary stress on your pipes. Consistent maintenance will help extend the lifespan of your plumbing system and minimize the chances of future leaks.
Step 7: Clean Up the Work Area
Once the pipe repair is complete, thoroughly clean up the work area. Dispose of any damaged pipe sections, old fittings, or excess sealant. Wipe down nearby surfaces to remove debris or water residue that may have accumulated during the
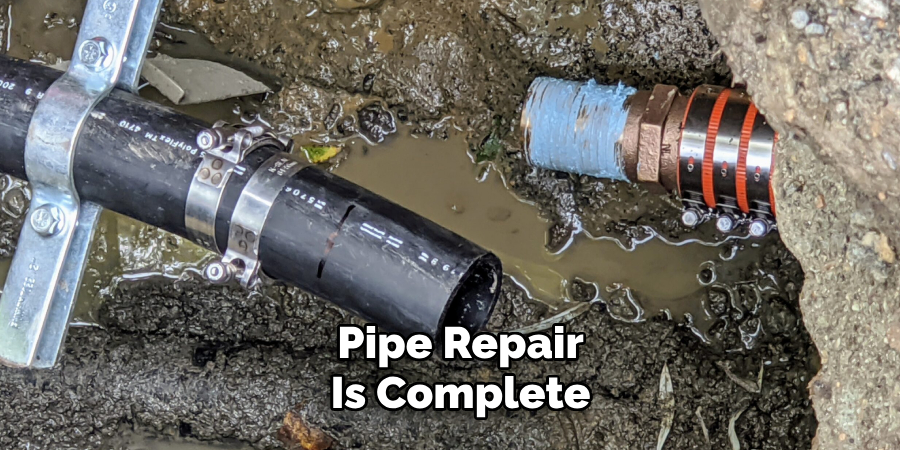
repair process. Ensure all tools used are cleaned, dried, and stored appropriately to prevent rust or damage. A tidy and organized workspace ensures safety and makes future plumbing tasks more efficient.
Step 8: Keep a Record
It’s essential to document any repairs made to your plumbing system, especially for significant issues like an underground water leak. Keep a detailed record of the date, location, and extent of the repair, as well as the steps taken and materials used. This information can be helpful in case of future issues or when selling your property.
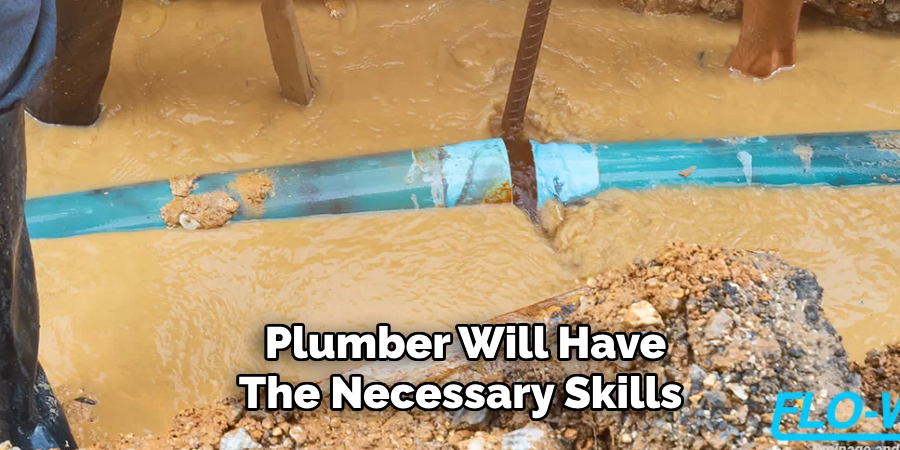
Step 9: Seek Professional Help if Needed
Repairing an underground water leak can be a challenging task. If you feel uncomfortable or unsure about completing the repair, it’s best to seek professional help. A licensed plumber will have the necessary skills, tools, and expertise to handle complex leaks safely and effectively.
They can also provide advice on proper maintenance and help identify any underlying issues that may have caused the leak in the first place. Remember, it’s better to address a plumbing problem early on than to risk more significant damage and costly repairs later.
By following these steps, you can effectively repair an underground water leak and prevent further damage to your plumbing system.
5 Things You Should Avoid
1. Ignoring the Signs of a Leak: One of the biggest mistakes is ignoring early signs such as wet patches, unusually high water bills, or reduced water pressure. Addressing the issue promptly can help prevent significant damage.
2. Digging Without Proper Assessment: Randomly digging to locate the leak can damage underground utilities more and increase repair costs. Always conduct a thorough assessment or use professional leak detection equipment.
3. Using Temporary Fixes as a Permanent Solution: Quick fixes like applying sealants or tape may only solve the problem temporarily. A proper, long-term solution is necessary to prevent recurring issues.
4. Failing to Shut Off the Water Supply: Attempting to fix the leak without first shutting off the main water supply can lead to flooding or further complications. Always turn off the water before beginning any repairs.
5. Not Consulting a Professional: While DIY methods may seem cost-effective, failing to consult a licensed plumber for complex underground leaks can result in improper repairs and increased expenses in the long run. Always seek professional expertise when needed.
Conclusion
How to fix underground water leak requires careful planning and attention to detail. Start by identifying the exact location of the leak using proper detection methods or professional equipment.
Avoid common mistakes such as digging without assessment or relying on temporary fixes, which can lead to further complications and higher costs. Ensure the main water supply is turned off before repair work begins to prevent additional damage. While minor leaks might be manageable with basic DIY techniques, consulting a licensed professional for complex cases is always advisable to guarantee a proper and long-lasting solution.
These measures will help address the issue effectively, prevent future leaks, and safeguard your property from water damage.
About the Author
Adrian Green is a passionate woodworking enthusiast who has dedicated his life to the craft of woodworking. From his early days working alongside his father in the family woodworking shop, Adrian has honed his skills and developed a deep love for creating beautiful, functional pieces with his hands. As the voice behind The Woodenify Blog, he shares his knowledge, tips, and inspiration with fellow woodworkers of all skill levels, helping them build confidence in their abilities while learning new techniques.
Professional Focus
- Specializes in DIY woodworking projects, from furniture making to home décor.
- Provides step-by-step guides, tips, and practical tutorials for woodworkers at any skill level.
- Focused on empowering readers with confidence and knowledge through easy-to-follow instructions and hands-on techniques.
- Passionate about building a community where makers can share, learn, and grow together in the world of woodworking.
Education History
University of Craft and Design – Bachelor of Fine Arts (BFA) in Woodworking and Furniture Design
Woodworking Apprenticeships – Gained extensive hands-on experience through various workshops and mentorships with seasoned craftsmen, refining carpentry and furniture-making skills.
Expertise
- DIY woodworking, carpentry, furniture making, and home décor projects.
- Creating clear, accessible tutorials and guides for beginner to advanced woodworkers.
- Helping readers experience the satisfaction and fulfillment of turning raw materials into stunning finished products.